A:Answerthe resolution dpi is 4800x2400 max setting. excellent saturation but will use a lot of ink. unless you're using high quality paper its a waste of ink the quality at half the dpi is more than acceptable.
A:AnswerStarter cartridges. The black one ran out of ink fairly quickly. They may just be the low volume print cartridges...we purchased a black ink cartridge within about a month (printed 2 sided handouts for several classes...maybe 150-200 pages)
A:AnswerI have printed several pictures on plain paper, works great. And having the SD & SM card slots right in front is a great feature and works well.
A:AnswerYes. Using the auto feeder it works and scans both sides perfect. So far, it's also pretty fast for two sided scanning. Either use the scanning software or the printer LCD. Both has worked for us.
A:AnswerPress the home button, Press the left arrow button to select Wi-Fi Setup and then press OK
You see this screen:
Press the OK button to select Wi-Fi Setup Wizard.
Press the up or down arrow buttons to select the name of your wireless network and press the OK button. If you do not see your wireless network's name, you can enter it manually.
Note: To enter the wireless network name manually, select Other Networks and press the OK button. Enter your network name.
Enter your wireless password.
When you finish entering characters, select Done and press the OK button.
Press the OK button to confirm Wi-Fi settings.
A:AnswerI just purchased the product, so haven't had to change the ink yet. But, I understand the XL is good for 1100 pages, so that's great for my needs as I need the printer for work related use.
A:AnswerI've not yet tried to edit a PDF that I've scanned. It gives you an option to scan to PDF or JPG. Additionally, you can scan it to the computer, to a USB on the printer, or to email
A:AnswerYou connect the printer to your computer using what is referred to as an, "A-B cable". The cable does not come with the printer, you have to buy it separately, but it is not overly expensive. There is a USB plug on one end of the cable, and a little "square" looking plug on the other end of the cable (I don't know what that plug is called). Once you have the cable, you simply plug it into your printer on one end, and plug the USB plug into your computer. Turn on the machines, and if they need any further information, they'll let you know.
A:AnswerYes, I've done it but only through trial and error. I'm old school and need to read a manual. Only tutorial available is on line. Just keep trying and you'll eventually get it but write down what you did so you can do it a second time.
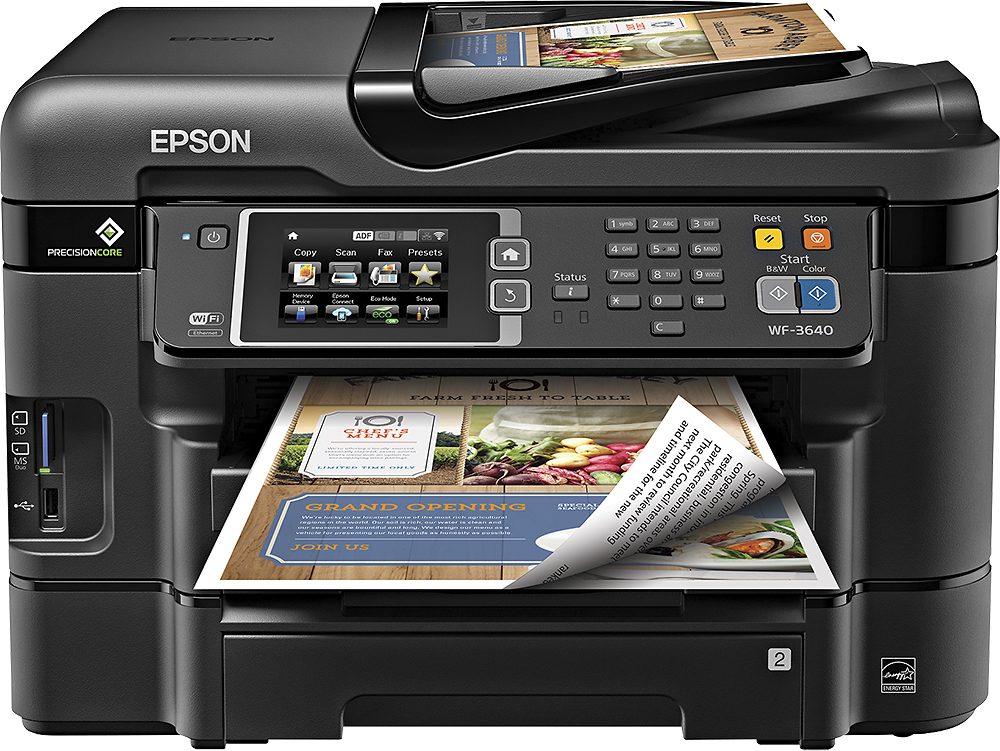
A:AnswerPaper tray are flush with the machine but the output tray pulls out slightly when in use. This can be flush when the printer is not in use, however, if you print without puling the tray out the papers may spill on the ground. I hope this helps