A:AnswerIt's all run through the app. You can choose if you want to display the pics in a certain order and see what is being displayed now. You can also choose to display a certain picture if you want which is nice if you are talking to them about a specific photo.
A:AnswerYes, it is motion and light activated. It is really good at it too. It even adjusts the brightness as needed. My wife keeps hers by the bedside and not once have we ever noticed it on when we would want it off or vice versa. This is one of the best things about the Aura frames compared to the cheaper frames. It looks really nice like a picture and has a great screen. Extended family members have cheap frames and they eventually turn them off (and never back on). You never have to adjust Aura.
A:AnswerYou are welcome to use Aura's Web Uploader to upload photos from your computer to a frame that you either own or that you have been invited to. Please visit http://app.auraframes.com/ and enter your Aura Account email address and password to log into your account. If you do not have an account yet, you can click on "register here" to set it up.
A:AnswerThis was a gift so I am trying to recall the details. The cord is for power. All the downloading is through wifi. You download the app or link on your phone or email and add pictures which just show up to the portal. I am not a tech person and it was very easy. You create an account and can add as many people to the account and after you download the app you can add pictures whenever. Anyone on the account has access to the pictures and if you try to add a duplicate you will be informed it has already been added. We gave this picture frame to our mom for her birthday and all us kids just keep updating the frame with pictures. I dont know how large the storage is but within the first few days she had close to 500 pictures. I was very happy with the purchase. It does not have an on/off button but goes to sleep with inactivity.
A:AnswerYou can select individual photos or entire photo albums for your Aura frame via the Aura App. Unless you have actively selected photos in the app they will not appear on your frame. Hope this helps!
A:AnswerAura Mason has unlimited storage allowing you to select an unlimited number of photos for your frame. You can also invite an unlimited number of family members to contribute photos to your frame!
A:AnswerSimply download the Aura App on your iPhone and create an Aura account before following the steps to set your Aura frame up connecting it to WiFi. Once complete you will be able to select photos in the app that will automatically display on your frame! Hope this helps.
A:AnswerYou can install and access the app without granting it any access rights to your photos. This will still allow you to set up and control the frame via the app. If you want to add photos from your device photo library, however, the app will ask you to give permission to access and display your photos. This is necessary so you can see and select the photos that you want to send to your frame.
A:AnswerYes, you can reset your frame and set it up as a gift for someone else. When you reset a frame, you'll have to start from the beginning to set up the frame up as a new gift, invite members and add photos.
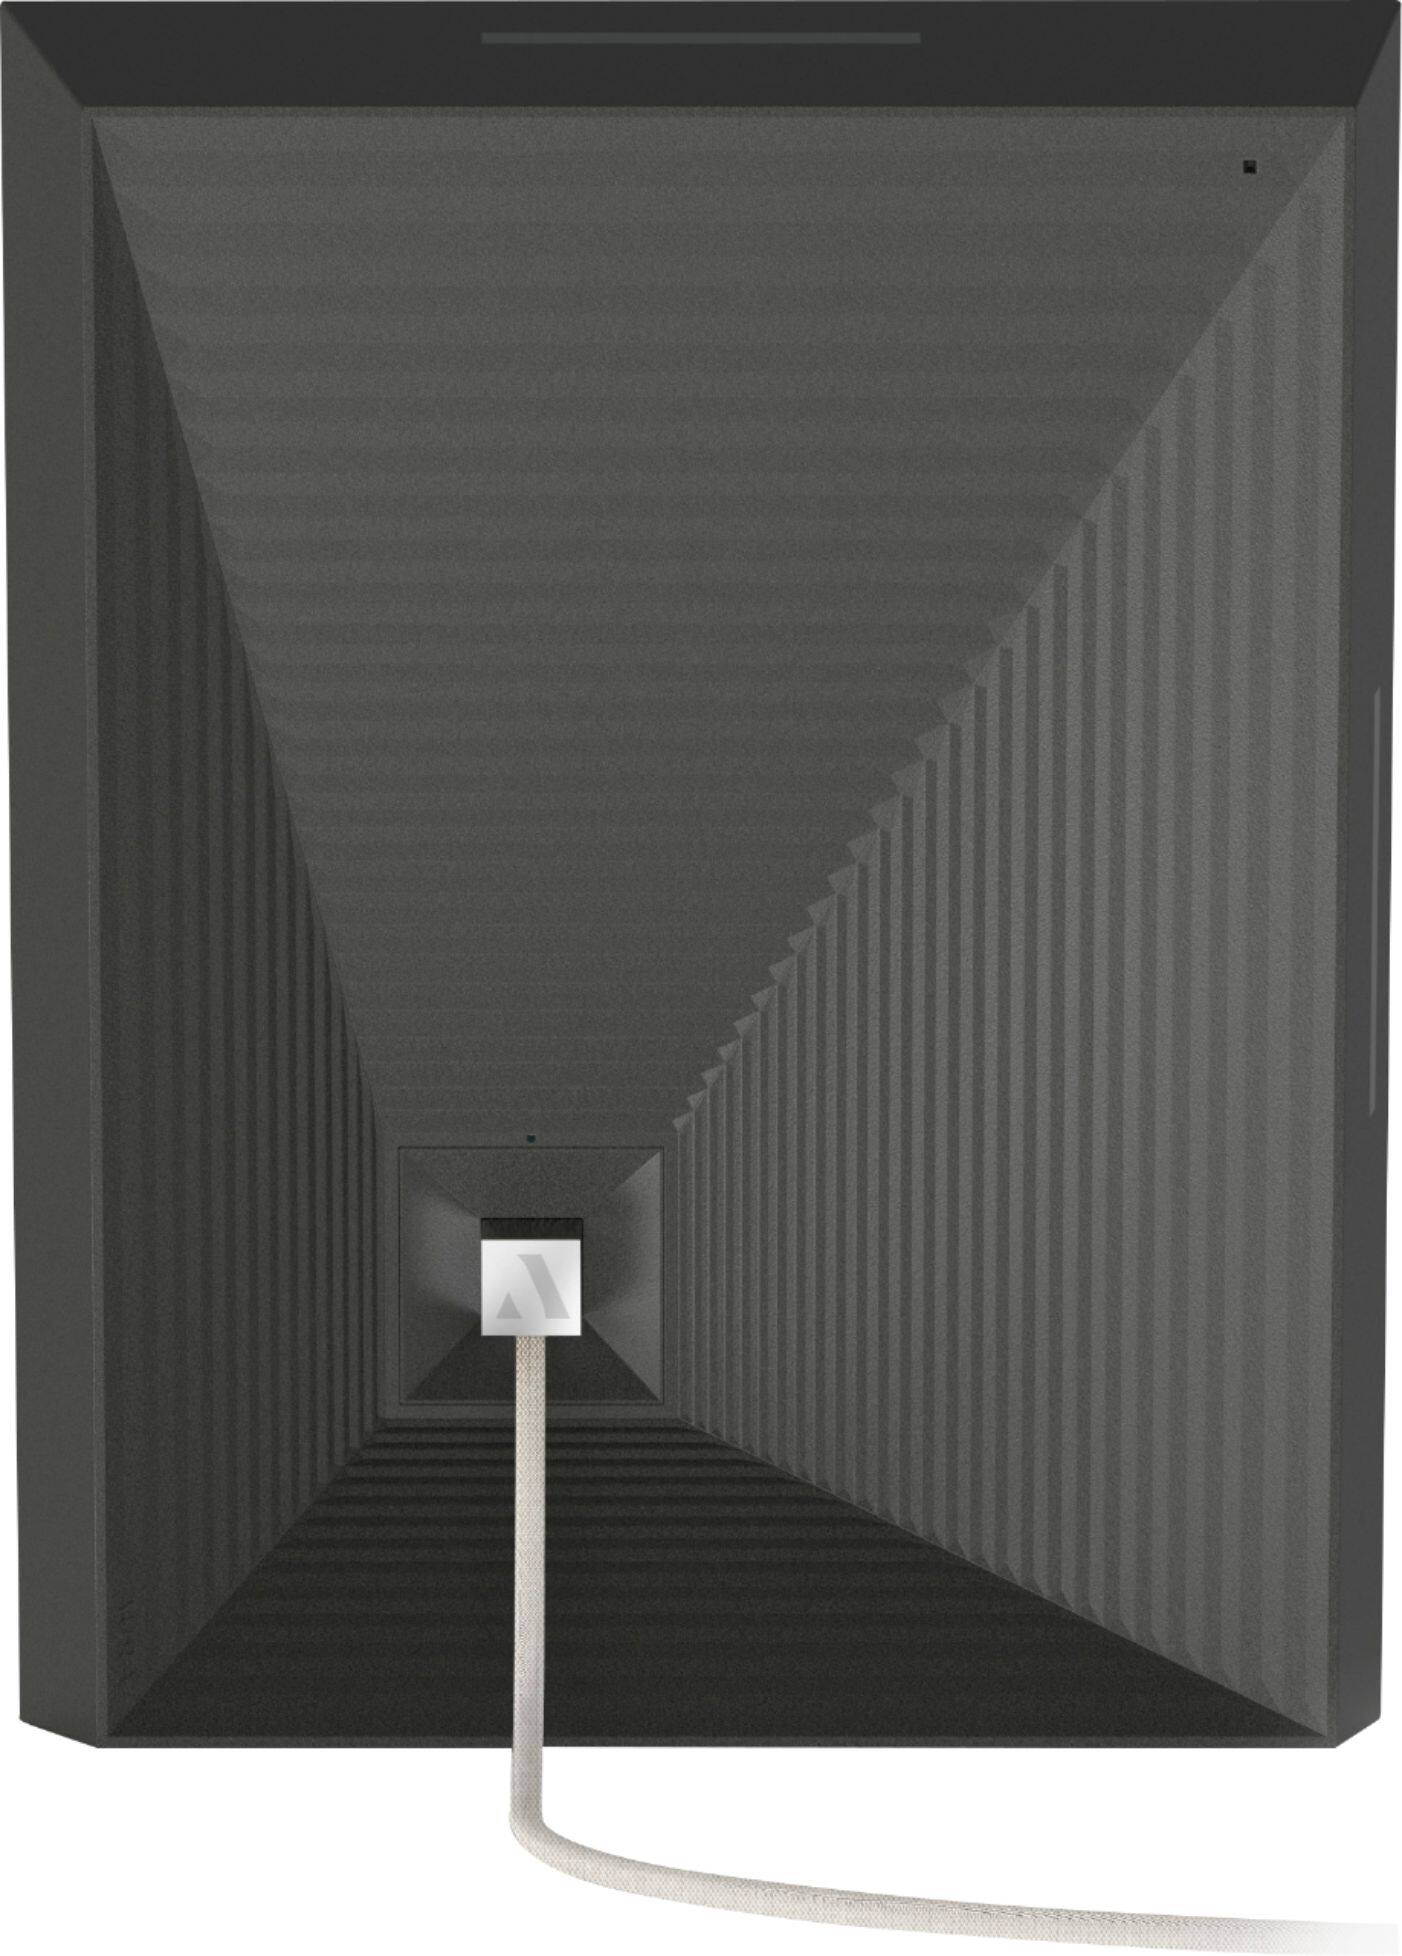
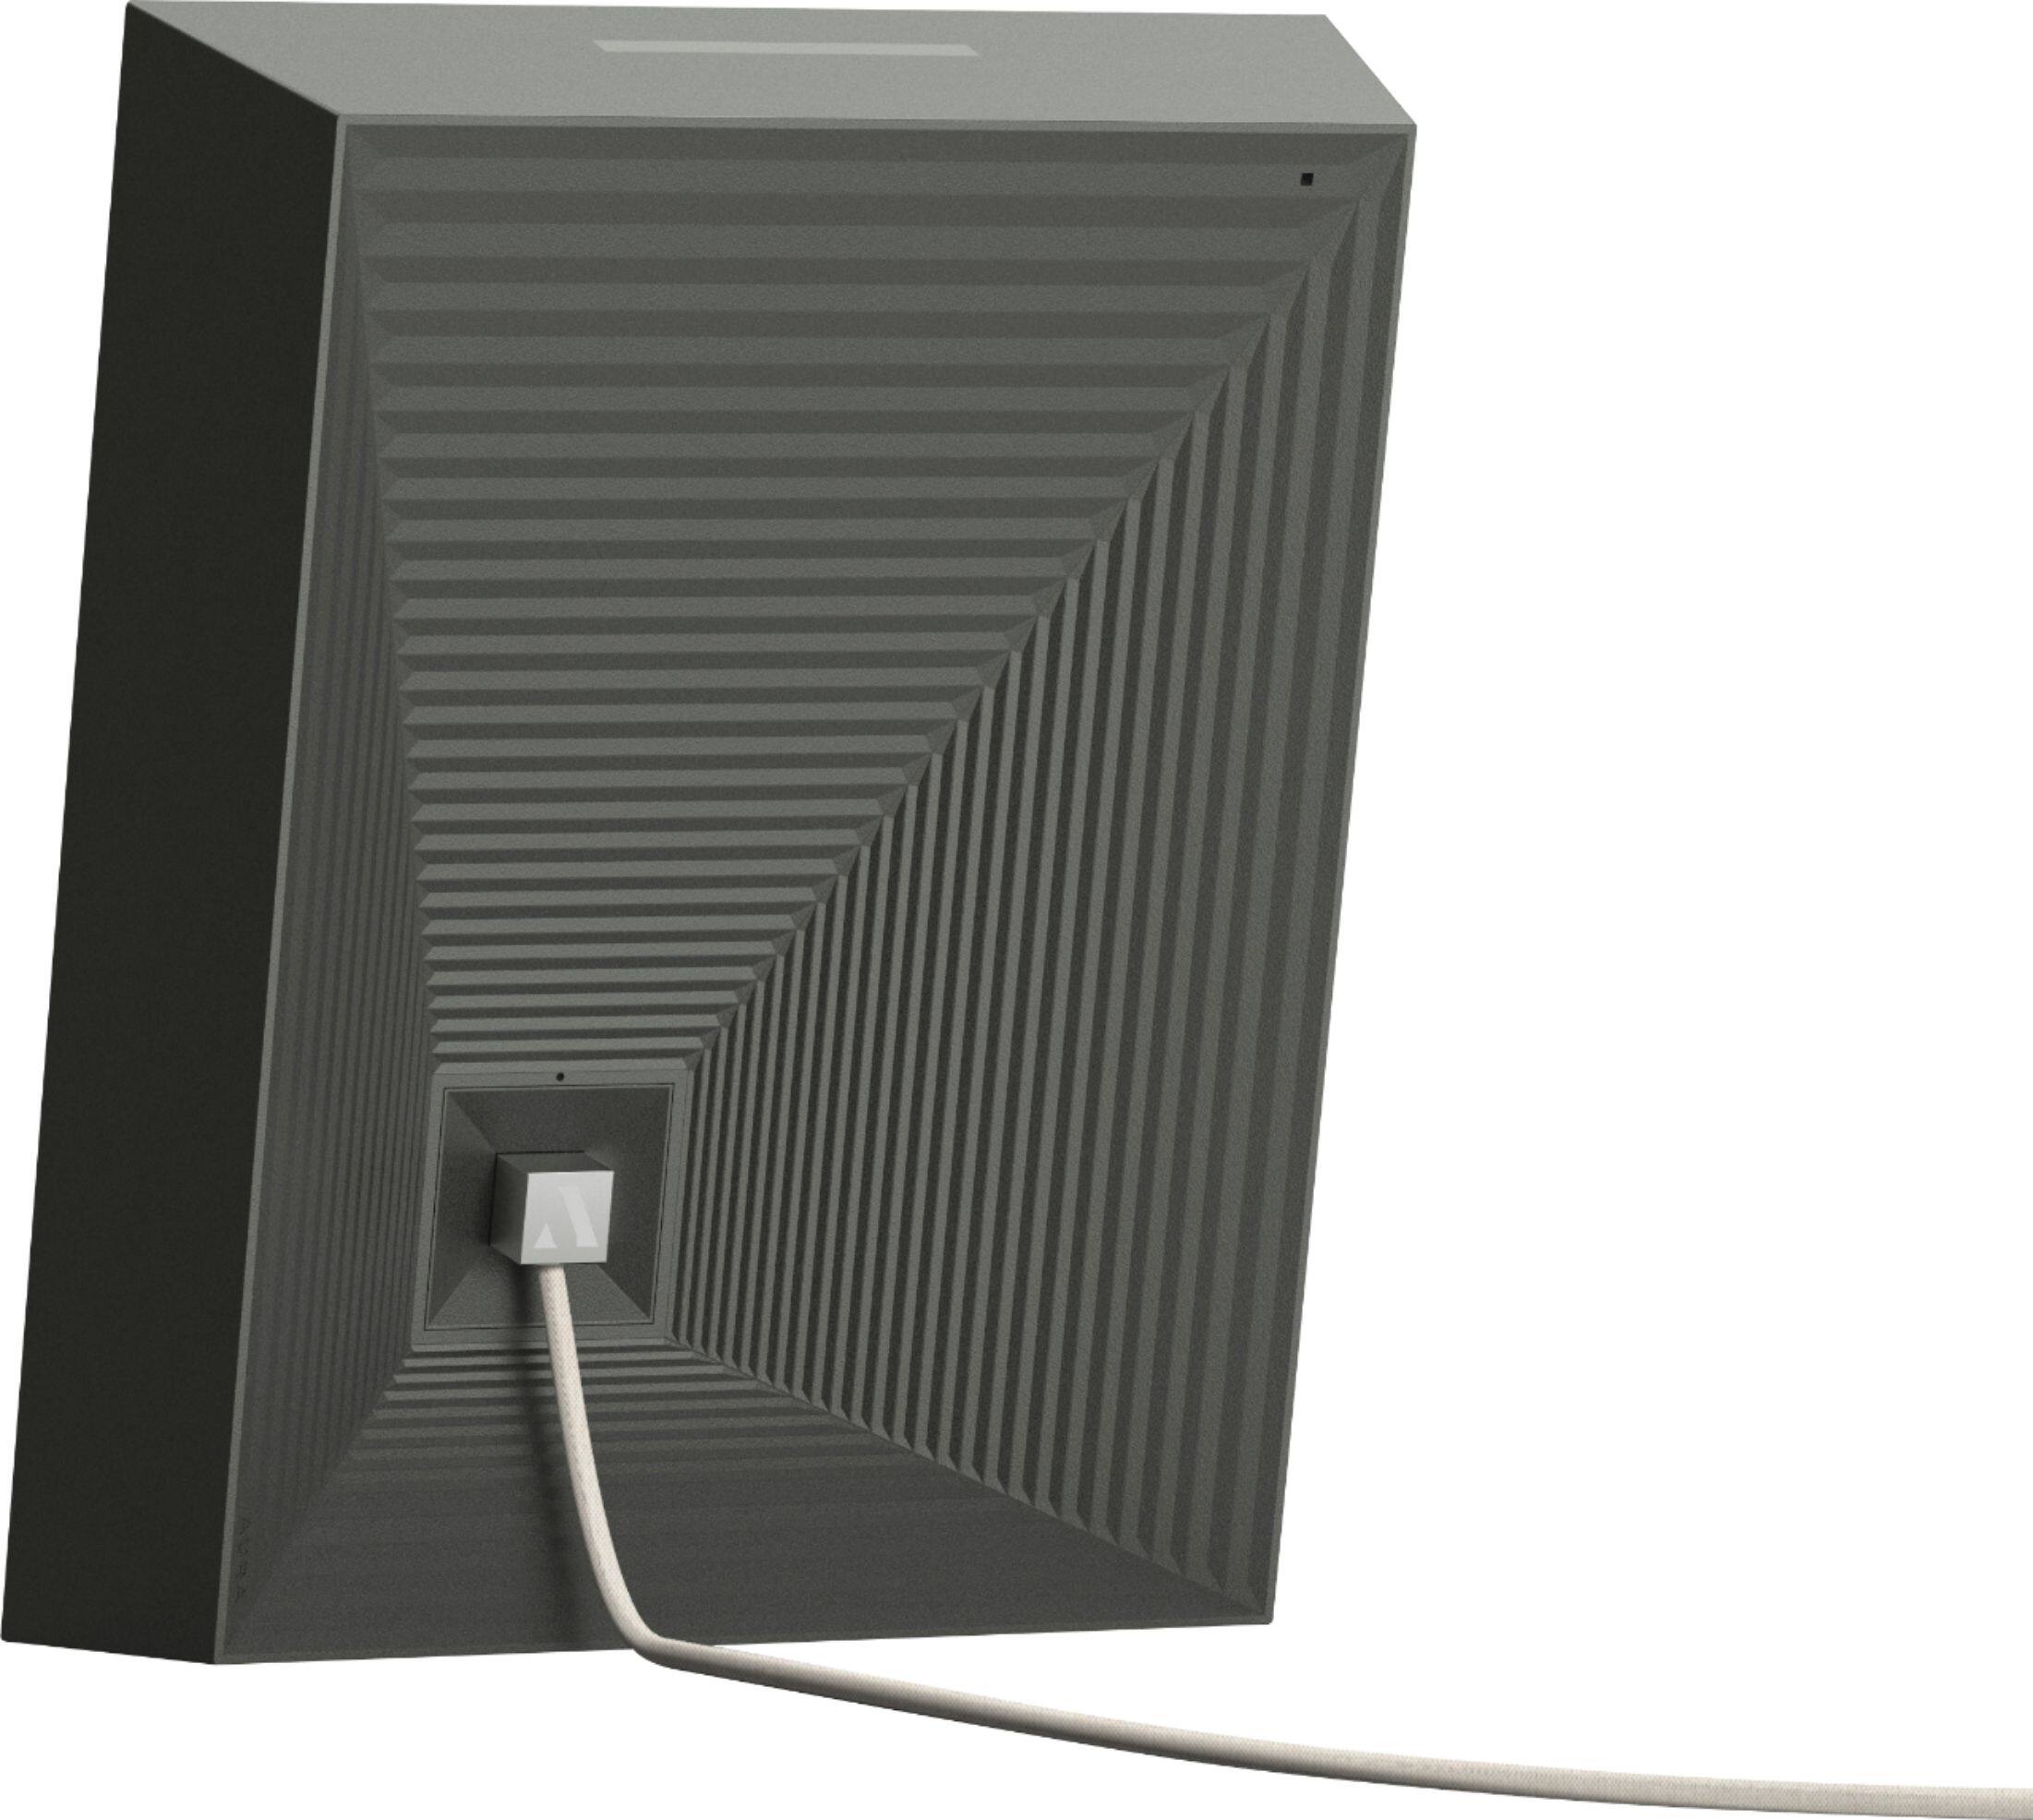
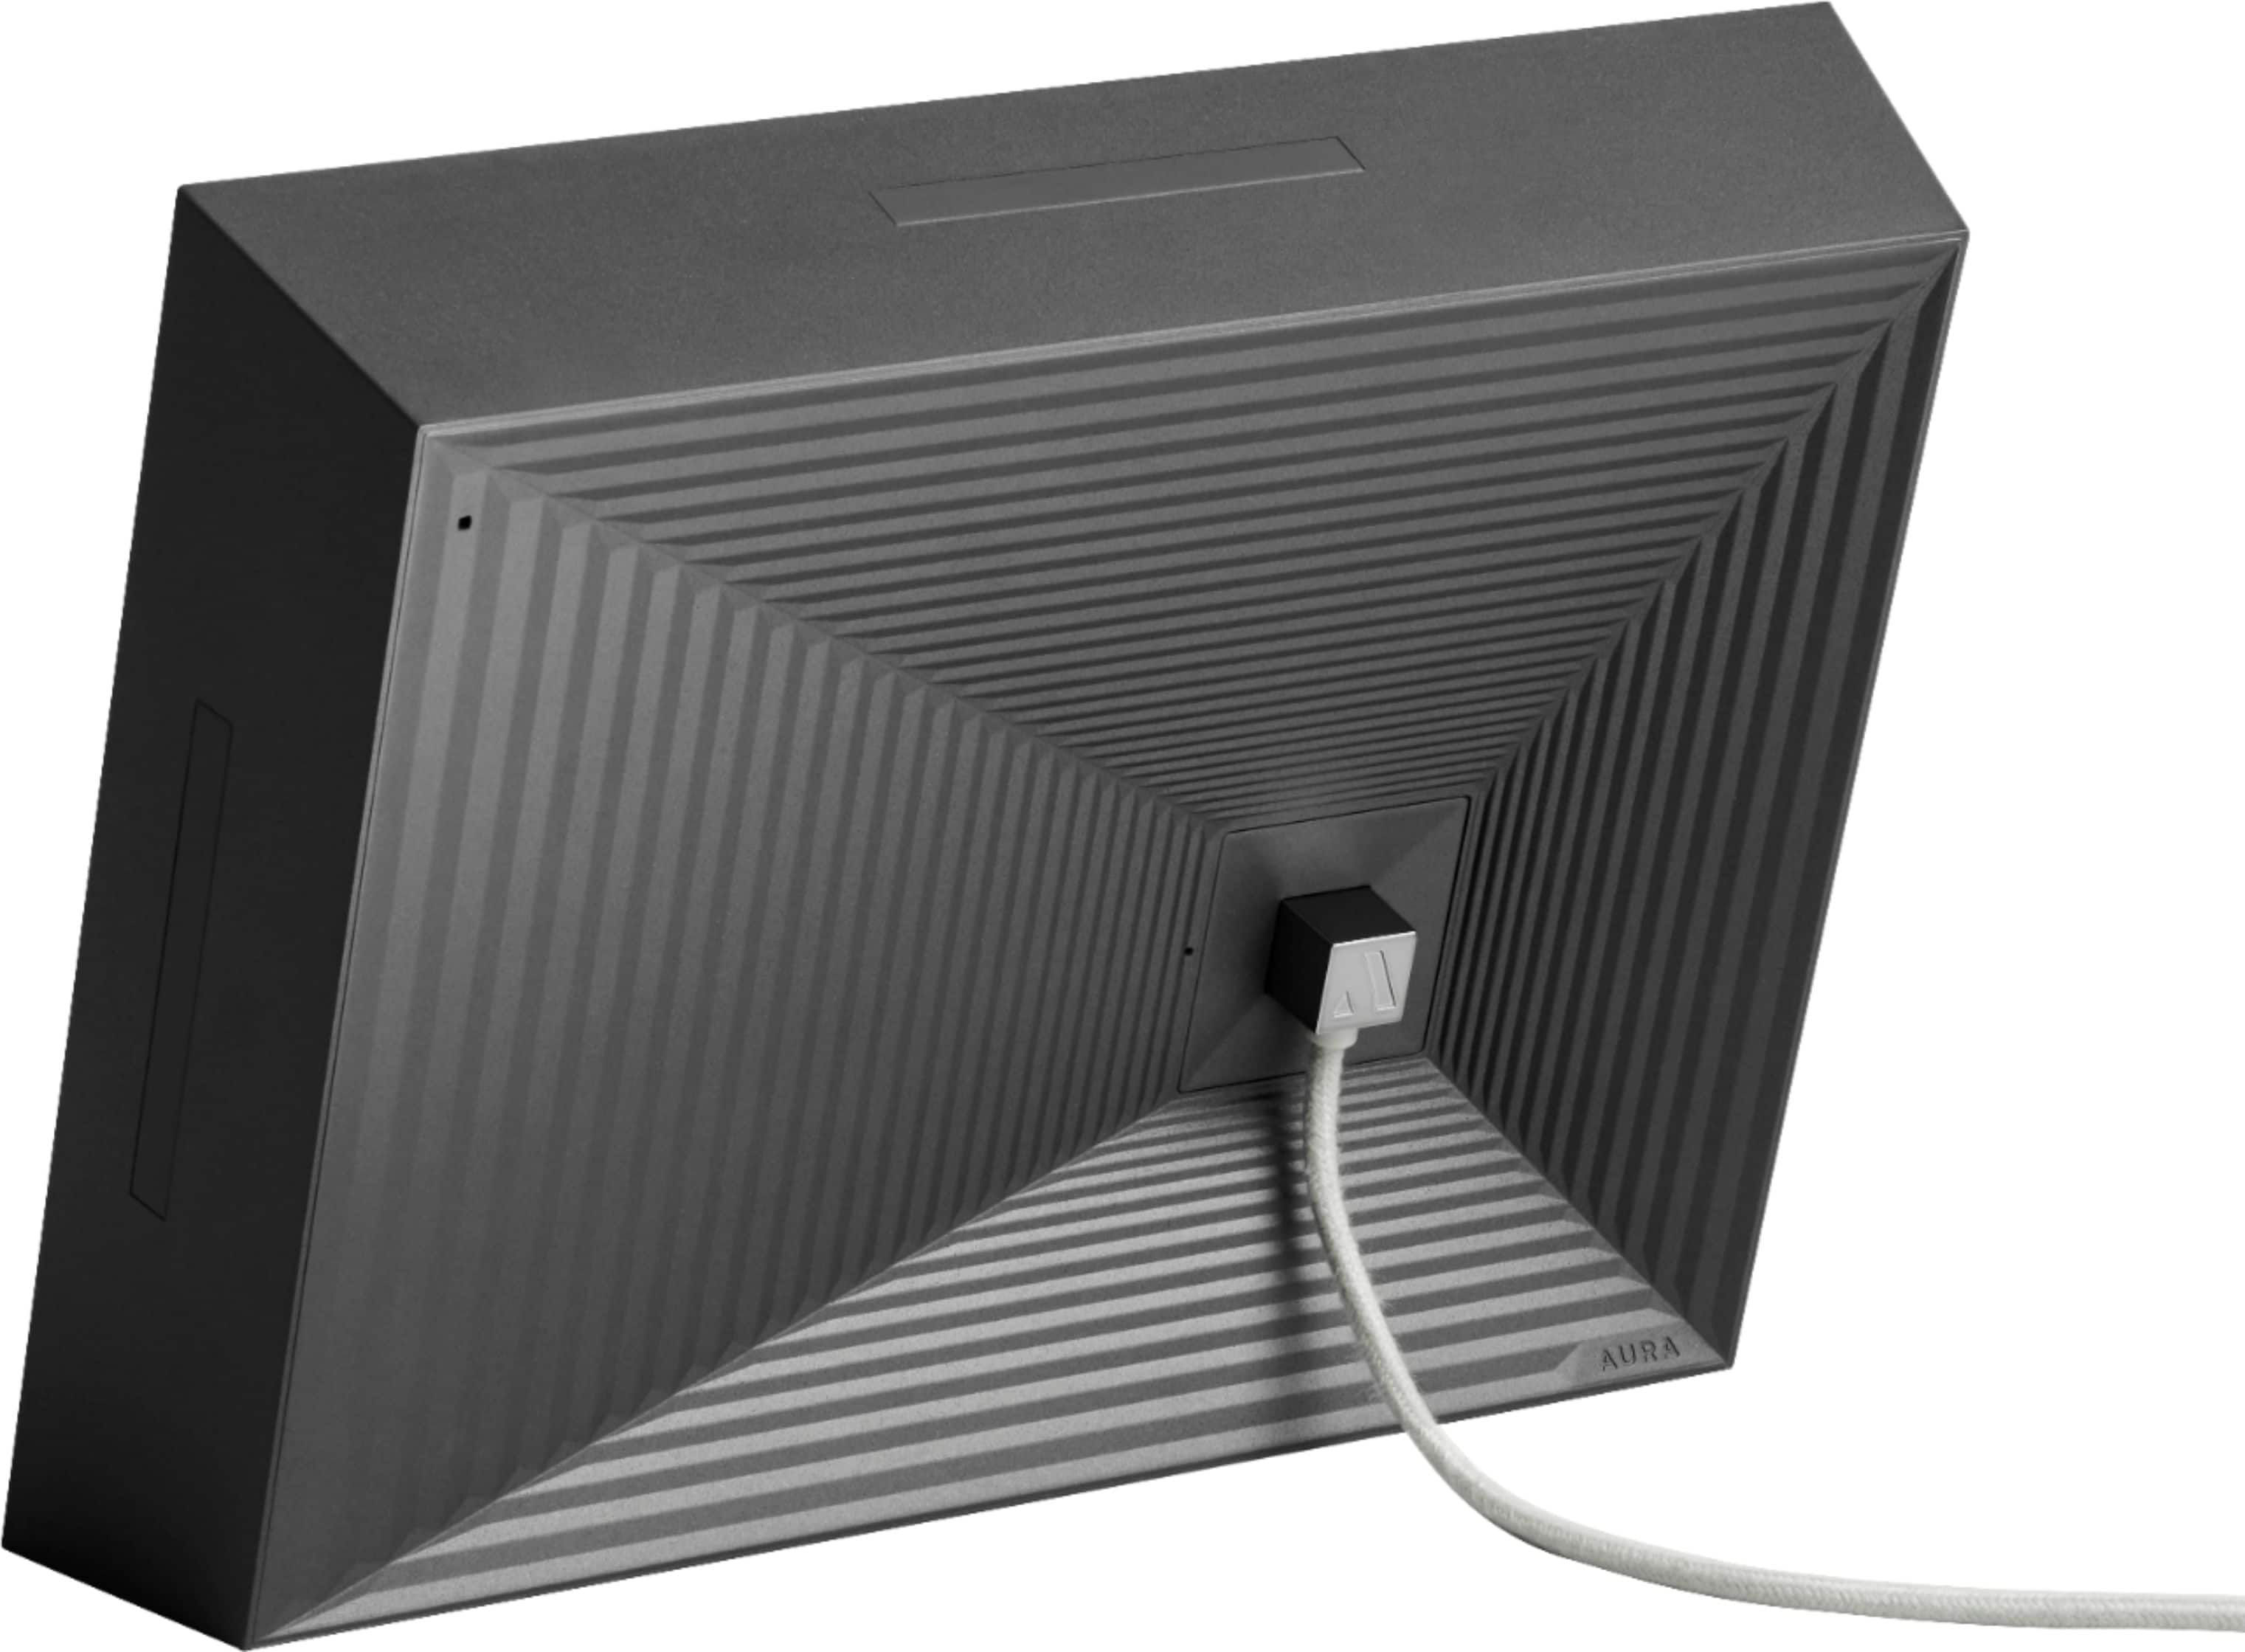
A:AnswerAura frames don't have a battery and must be plugged into a 100-240V power source and connected to WiFi with internet access at all times to function.
A:AnswerAura offers you a variety of different ways to upload photos from a computer to your frame. These include: 1. Using the Web Uploader 2. Using the Google Photos integration 3. Using Apple iCloud. Please note however that none of these options are designed to replace the Aura App, but to complement it.
A:AnswerYes absolutely! The photo will automatically adjust to suit the orientation of your Aura frame. If the frame is positioned vertically the photo will be portrait and if the frame is positioned horizontally the photo will be landscape. Hope this helps.
A:AnswerOn the Aura app, click on the picture you want to remove. The picture will open, and there is an option to "remove" at the bottom of the screen.