A:AnswerThis model is designed to be hard wired. You can find more information on page 11 of the owner's manual here: https://files.bbystatic.com/FMxs4OSiPyTLWkX85WQ3ww%3D%3D/74142d96-2aee-46f4-89fe-8ca6236bcde7
A:AnswerThe majority of dishwashers, this one included, come with a conduit that is hard wired into a junction box. However, an optional power cord is available if needed. You can view more information by checking our article titled "Dishwasher - Power Cord" on our GE Appliances website. To view the electrical requirements for this model, you can check page 11 in the user manual. This can be found by clicking on Features, the scrolling down the page that appears on the right.
A:AnswerPlease send us a private message via Facebook, Instagram, or X with your contact information, complete model/serial numbers, and a copy of this review so that we can review the information and get back with you quickly.
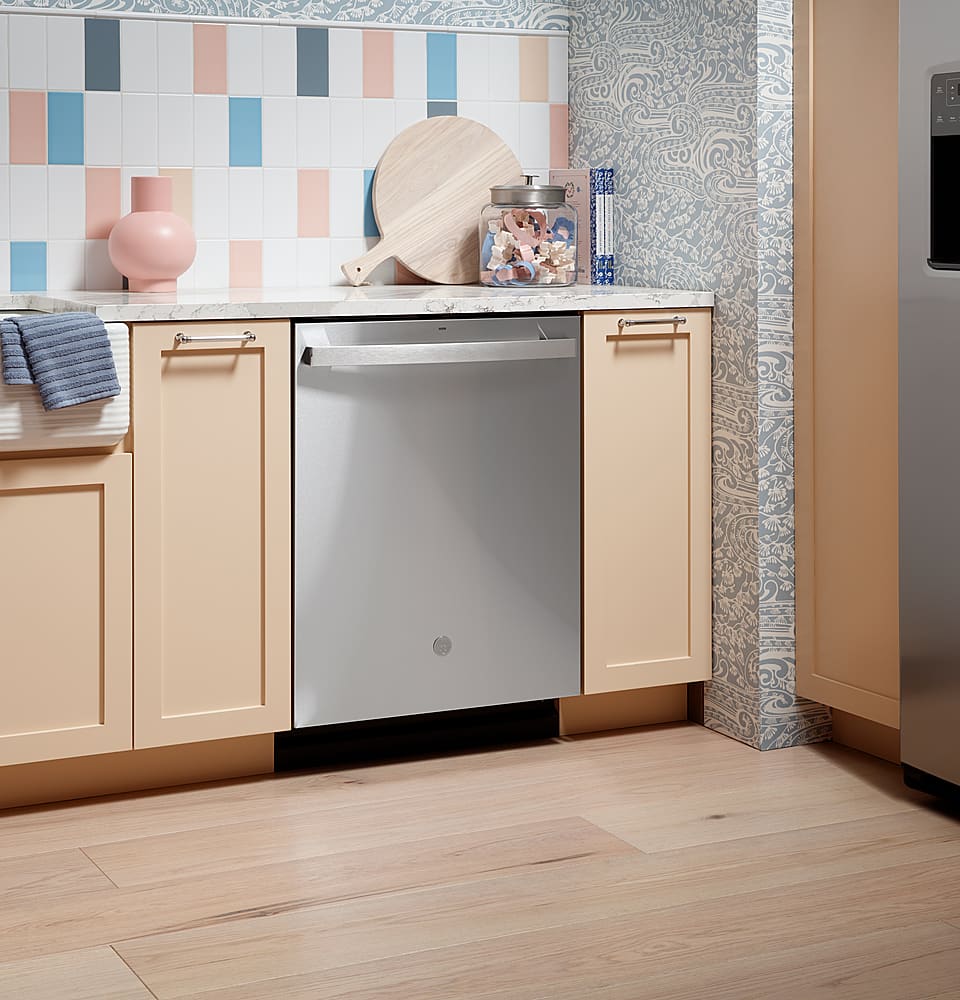
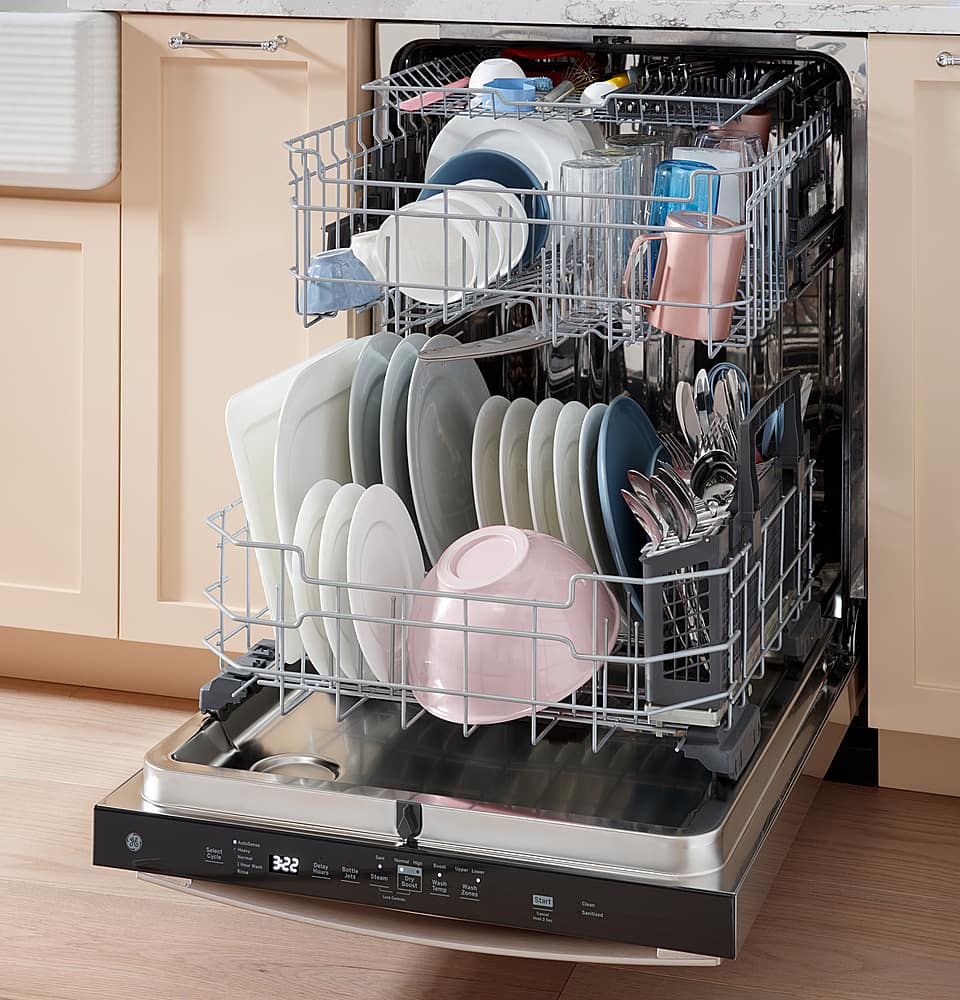
A:AnswerFor this model, the cabinet opening must be 33 ¾” to 34 ¾” high from the floor to the underside of the countertop. You can view more information about the requirements for the opening on page 3 of the installation instructions. We recommend reviewing those instructions to ensure you’ll be able to meet all installation requirements; the instructions can be viewed on our GE Appliances website when you look up the model number, go to the product’s page and view the ‘Owner Support’ section.
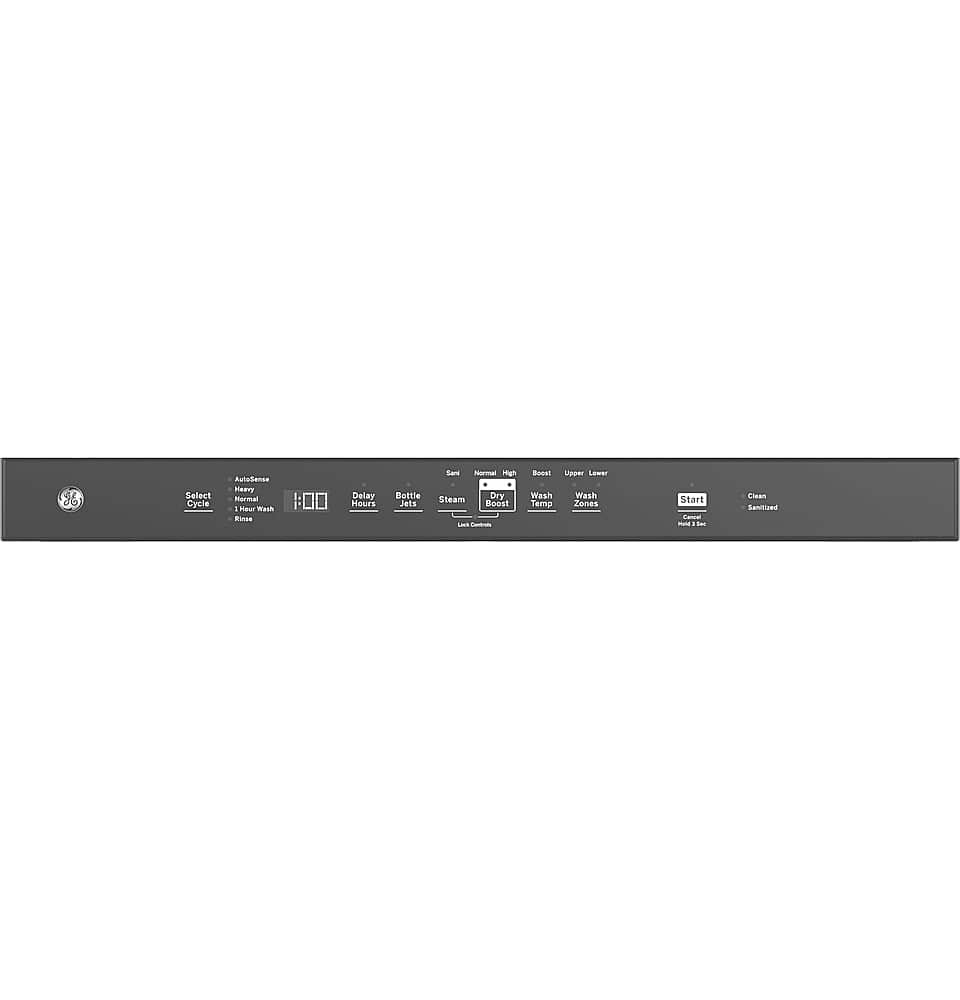
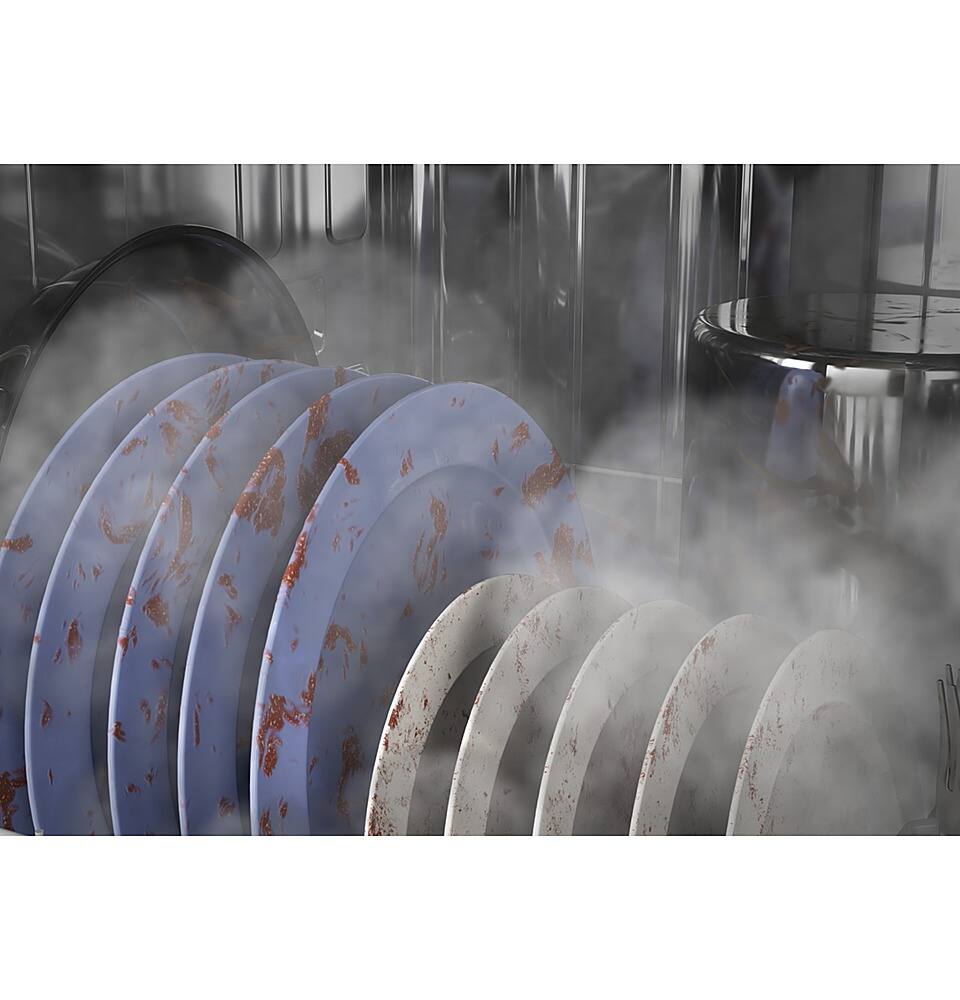
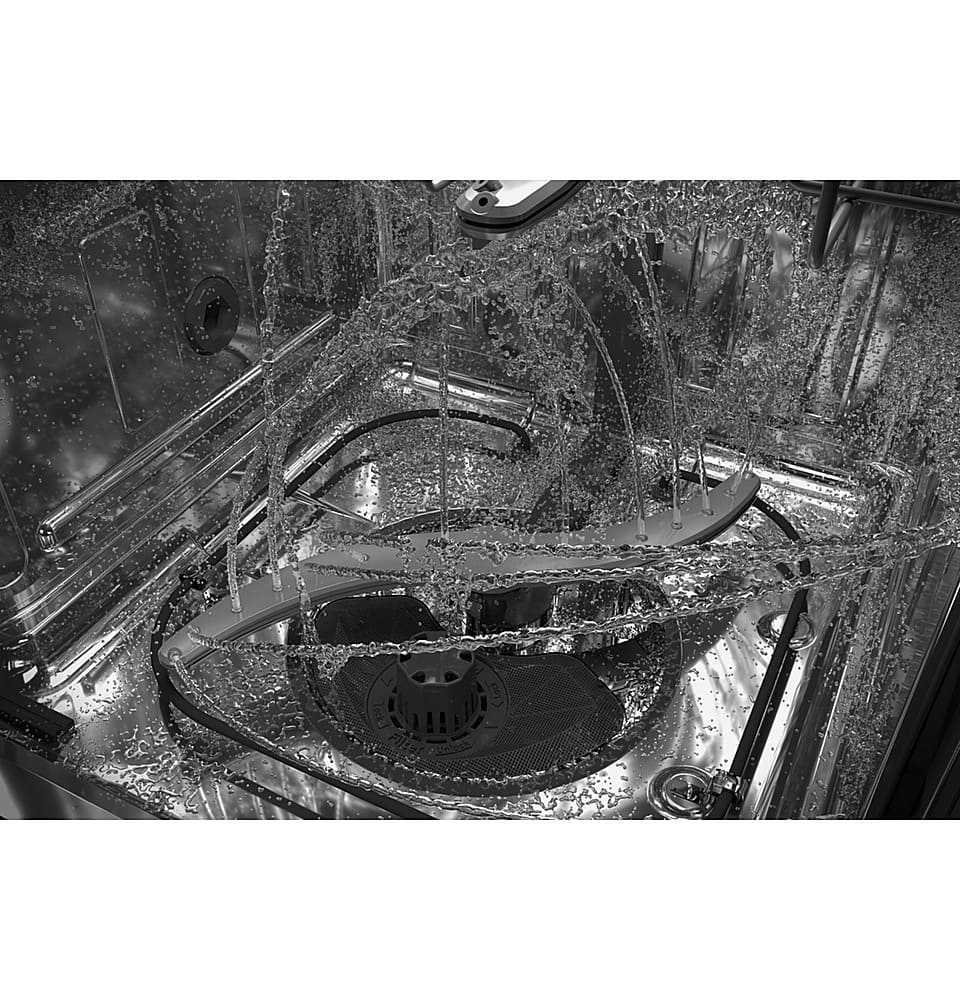
A:AnswerOur Normal cycle is meant for a full load of normally soiled dishes (as opposed to our Light cycle for lightly soiled dishes, Heavy for more heavily soiled dishes, etc.). If the Normal cycle is the best option for your dish load, we would expect it to wash and dry well and with no issues! If any extra drying is needed, this model does feature Dry Boost.
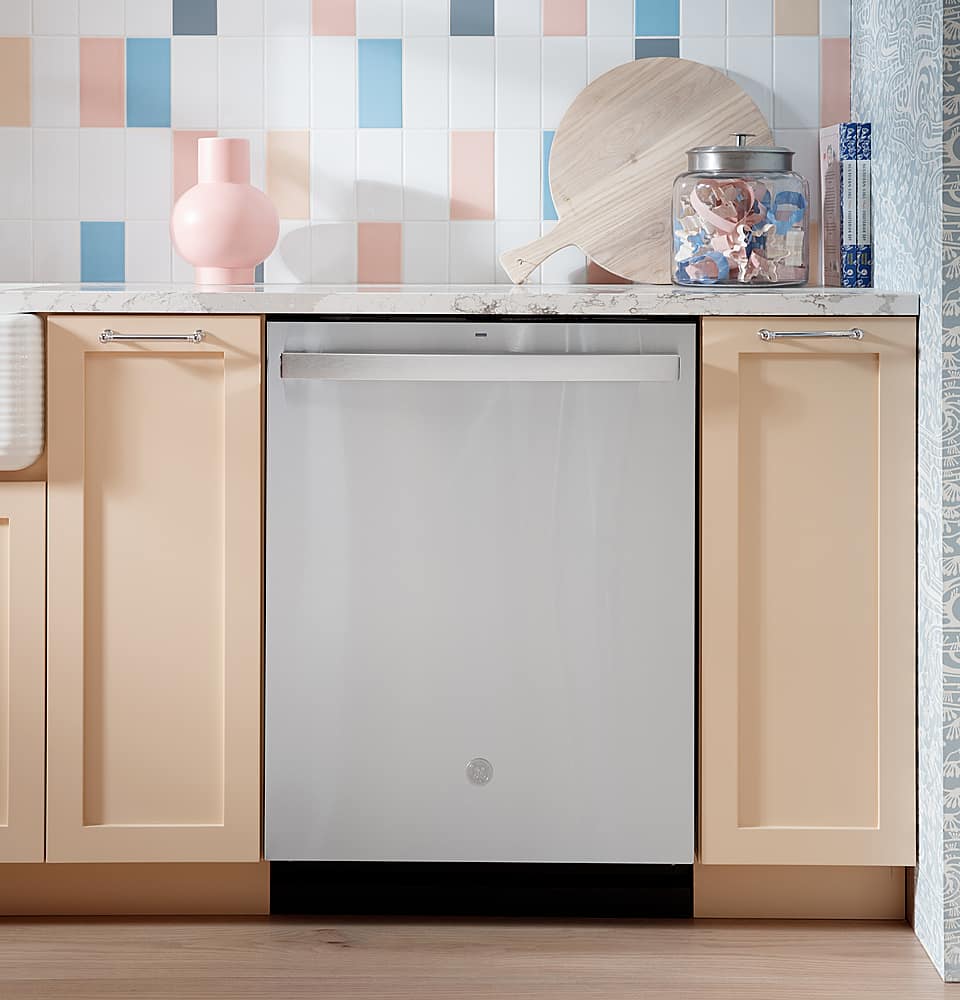
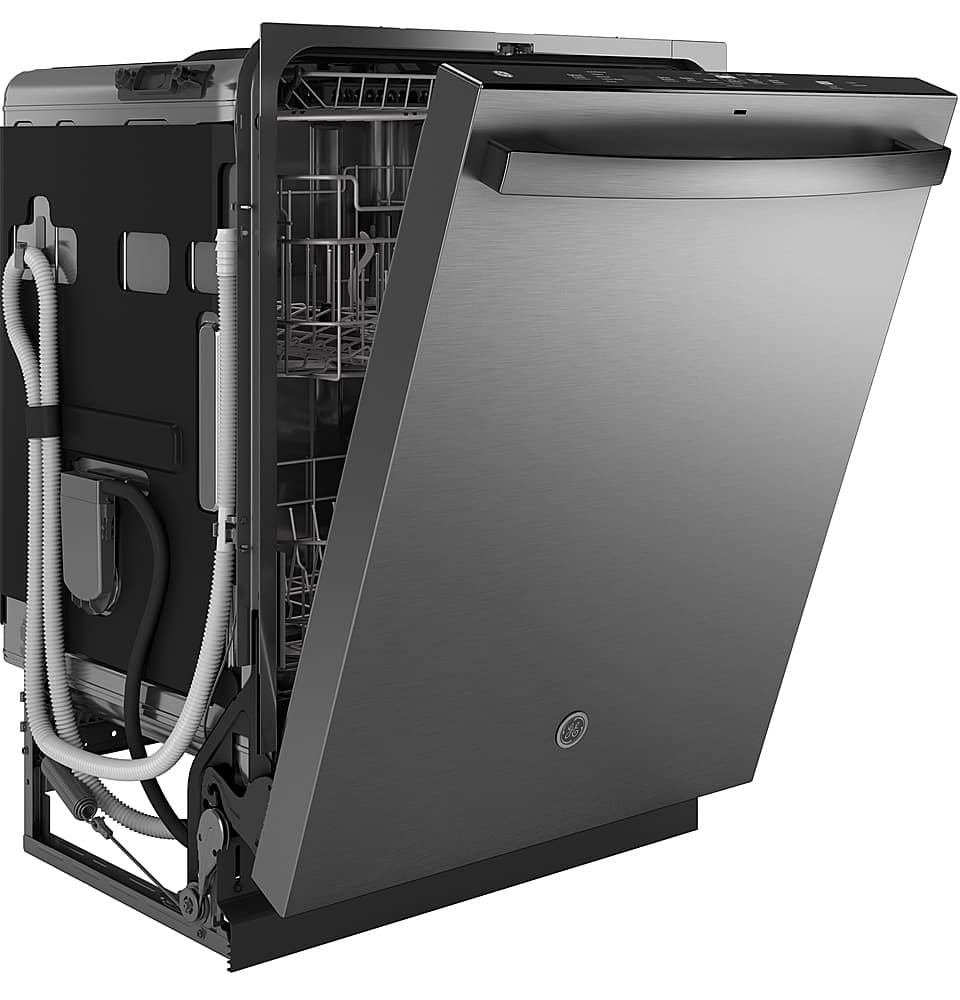
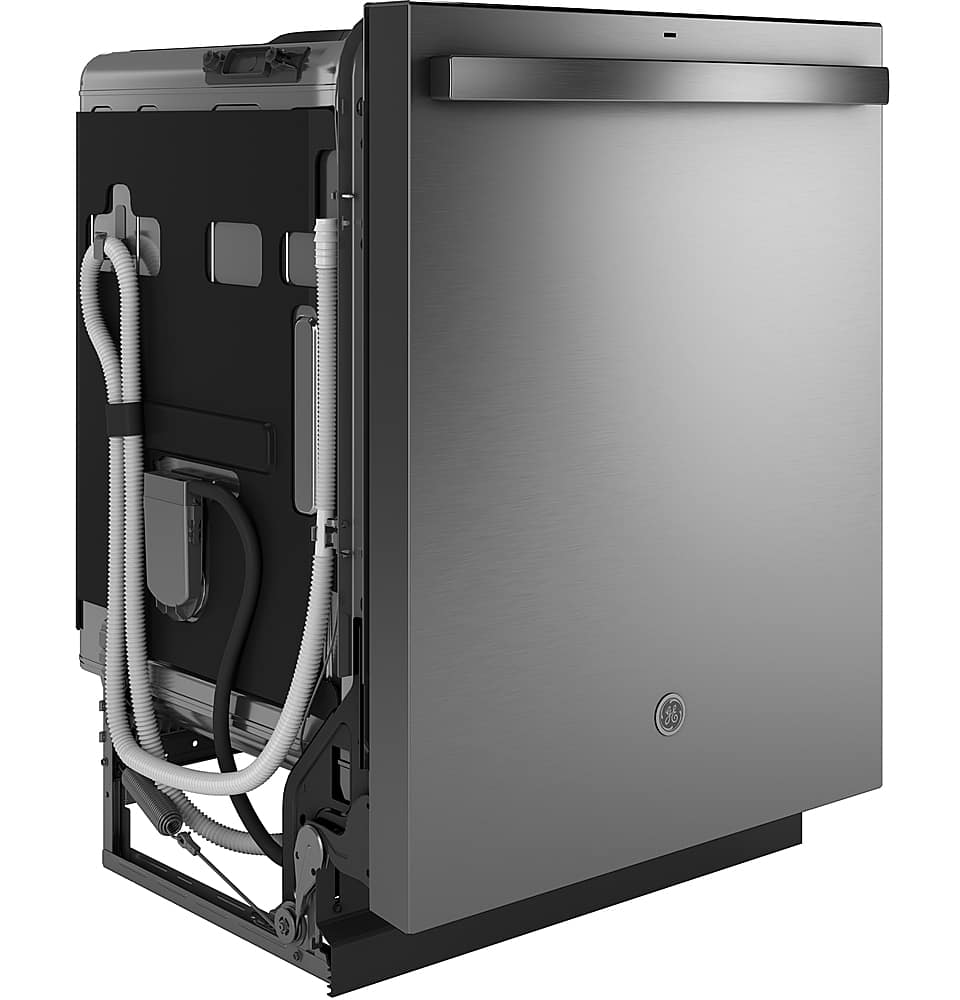
A:AnswerThese two finish colors are not the same. Black slate is a deep charcoal color that offers a unique matte finish that hides fingerprints and virtually eliminates smudges. Our black stainless finish is a shiny finish that is applied and infused to stainless steel. Black stainless offers a glossy, bold black hue with the contemporary brushed metal appearance of stainless steel.
A:AnswerTo identify and obtain parts for your dishwasher, please call our GE Appliances Parts team at (877) 959-8688, Monday – Friday: 8 a.m. – 8 p.m. ET, Saturday – Sunday: Closed.
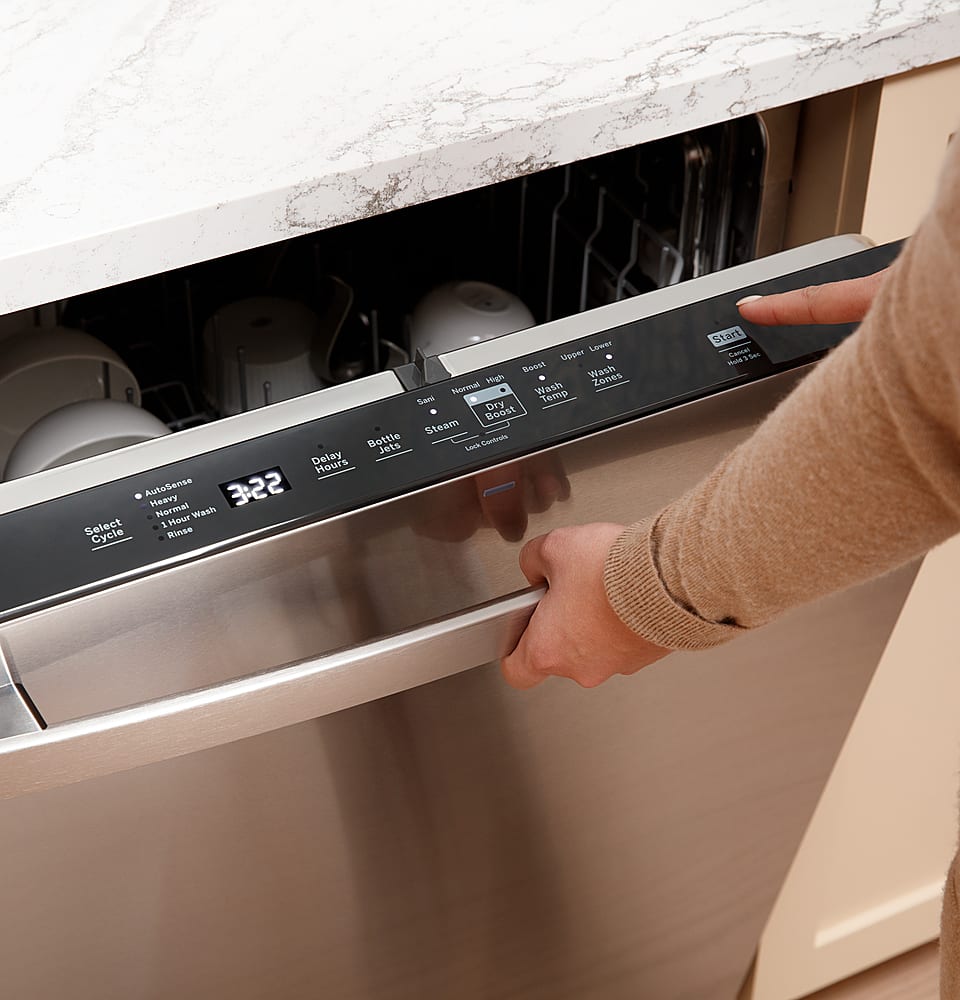
A:AnswerThe indicator light on the door front will change color to indicate the wash status. During the
wash cycle, the indicator light will be amber or blue. When the wash cycle is complete, the light
will change to white. Once the cycle is complete, the indicator light will stay on until you open the door. Vikki@GEAppliances