A:AnswerHello, thank you for your question! Yes, the broiler pan you inquired about will work with this range. We hope this helps! Please let us know if you have any additional questions. – CV
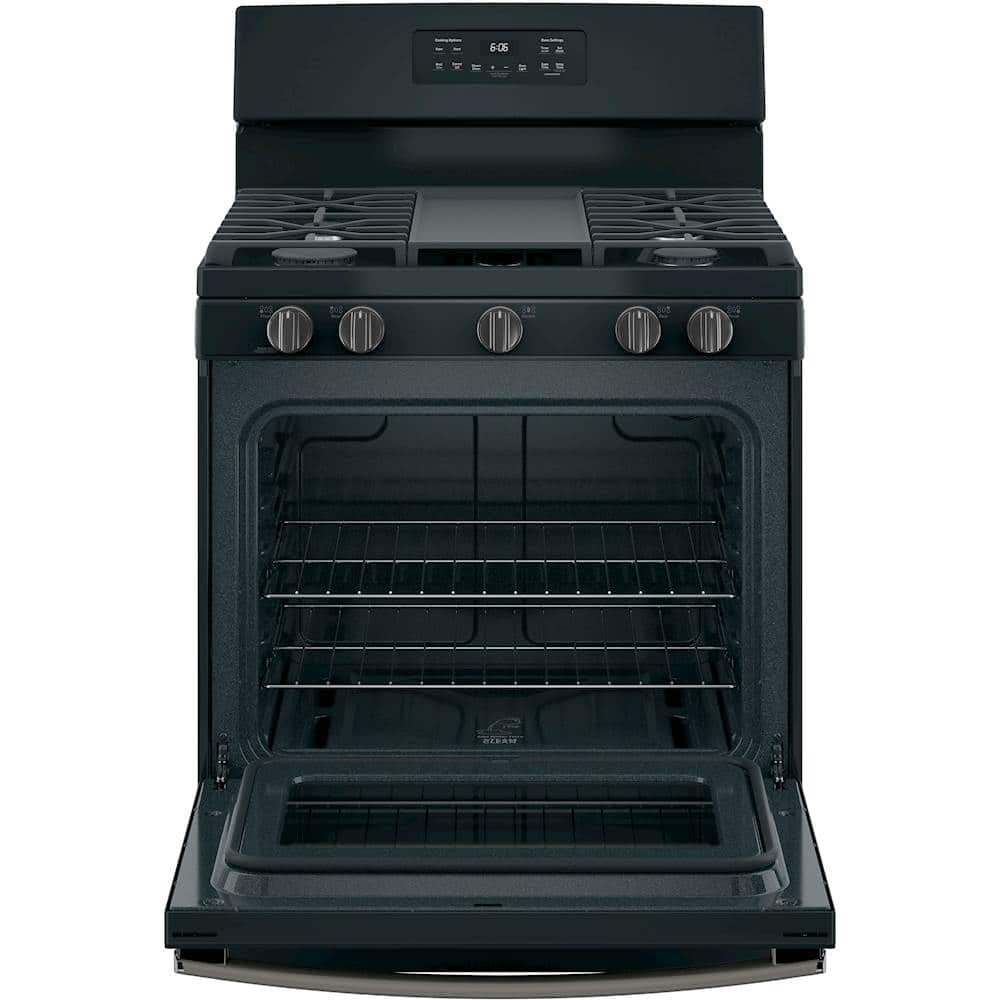
A:AnswerHi kiny, thanks for reaching out! We're finding that the approximate dimensions for this unit are as follows: 47 1/4" H x 30" W x 28 3/4" D. We hope that this helps! Stay safe. -Michael
A:AnswerHi Wendy,
Great question! The oven door can be opened while the oven is on. The only exception is when the oven is operating during self/steam cleaning mode. Hope this helps! Best wishes -Mike
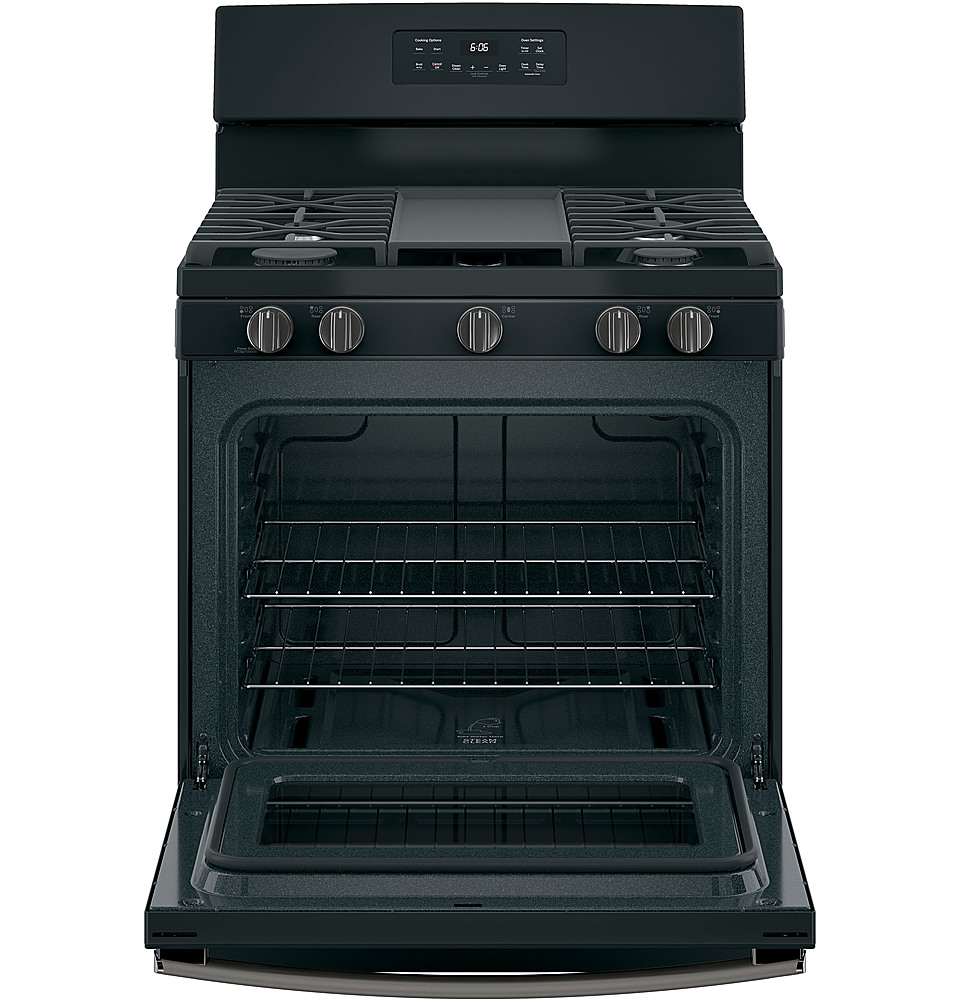
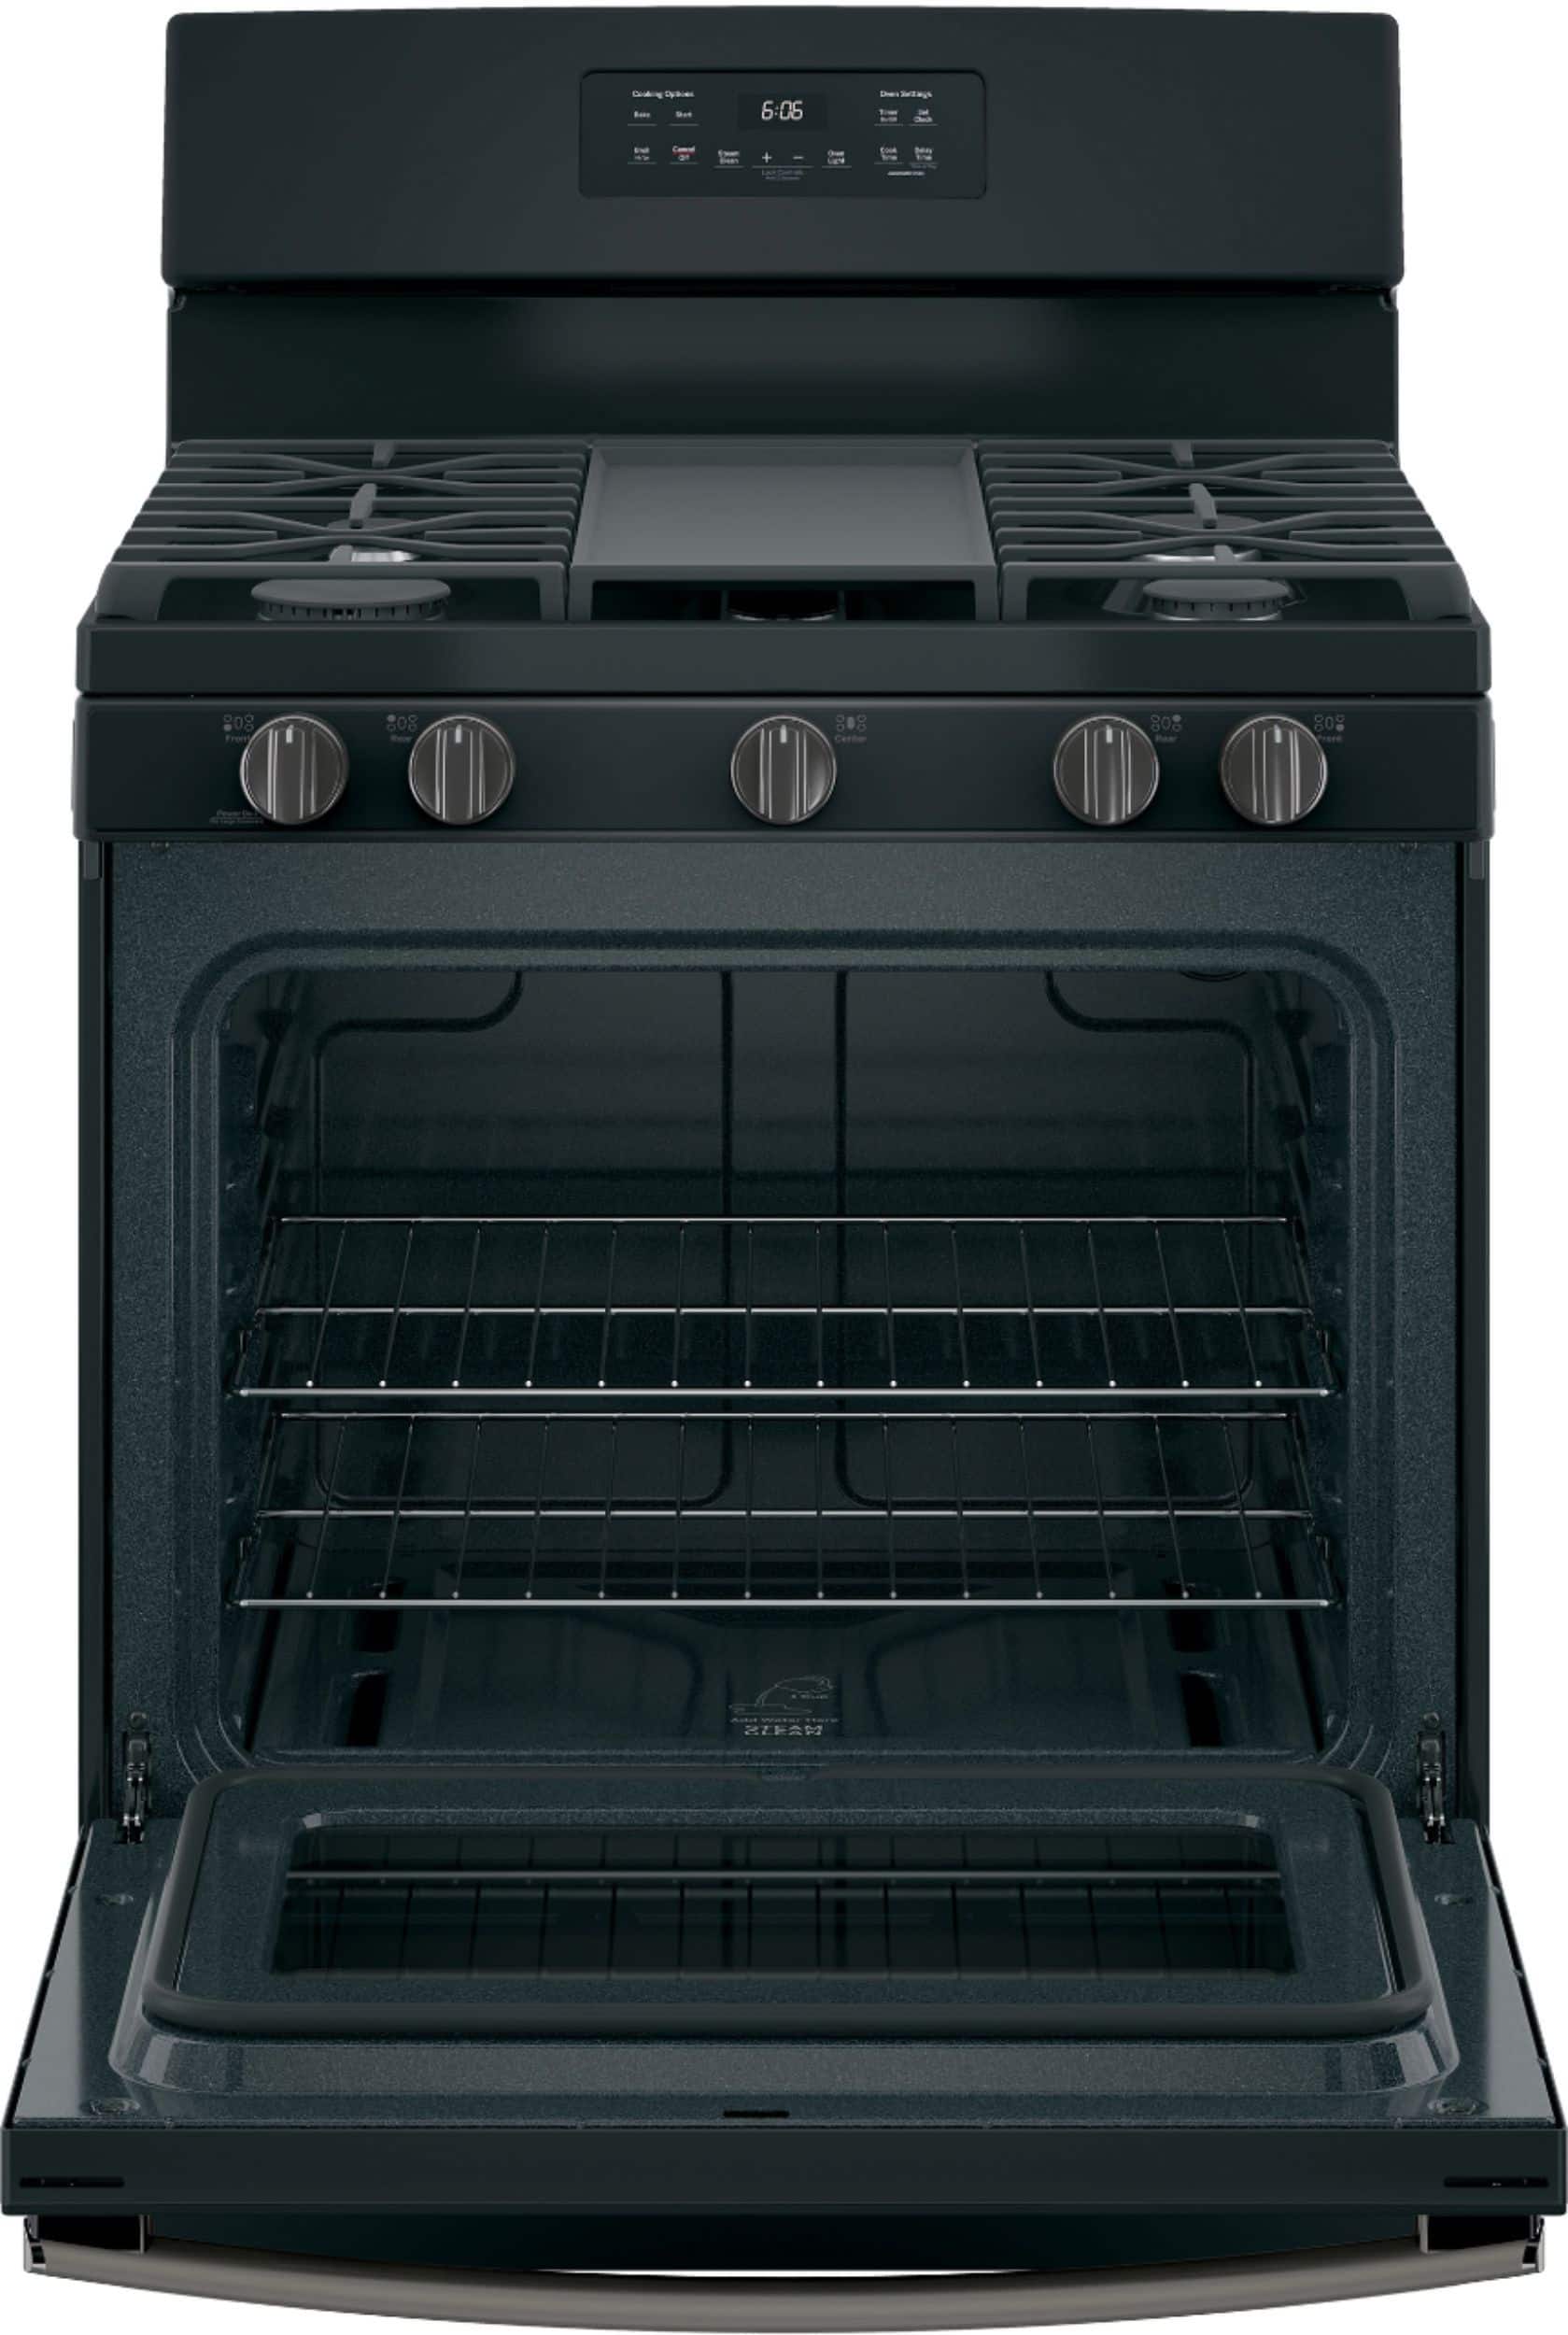
A:AnswerYes there is a broiler pan as well as a short instruction booklet. however, I do caution you that the broiler is literally on the floor! What's worse is it is not a drawer, but a door that opens out towards you so in order to use it you have to cook from the side! I purchased mine on line without seeing it in person. If I knew the broiler was not usable I never would have bought this range.
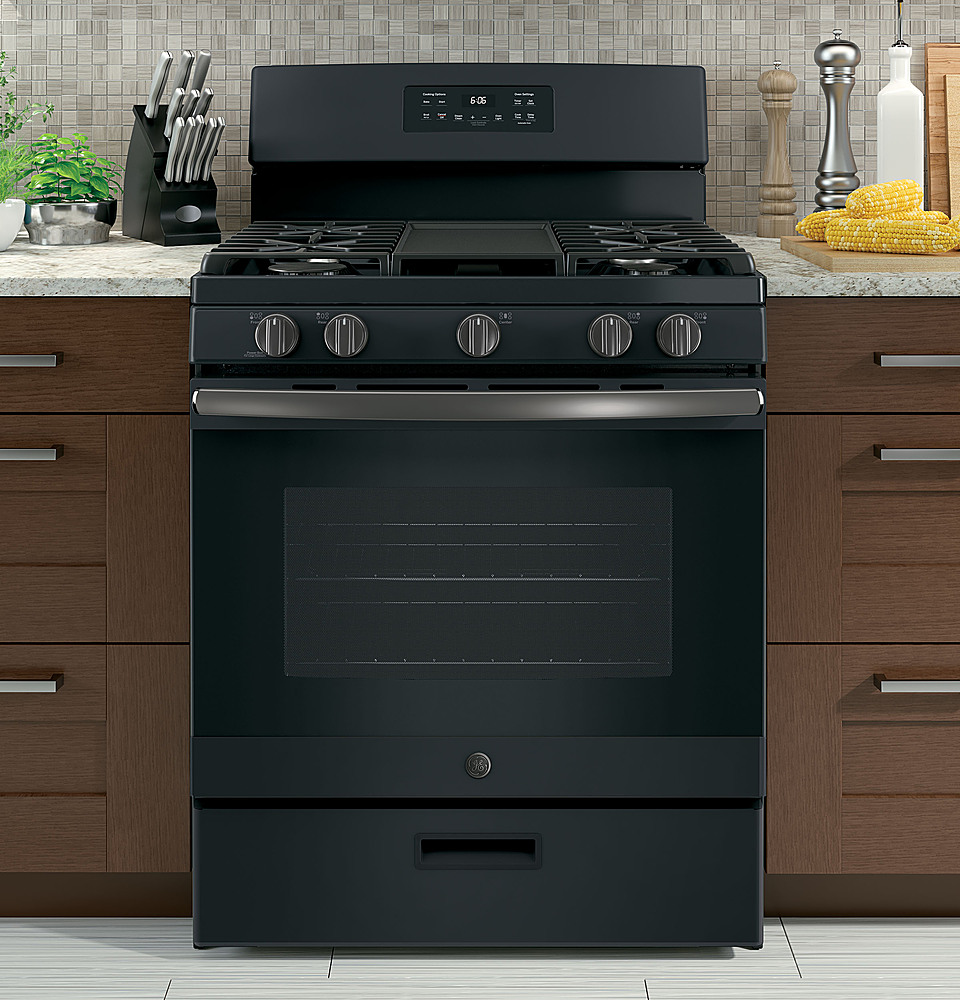
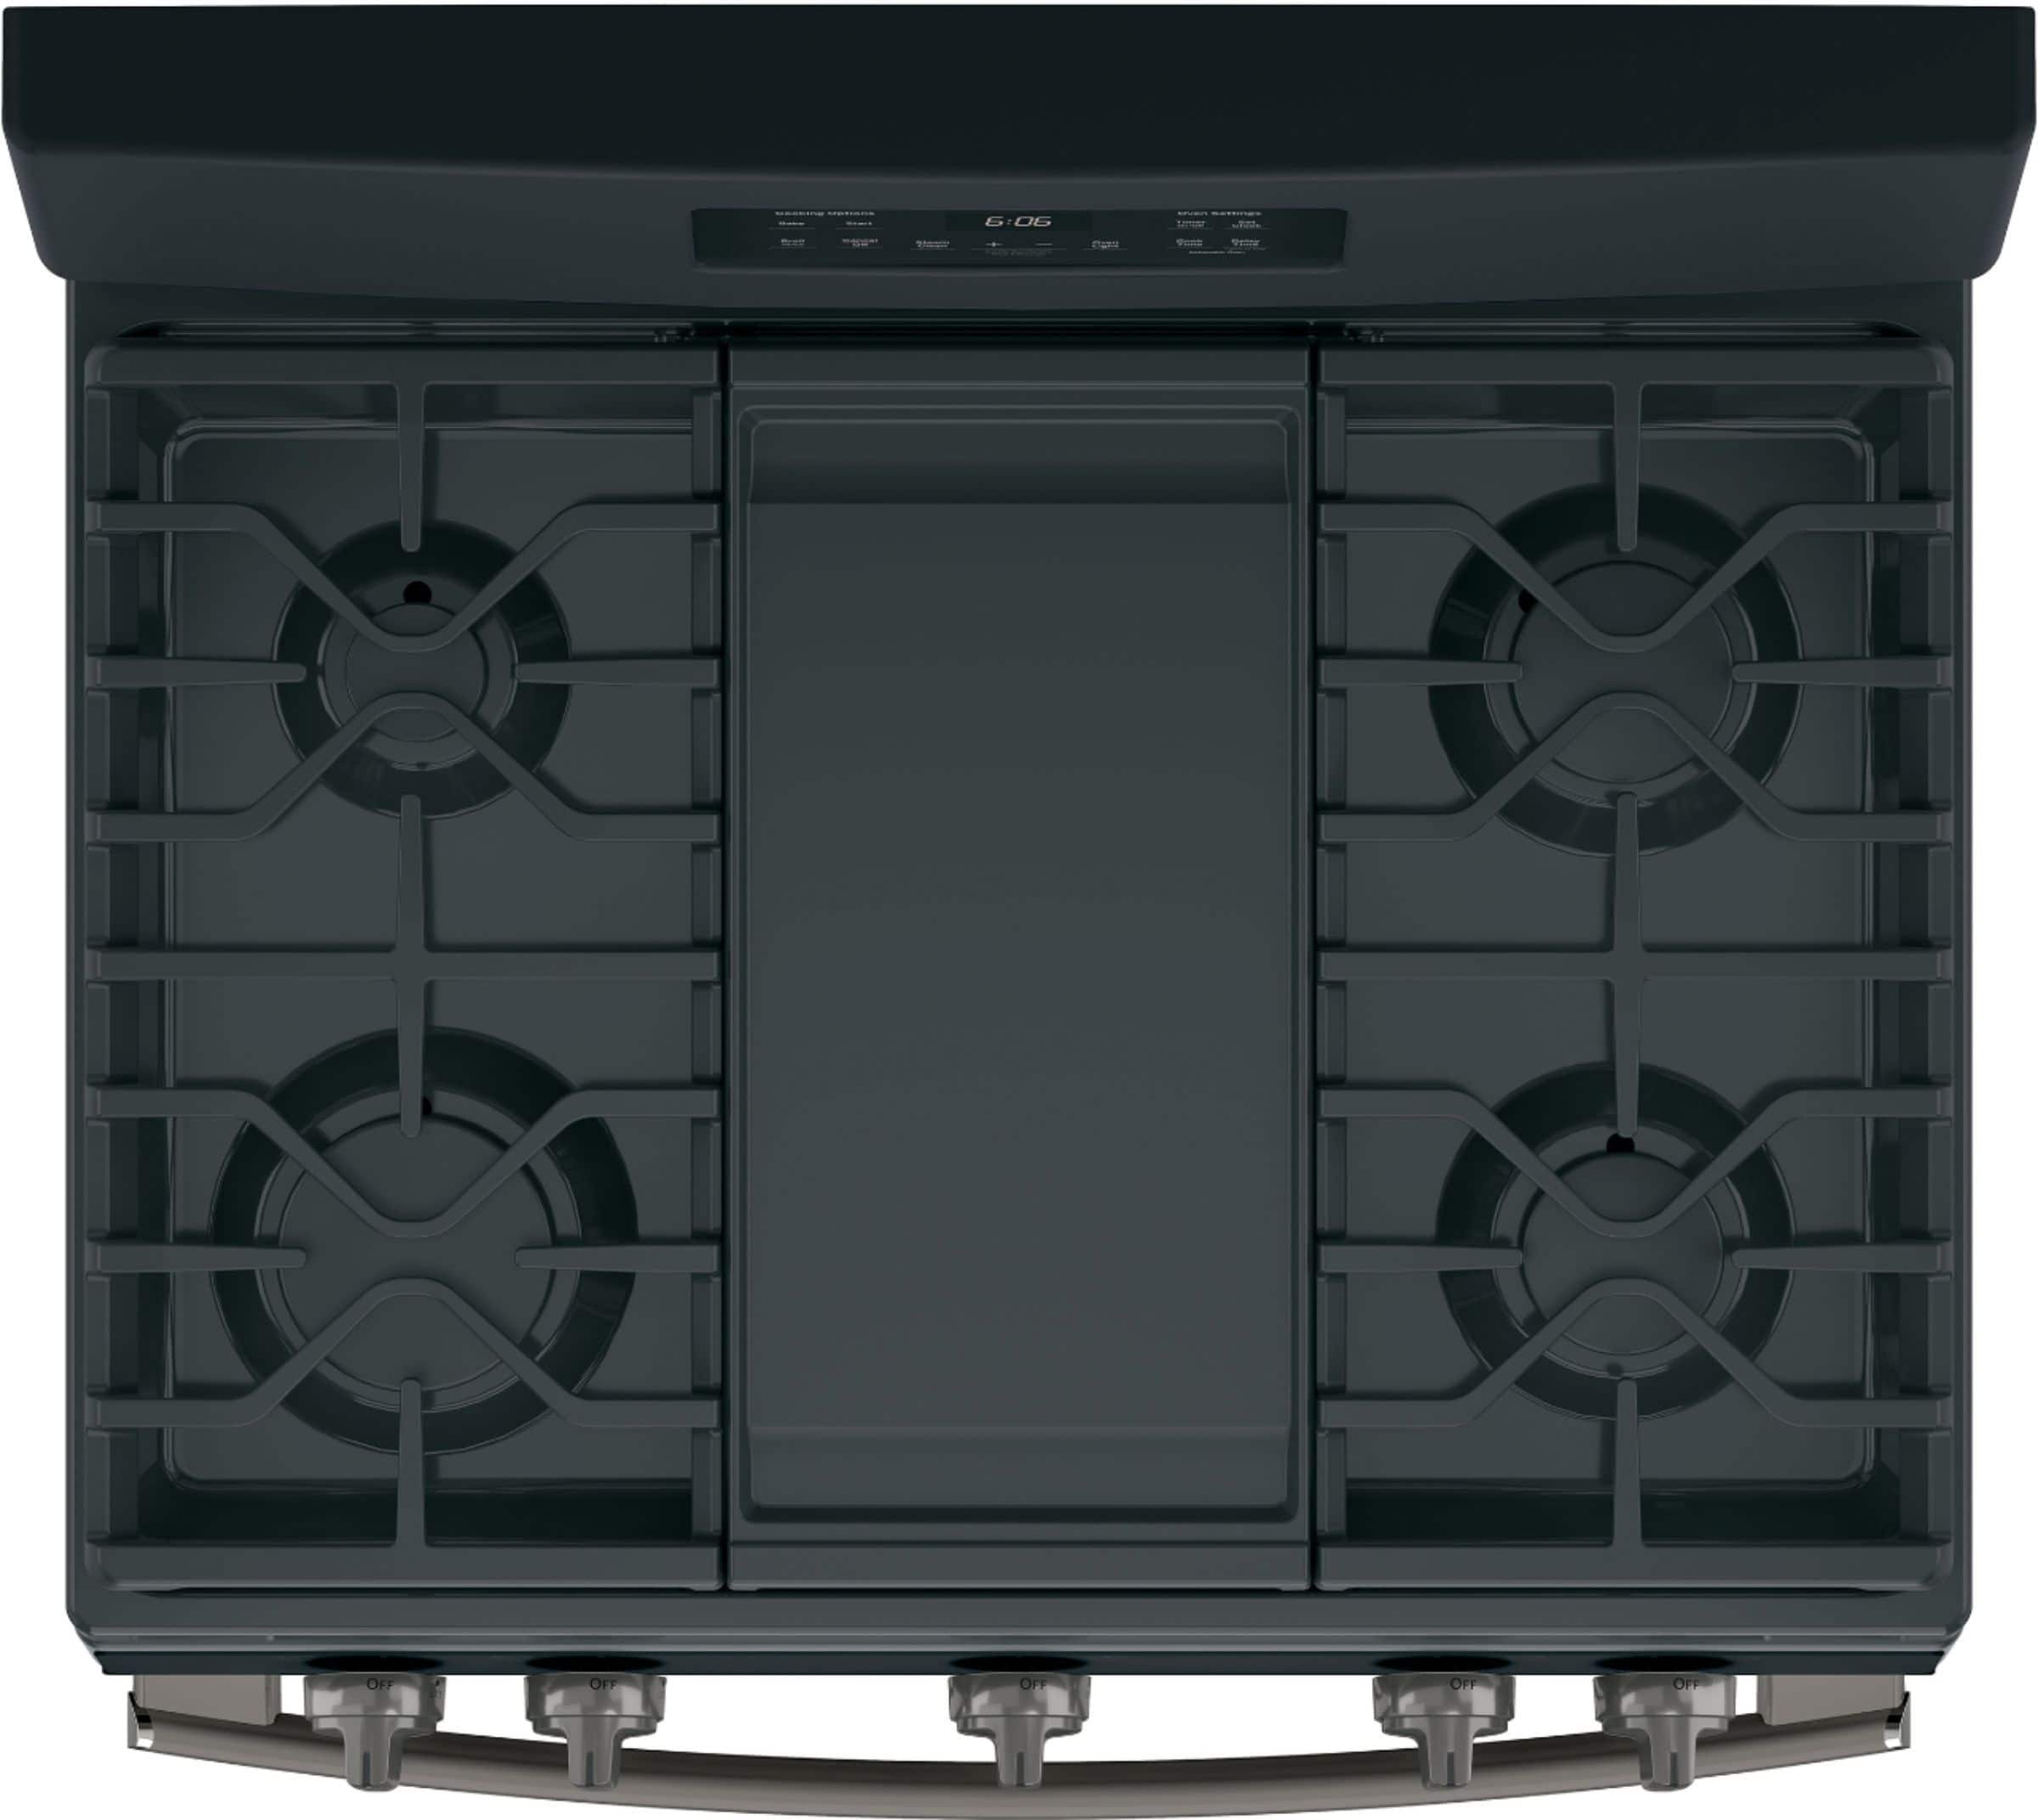
A:AnswerHi Greg - Thanks for choosing GE Model # JGBS66REKSS and welcome to the family! We are sorry to hear you are not enjoying the center grate JXGRATE1. A replacement aluminum non-stick griddle # WB31X24738 can be purchased online at GEApplianceparts.com here: https://www.geapplianceparts.com/store/parts/spec/WB31X24738 - If you have any additional questions, don’t hesitate to ask. We are also happy to help at GEAppliances.com! Sue
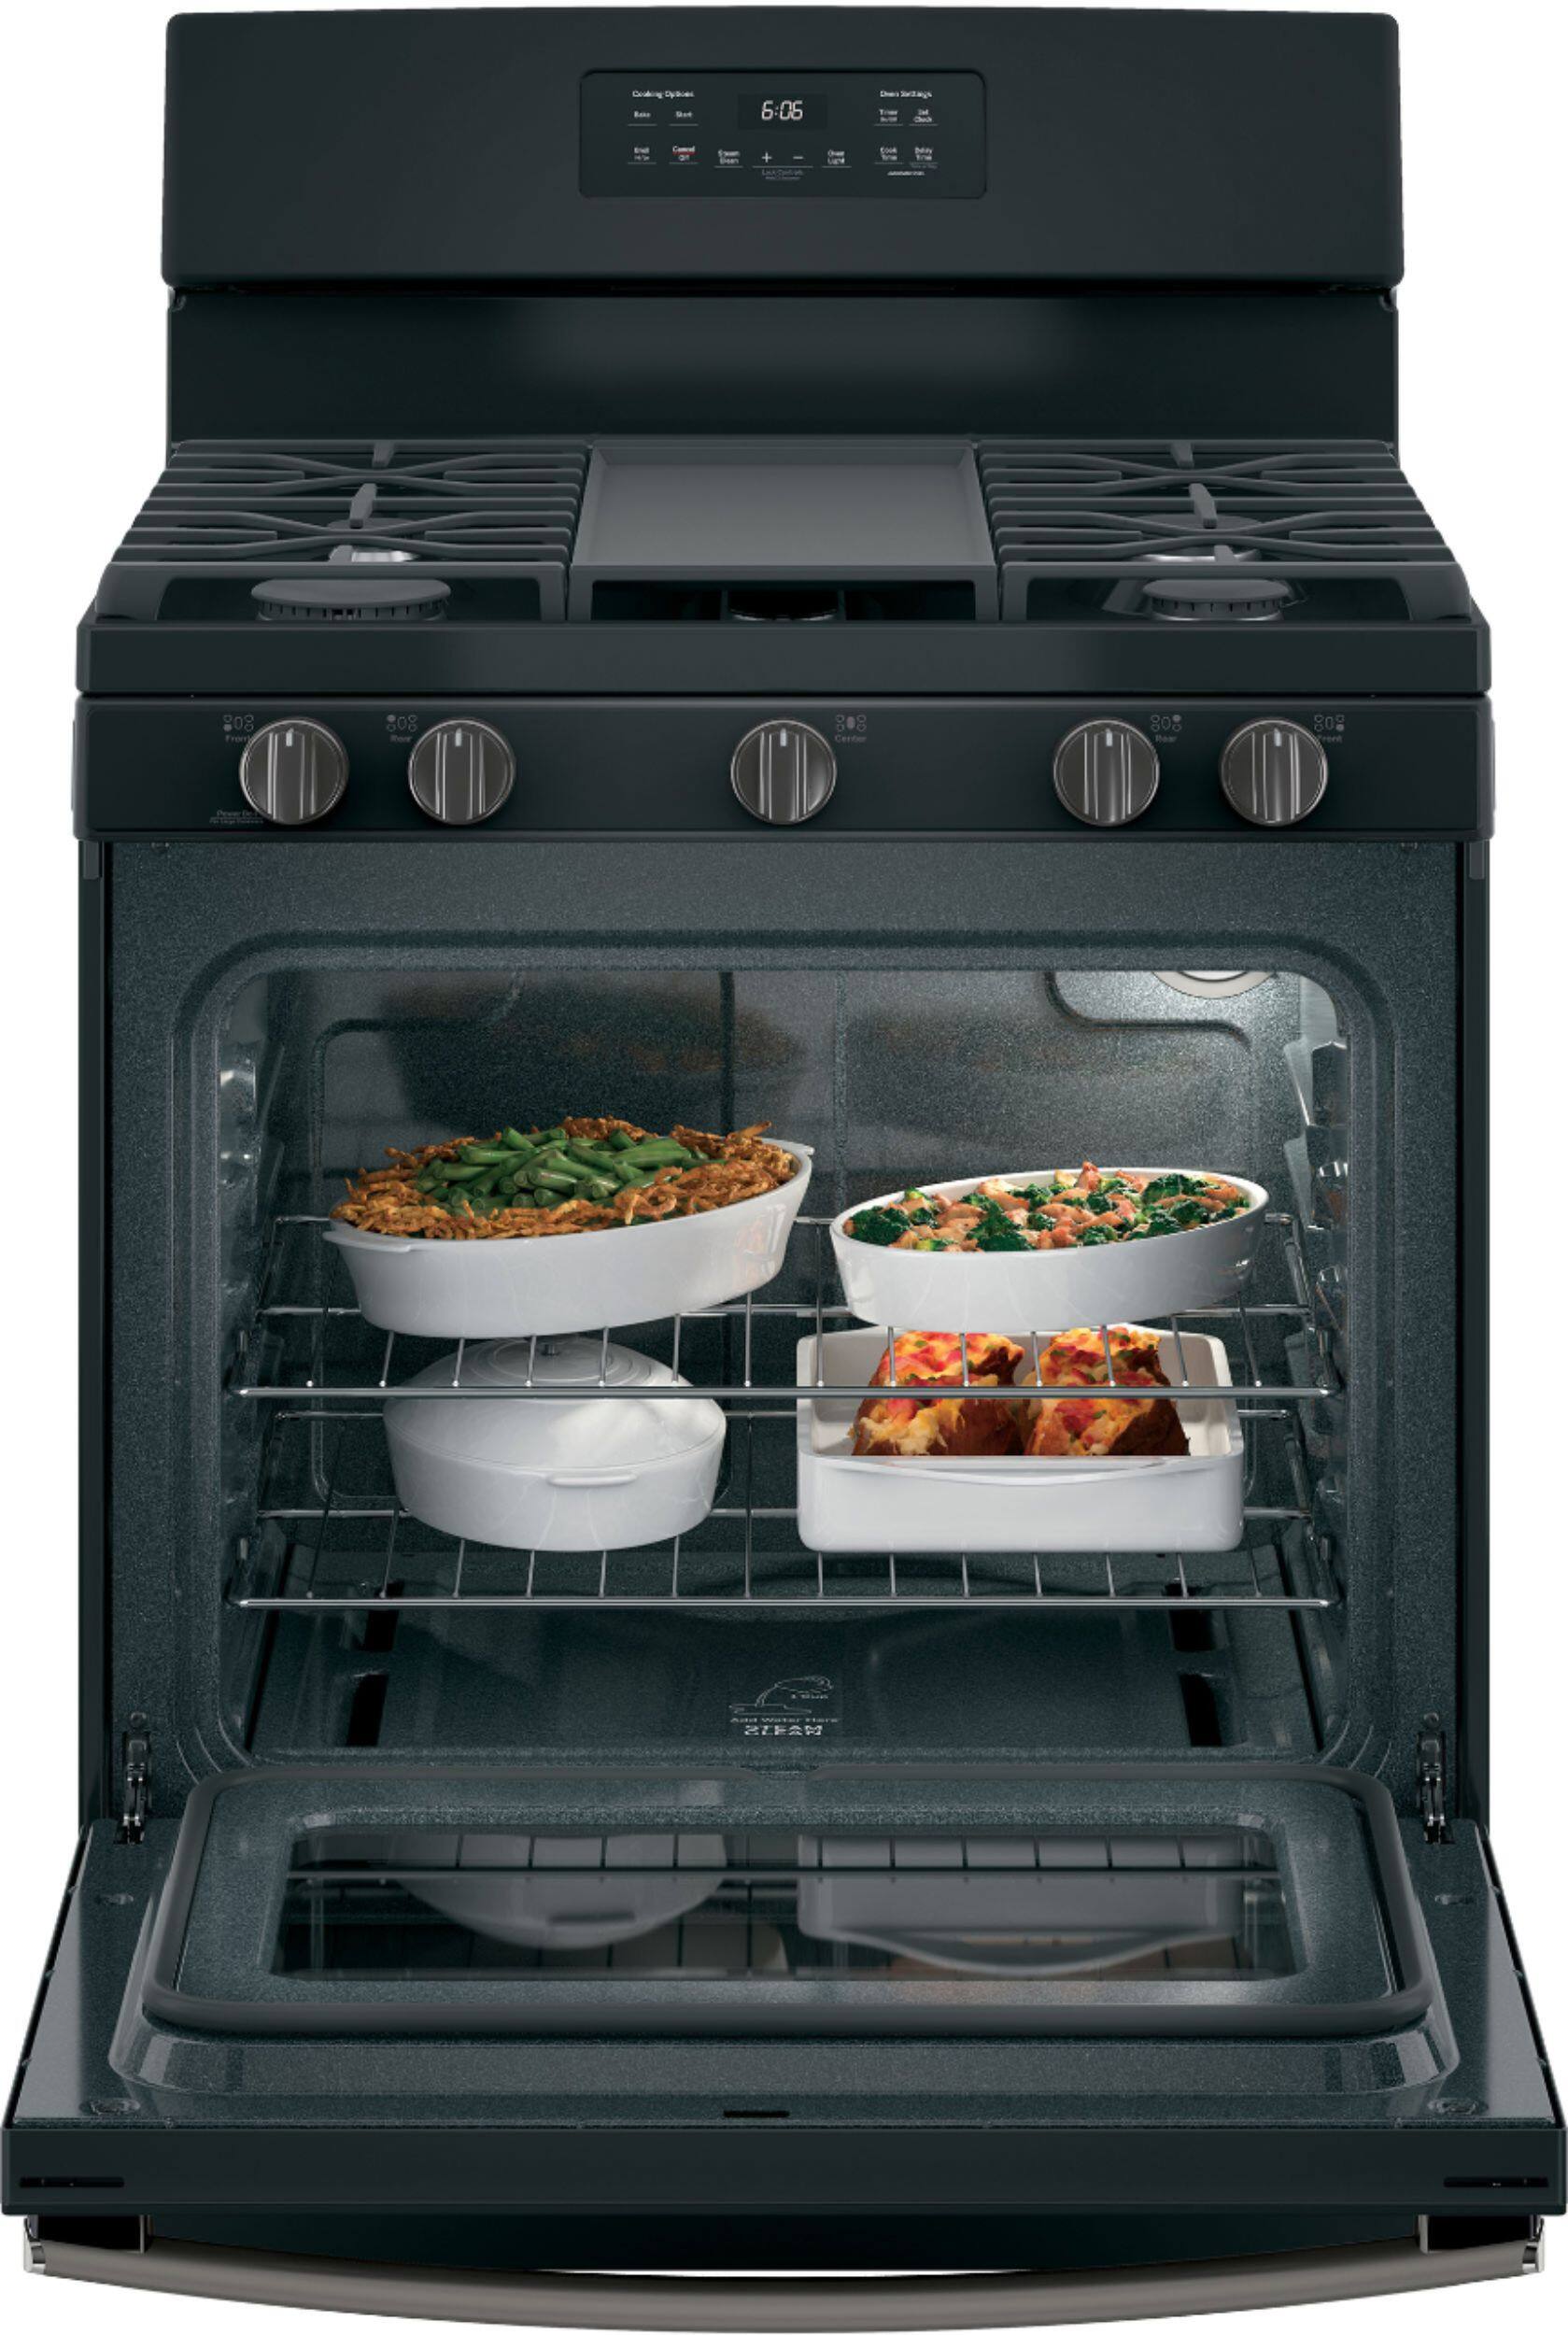
A:AnswerHi IDAMACS - Thanks for considering GE Model JGBS66REKSS! Gas ovens can take 15-20 minutes to preheat. Many newer ranges have a Preheat that will signal when the oven has reached a temperature hot enough to add food, rather than when the set temperature is reached. Typically the range will signal after about 7-12 minutes, depending of the temperature you set. We test our ranges with prepackaged foods, frozen pizzas, baked goods, etc. We put the items in at the beep, and get good results. This can help save time in the kitchen, since you are not waiting longer for the preheat than necessary, in most cases.Recipes can differ, as can a food's preheat requirements. Most foods we tested don't require additional oven heating, though there are always exceptions. If you're finding a recipe isn't cooking properly, then you may want to turn on the oven a little bit before you start your food preparation to give it a little more time. You can also remove unused racks when using the oven for faster preheat, improved efficiency, and optimal performance. Also, you should expect even heating from your range when baking cookies. Check out the "Cooking Guide" on page 16 of the manual: https://products.geappliances.com/MarketingObjectRetrieval/Dispatcher?RequestType=PDF&Name=49-2000316-3.pdf - Also, check out
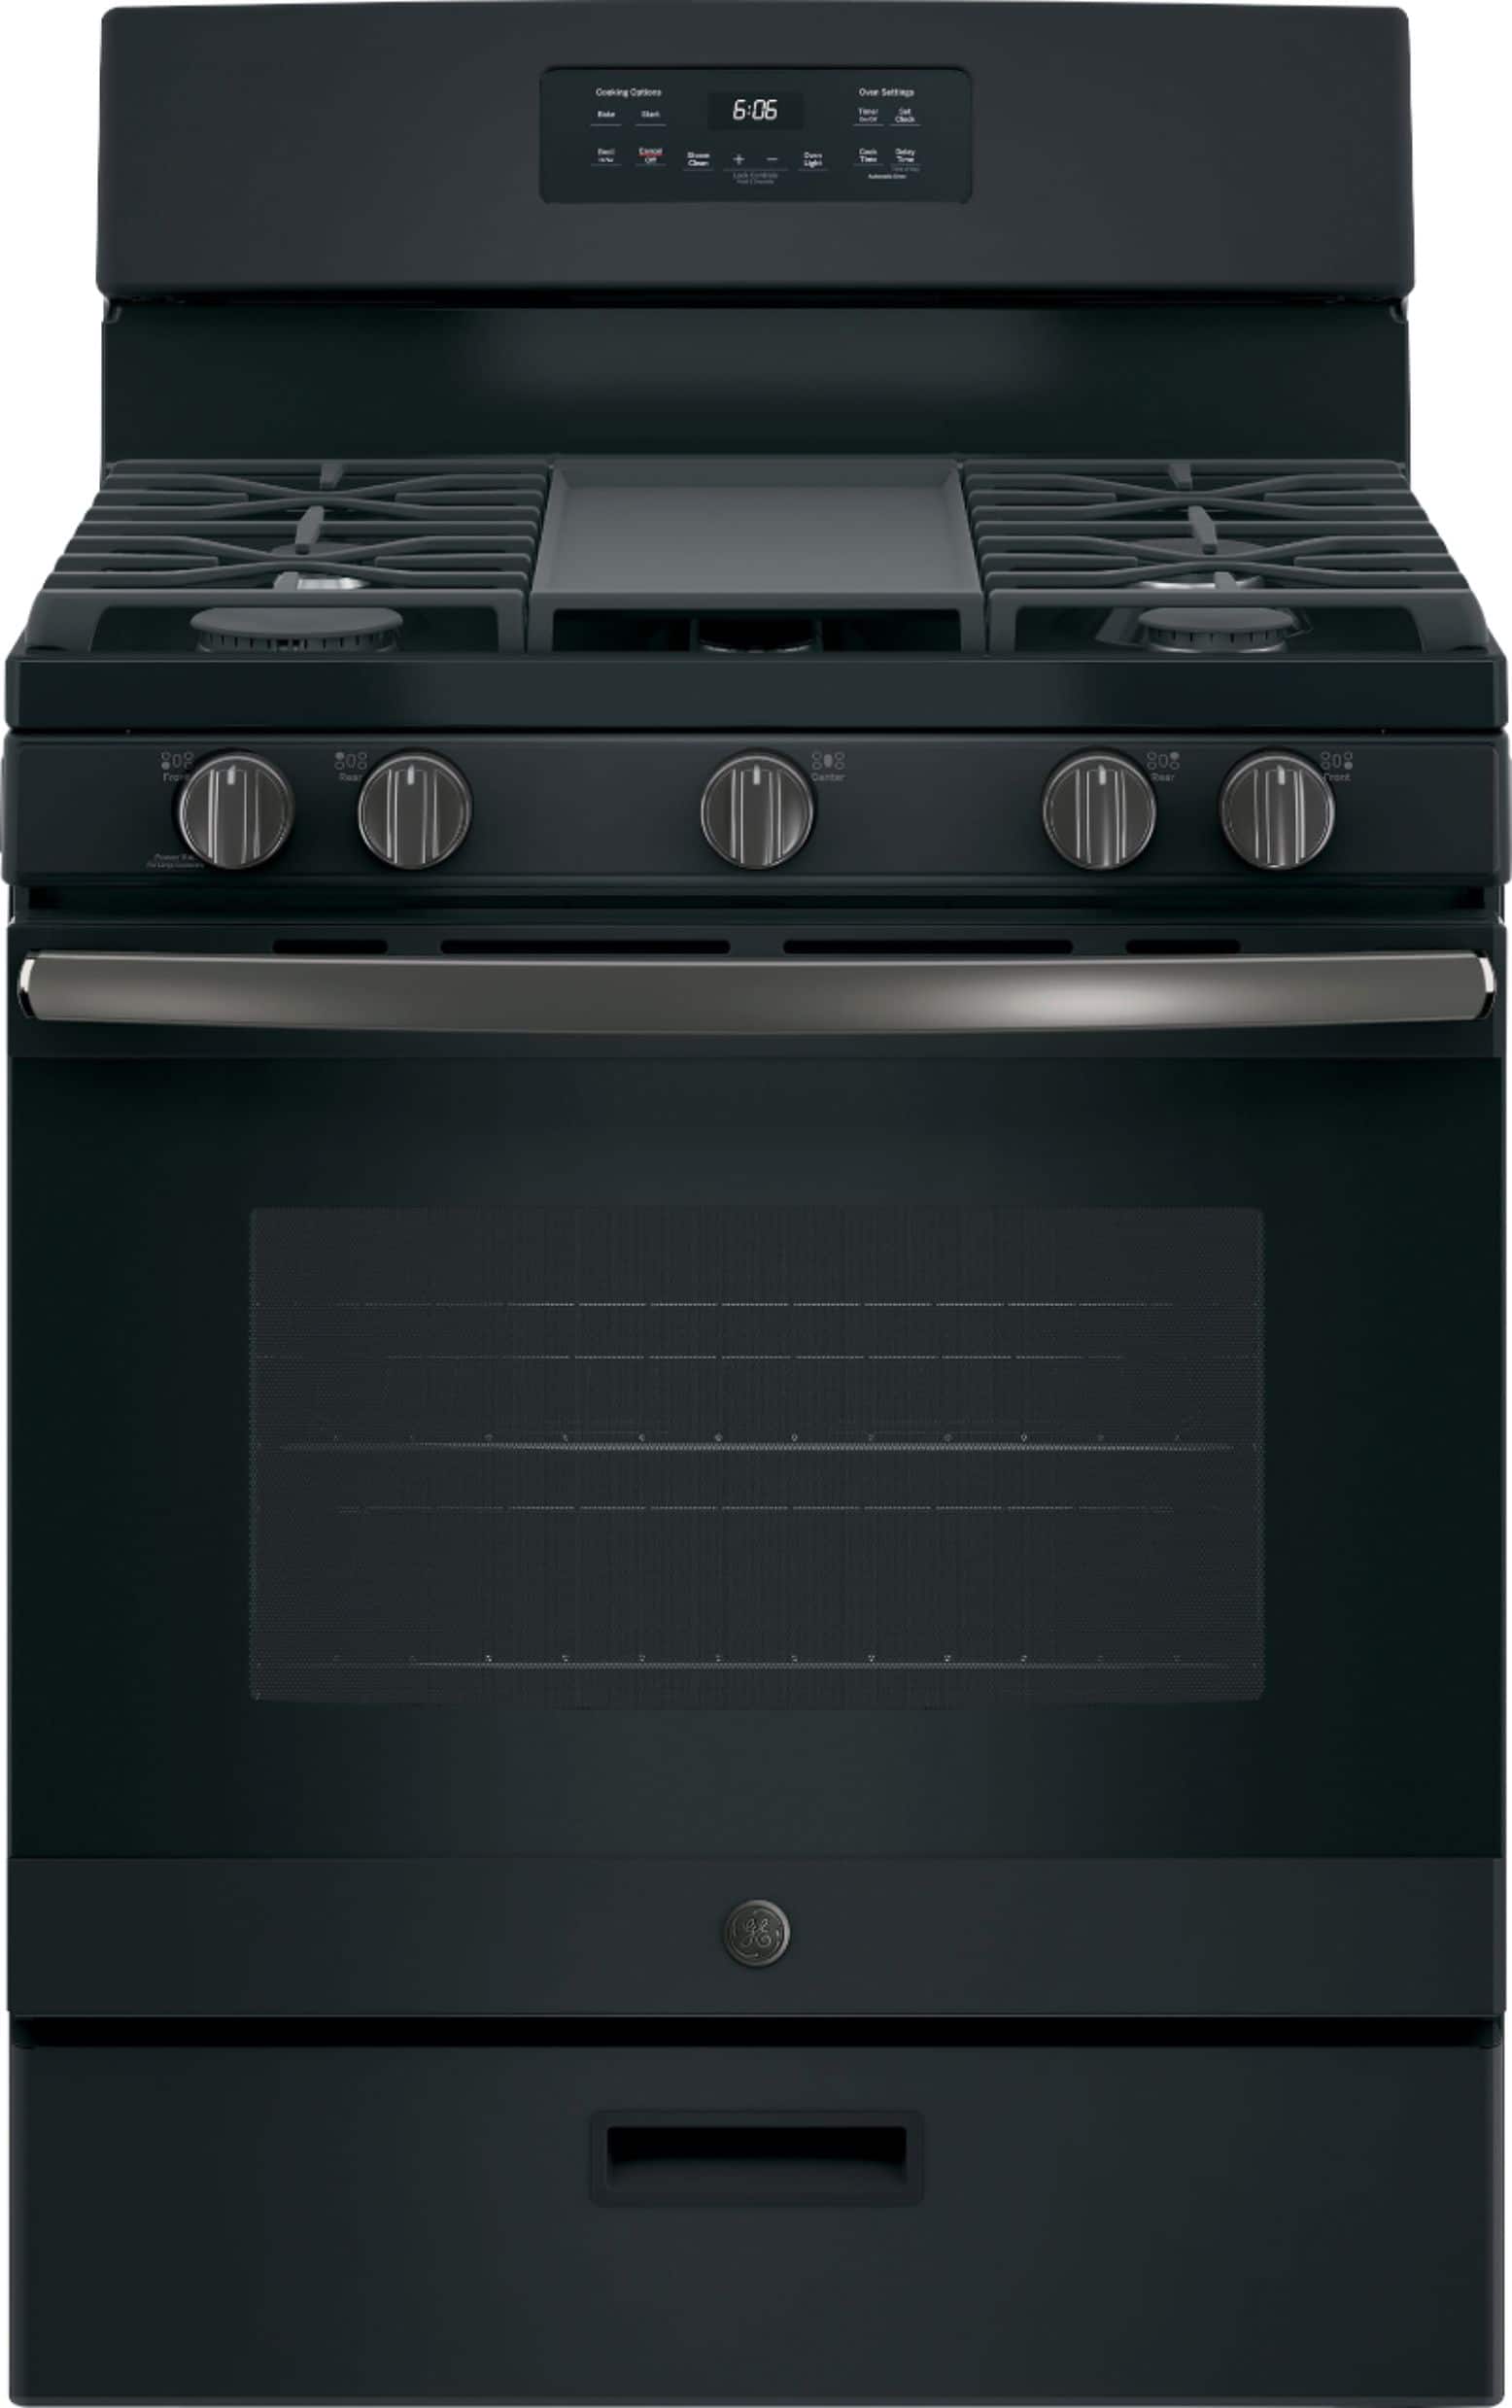
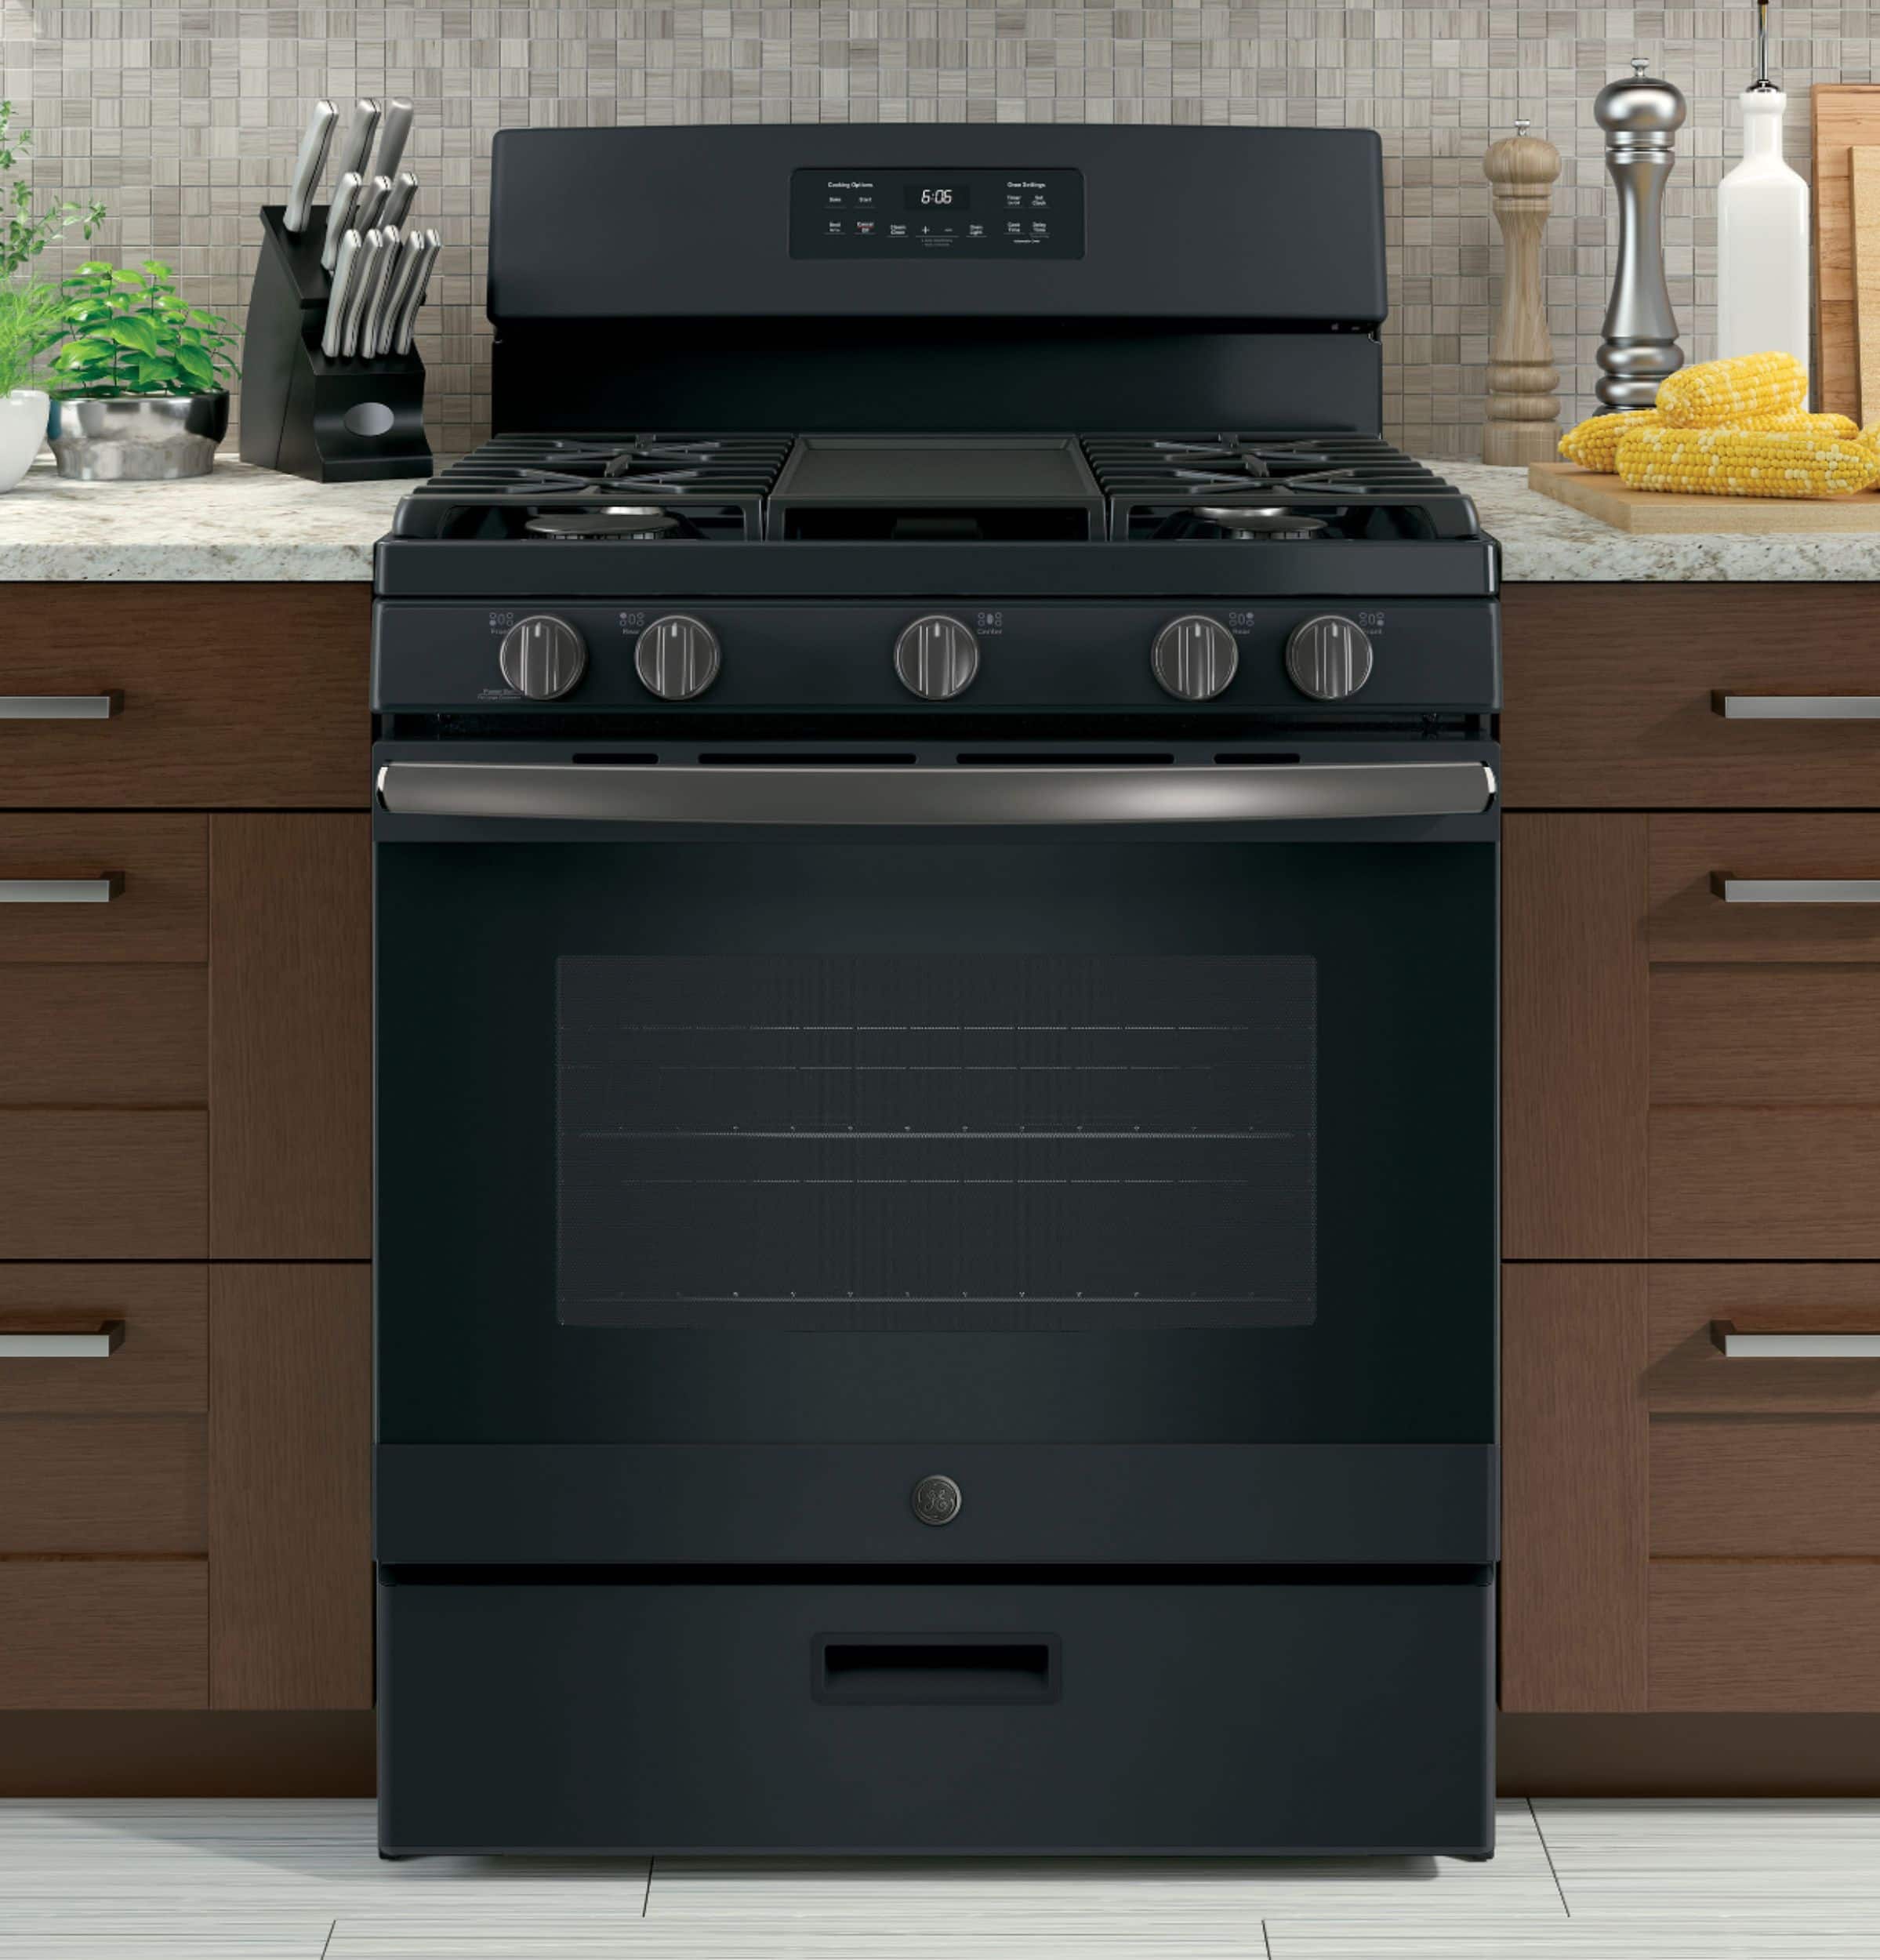
GE® 30" Free-Standing Gas Convection Range with No Preheat Air Fry
Model #: JGB735SPSS. This gas convection oven cooks and browns more evenly, using a rear fan to circulate hot air. If you have any additional questions, don’t hesitate to ask. We are also happy to help at GEAppliances.com! Sue
A:AnswerHi there, Dkjb - Great question! We're finding that this range has a steam clean option. During steam clean, the steam will loosen soil on the racks as well as the oven interior, which then can be wiped off with a soapy dishcloth. This feature is quicker, cooler and faster than self-clean. Thanks so much for checking! -Mikayla
A:AnswerHi Ironapple - Thanks for considering GE Model JGBS66REKSS! The gas range requires a 120V, 15-20 Amp Circuit. For guidance please consult the Installation Guide at the following link: https://products.geappliances.com/MarketingObjectRetrieval/Dispatcher?RequestType=PDF&Name=31-10998-3.pdf - Keep in touch at GEAppliances.com. Sue
A:AnswerHi - Thanks for choosing GE Model JGBS66REKSS! This gas range comes equipped with a 4 ft. long, 3-prong- 120 volt power cord. We're glad to have you in the family. If you have any additional questions, do not hesitate to ask, we are also happy to help at GEAppliances.com! Sue
A:AnswerHi - Thanks for considering GE Model JGBS66REKSS! Dimensions are as follows: 47 1/4"H x 29 7/8"W (30" cabinet cutout width) x 28 3/4"D (Height to Cooking Surface 36 - 36 1/2"). We suggest viewing the Specifications document at the following link for all product and cabinet dimensions: https://products.geappliances.com/MarketingObjectRetrieval/Dispatcher?RequestType=PDF&Name=JGBS66EEK_REK_c2.pdf - Keep in touch at GEAppliances.com. Sue
A:AnswerHi - Thanks for considering GE Model JGBS66REKSS! Yes,
the left rear burner is a 5,000 BTU Precise Simmer burner. Delicate foods don’t burn with low, even heat. Play Video: https://www.youtube.com/embed/sneWVb6Rl-8?rel=0 - If you have any additional questions, do not hesitate to ask, we are also happy to help at GEAppliances.com! Sue
A:AnswerHello, Brenna - Thank you for reaching out about this excellent range. There are some vents for the oven located on the top of the door so the front of the oven can be warm to the touch. Please let us know if you have any more questions. - JB