A:AnswerHi Measurements.
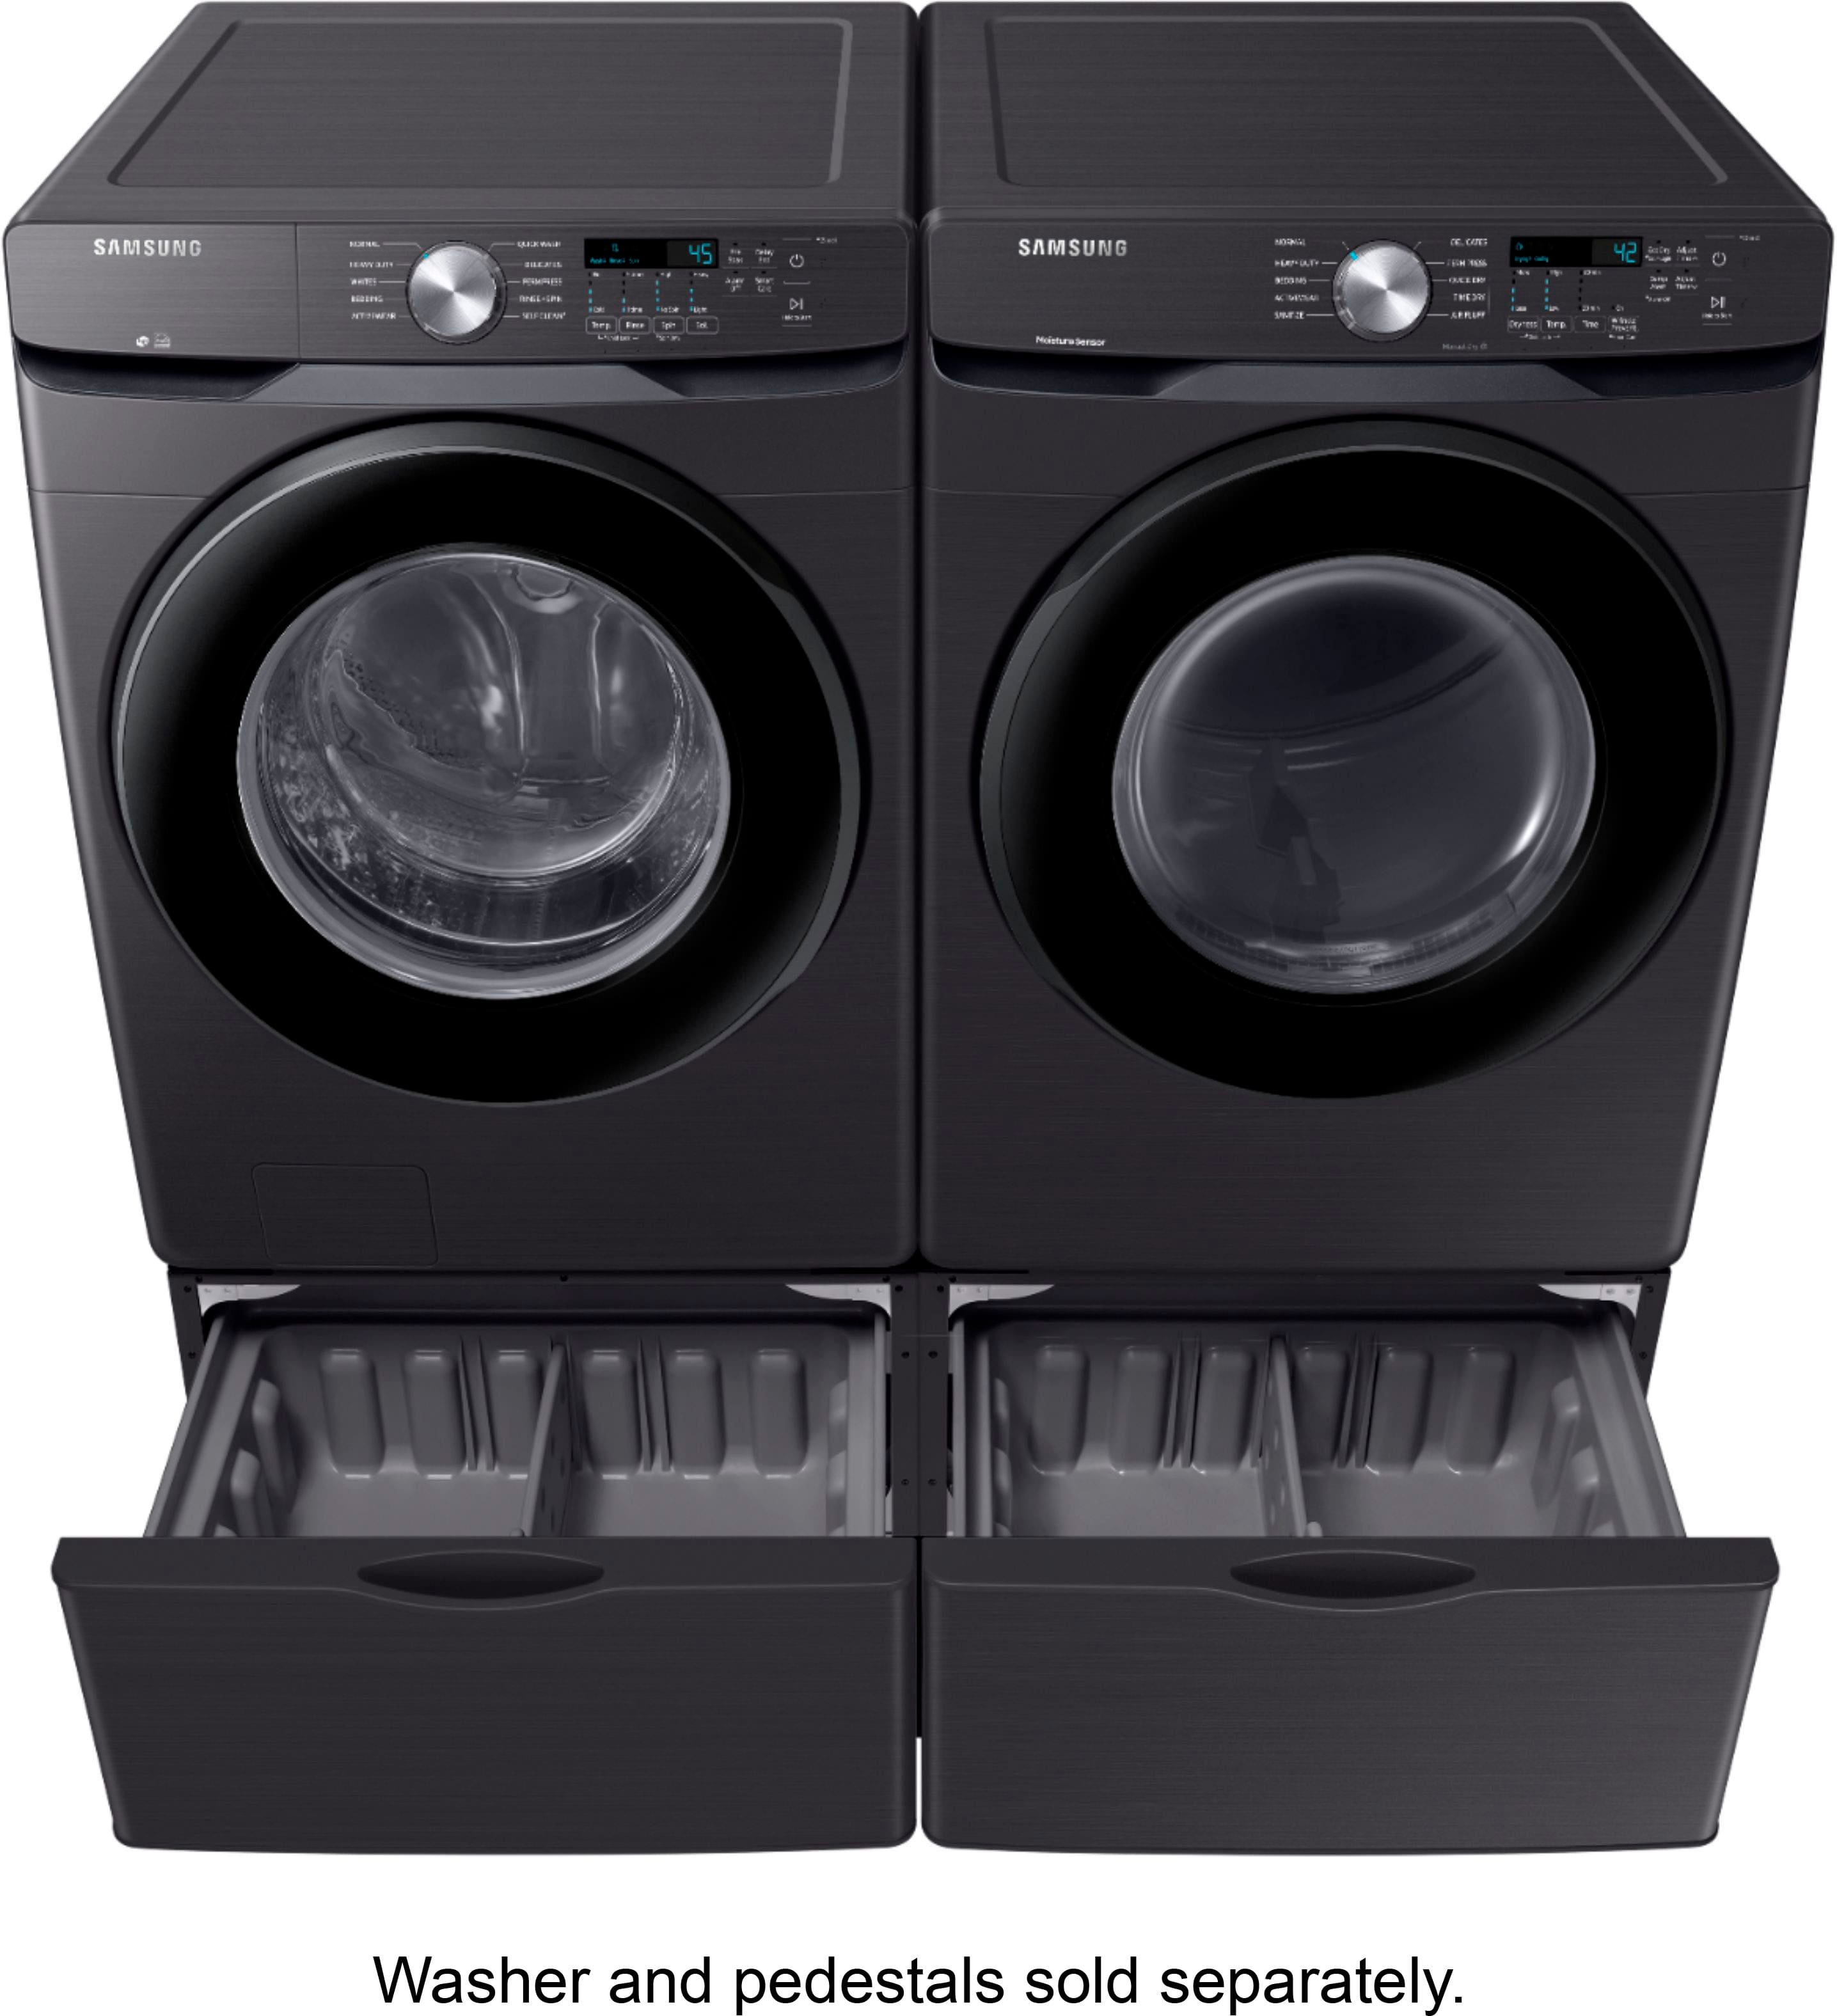
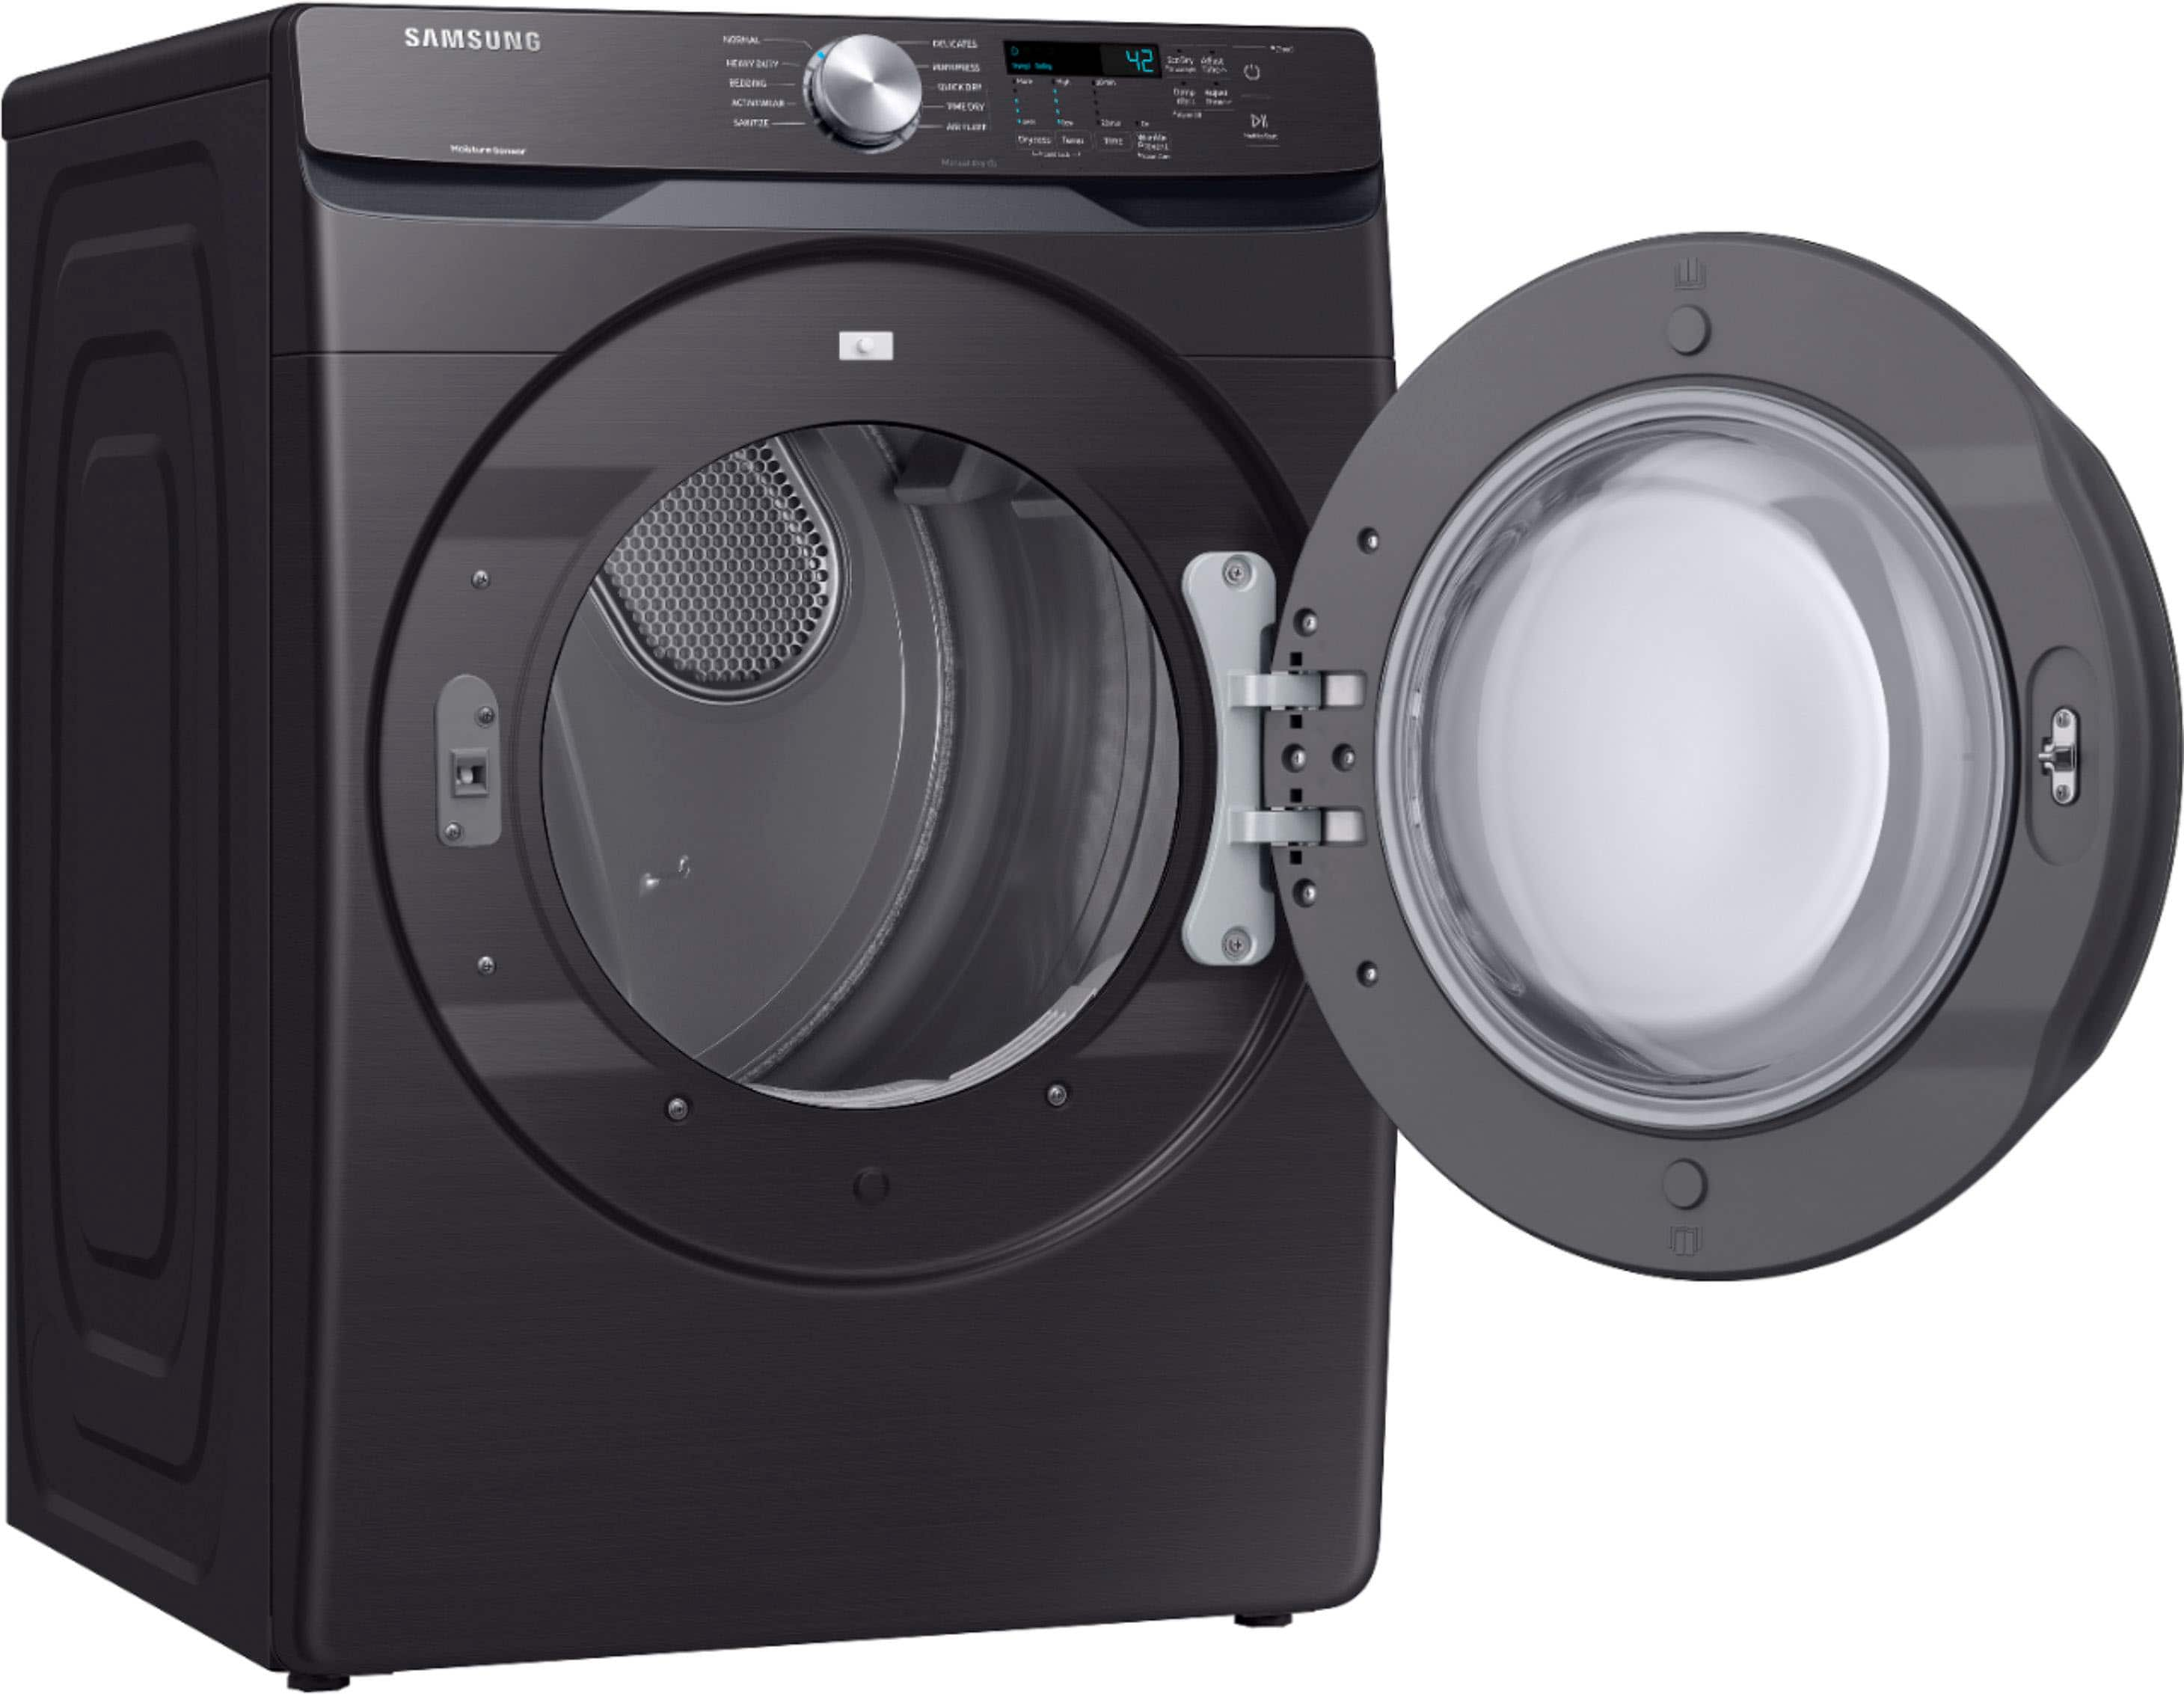
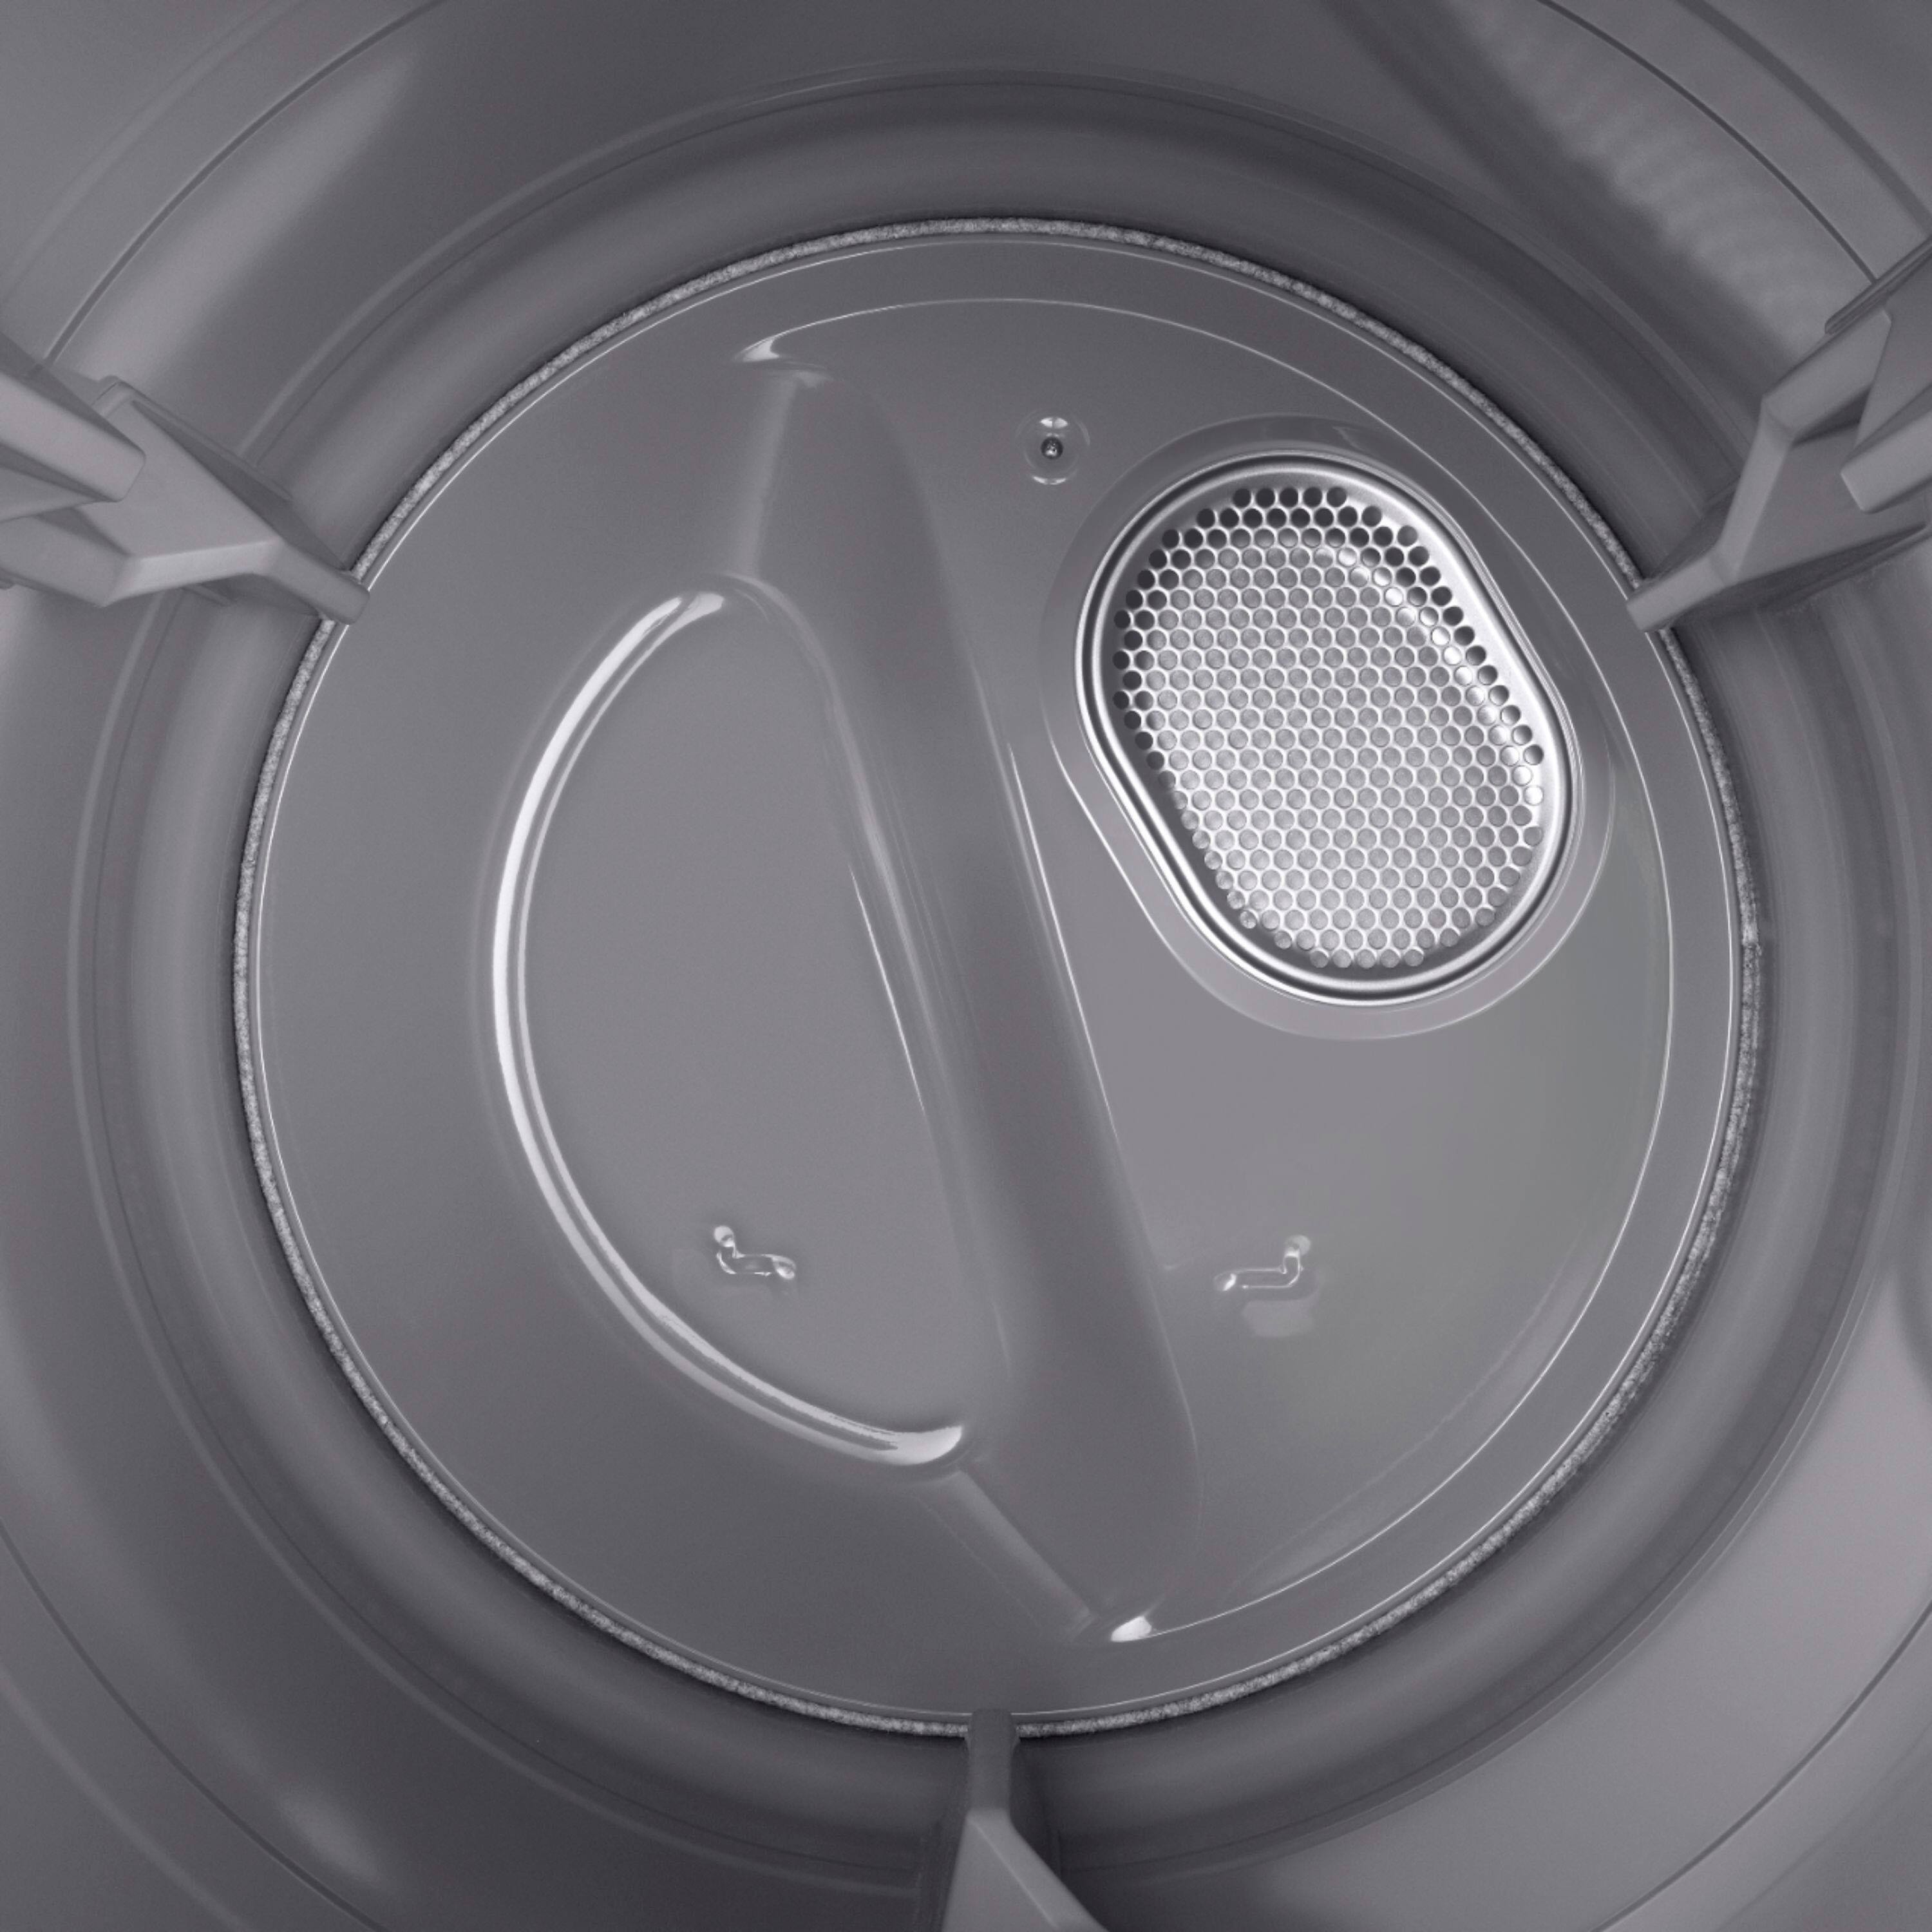
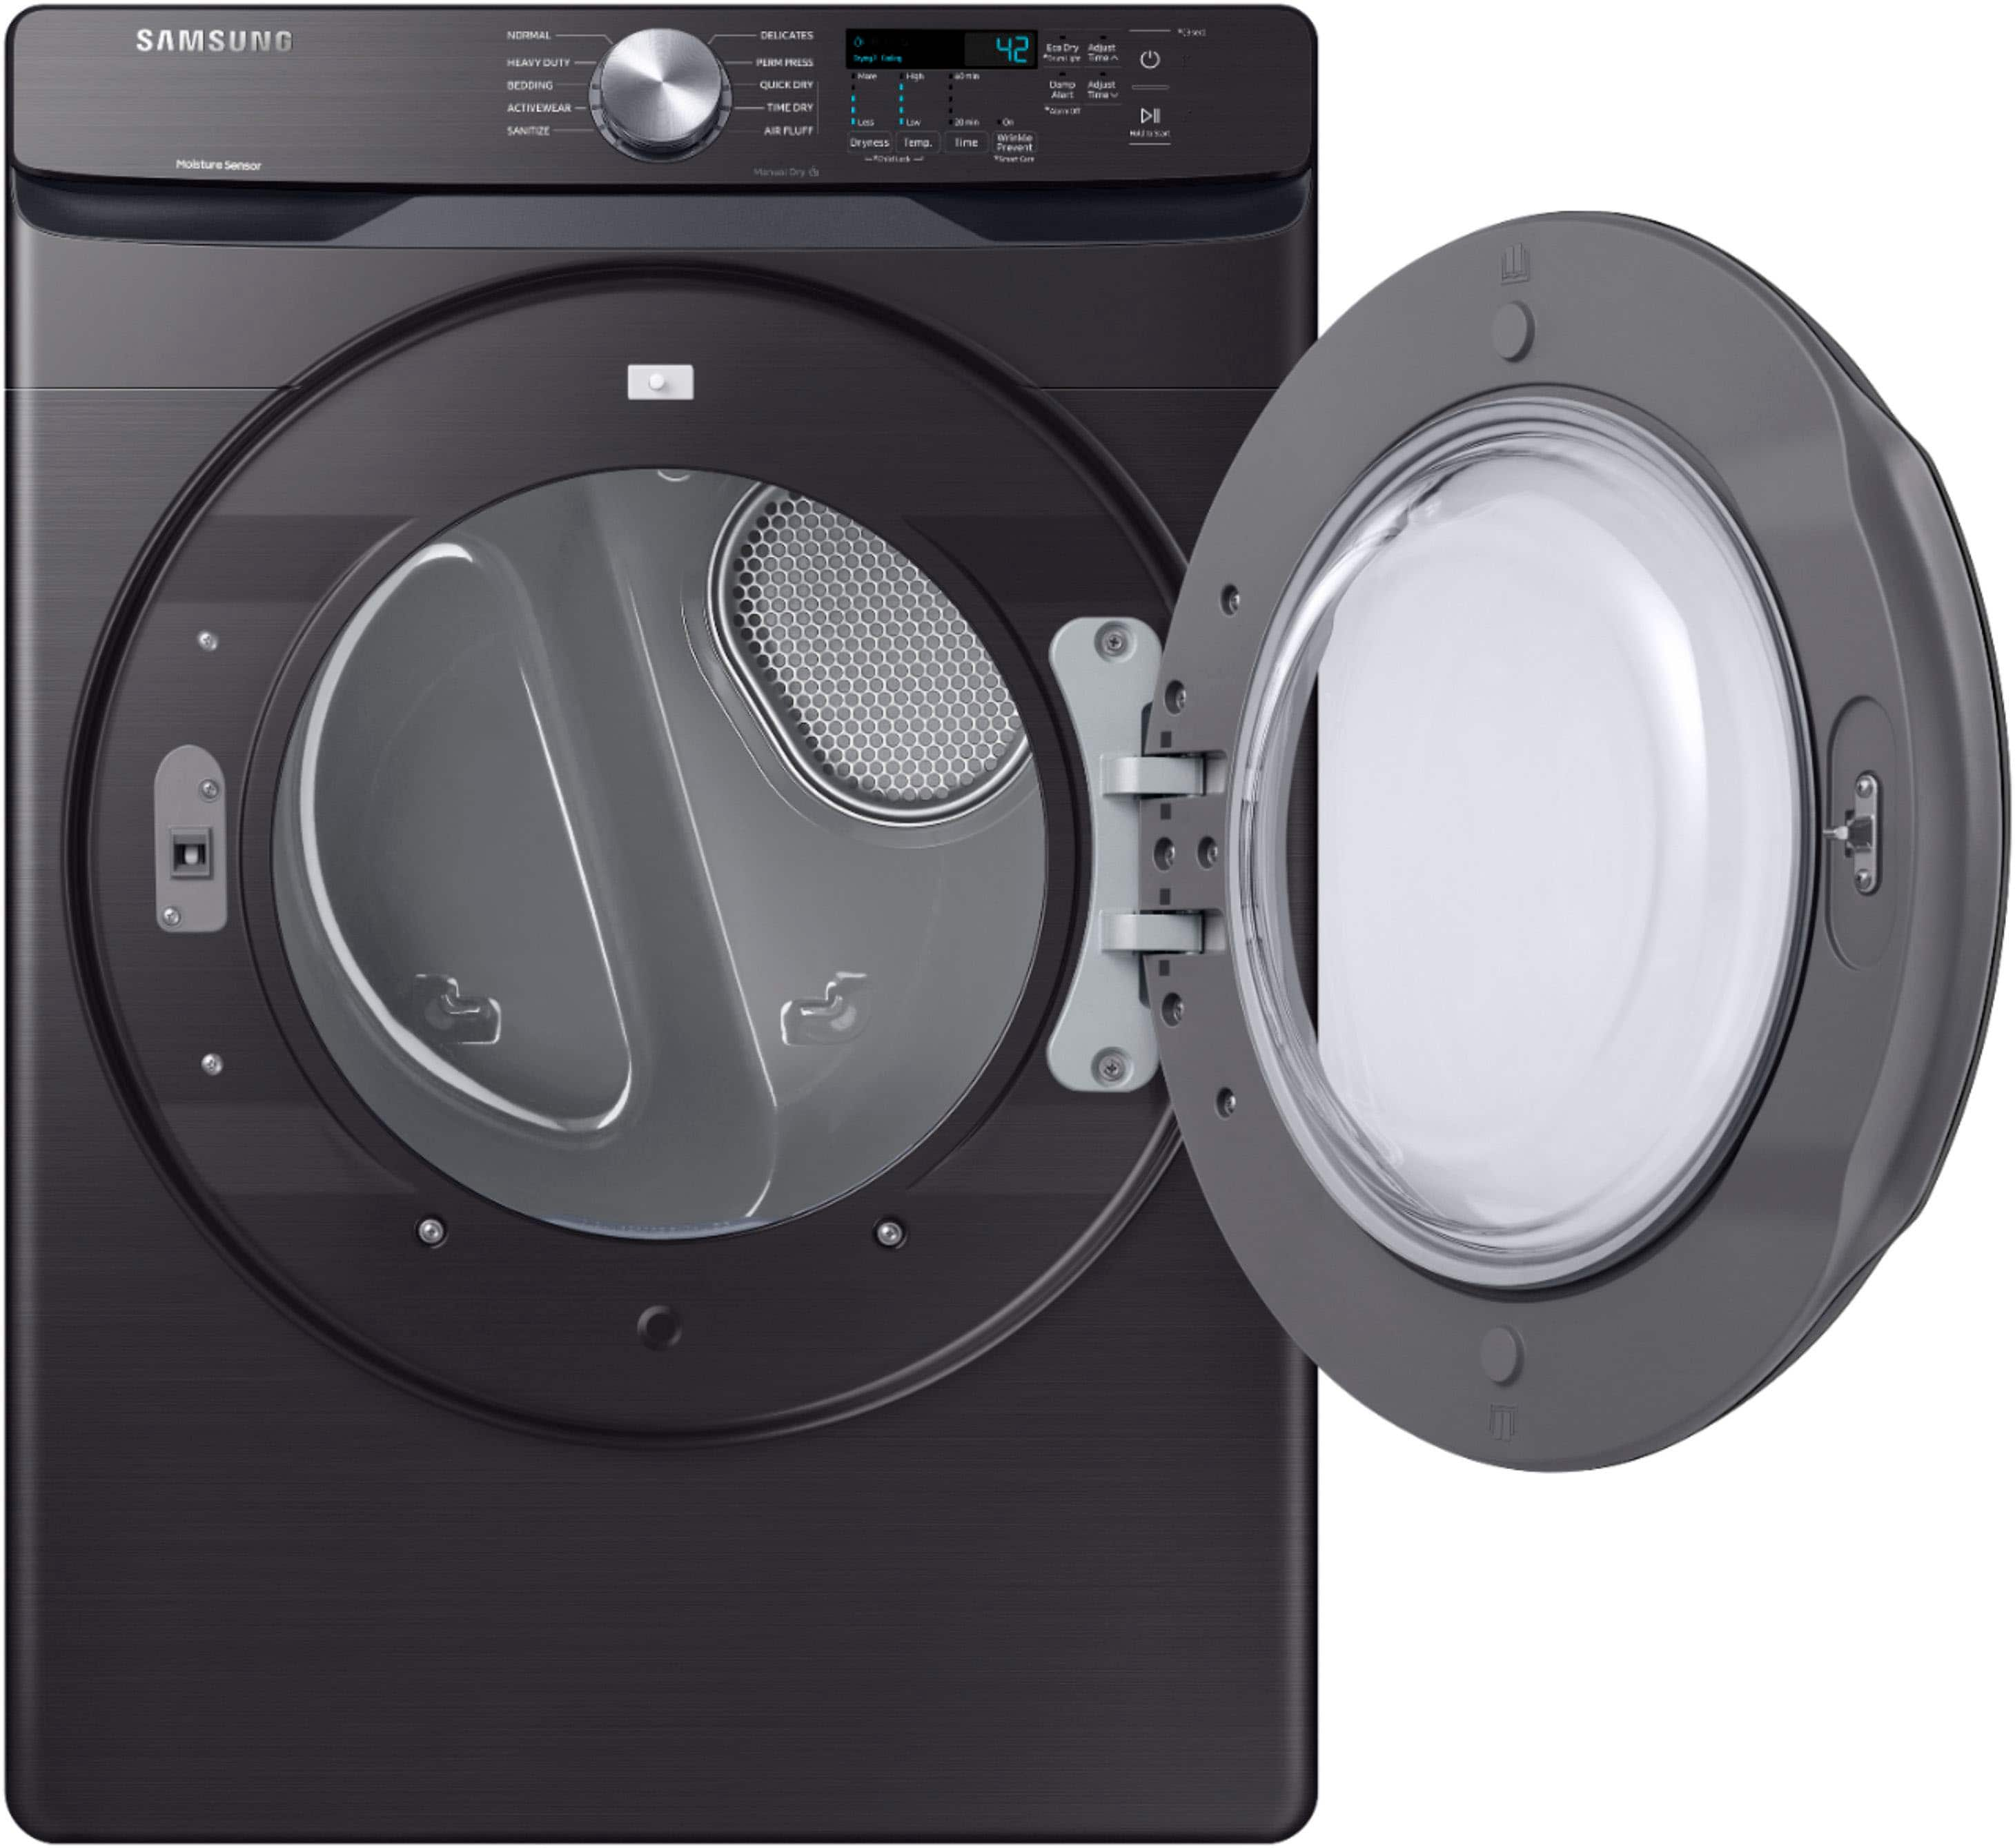
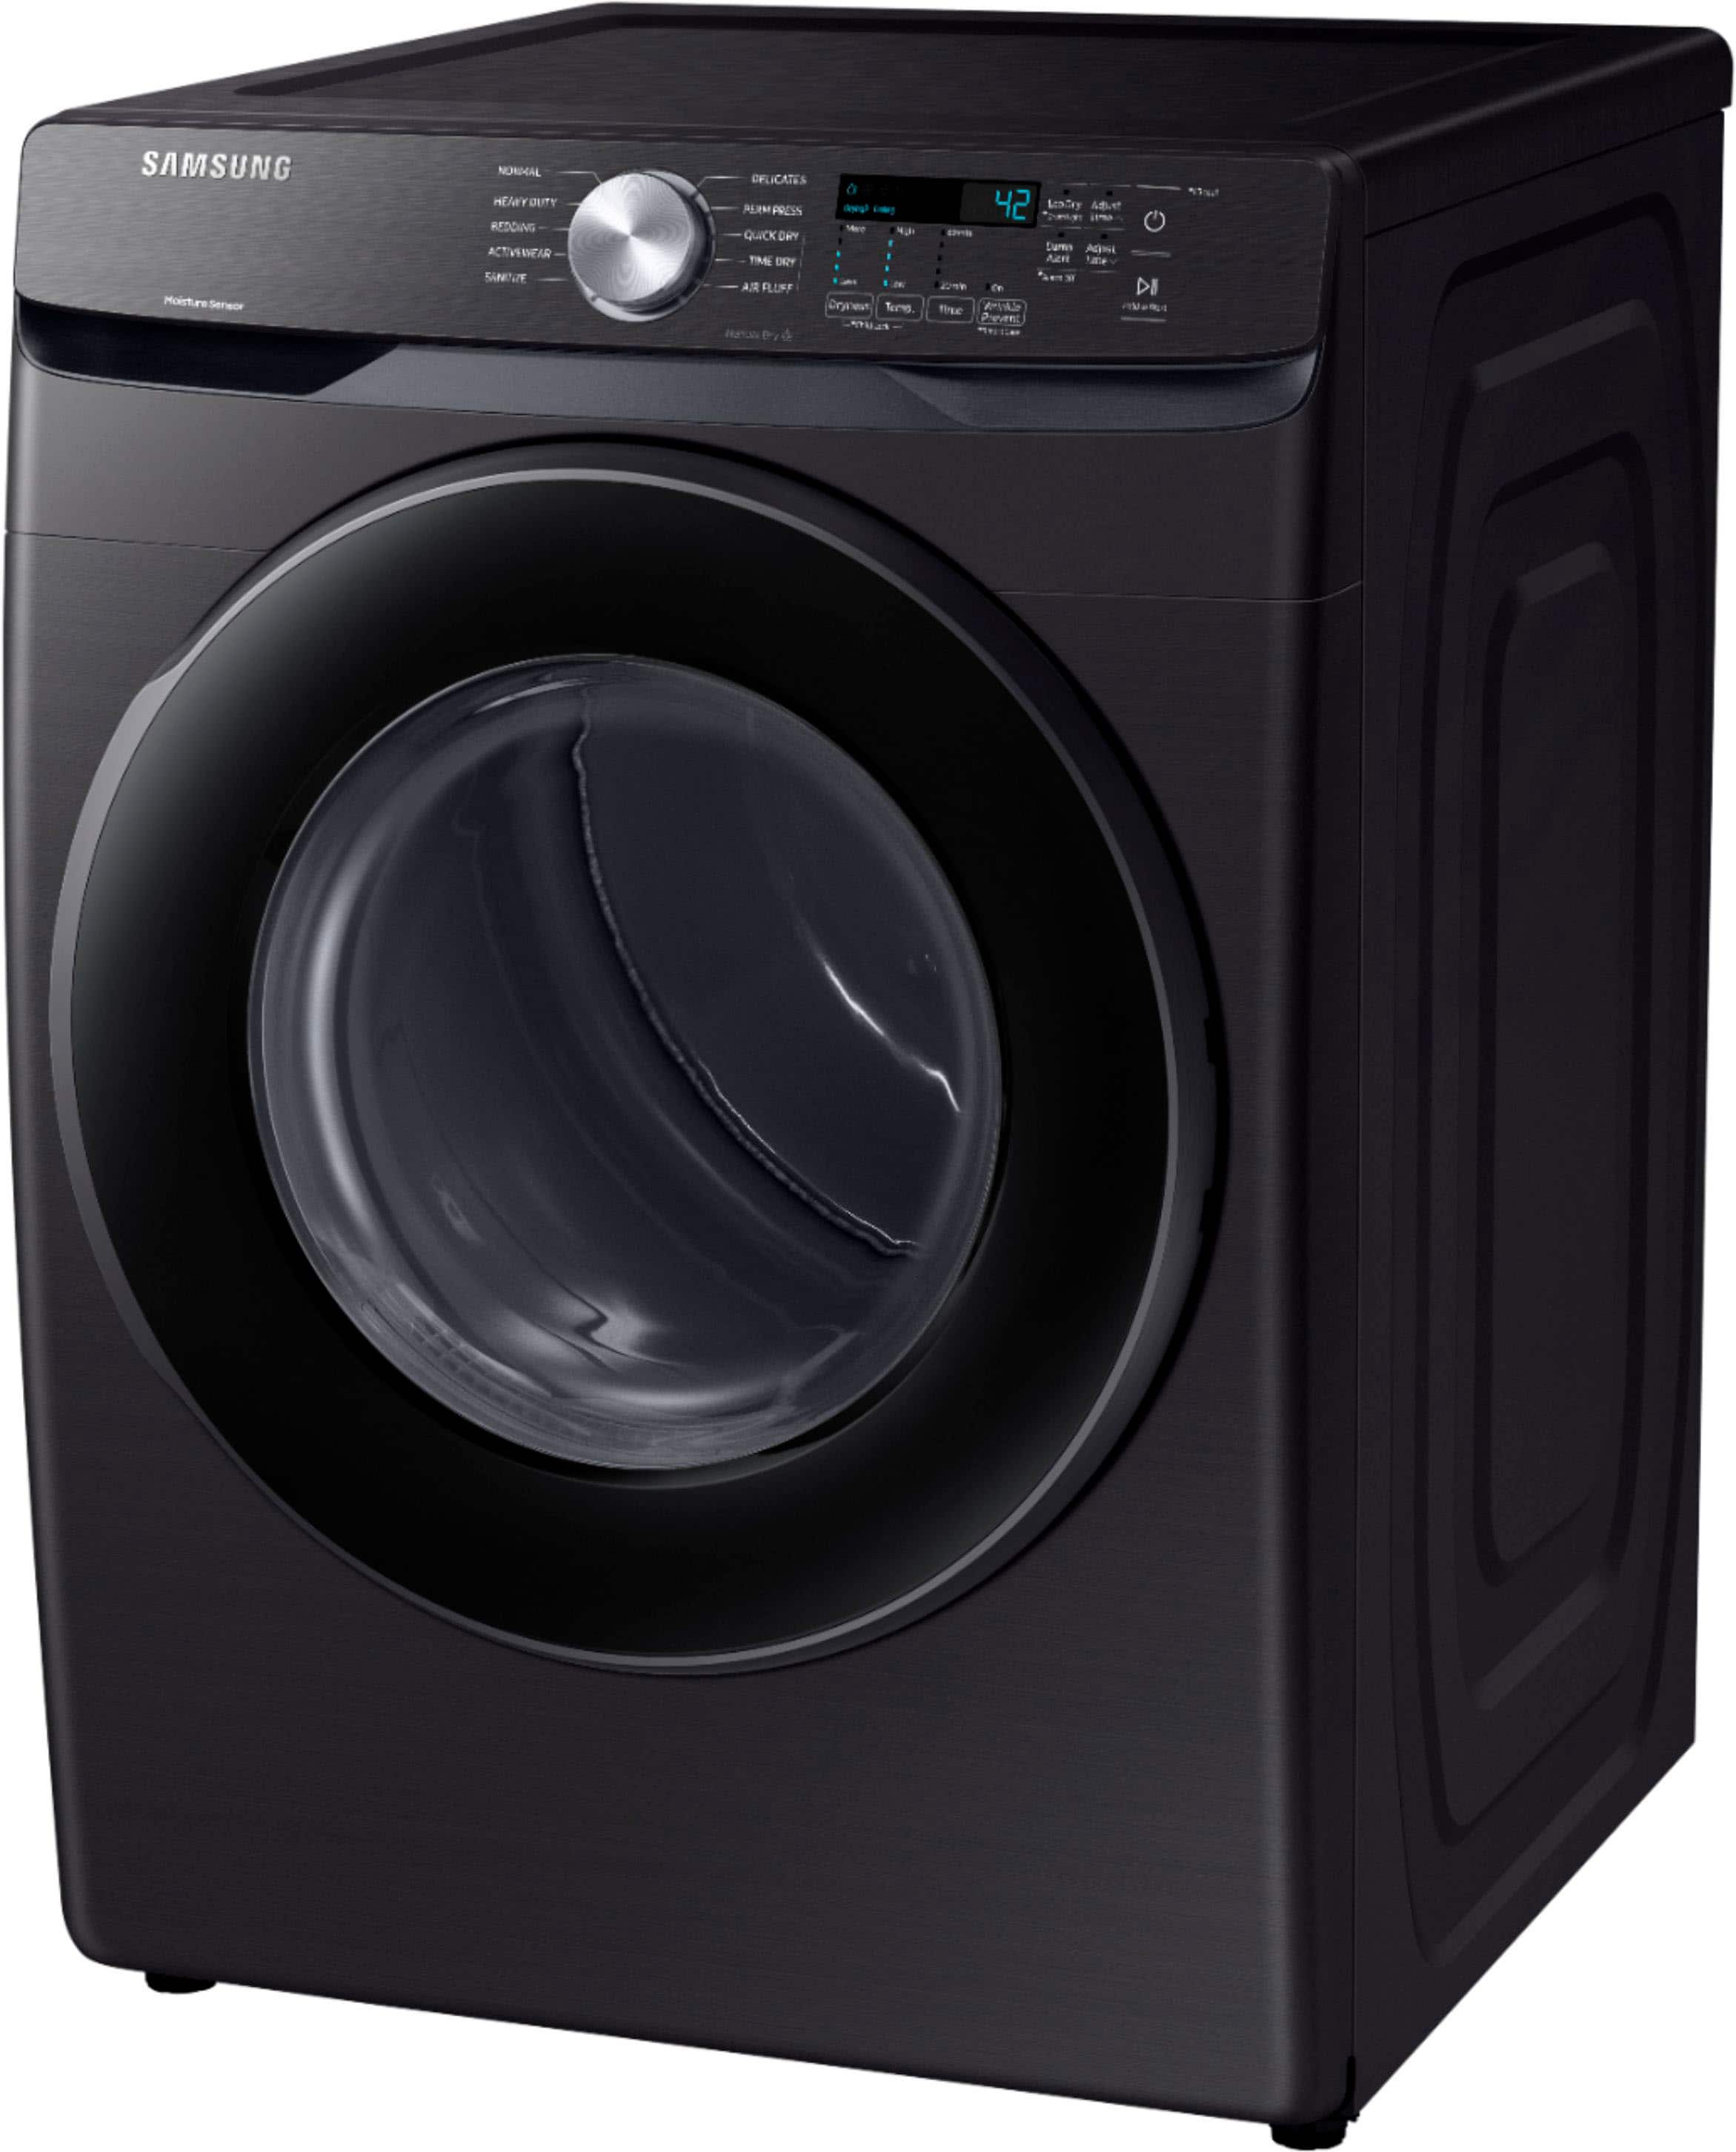
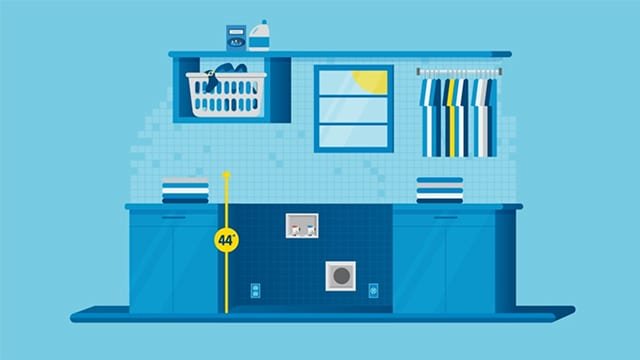
Thank you for reaching out regarding your Samsung - 7.5 Cu. Ft. Stackable Electric Dryer with Sensor Dry dimension. Regarding your concern, here is the dimension 27" W x 38.7" H x 31.5" D regarding your concern.
Here is the link for the full specs, features, and dimensions.
https://www.samsung.com/us/home-appliances/dryers/electric/7-5-cu--ft--electric-dryer-with-sensor-dry-in-white-dve45t6000w-a3/#specs
Should you need more assistance, please feel free to get back to us via the following options:
1. Facebook Messenger: http://m.me/samsungsupport
2. Twitter: https://twitter.com/messages/compose?recipient_id=18768513
3. Samsung Community: https://us.community.samsung.com/t5/Samsung-Community/ct-p/us
Thank you for being a valued customer of Samsung. Have a great day.
Reference Ticket Number: 1144266868
^Camille
A:AnswerIt’s difficult to answer. My last dryer had to replace the heating element around the 7th year and the motor gave out after 15 years. It was not worth the cost replacing the motor especially when newer models are more efficient.
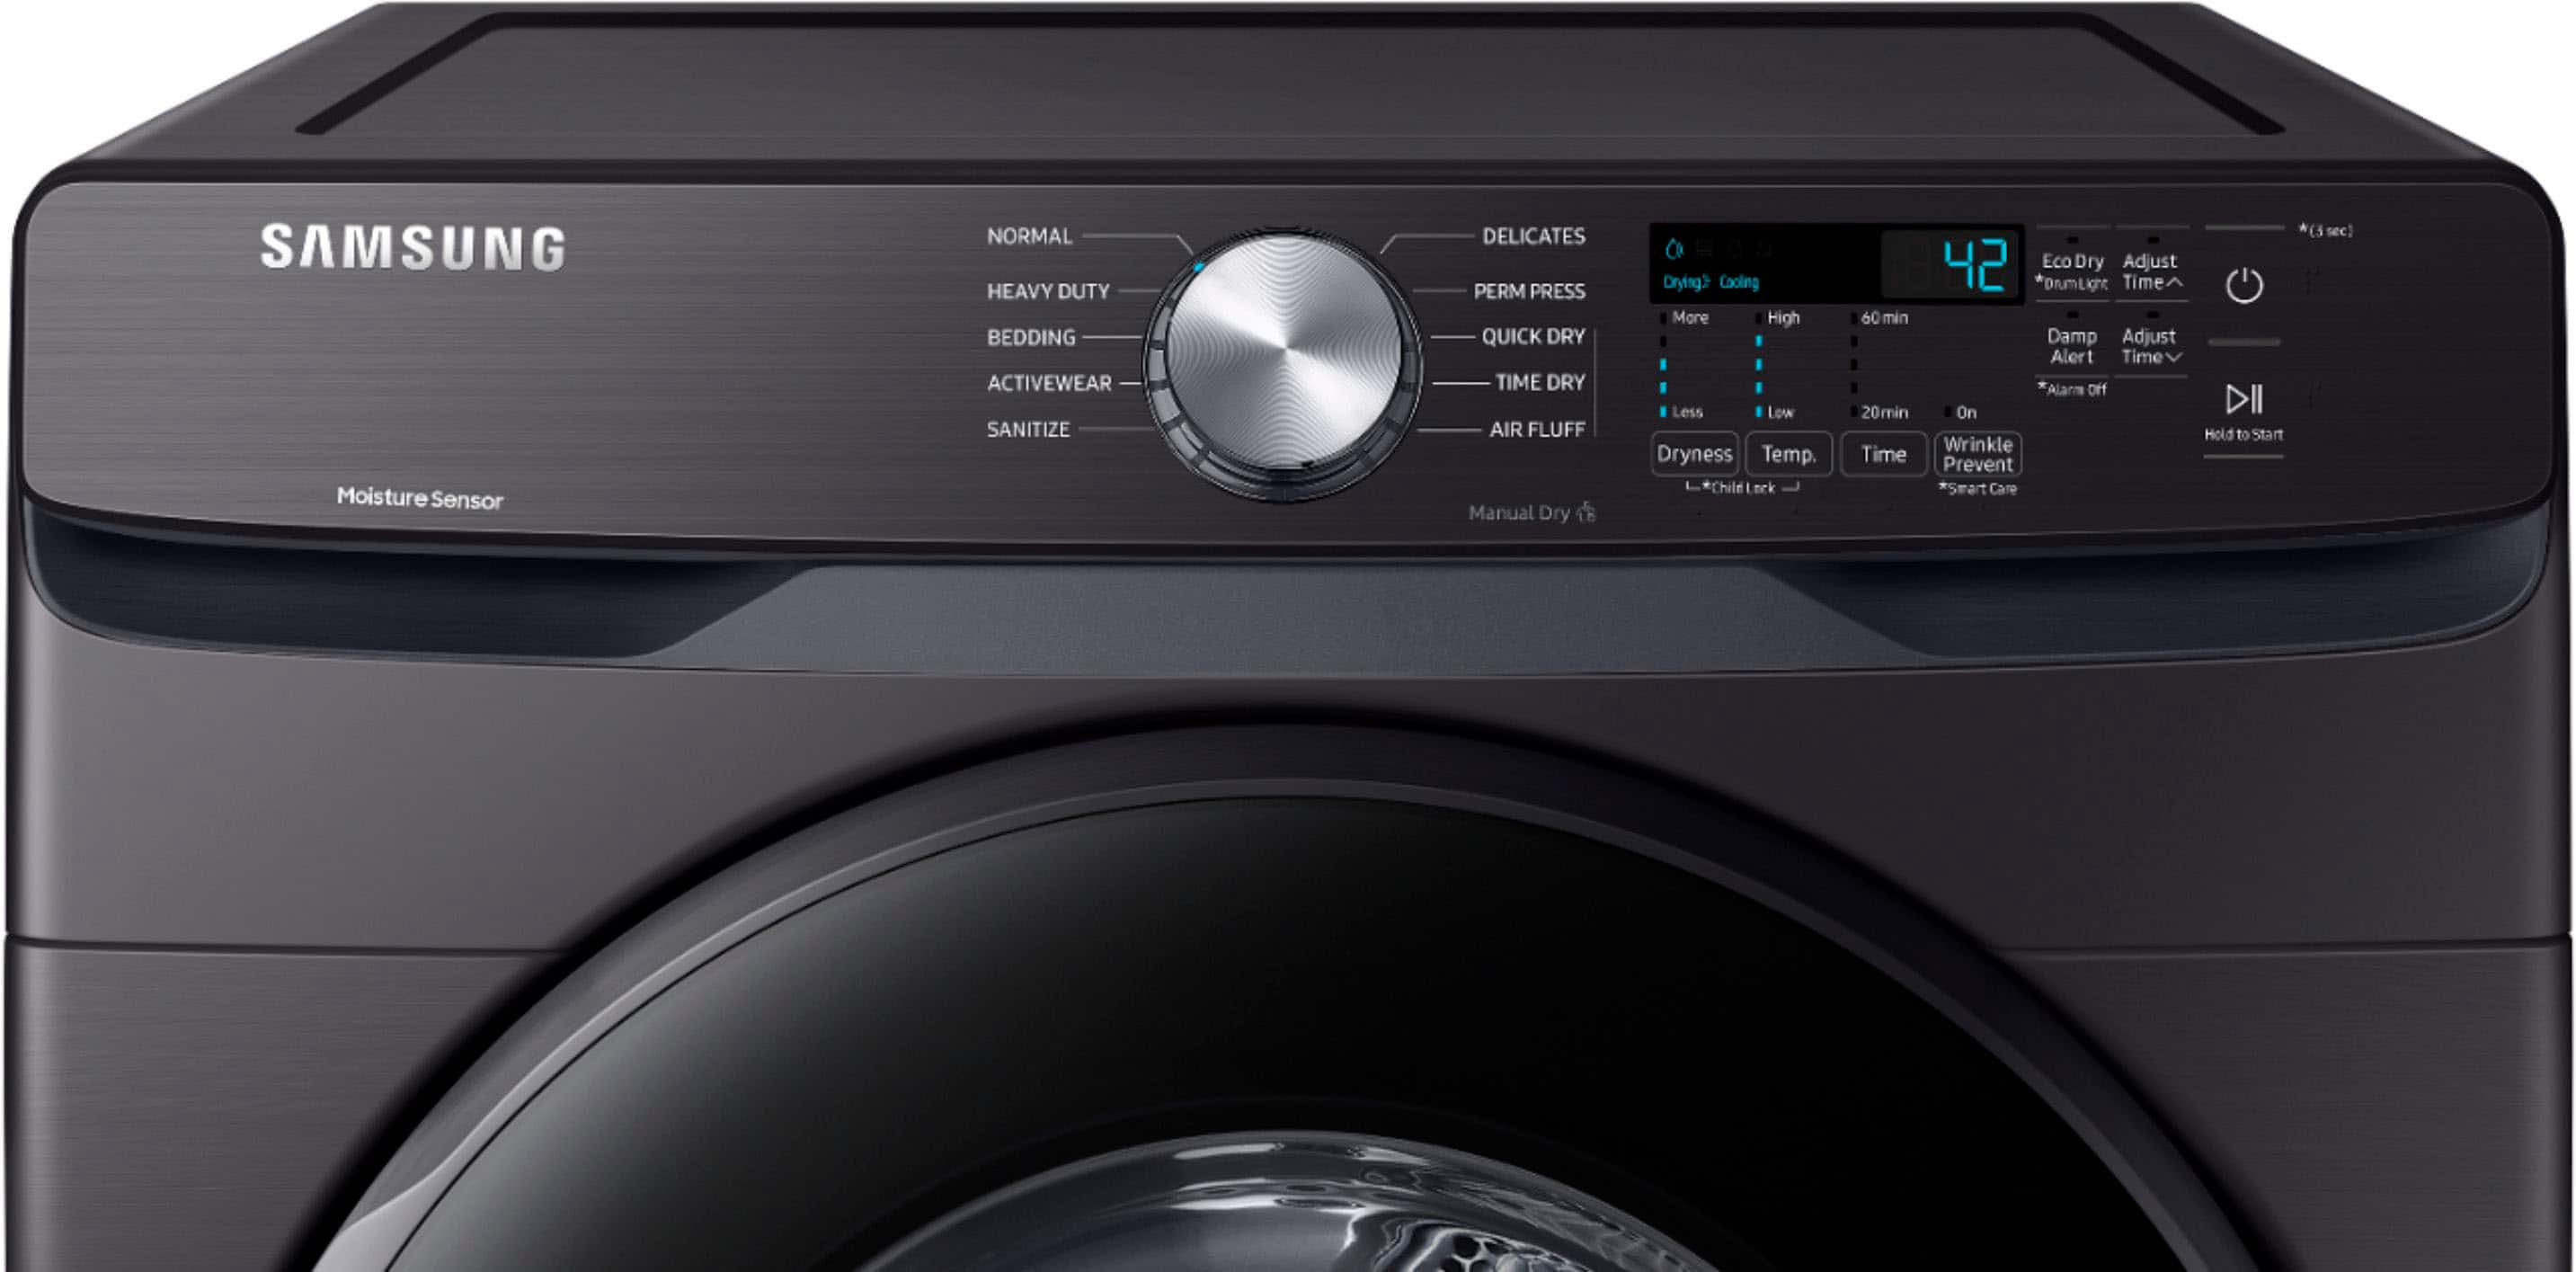
A:AnswerI'm happy to help with this. For this model, the child lock is controlled by pressing and holding both the "Dryness" and "Temp" buttons at the same time for about 3 seconds. You should see the child lock icon turn on or off to indicate if the child lock is engaged or not. ^Jecca
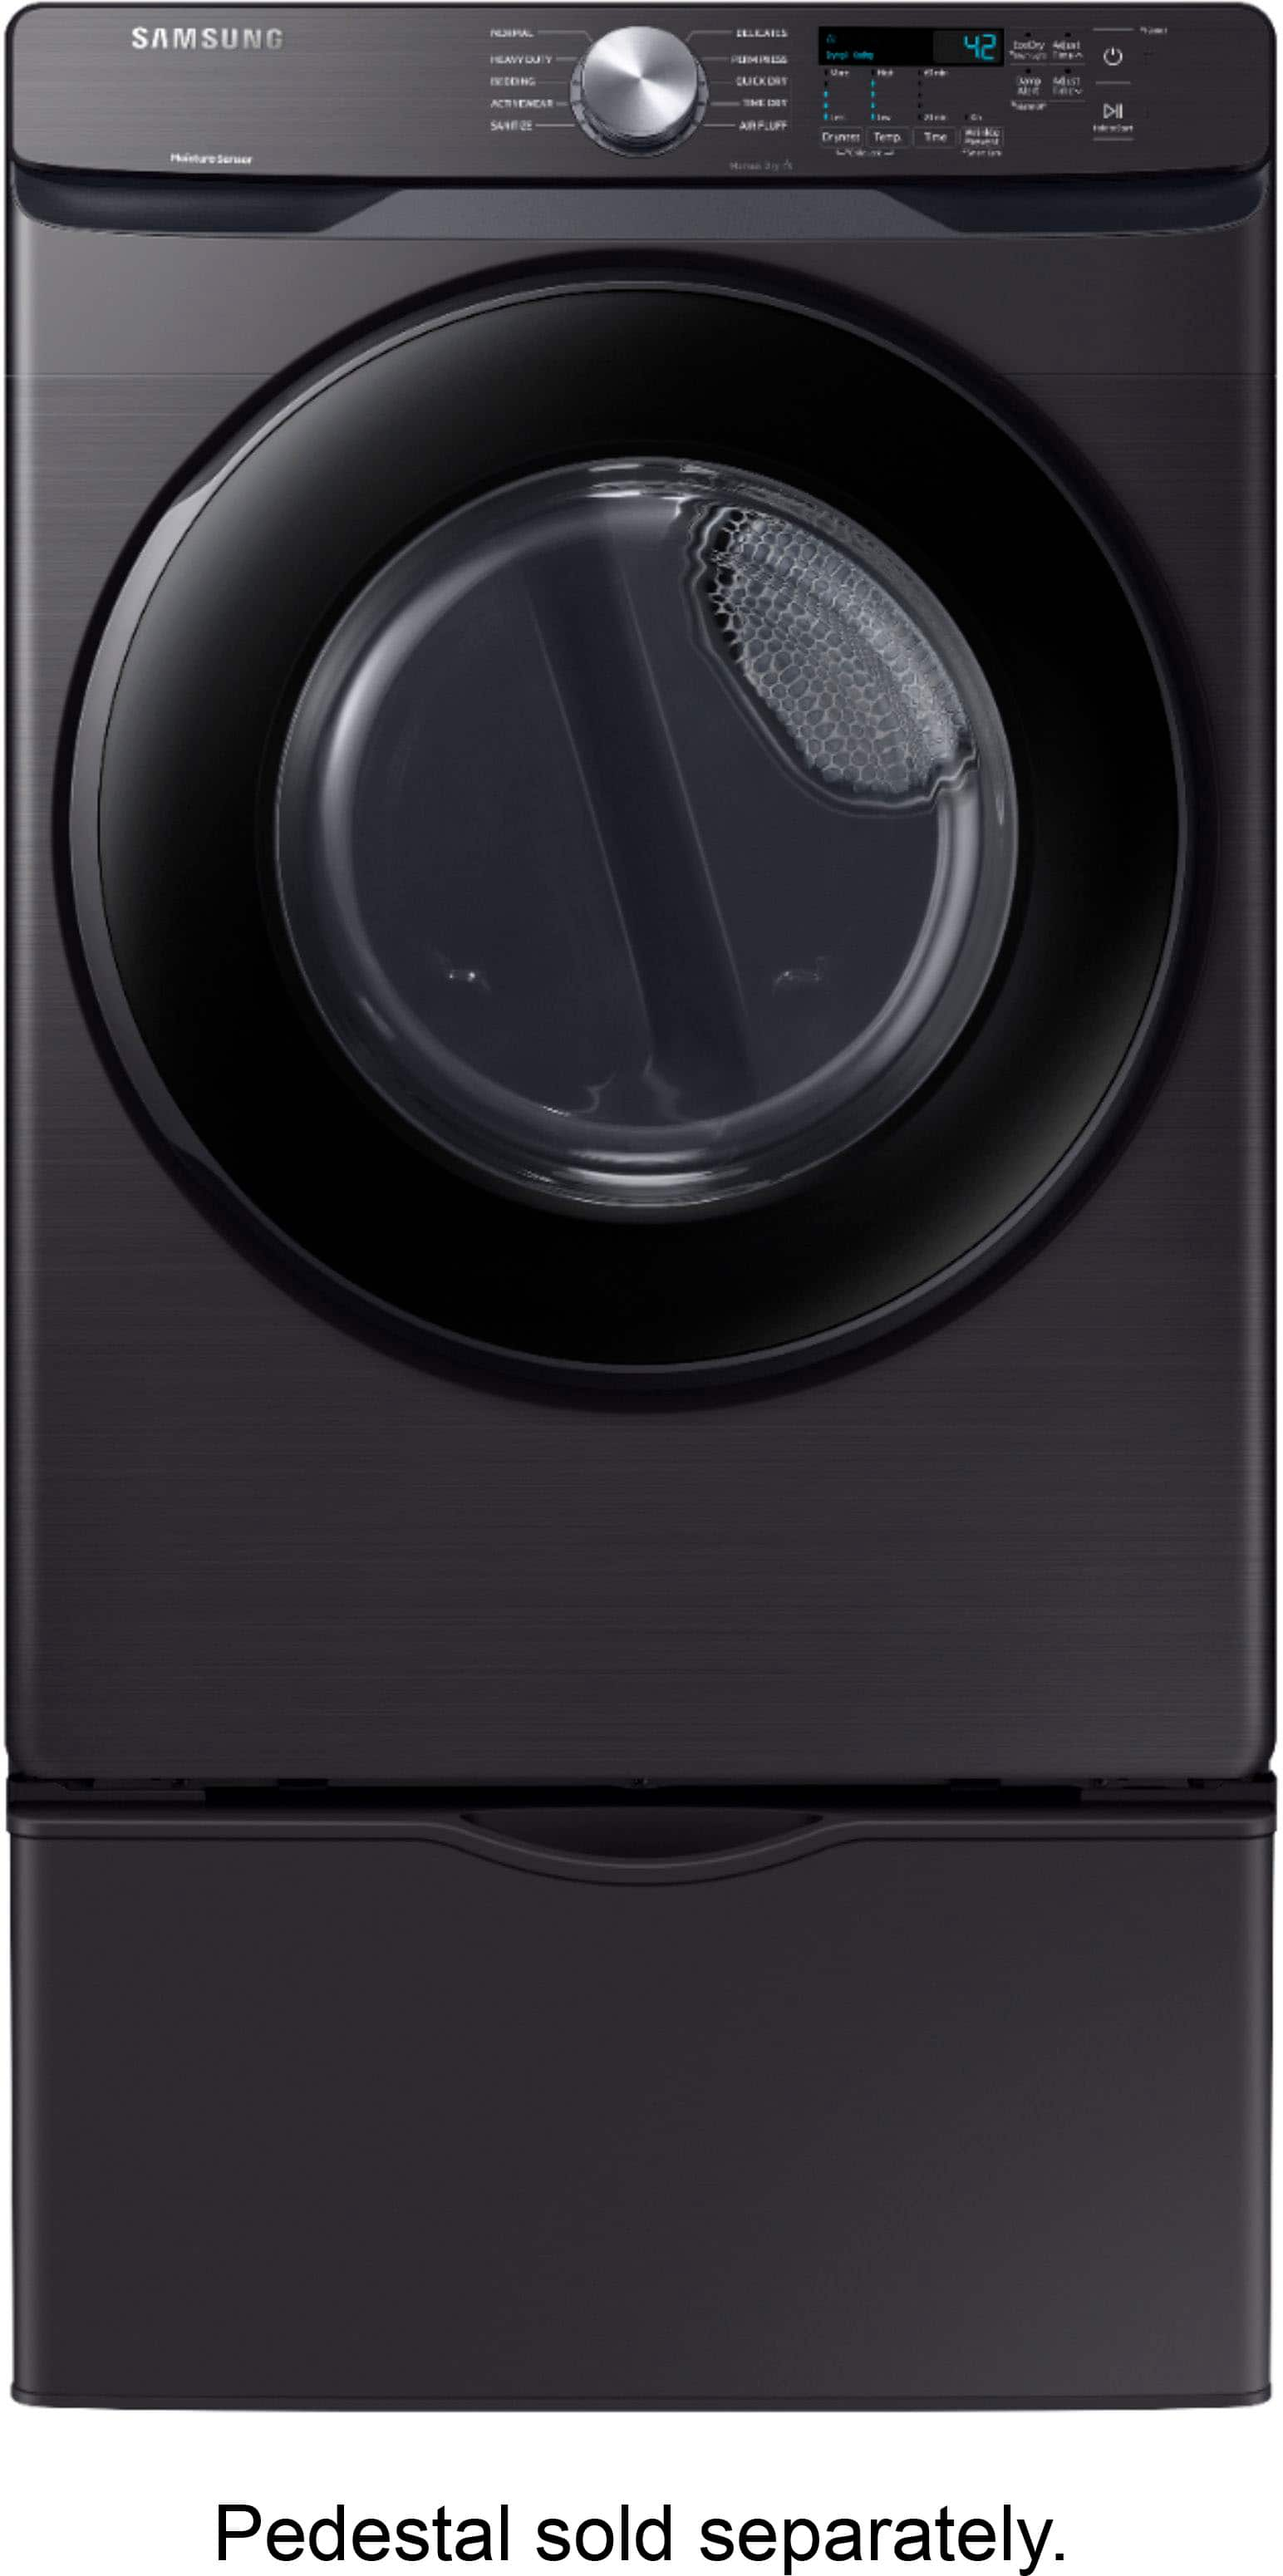
A:AnswerThanks so much for asking! I have this dryer listed as being compatible with the Samsung pedestal model WE402NW. However, we are not able to confirm compatibility with non-Samsung products. ^Jecca
A:AnswerWe appreciate you asking, Jules! According to our specifications, this dryer is compatible with the pedestal model WE402NW. You can find the model number of your pedestal on a label inside the drawer. ^Jecca
A:AnswerIt sure can, Jackie! Currently all Samsung electric dryers are able to be vented from either side using the side vent kit found here: https://bit.ly/3nQXGOv. ^Jecca
A:AnswerHello NicoleH, this model dryer is not ventless. Samsung manufacture many different dryers with different features. I am including a link to our website Samsung.com where you can view our ventless dryers (https://www.samsung.com/ca/laundry/all-laundry/?dryers). We thank you for choosing Samsung for your laundry needs. ^Lena
A:AnswerWe're so sorry to hear you're having these troubles, MCATX! It sounds like you're already in the process of getting this resolved through the store, but I would like to offer additional help as well. First, I have this link (https://bit.ly/2SCmMTL) that has some simple to follow steps that can resolve many heating problems with a dryer. You can also contact us directly at any time for further assistance. Just reference ticket number 1143356078, and reach out to us through Facebook Messenger: http://m.me/samsungsupport; or Twitter: https://twitter.com/messages/compose?recipient_id=18768513. ^Jecca
A:AnswerNo. In this day and age more and more appliances do not come with the power cord. So, the cord must be purchased separately. That is true for this particular dryer.
A:AnswerHi Bebe! The term "open box" can mean several different things including the product has been returned, or it was previously a display model. In general an open box item has been previously opened. ^Jecca
A:AnswerAbsolutely, Wendy! In fact, page 32 of the user manual (https://bit.ly/3vFWmze) has step by step instructions on how to reverse the door. ^Jecca
A:AnswerThanks for asking, Leo! The power cord for the dryer is actually sold separately to allow users to purchase one that is compatible with the outlet available in their home. ^Jecca
A:AnswerThere are instructions in the manual. There's a plate on the back above that hole. You remove that to get access to several screws. The non-plug end of the cable has little rings or maybe u-shaped connectors that go under the screws. Mine was a 3 wire install. In that case, you just hook the left and right connectors to the left and right screws, and the middle one goes in the middle. Left and right are interchangeable, so you don't have to worry about whether the cable is flipped around.
In my case, the cable had rings for connectors, so that meant removing each of the connector screws. Easiest to take all three out, then screw them back in one at a time.
NOTE: the cable should have a clamp with it. You want to put that in the hole--on the outside--and push the cable end through it and up toward the connector screws.
For me, the sequence that worked nicely was:
After removing the access plate...
1. Remove the connector screws
2. Put the cable clamp in place in the hole, but loose
3. Push the cable end through it and upward
4. Screw the connectors down
5. Tighten the clamp down
Screw the plate back on. It has to lie flat before you screw it down, so you have to fiddle with it a little. It goes in a little high then slides down in a small slot. If you have it right, it sits there nice and flat without holding it, and driving the screw back in is easy.
Plug the plug into the outlet etc.
The manual is very important for this part of the install. Wish I'd thought to take photos. Too late now.