A:AnswerHi there. We hate to hear you have an issue with your current unit, and know that must be concerning. If you unplug the unit for 2-3 minutes before trying the unit again, that may help it reset and resolve the issue. If the issue continues, service may be required; that department can be reached at 1-800-432-2737 or you can schedule online using our website. If a replacement is needed all 30" over-the-range microwaves are approximately the same width. Therefore, any of our 30" over-the-range models will work as a replacement for an existing 30" model. This makes choosing a new microwave easy, and this unit would make a great replacement! Please note the mounting bracket included with the new microwave should be used since the mounting bracket is specific to each model. We hope this information is helpful for you! Best wishes -Sarah@GEA
A:AnswerYes, exact same thing happened on my unit. Outlet/Switch were confirmed not to be the issues. Seems like a lot of these die within the first few years and the recommendation is to buy a new one vs. servicing the existing problem. I am extremely hesitant to try again based on the comments here - will need to find one that fits the same area.
A:AnswerHi there - Thanks for reaching out about this, we've got you covered! The handle has the appearance of stainless steel and we believe that it complements the microwave nicely. We suggest checking with your local Best Buy to see if they have it on display. All the best! -Mikayla@GEA
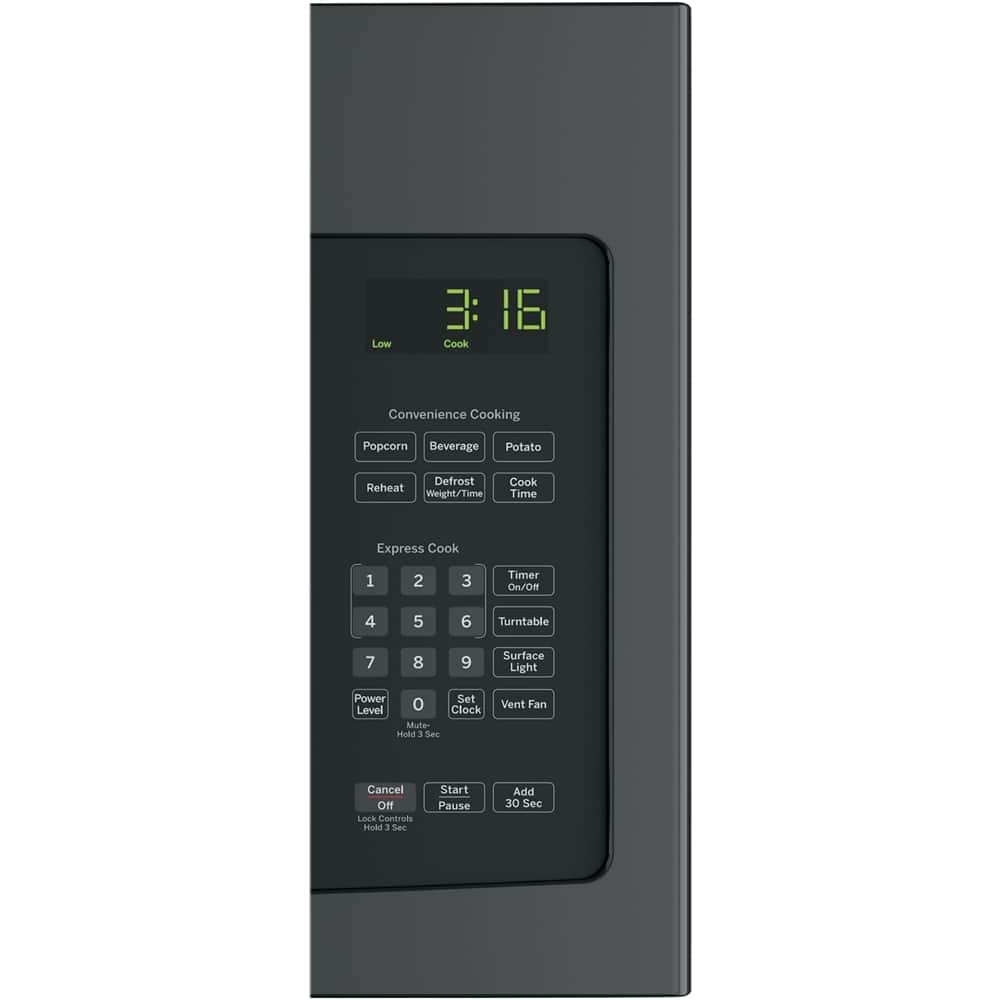
A:AnswerYou have to push a button to turn the vent fan on.
The vent fan is normal to me, meaning you can really hear it at the high speed. The lower speed is quieter.
I am happy with the micro. It warms things quickly. That is important to me..
A:AnswerHello, thank you for your question. While there is not a direct replacement for this microwave, the model you had posted this question on, model JVM3160DFWW, features the closest dimensions to your current unit and also offers several great features! If you would like to read about these specific features, you can do so via the owner's manual, linked here: https://files.bbystatic.com/0pksMLb6d99gAn8TNKKZqw%3D%3D/Owners%2BManual%2BJVM3160DFWW.pdf We hope this helps! -Chris@GEA
A:AnswerHello, thank you for your question. While you are facing the front of the microwave, the power cord comes out of the top of the unit on the right side. We hope this helps! Please don't hesitate to reach out with any further questions or concerns you may have. -Chris@GEA
A:AnswerHello, thank you for your question. We are sincerely sorry your microwave's door handle needs to be replaced and understand your frustration. Replacing microwave handles requires disassembly of the door, and therefore should be replaced by a service technician. Any adjustment or repair involving the microwave door needs to be followed up by a leak test to make sure of proper fit, operation, and alignment. This must be done by a qualified technician. We apologize for any inconveniences this may cause. If you haven't done so already, we recommend you schedule service with us by calling 1-800-GECares (1-800-432-2737) Monday – Friday: 7 a.m. – 10 p.m. ET or Saturday – Sunday: 8 a.m. – 6 p.m. ET or by visiting the "Schedule Service" link under the "Owner Support" tab on our website. -Chris@GEA
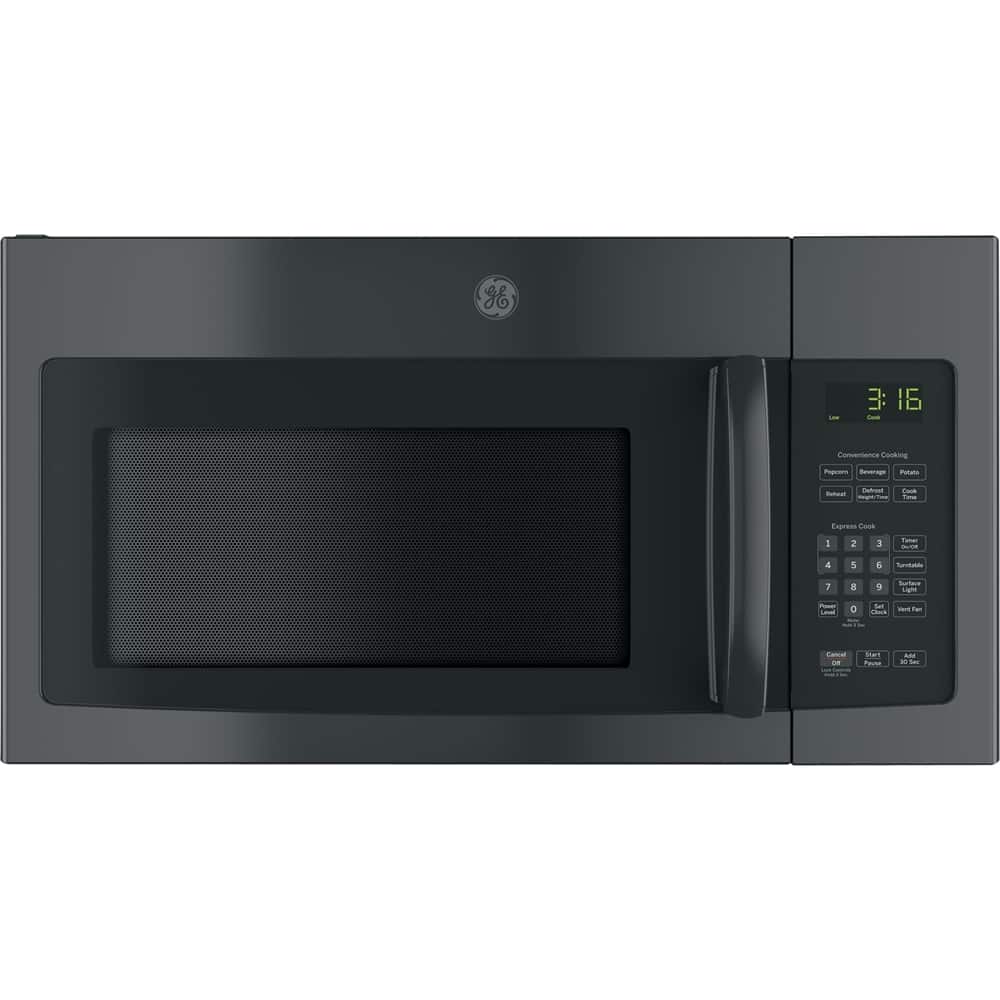
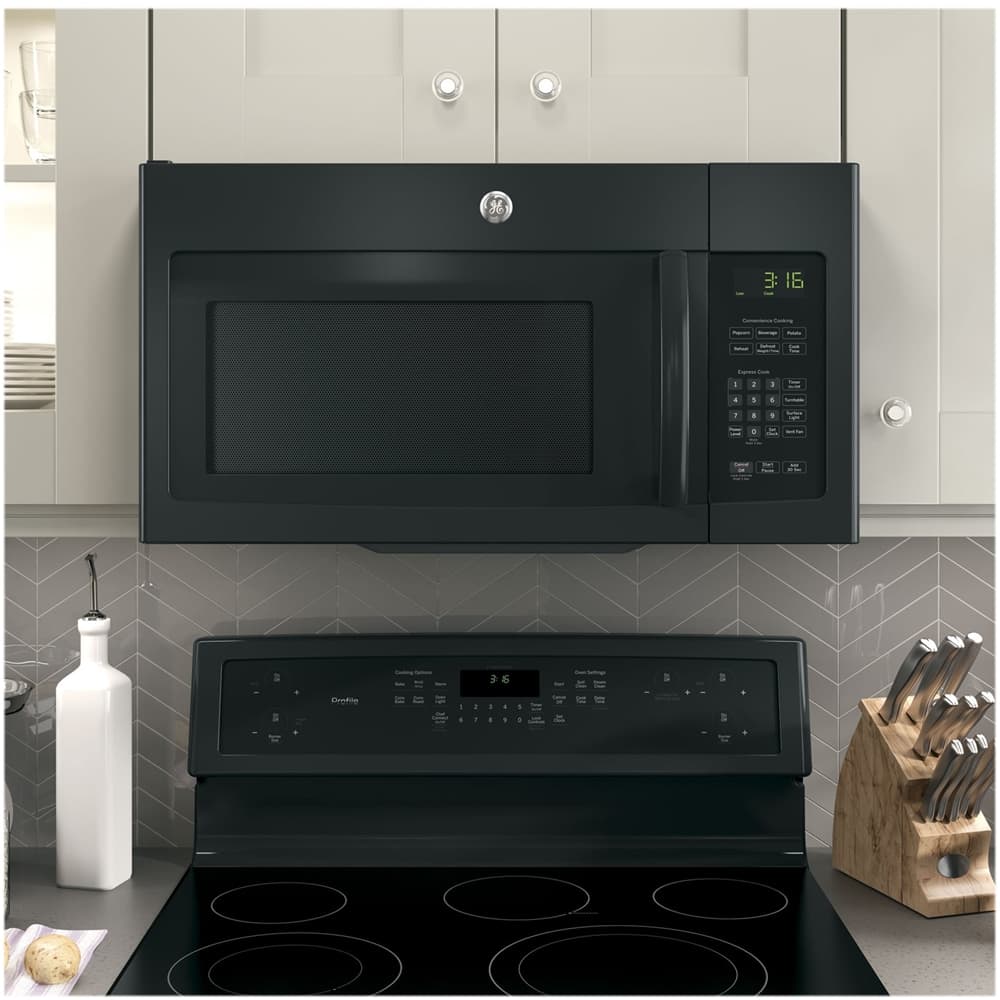
A:AnswerHi there - Great question! This microwave's dimensions are 16 1/2 H x 29 7/8 W x 15 1/4 D. Thanks so much for considering GE Appliances! -Mikayla@GEA
A:AnswerHello, thank you for your question. If you are not hearing your microwave's vent while it is running, then we recommend you schedule service with us by calling 1-800-GECares (1-800-432-2737) Monday – Friday: 7 a.m. – 10 p.m. ET or Saturday – Sunday: 8 a.m. – 6 p.m. ET or by visiting the "Schedule Service" link under the "Owner Support" tab on our website. -Chris@GEA
A:AnswerHi there,
We appreciate your interest in a new GE model microwave! We're more than happy to help find a replacement. We thing you would enjoy model PEB9159SJSS. This incredible model has convection cooking, comes with a cooking rack, and can function as a warming oven to keep foods warm. We hope this model is to your liking! Mike@GEA
A:AnswerHi there, we're happy to help. JVM3160DFWW also has an exhaust fan with 300 CFM compared to the 200 CFM model RVM5160DHWW has. Also,, the JVM model comes with a recirculating charcoal filter whereas the RVM model does not. We hope this helps and we're wishing you the best. - Guy@GEA
A:AnswerHello, this is a great question! Yes, we're pleased to inform you that this microwave will fit your space. All 30" over-the-range microwaves are approximately the same width and are designed to fit into a 30" wide cabinet opening. Therefore, any of our 30" over-the-range models will work as a replacement for an existing 30" over-the-range model. We hope that's the answer you wanted to see! We appreciate your loyalty to us as well. - Guy@GEA
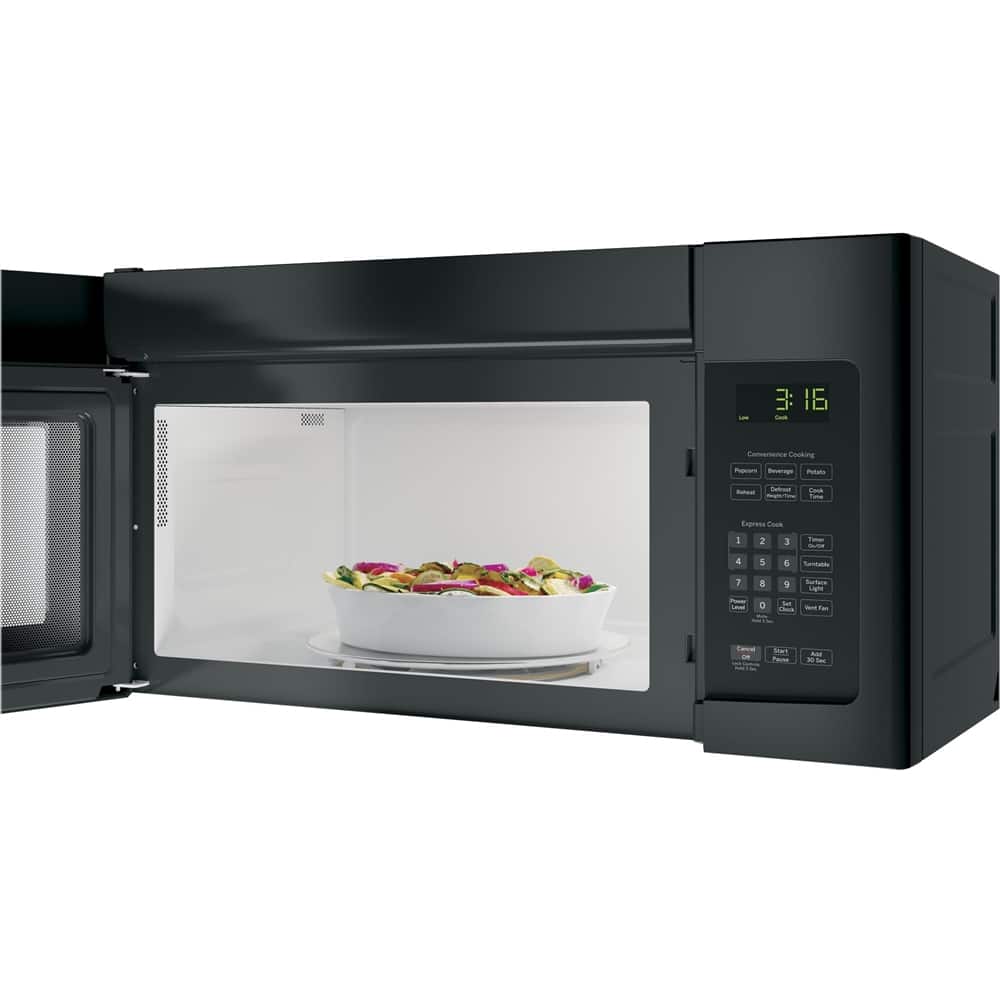
A:AnswerHi there, thanks for reaching out. The vent fan has two metal reusable vent filters on the bottom of the unit. You can see how to remove and clean these on page 18 of your owner's manual here: https://files.bbystatic.com/MNdjrWQbMIA4KaGngiqGeA%3D%3D/5d220b7c-8bce-47fc-be7b-739fb4e6bd3a.pdf - If your microwave is set up for recirculation, you should know that the charcoal filter can only be replaced, not cleaned. You can see more about this on page 19 of the owner's manual. This is located at the top of your unit. We hope that helps! - Guy@GEA
A:AnswerHi there,
Thank you so much for your interest in a new GE microwave! We'll be happy to help find a replacement. All our over-the-range microwaves are designed to fit into a 30" cabinet opening. This makes choosing a replacement a breeze. Please note however, that you will need to use the mounting kit that comes with the model. This is because the kit is made specifically for that model. One model we are especially fond of is JVM6175DKBB. We think you would especially enjoy the melt feature. We hope you enjoy this model! Mike@GEA
A:AnswerHi there,
Thank you for reaching out. We'll be happy to help you! All our over-the-range microwaves are designed to fit into a 30" cabinet opening. This makes choosing a replacement a breeze. Please note however, that you will need to use the mounting kit that comes with the model. This is because the kit is made specifically for that model. This model is in fact still being manufactured. We hope this helps! Mike@GEA
A:AnswerHello. The over the range microwaves must be hung below a cabinet and attached to the wall. You cannot have it rest on your countertop. This model is taller in the rear that in the front. It has lights on the underside that need to be exposed for safety. Hope this helps and stay well. Geoff@GEA