A:AnswerHi - Thanks for considering GE! We are sorry to hear your Frigidaire microwave needs replacing. All GE 30" over-the-range microwaves are approximately the same width, and are designed to fit into a standard 30" wide x 12"-13" deep cabinet opening. Therefore, any of our 30" over-the-range models will work as a replacement for an existing 30" over-the-range model. Model JVM3160RFSS is approximately 16 1/2"H x 29 7/8"W x 15 1/4"D. We suggest viewing the Quick Specs document at the following link for cabinet dimensions:
https://products.geappliances.com/MarketingObjectRetrieval/Dispatcher?RequestType=PDF&Name=340169_jvm3160rf_c3.pdf -
We'd love to have you in the family! Keep in touch at GEAppliances.com. Sue
A:AnswerHello MarsQ - Thank you for reaching out about this amazing microwave. Our appliances are tested with the parts provided in the owner's manual so using this would be our recommendation. Other bulbs may fit and work, however, the appliance was not tested with other bulbs. Thanks! - JB
A:AnswerHi Anne - Thanks for reaching out to us! We certainly appreciate your loyalty. All GE 30" over-the-range microwaves are approximately the same width, and are designed to fit into a 30" wide cabinet opening. Therefore, any of our 30" over-the-range models will work as a replacement for your existing 30" over-the-range model JVM1650SB004 (Dimensions: 16 13/32 H x 29 7/8 W x 15 1/4 D). Comparable models with sensor cooking controls are Model #: JVM7195SKSS (dark gray enamel interior with steam clean option), Model #: JVM6175SKSS and Model #: JVM6175YKFS (fingerprint resistant stainless). Thank you for making GE Appliances a part of your home. If you have any additional questions, do not hesitate to ask, we are also happy to help at GEAppliances.com! Sue
A:AnswerHi Babs - Thanks for viewing GE Model JVM3160RFSS! Yes, the microwave can be installed over gas cooking products with combined surface burner BTU rating of approximately 65,000 BTUs or less. We suggest viewing the following link- MICROWAVES INSTALLED ABOVE A GAS RANGE OR COOKTOP: https://products.geappliances.com/appliance/gea-support-search-content?contentId=18417 - Keep in touch at GEAppliances.com. Sue
A:AnswerHi Carol - It's nice to hear from you! We are sorry to hear your microwave needs replacing and apologize for any inconvenience this has caused. A comparable model is GE® 1.9 Cu. Ft. Over-the-Range Sensor Microwave Oven Model # JVM7195SKSS. Mounting holes will not be the same on current models. When replacing an over-the-range microwave, the mounting bracket included with the new microwave should be used since the mounting bracket is specific to each model. The new screws, bolts, and exhaust adapter should also be used. We appreciate your loyalty. If you have any additional questions, do not hesitate to ask, we are happy to help at GEAppliances.com! Sue
A:AnswerHi bmills - We certainly appreciate your loyalty! All 30" over-the-range microwaves are approximately the same width, and are designed to fit into a 30" wide cabinet opening. Therefore, any of our 30" over-the-range models will work as a replacement for an existing 30" over-the-range model. Also, the over-the-range models are all designed for adaptation for the following three types of ventilation: 1. Outside Exhaust (Vertical – Delivered from factory in vertical position). 2. Outside Exhaust (Horizontal). 3. Recirculating (Non-vented ductless). GE - 1.6 Cu. Ft. Over-the-Range Microwave Model JVM3160DFWW is a great choice and can be installed in the same space as jvm1540dm4ww (Dimensions: 16 1/2H x 29 7/8W x 15 1/4D). Keep in touch at GEAppliances.com. Sue
A:AnswerHi - Thanks for reaching out to us regarding your GE microwave model JVM1540DM4BB. We are sorry to hear it no longer heats and the turntable does not rotate and apologize for any inconvenience. This is frustrating, we know. We have good news. You can choose any model. All over-the-range microwaves are designed for adaptation to the following three types of ventilation to suit your installation needs: 1. Outside Exhaust (Vertical – Delivered from factory in vertical position). 2. Outside Exhaust (Horizontal). 3.
Recirculating (Non-vented ductless). A comparable model is GE® 1.6 Cu. Ft. Over-the-Range Microwave Oven JVM3160DFBB. Keep in touch at GEAppliances.com. Sue
A:AnswerHi there,
If you are making your unit recirculating instead of venting externally, you would use a charcoal filter. One is supplied upon delivery. However, when you need to purchase a new one, the part number for that filter is as follows: WB02X11550. The filter is located behind the grill at the top of the opening of the microwave, once the door has been opened. For a diagram that should help clear things up and directions on how to remove and replace the filter, take a look at pg. 15 of your Owner's Manual. You can view that document here: https://products.geappliances.com/MarketingObjectRetrieval/Dispatcher?RequestType=PDF&Name=49-40669-6.PDF - We hope that this helped! Thank you so much for your question. -Michael
A:AnswerHello. Thank you for your interest in purchasing a new microwave. We are glad to assist. The GE® 1.6 Cu. Ft. Over-the-Range Microwave Oven JVM3160DFWW is a great replacement for your existing model: https://products.geappliances.com/appliance/gea-specs/JVM3160DFWW
The new model has an option of non-vented/ductless installation. The charcoal filter should be used for recirculating back into the room and it is included with this model. I hope this helps. Olga
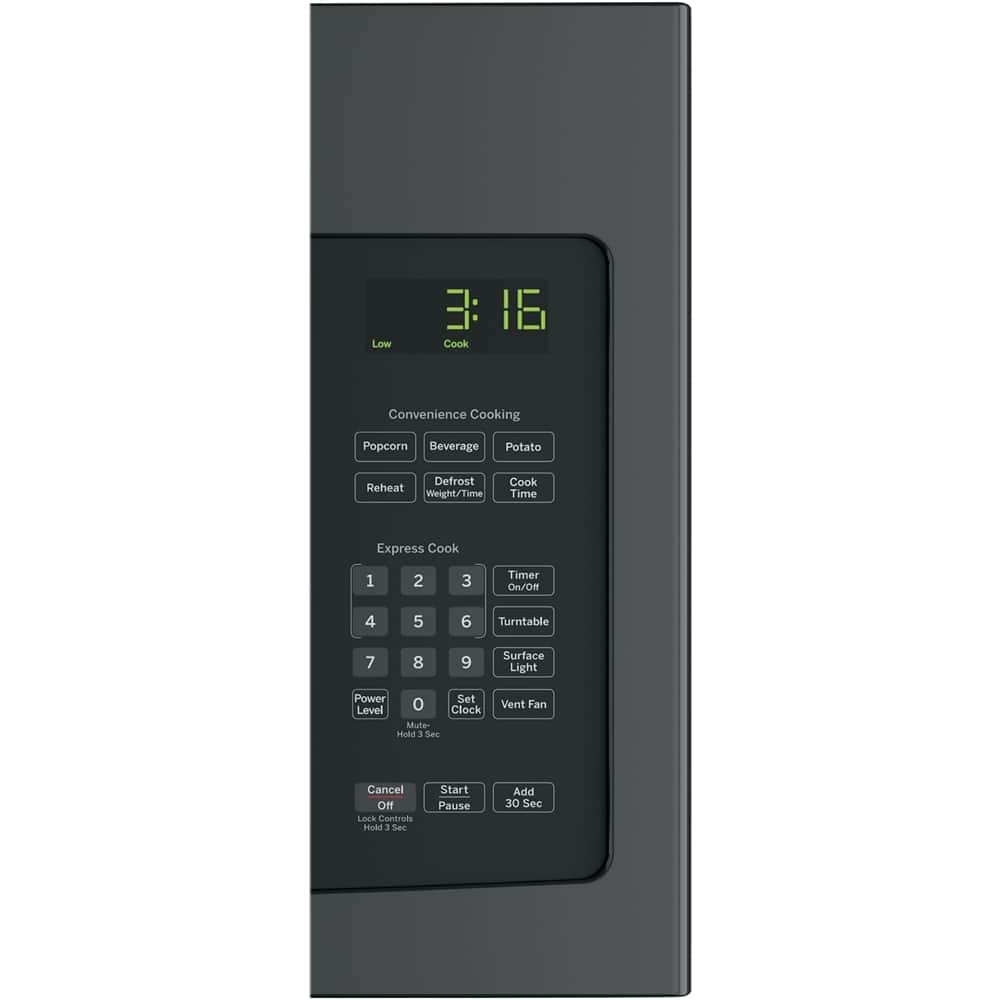
A:AnswerHello, all 30" over-the-range microwaves are approximately the same width, and are designed to fit into a 30" wide cabinet opening. Therefore, any of our 30" over-the-range models will work as a replacement for an existing 30" over-the-range model. As a note, when replacing an over-the-range microwave, the mounting bracket included with the new microwave should be used since the mounting bracket is specific to each model. The new screws, bolts, and exhaust adapter should also be used. The model you are looking at would be a great replacement! To see more information about that microwave, please see the use and care manual here: https://products.geappliances.com/MarketingObjectRetrieval/Dispatcher?RequestType=PDF&Name=49-40669-6.PDF The model has similar convenience controls as your previous microwave, such as: Beverage, Cook Time, Defrost: Weight/Time, Popcorn, Potato, and Reheat. I hope this helps! -Chris
A:AnswerHi MAC1- Yes, all 30" over-the-range microwaves are approximately the same width, and are designed to fit into a 30" wide cabinet opening. Therefore, any of our 30" over-the-range models will work as a replacement for an existing 30" over-the-range model. Each microwave comes with the mounting hardware (mounting bracket, screws, exhaust adapter), top and rear templates, and installation instructions needed to make installation a simple process. This makes choosing a replacement microwave easy. You can view the Quick Specs at the following link for all product and cabinet dimensions: https://products.geappliances.com/MarketingObjectRetrieval/Dispatcher?RequestType=PDF&Name=340168_jvm3160df_c3.pdf - We certainly appreciate your loyalty! Enjoy - Sue
A:AnswerHi - Yes! All 30" over-the-range microwaves are approximately the same width, and are designed to fit into a 30" wide cabinet opening. Each microwave comes with the mounting hardware (mounting bracket, screws, exhaust adapter), top and rear templates, and installation instructions. Enjoy! Sue