A:AnswerIt is designed to add a delay in between turning on and off in order to protect your system. It talks about it in the manual that came with the product. It's to avoid burning up the relay or some particular component.
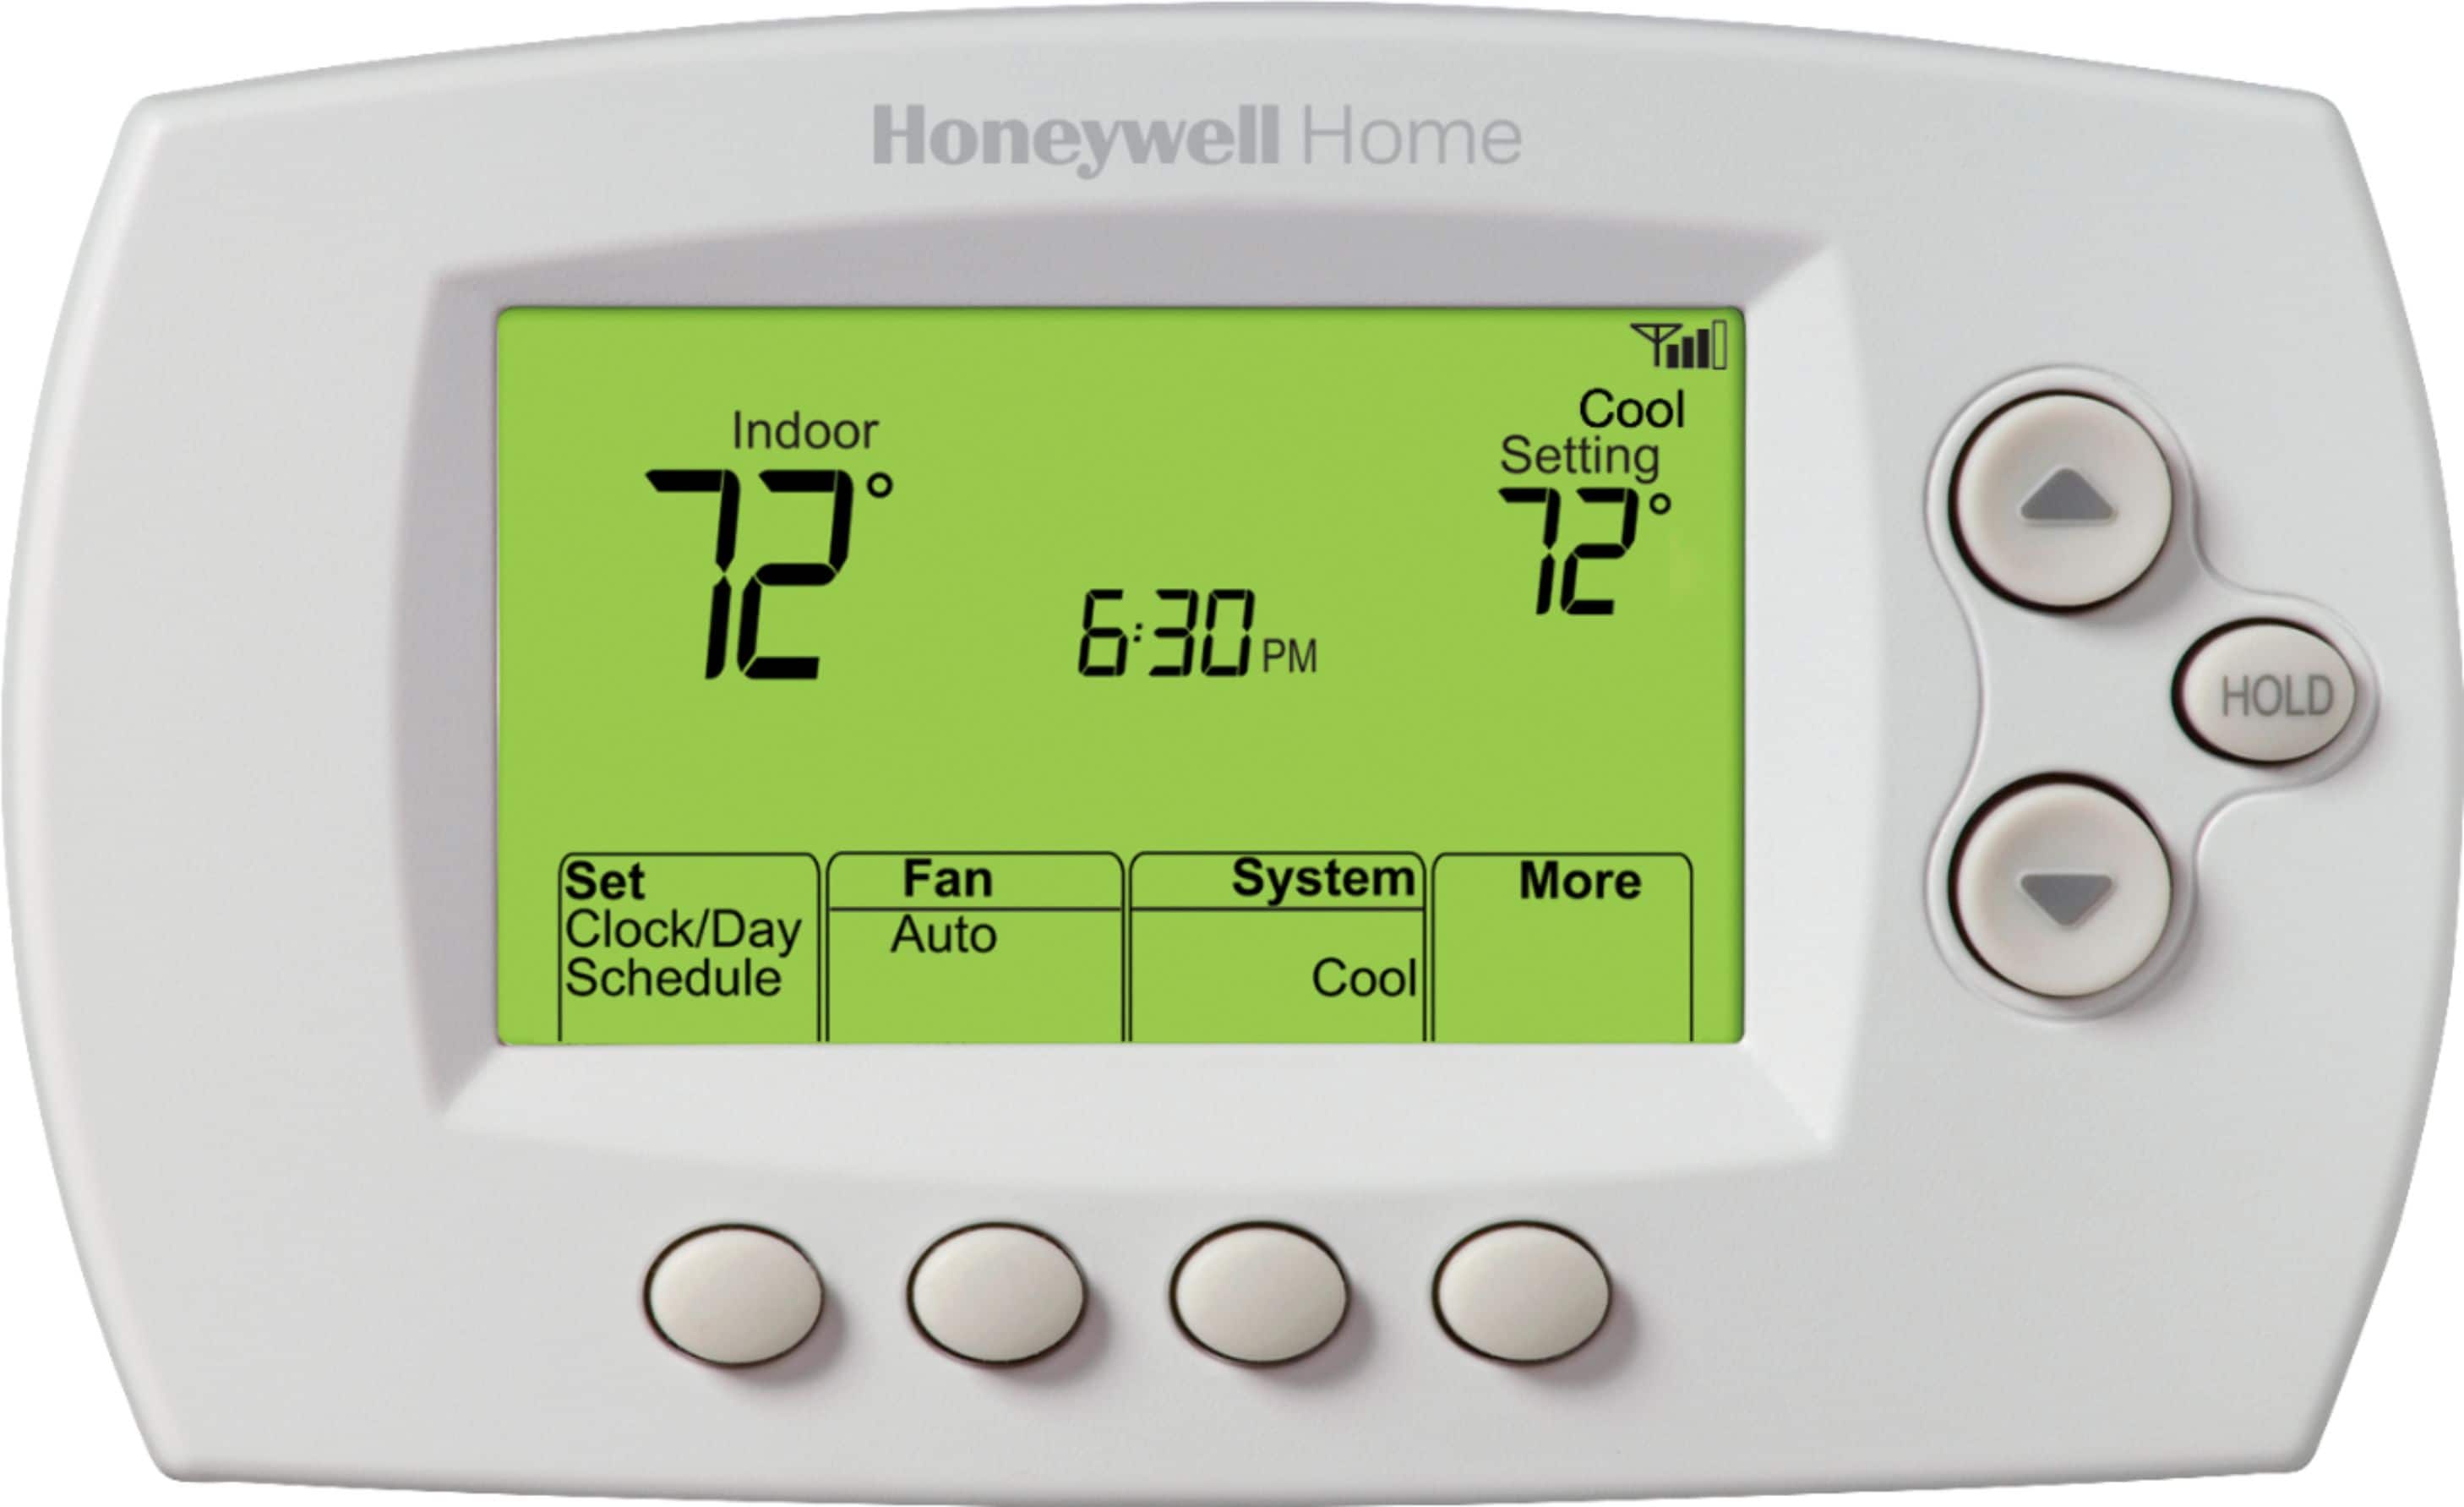
A:AnswerThis particular unit does not take batteries, it requires a 5 conductor cable that will be able to supply it with 24 volts power supply. Most newer homes are equipped with this set up, but older homes used the 4 conductor set up and will require more in order for it to work properly
A:AnswerIf wired properly, the thermostat display should power on. Double check the wiring against the manual. If you still can’t get it to work, contact Honeywell support or an HVAC contractor or an electrician.
A:AnswerThis is from my spouse, who just changed out an older Honeywell model for these (we have three of them):
The backing itself is different but the position of the screws that hold the case to the wall should be the same, ( ie no need to drill new holes)
Expect to connect 5 wires (for the most part they are color coded) a positive and negative for the AC and heater, and a thermostat reference.
Just in case they are not color coded, be prepared to label them BEFORE removing the old one. They should be connected to a small panel which has letters (Y, G, R, etc)
From me: The installation guide actually does say to remove the wires one by one and label them as you do. A sheet of sticky tags is included in the package for this purpose. I've included an illustration from the manual of what to do with the wires after that.