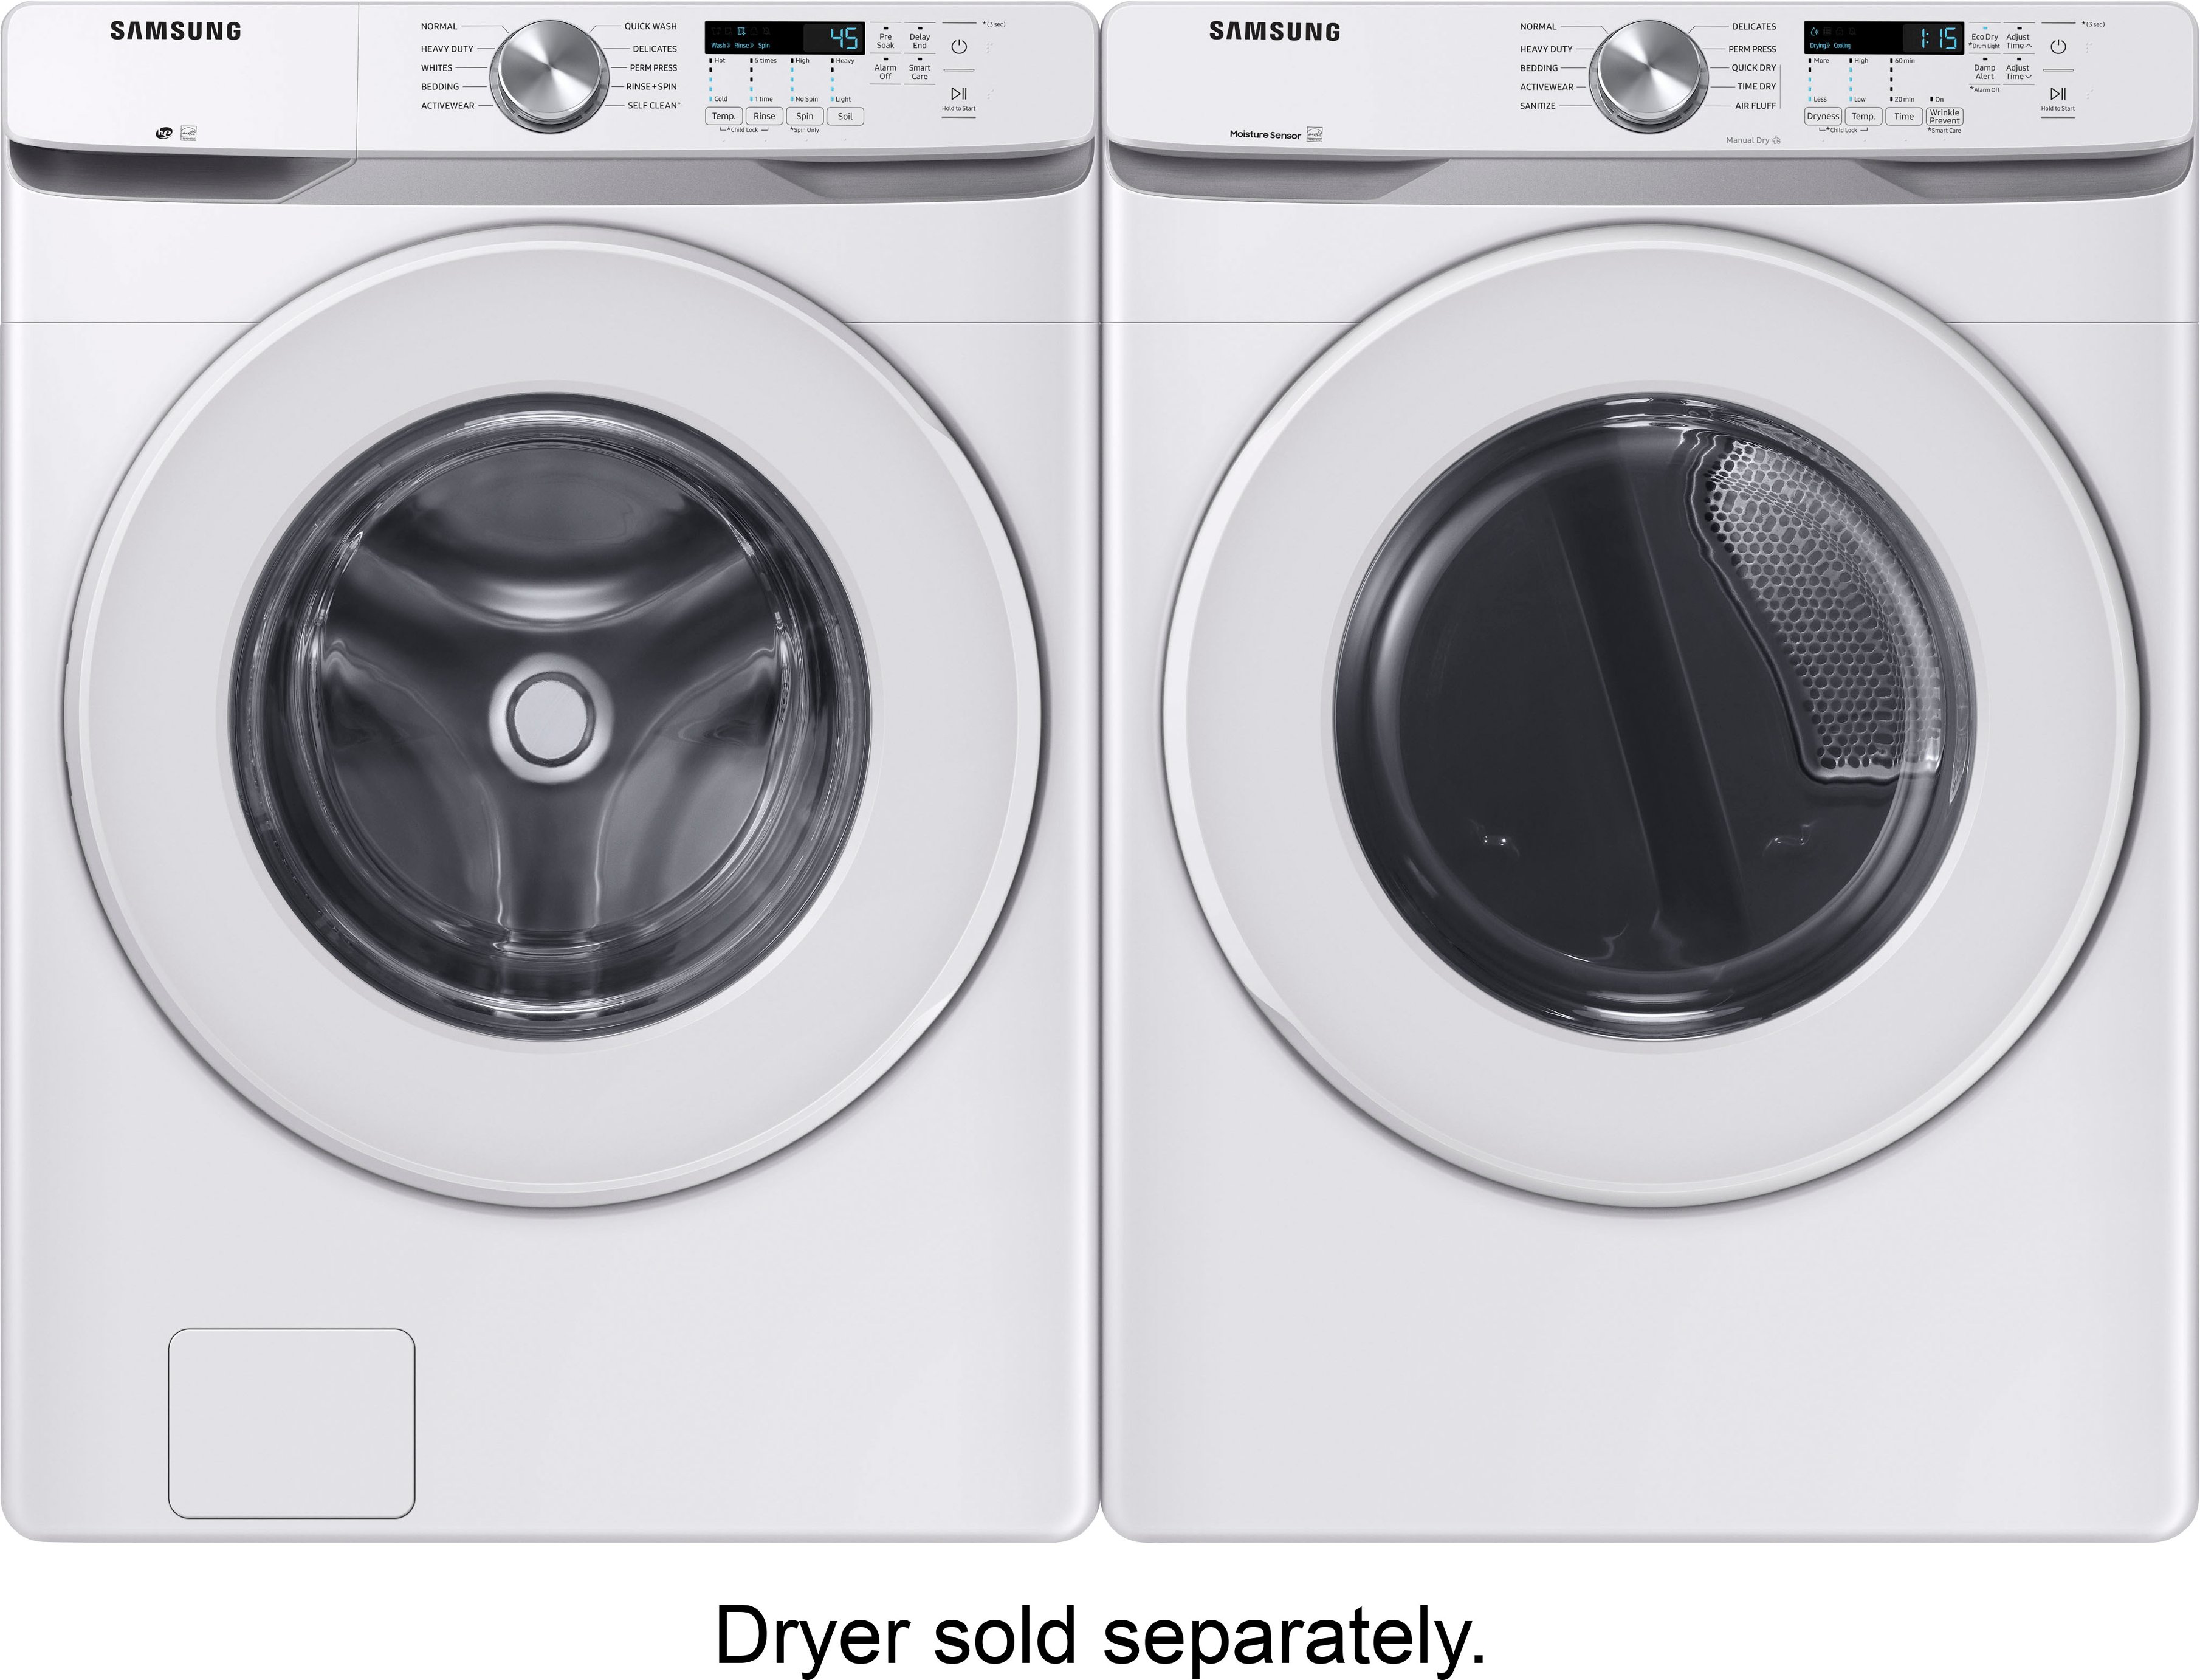
A:AnswerNo. In this day and age more and more appliances do not come with the power cord. So, the cord must be purchased separately. That is true for this particular dryer.
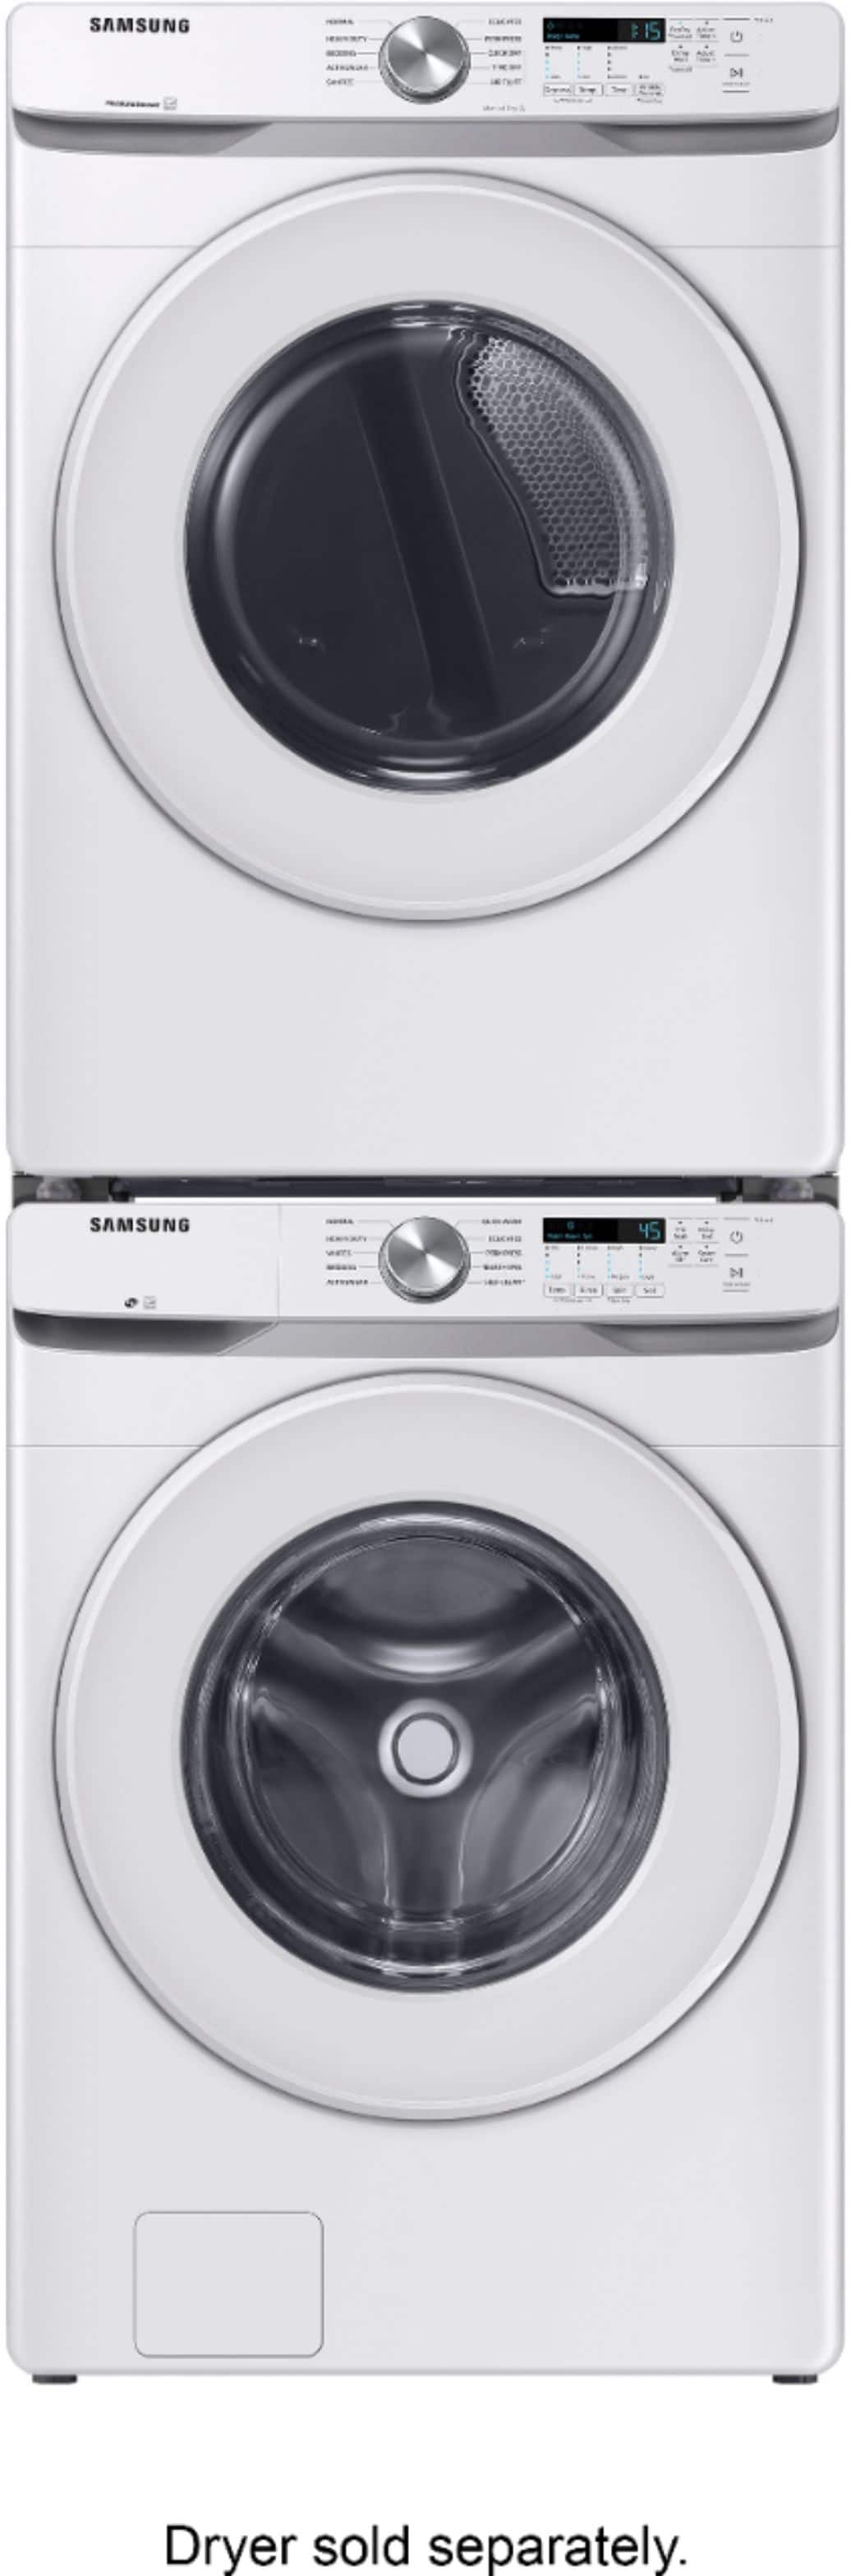
A:AnswerHi SALLY! We are not able to confirm compatibility with non-Samsung products. This means that we cannot ensure another manufacturer's dryer will connect to our stacking kit properly. ^Jecca
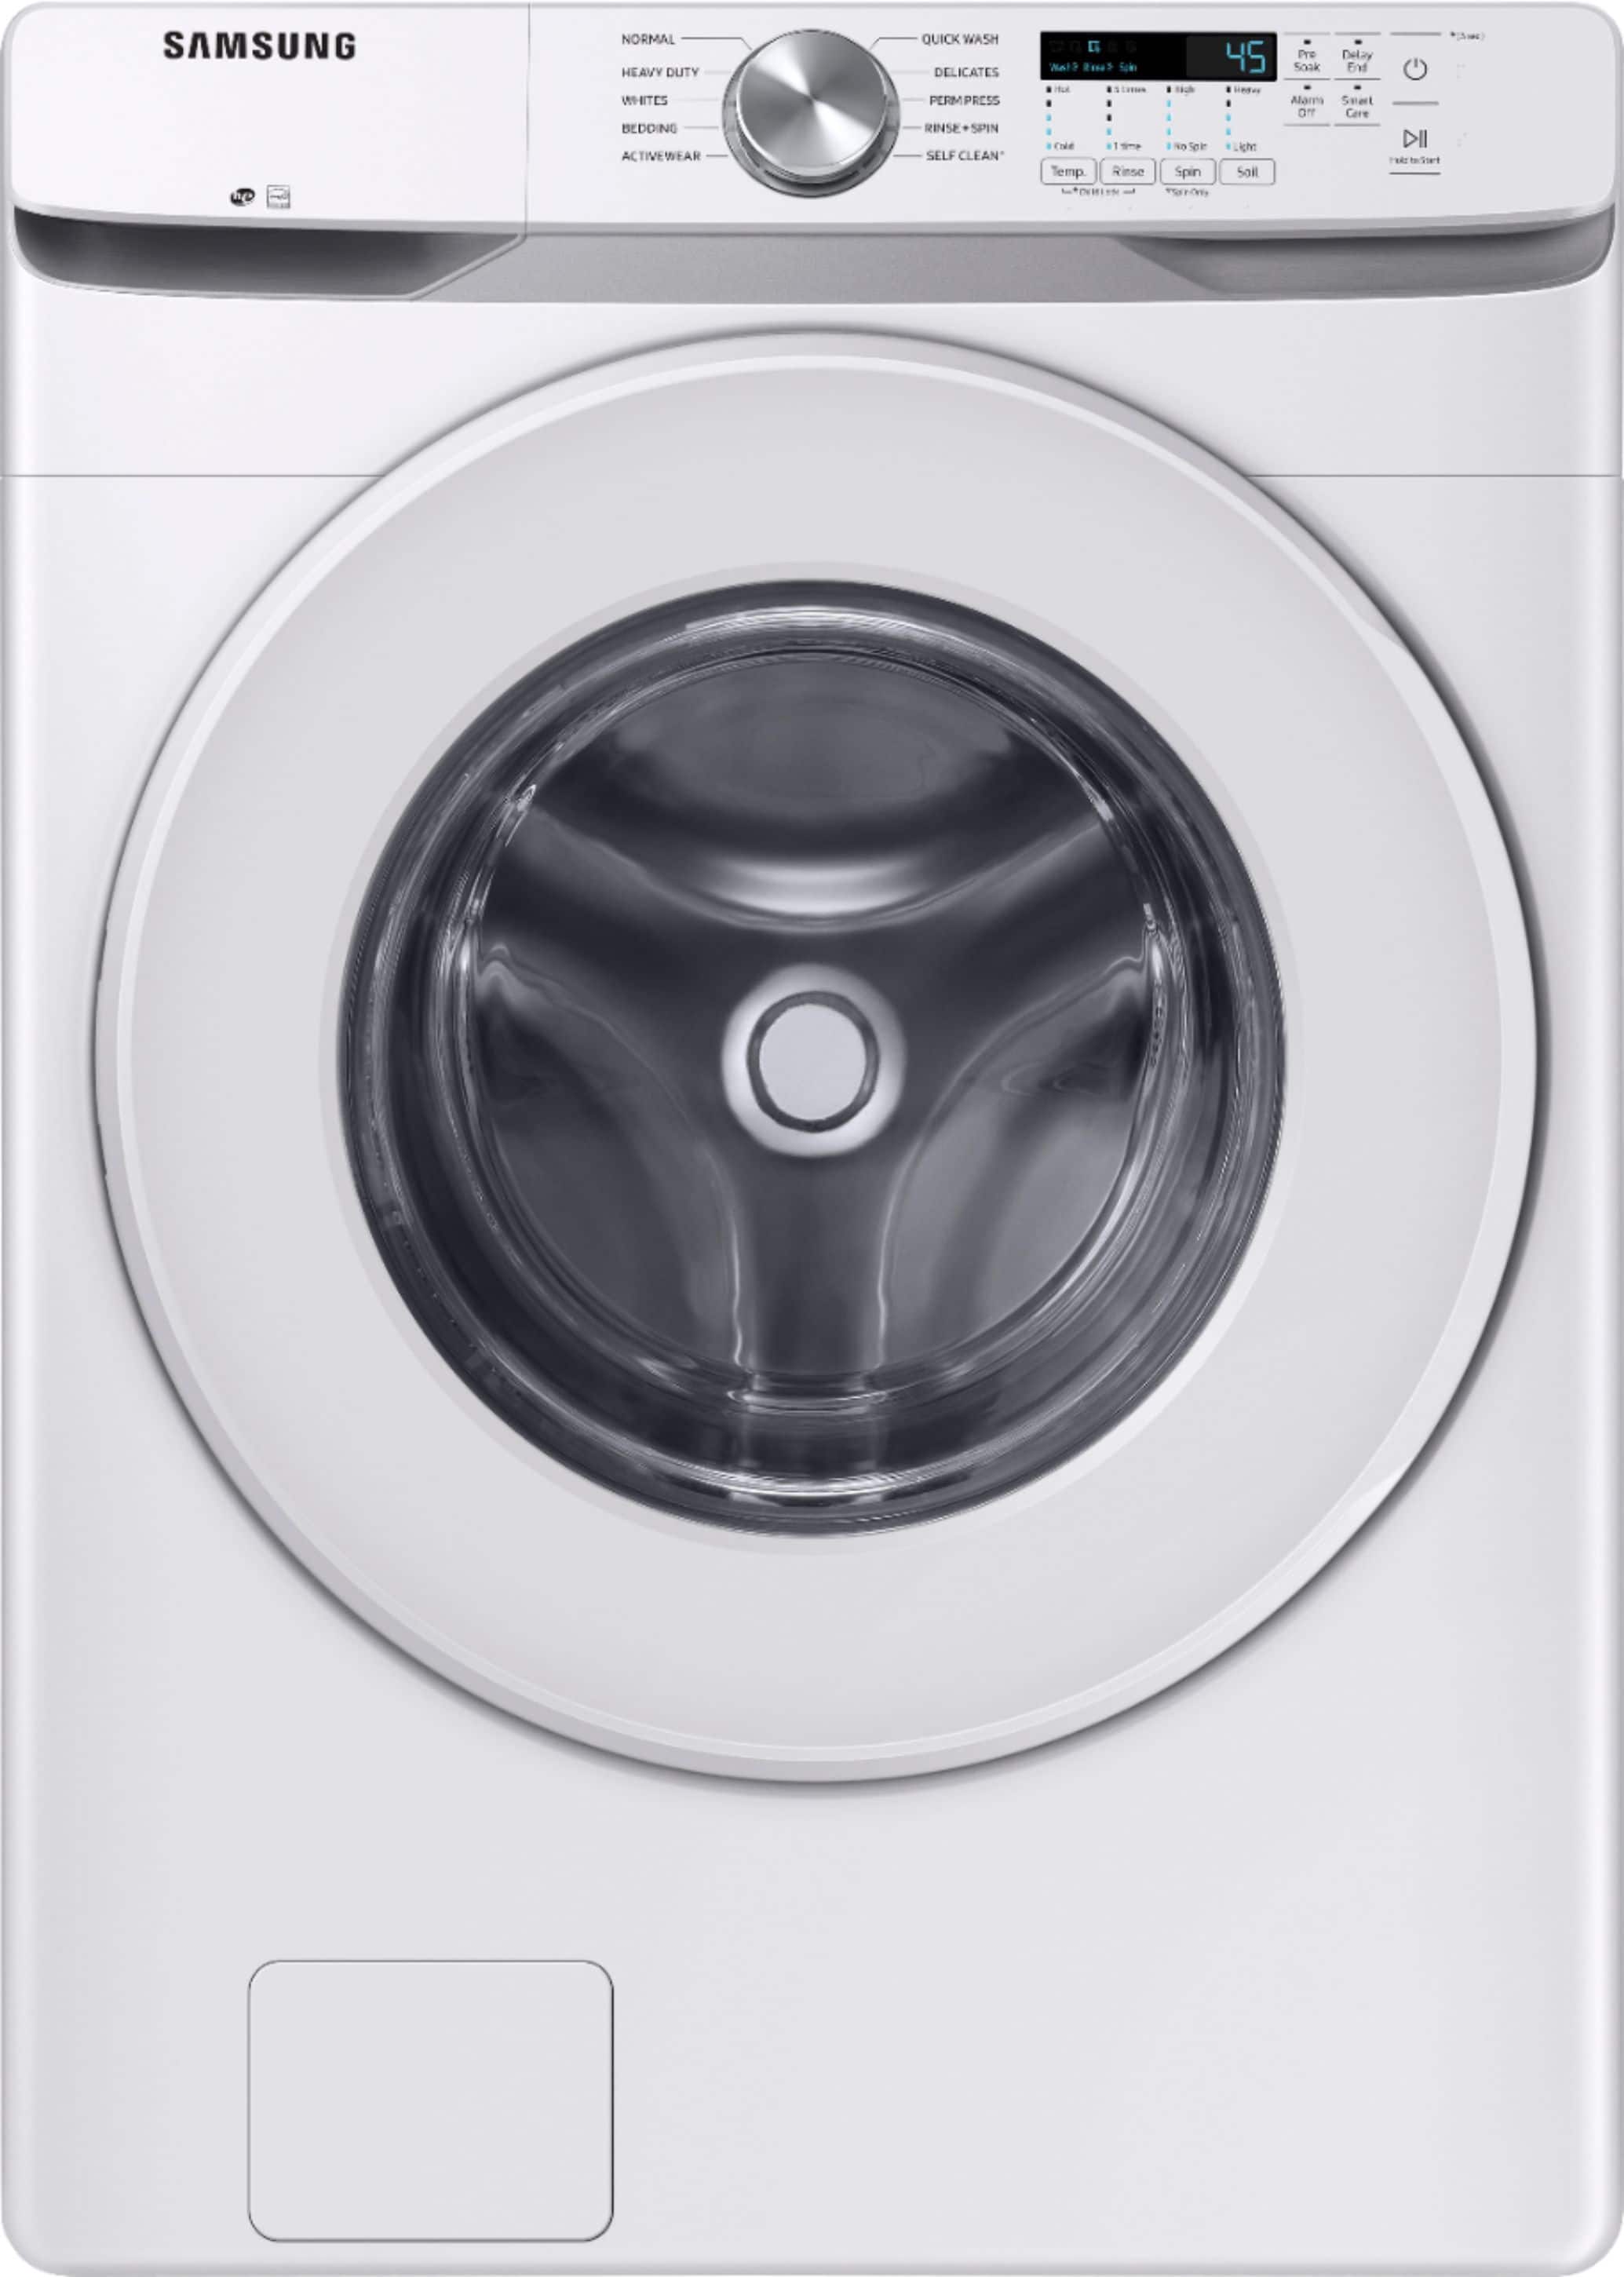
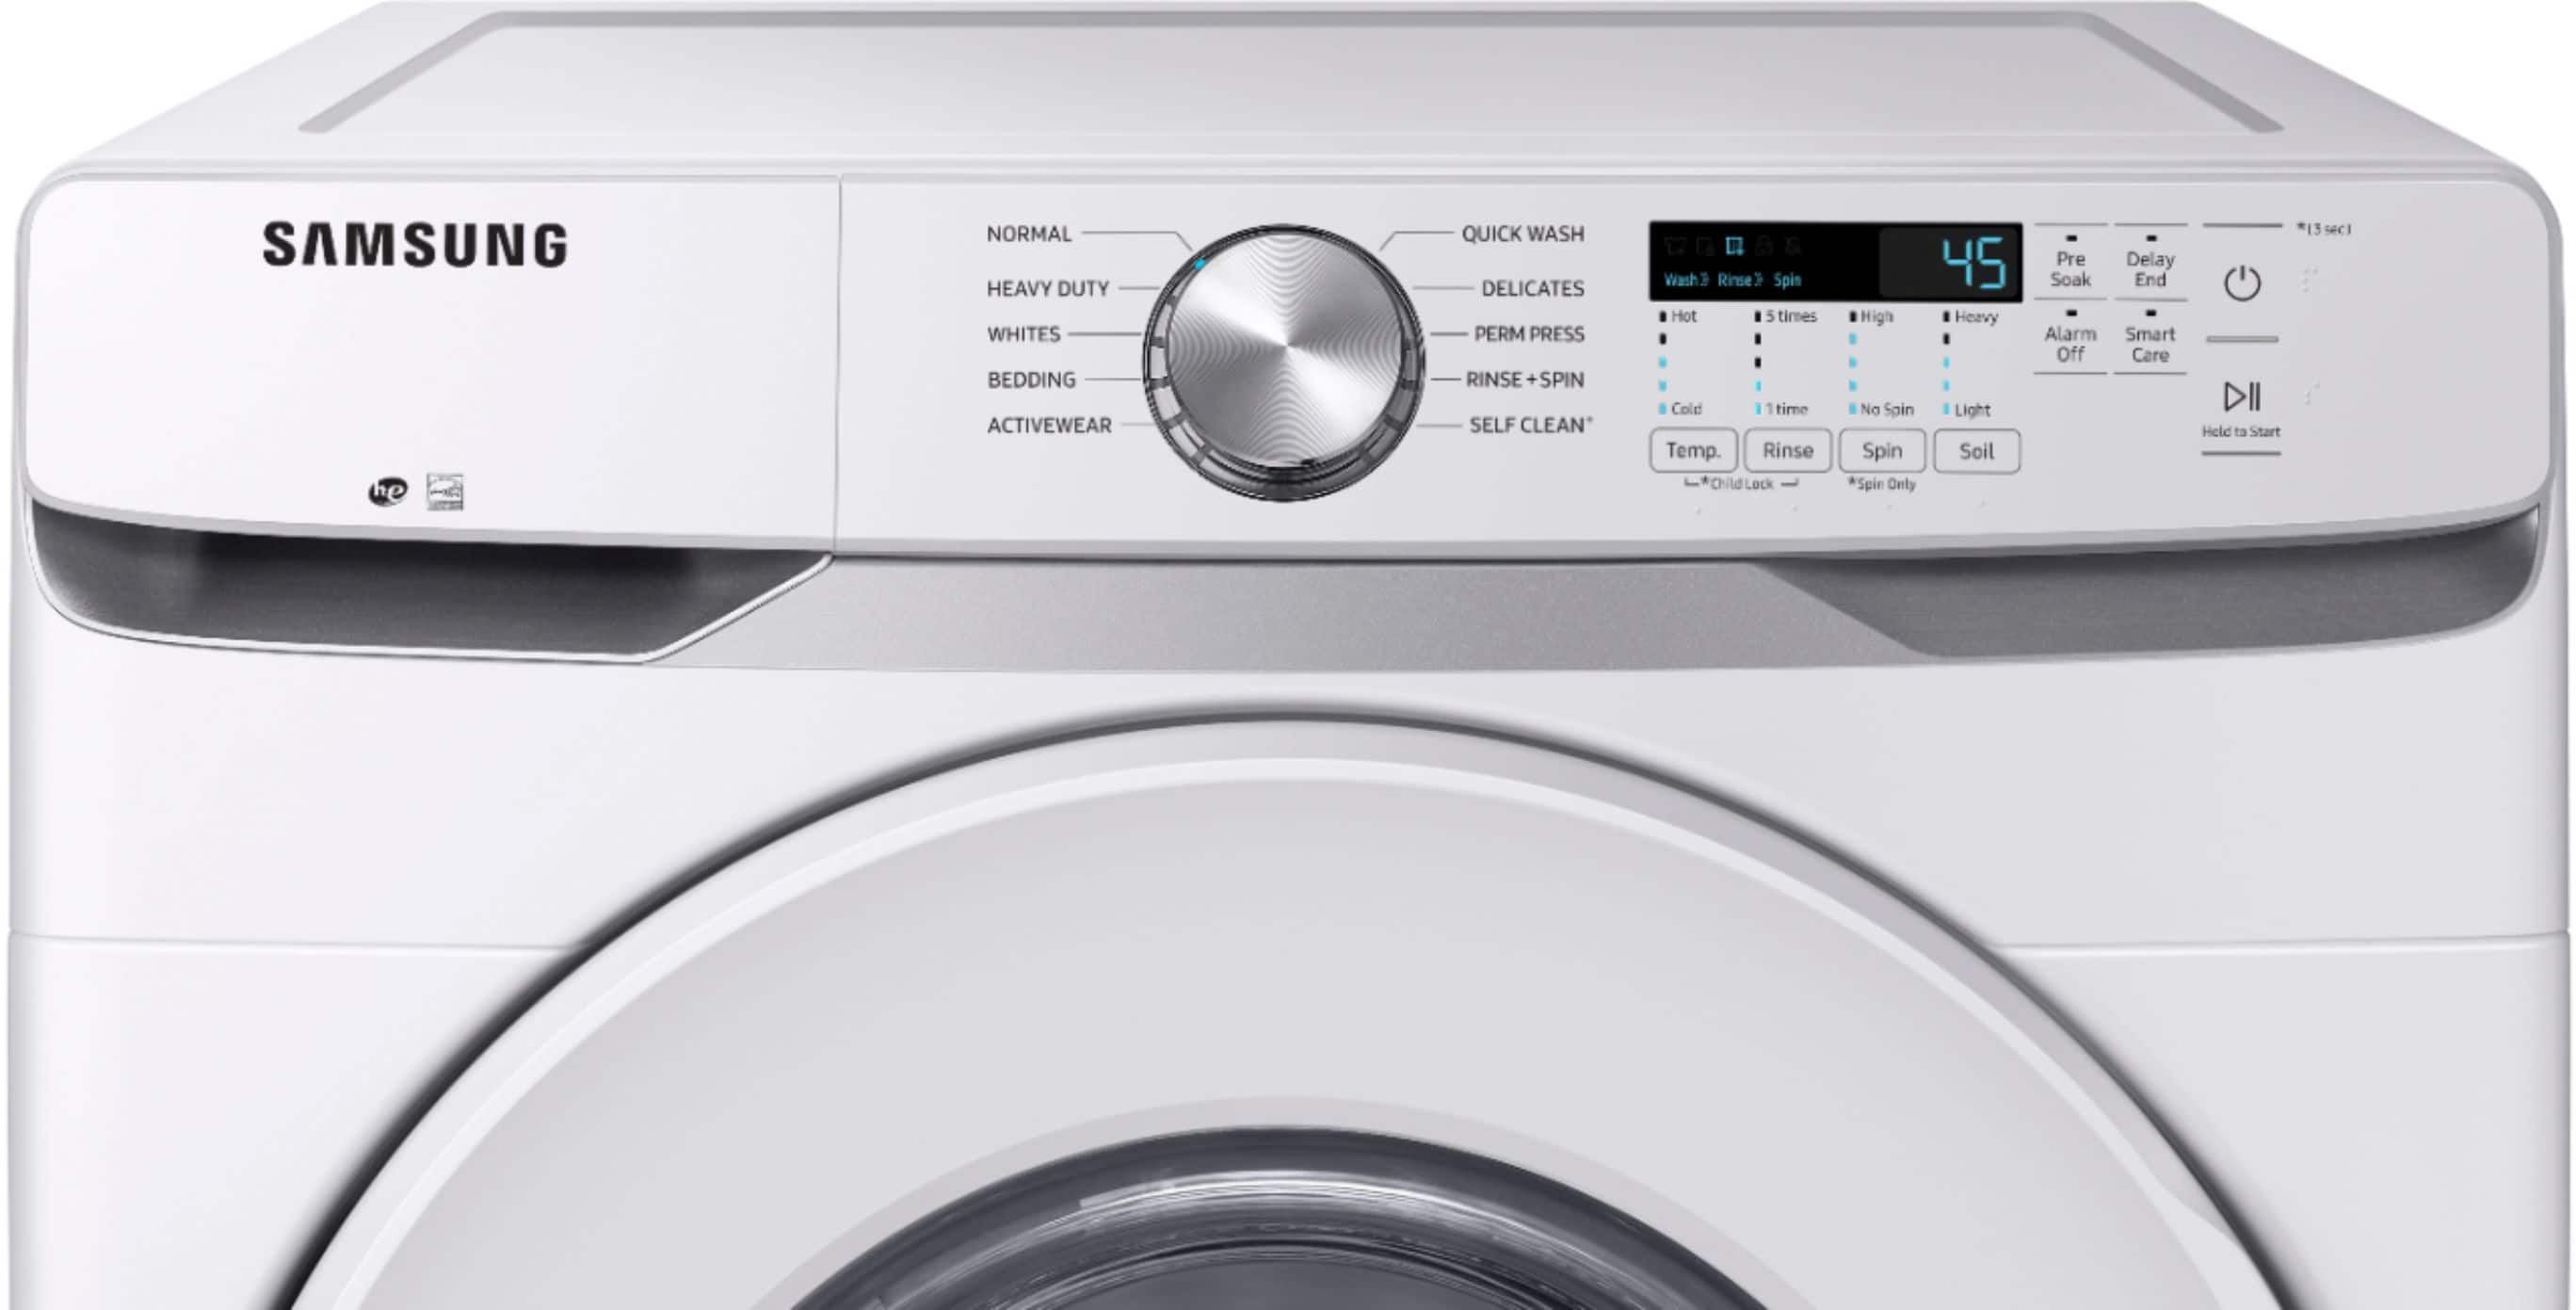
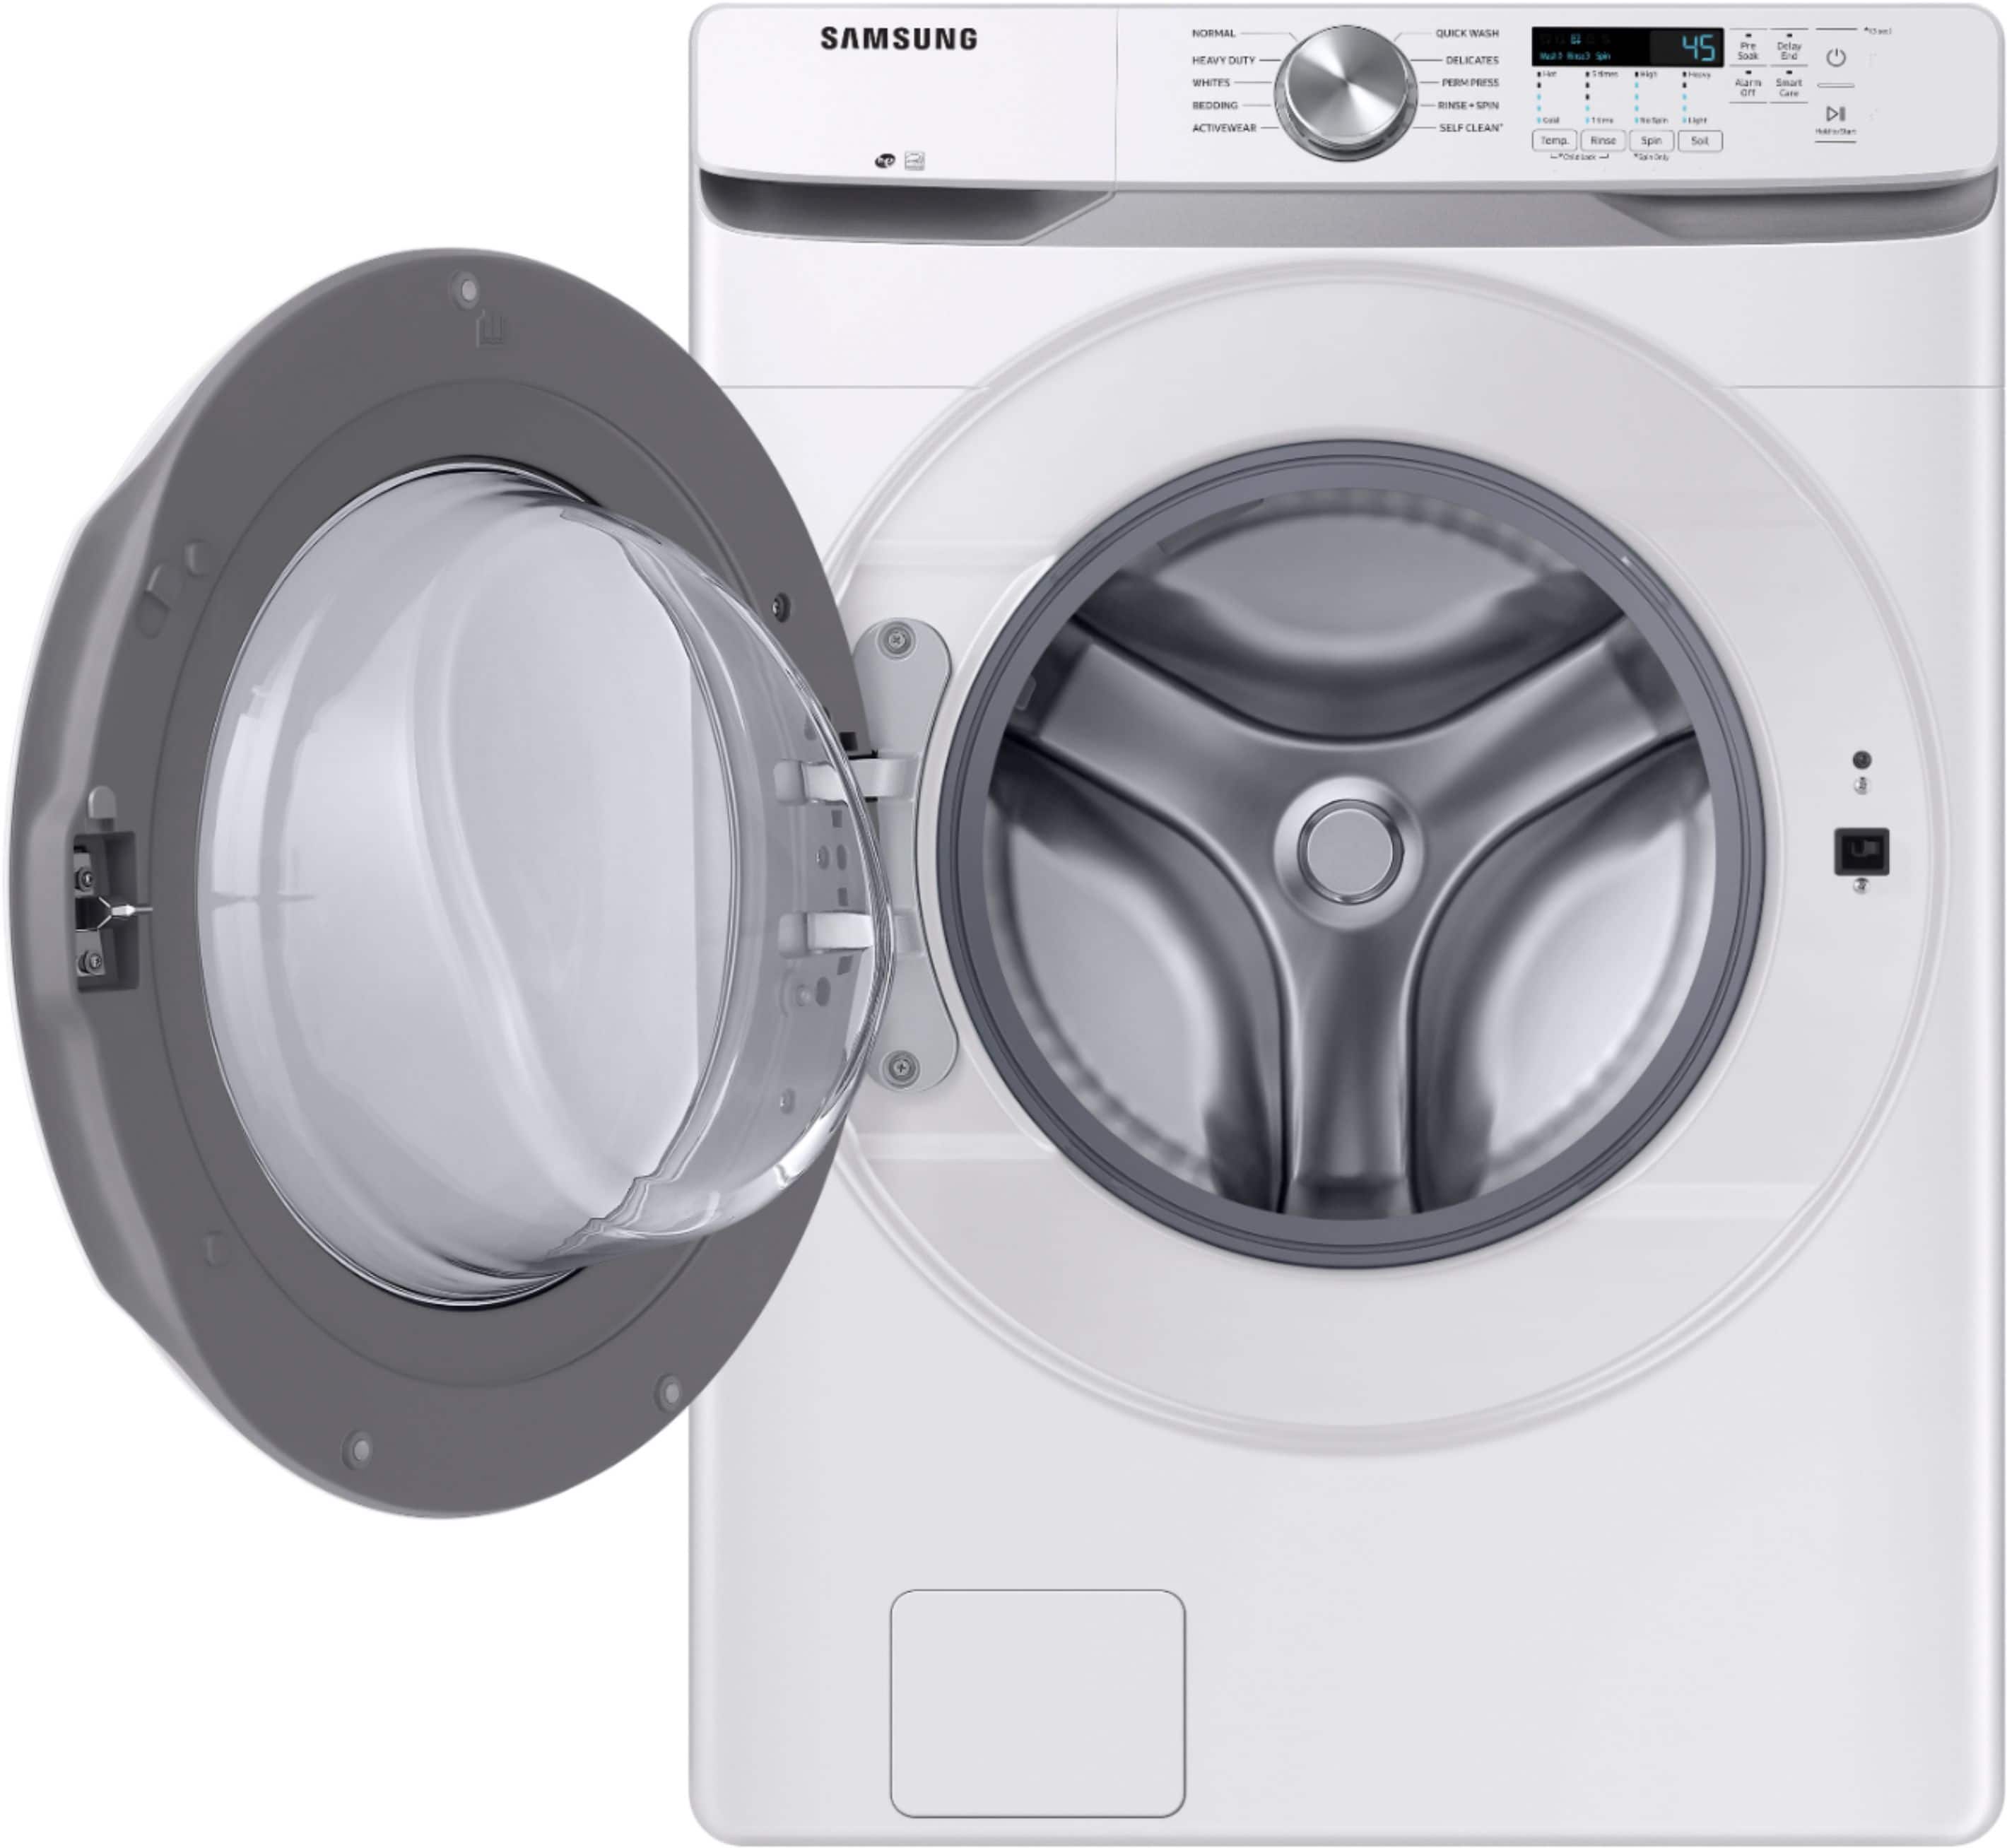
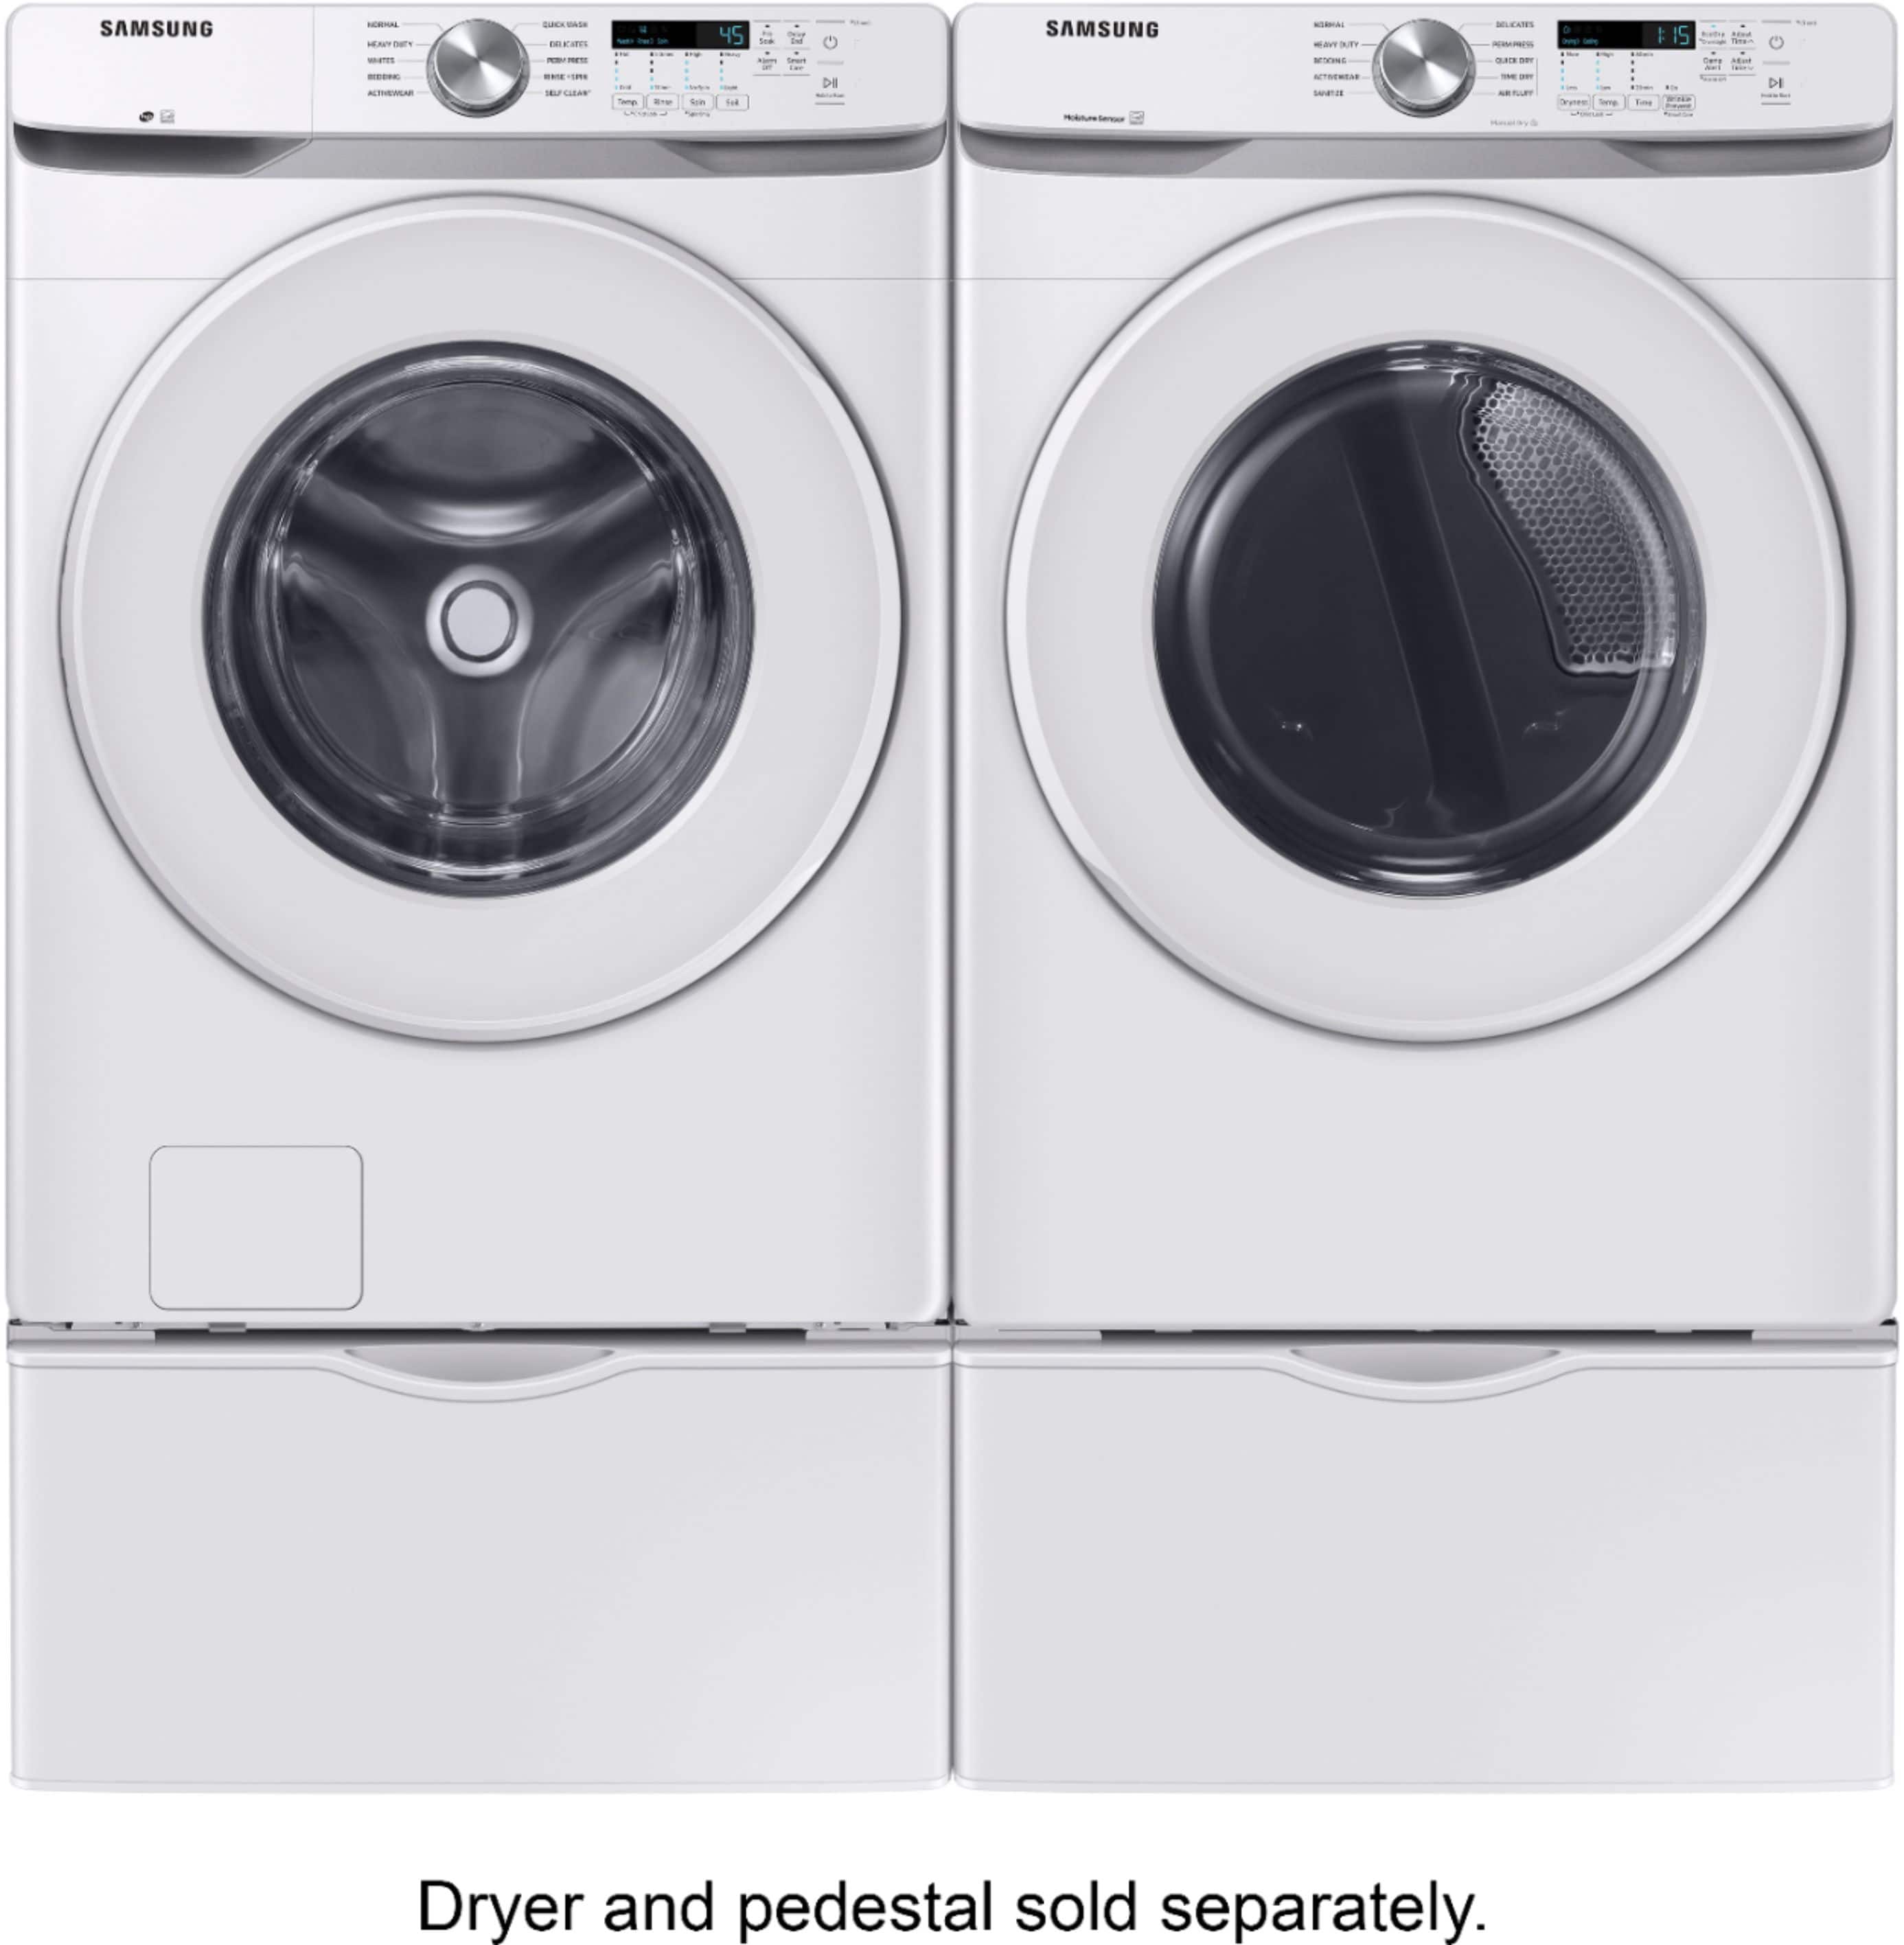
A:AnswerHello there! I have the dimensions of this washer listed as 27" W x 38.7" H x 31.3" D. If you would like to leave another question with the dryer model number, I would be happy to look up the dimensions for that as well. ^Jecca
A:AnswerHi Bebe! The term "open box" can mean several different things including the product has been returned, or it was previously a display model. In general an open box item has been previously opened. ^Jecca
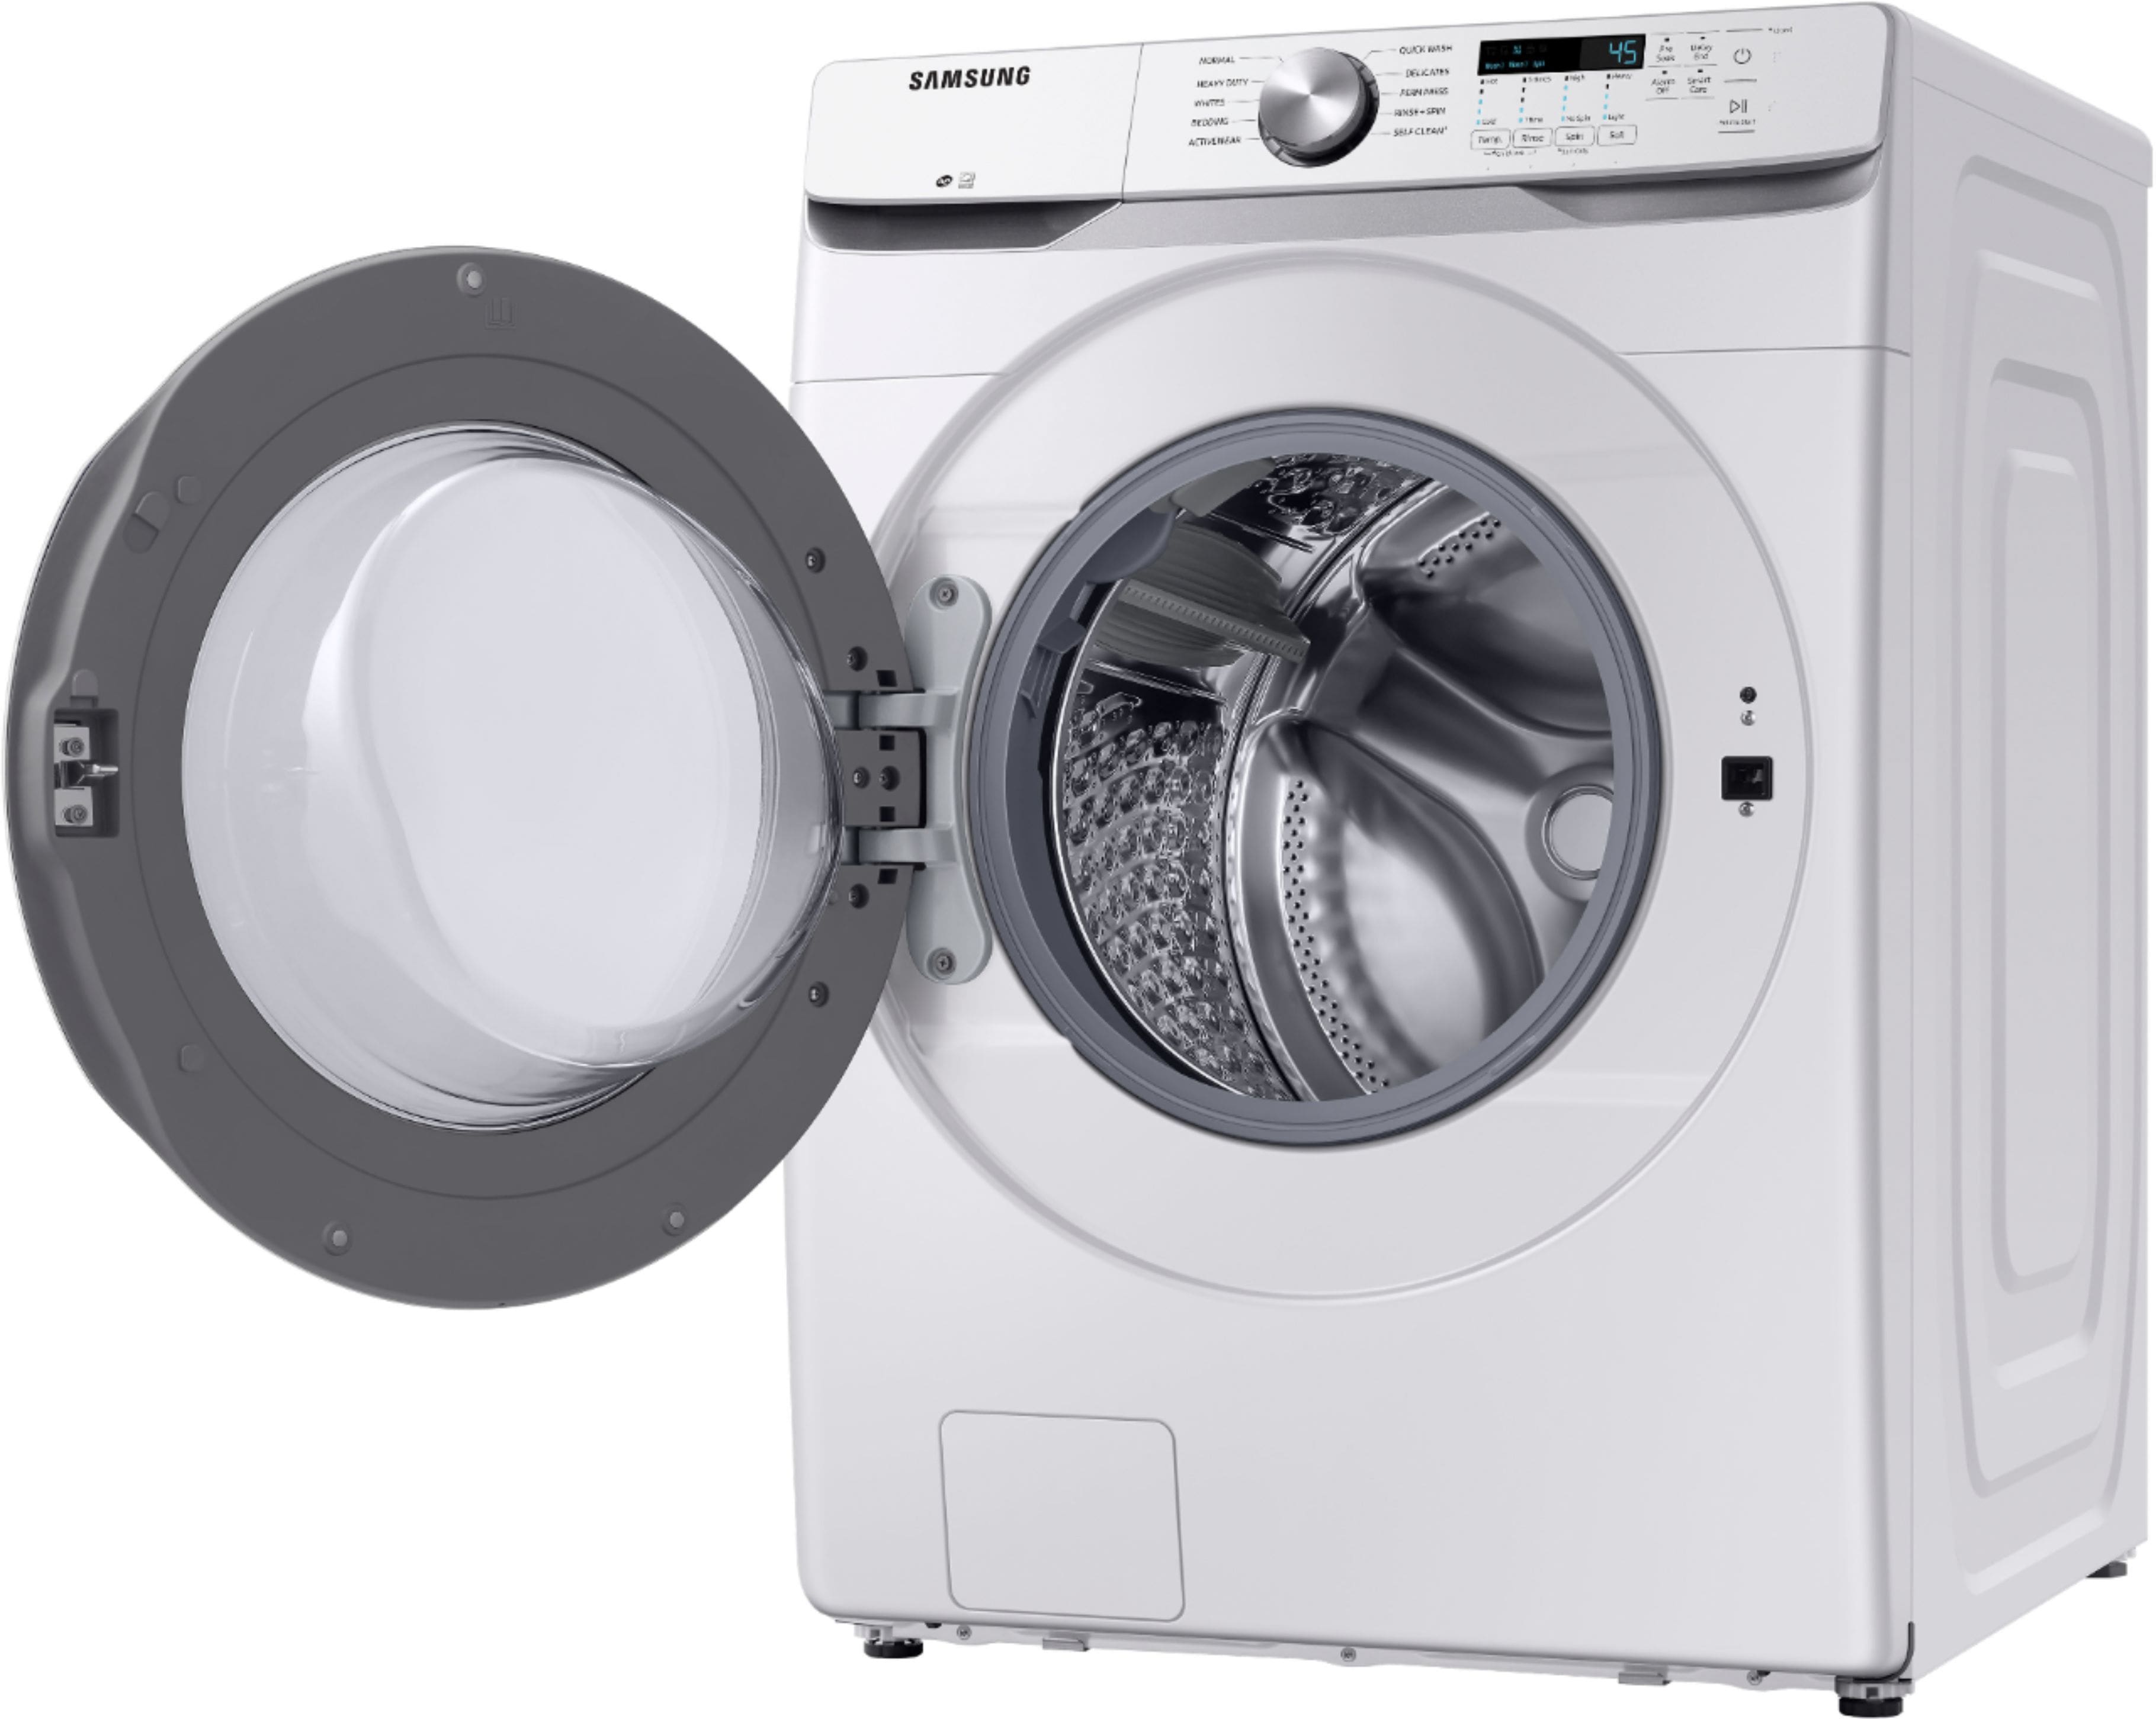
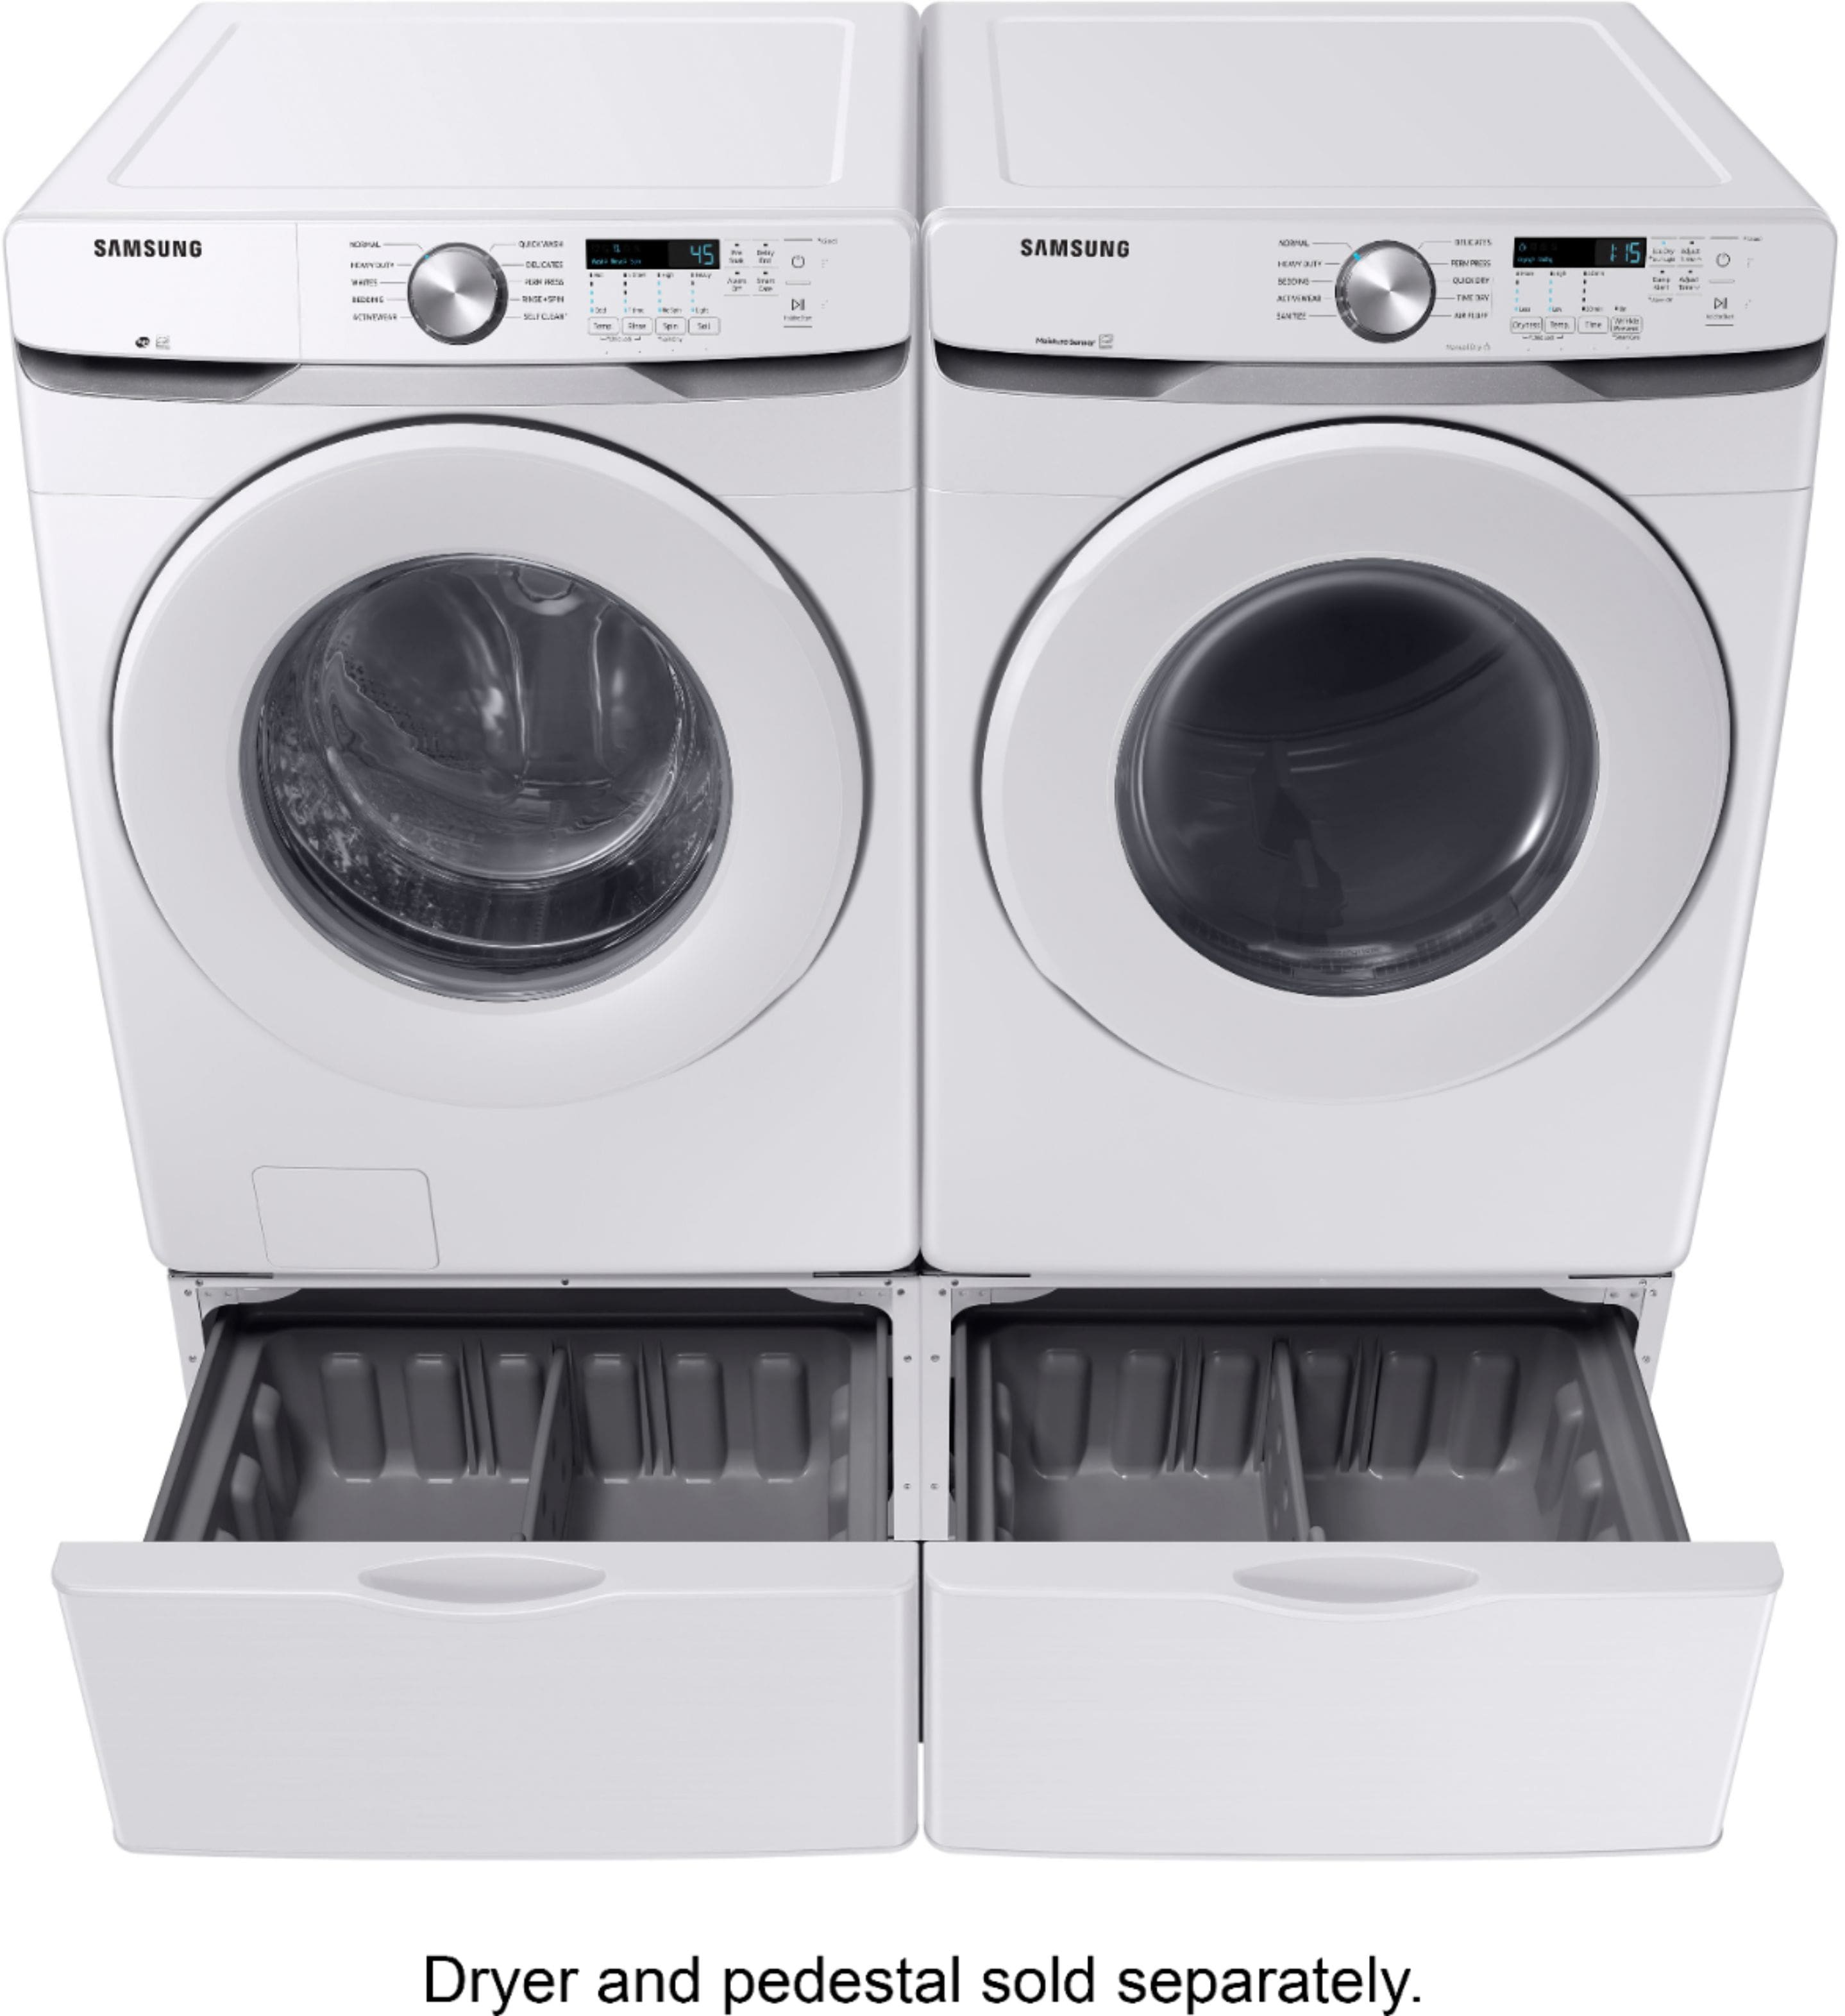
A:AnswerHi MAJ! Samsung recommends placing the washer directly on the floor as this allows for the most accurate leveling and can prevent certain issues such as an unbalanced load. ^Jecca
A:AnswerThank you so much for providing that information, Andy! I was able to confirm that both this model washer, and the dryer model DV330AEW are compatible with the stacking kit now labelled SKK-8K. ^Jecca
A:AnswerAbsolutely, Wendy! In fact, page 32 of the user manual (https://bit.ly/3vFWmze) has step by step instructions on how to reverse the door. ^Jecca
A:AnswerThanks for asking, Leo! The power cord for the dryer is actually sold separately to allow users to purchase one that is compatible with the outlet available in their home. ^Jecca
A:AnswerThere are instructions in the manual. There's a plate on the back above that hole. You remove that to get access to several screws. The non-plug end of the cable has little rings or maybe u-shaped connectors that go under the screws. Mine was a 3 wire install. In that case, you just hook the left and right connectors to the left and right screws, and the middle one goes in the middle. Left and right are interchangeable, so you don't have to worry about whether the cable is flipped around.
In my case, the cable had rings for connectors, so that meant removing each of the connector screws. Easiest to take all three out, then screw them back in one at a time.
NOTE: the cable should have a clamp with it. You want to put that in the hole--on the outside--and push the cable end through it and up toward the connector screws.
For me, the sequence that worked nicely was:
After removing the access plate...
1. Remove the connector screws
2. Put the cable clamp in place in the hole, but loose
3. Push the cable end through it and upward
4. Screw the connectors down
5. Tighten the clamp down
Screw the plate back on. It has to lie flat before you screw it down, so you have to fiddle with it a little. It goes in a little high then slides down in a small slot. If you have it right, it sits there nice and flat without holding it, and driving the screw back in is easy.
Plug the plug into the outlet etc.
The manual is very important for this part of the install. Wish I'd thought to take photos. Too late now.