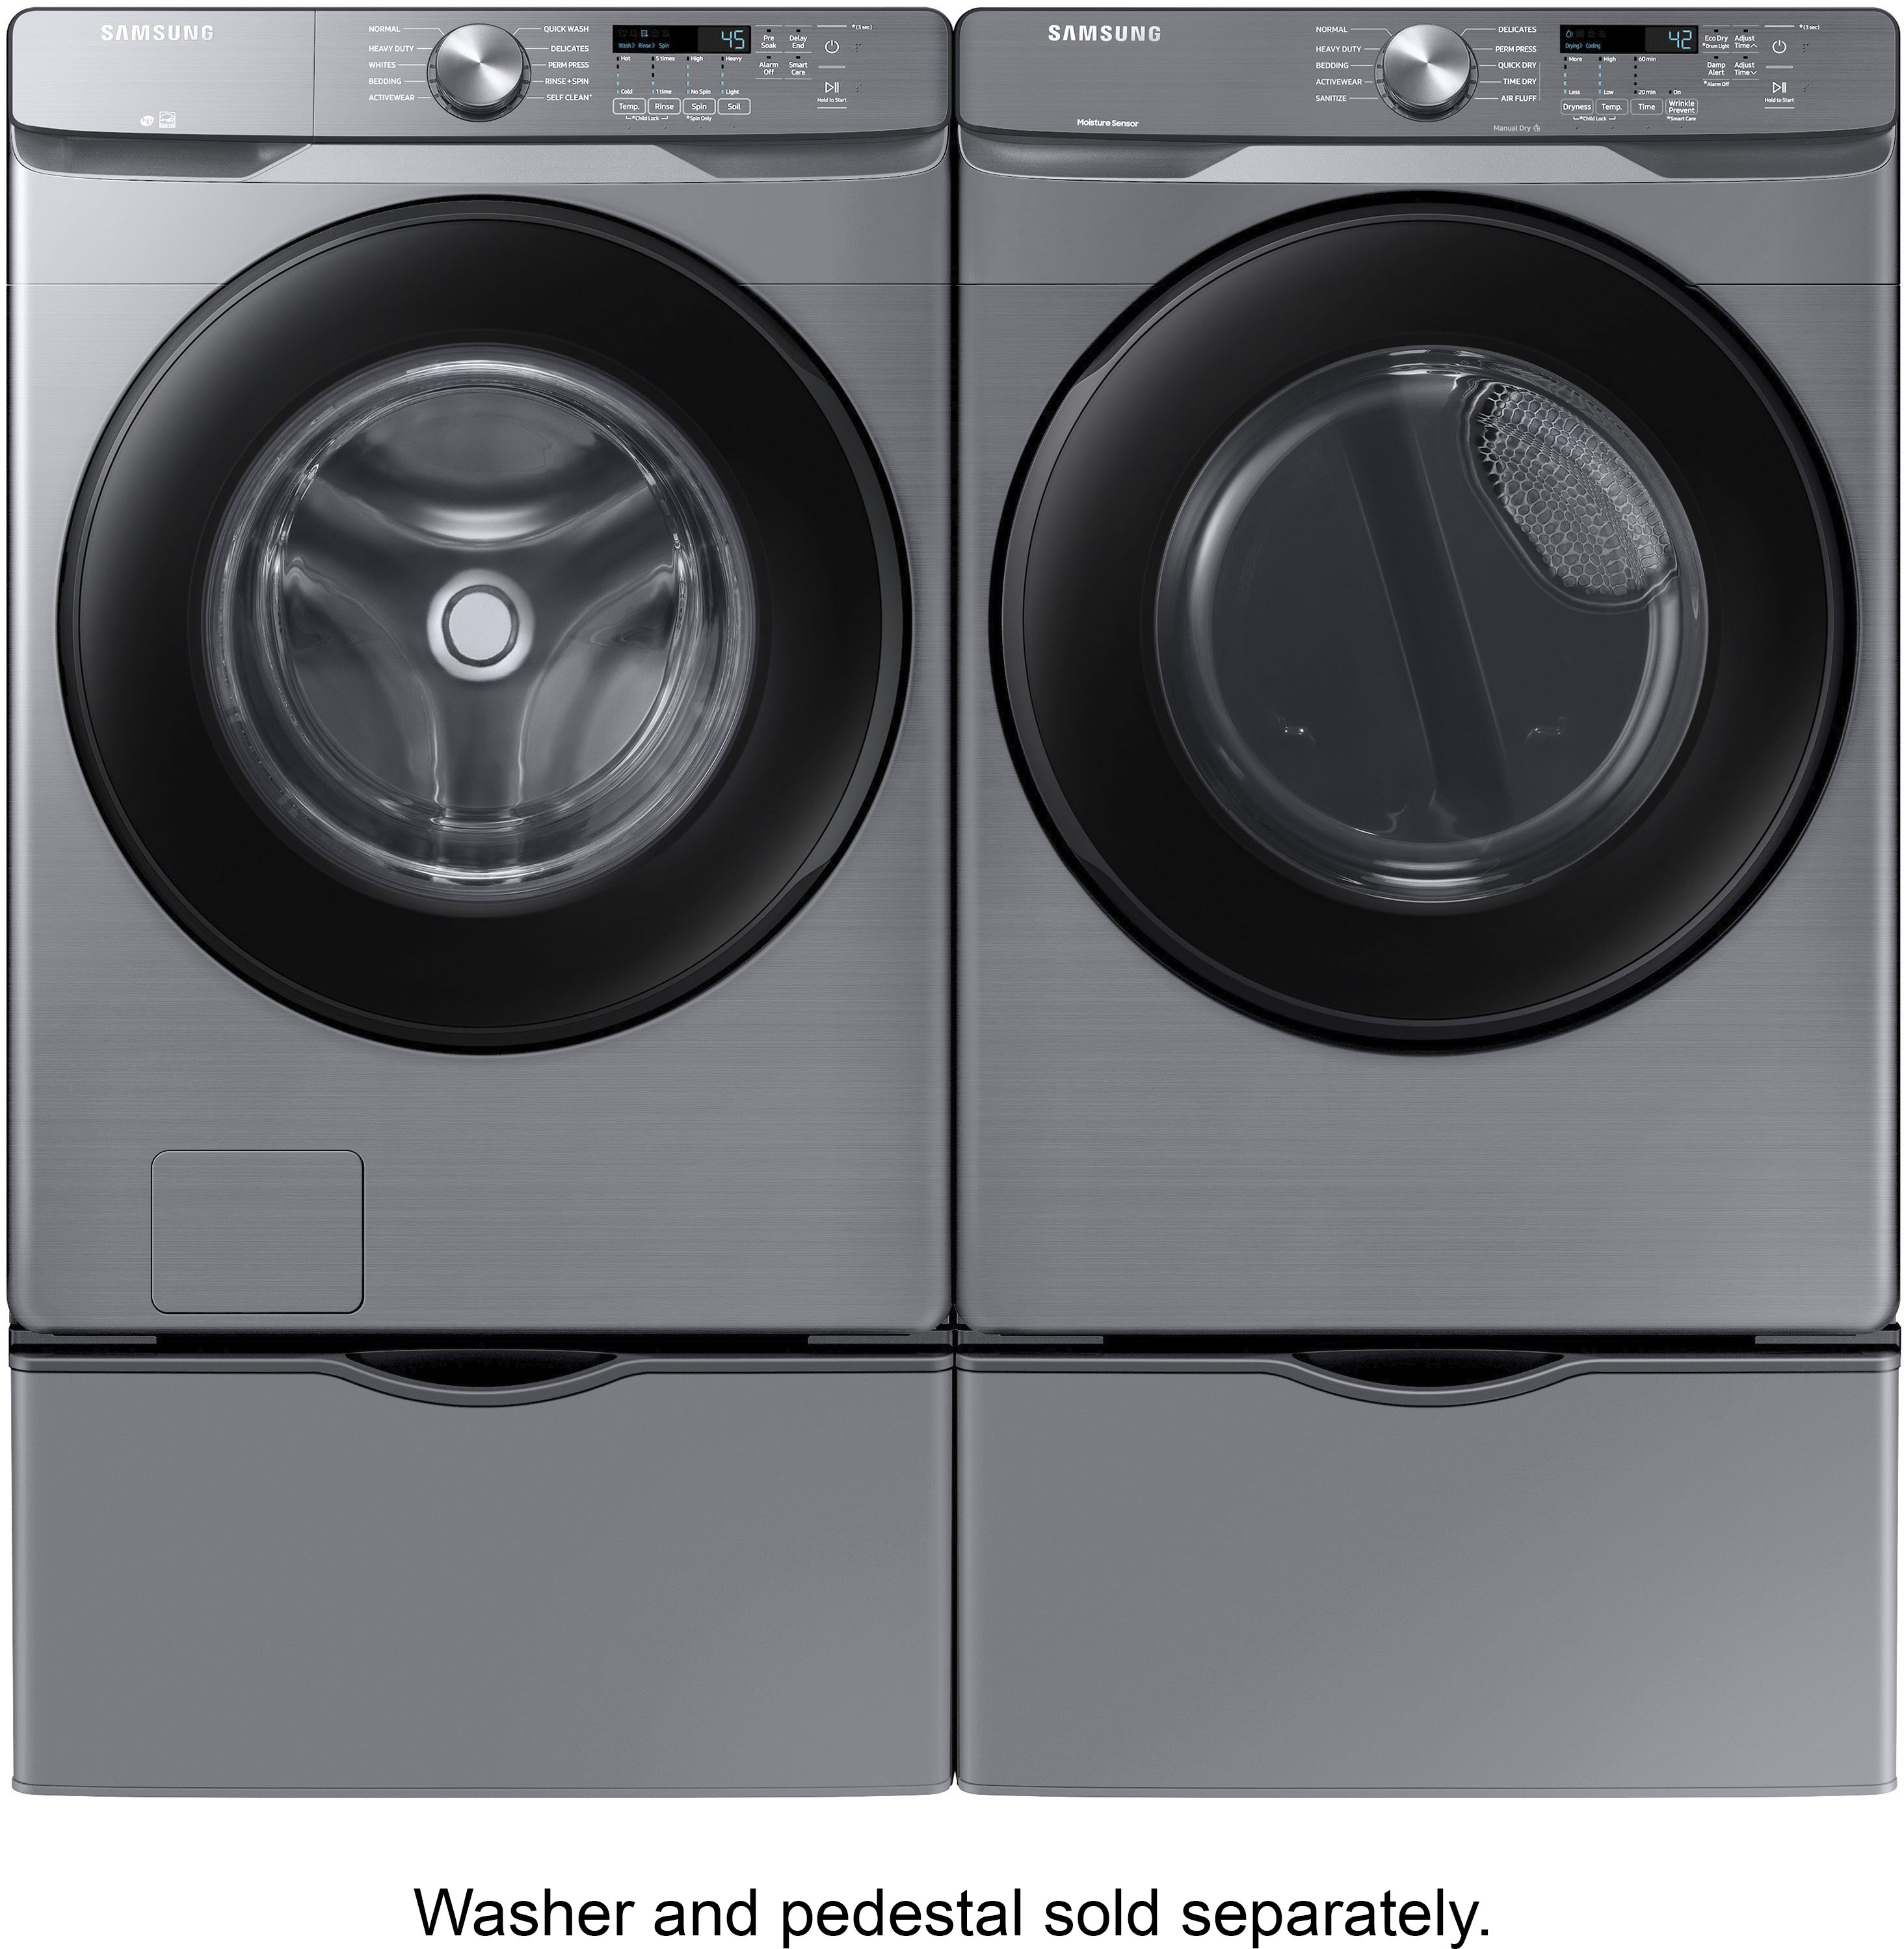
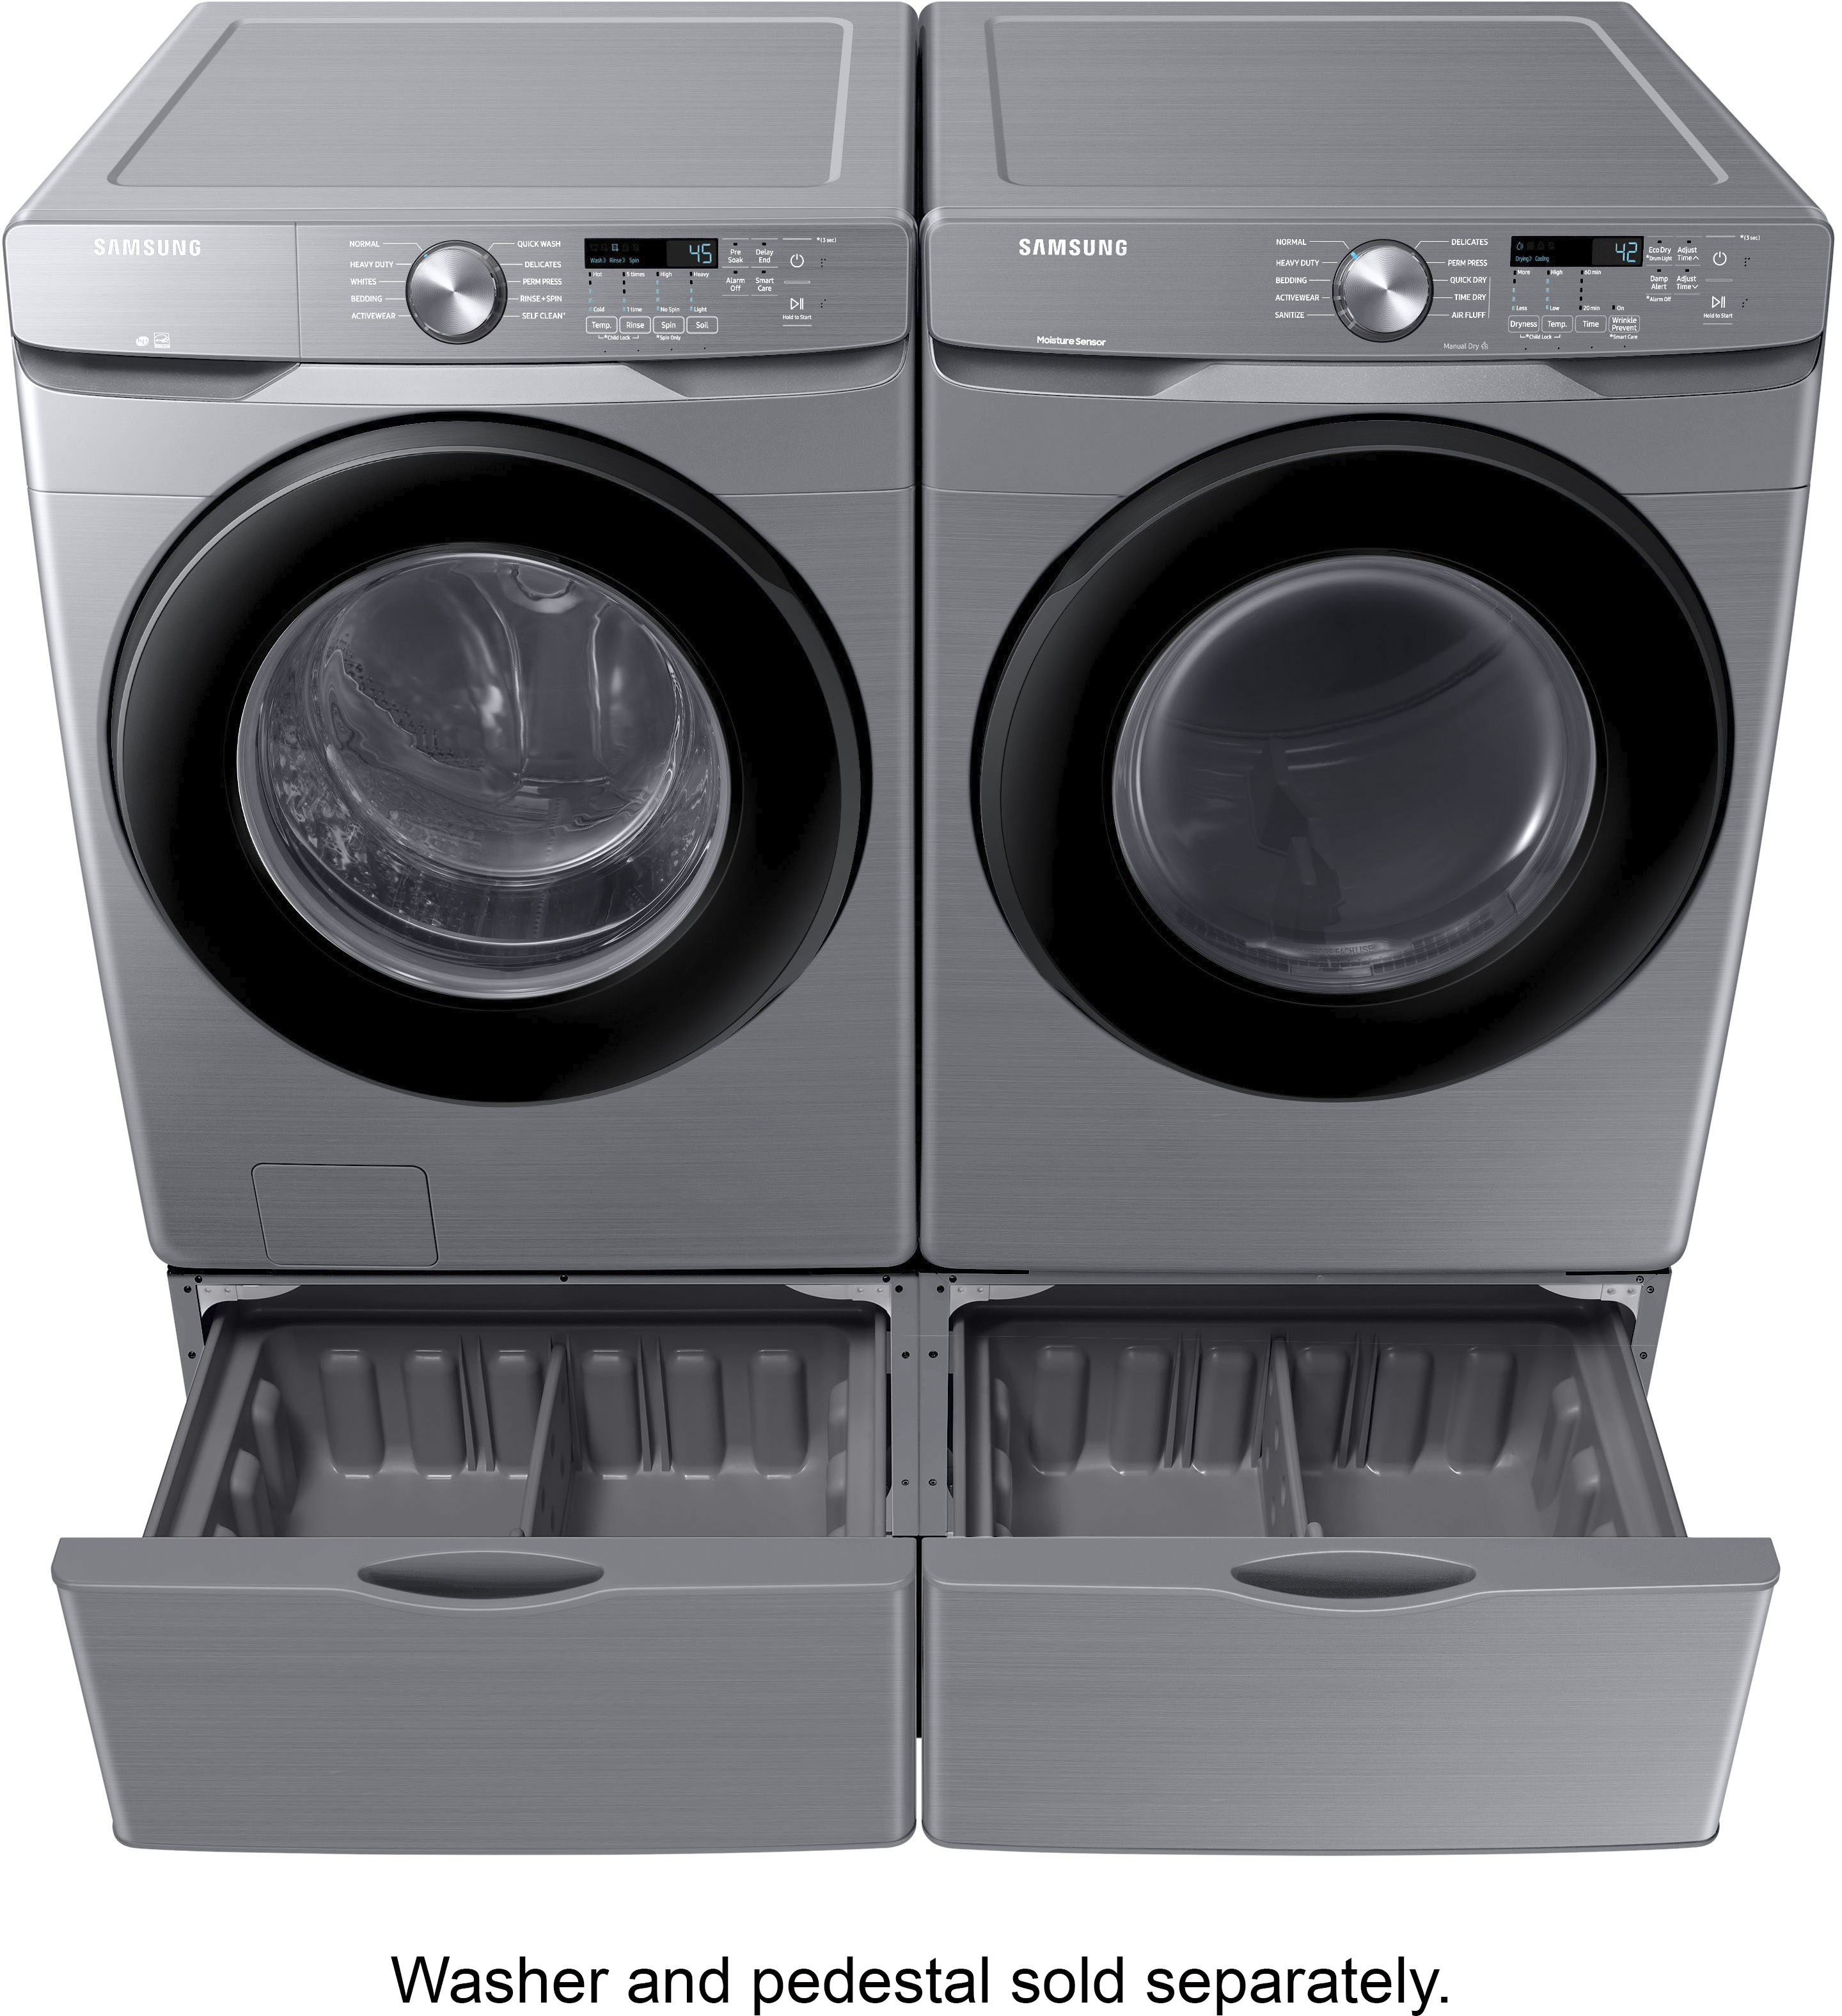
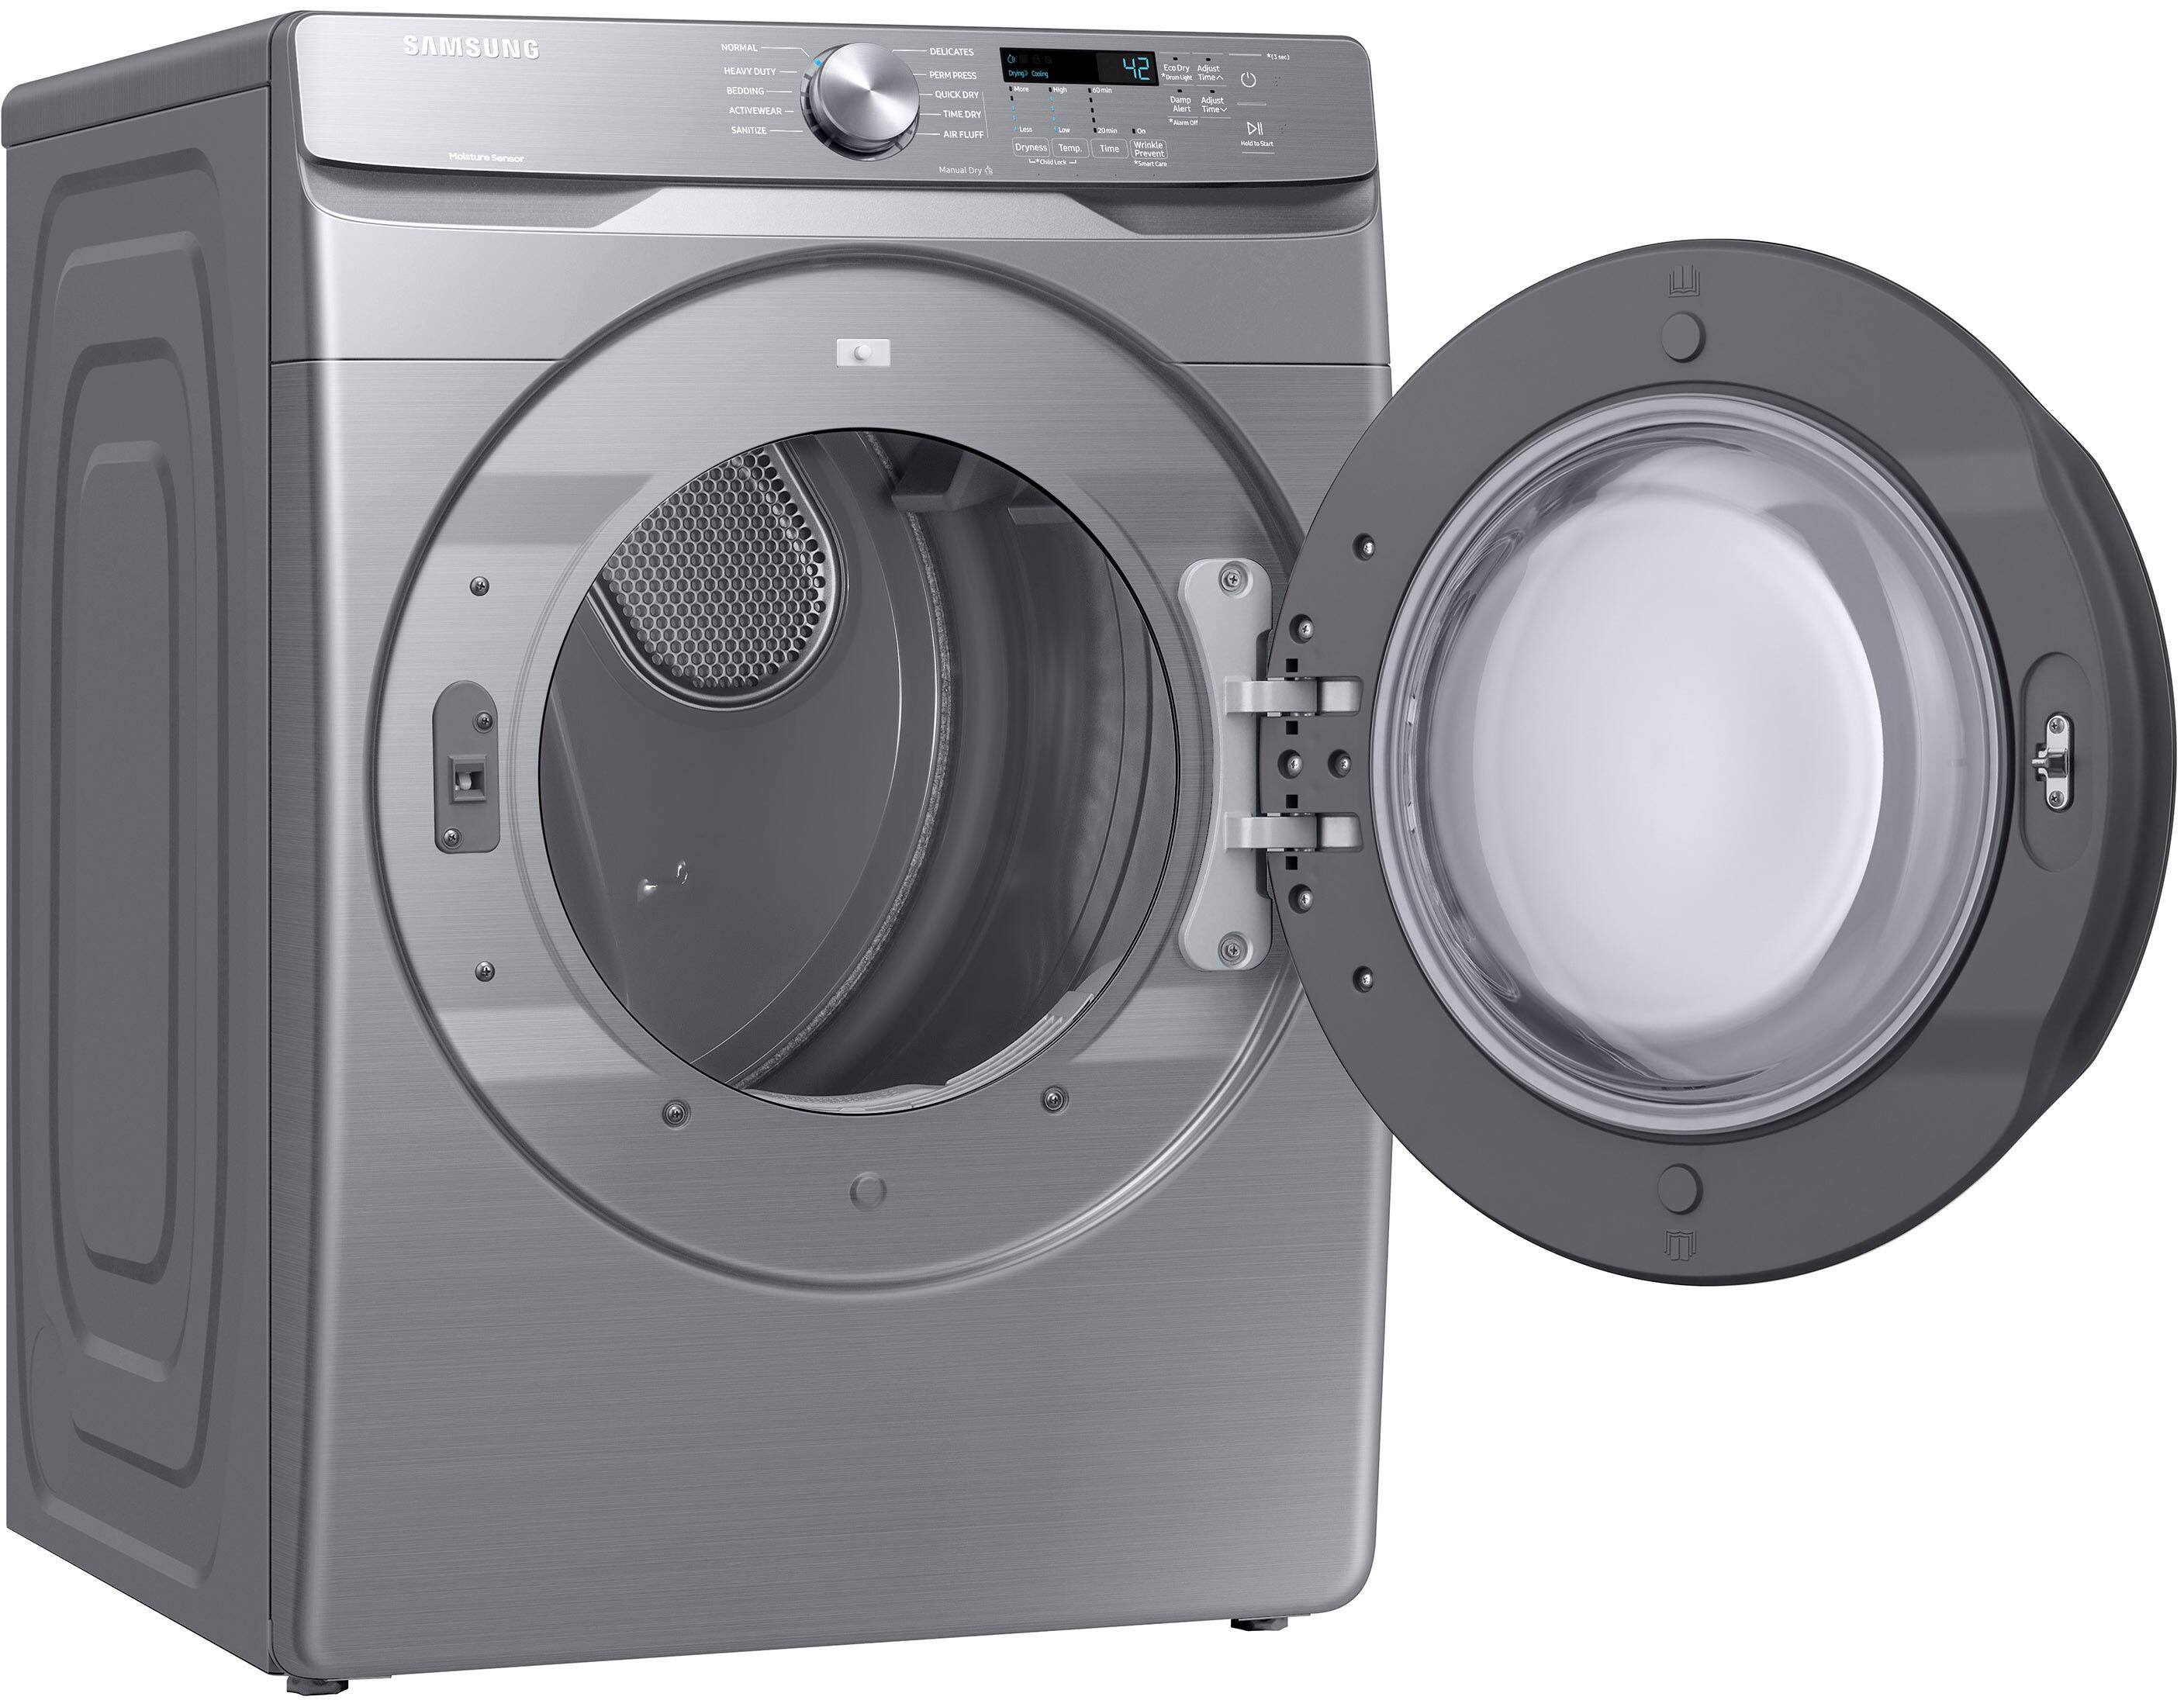
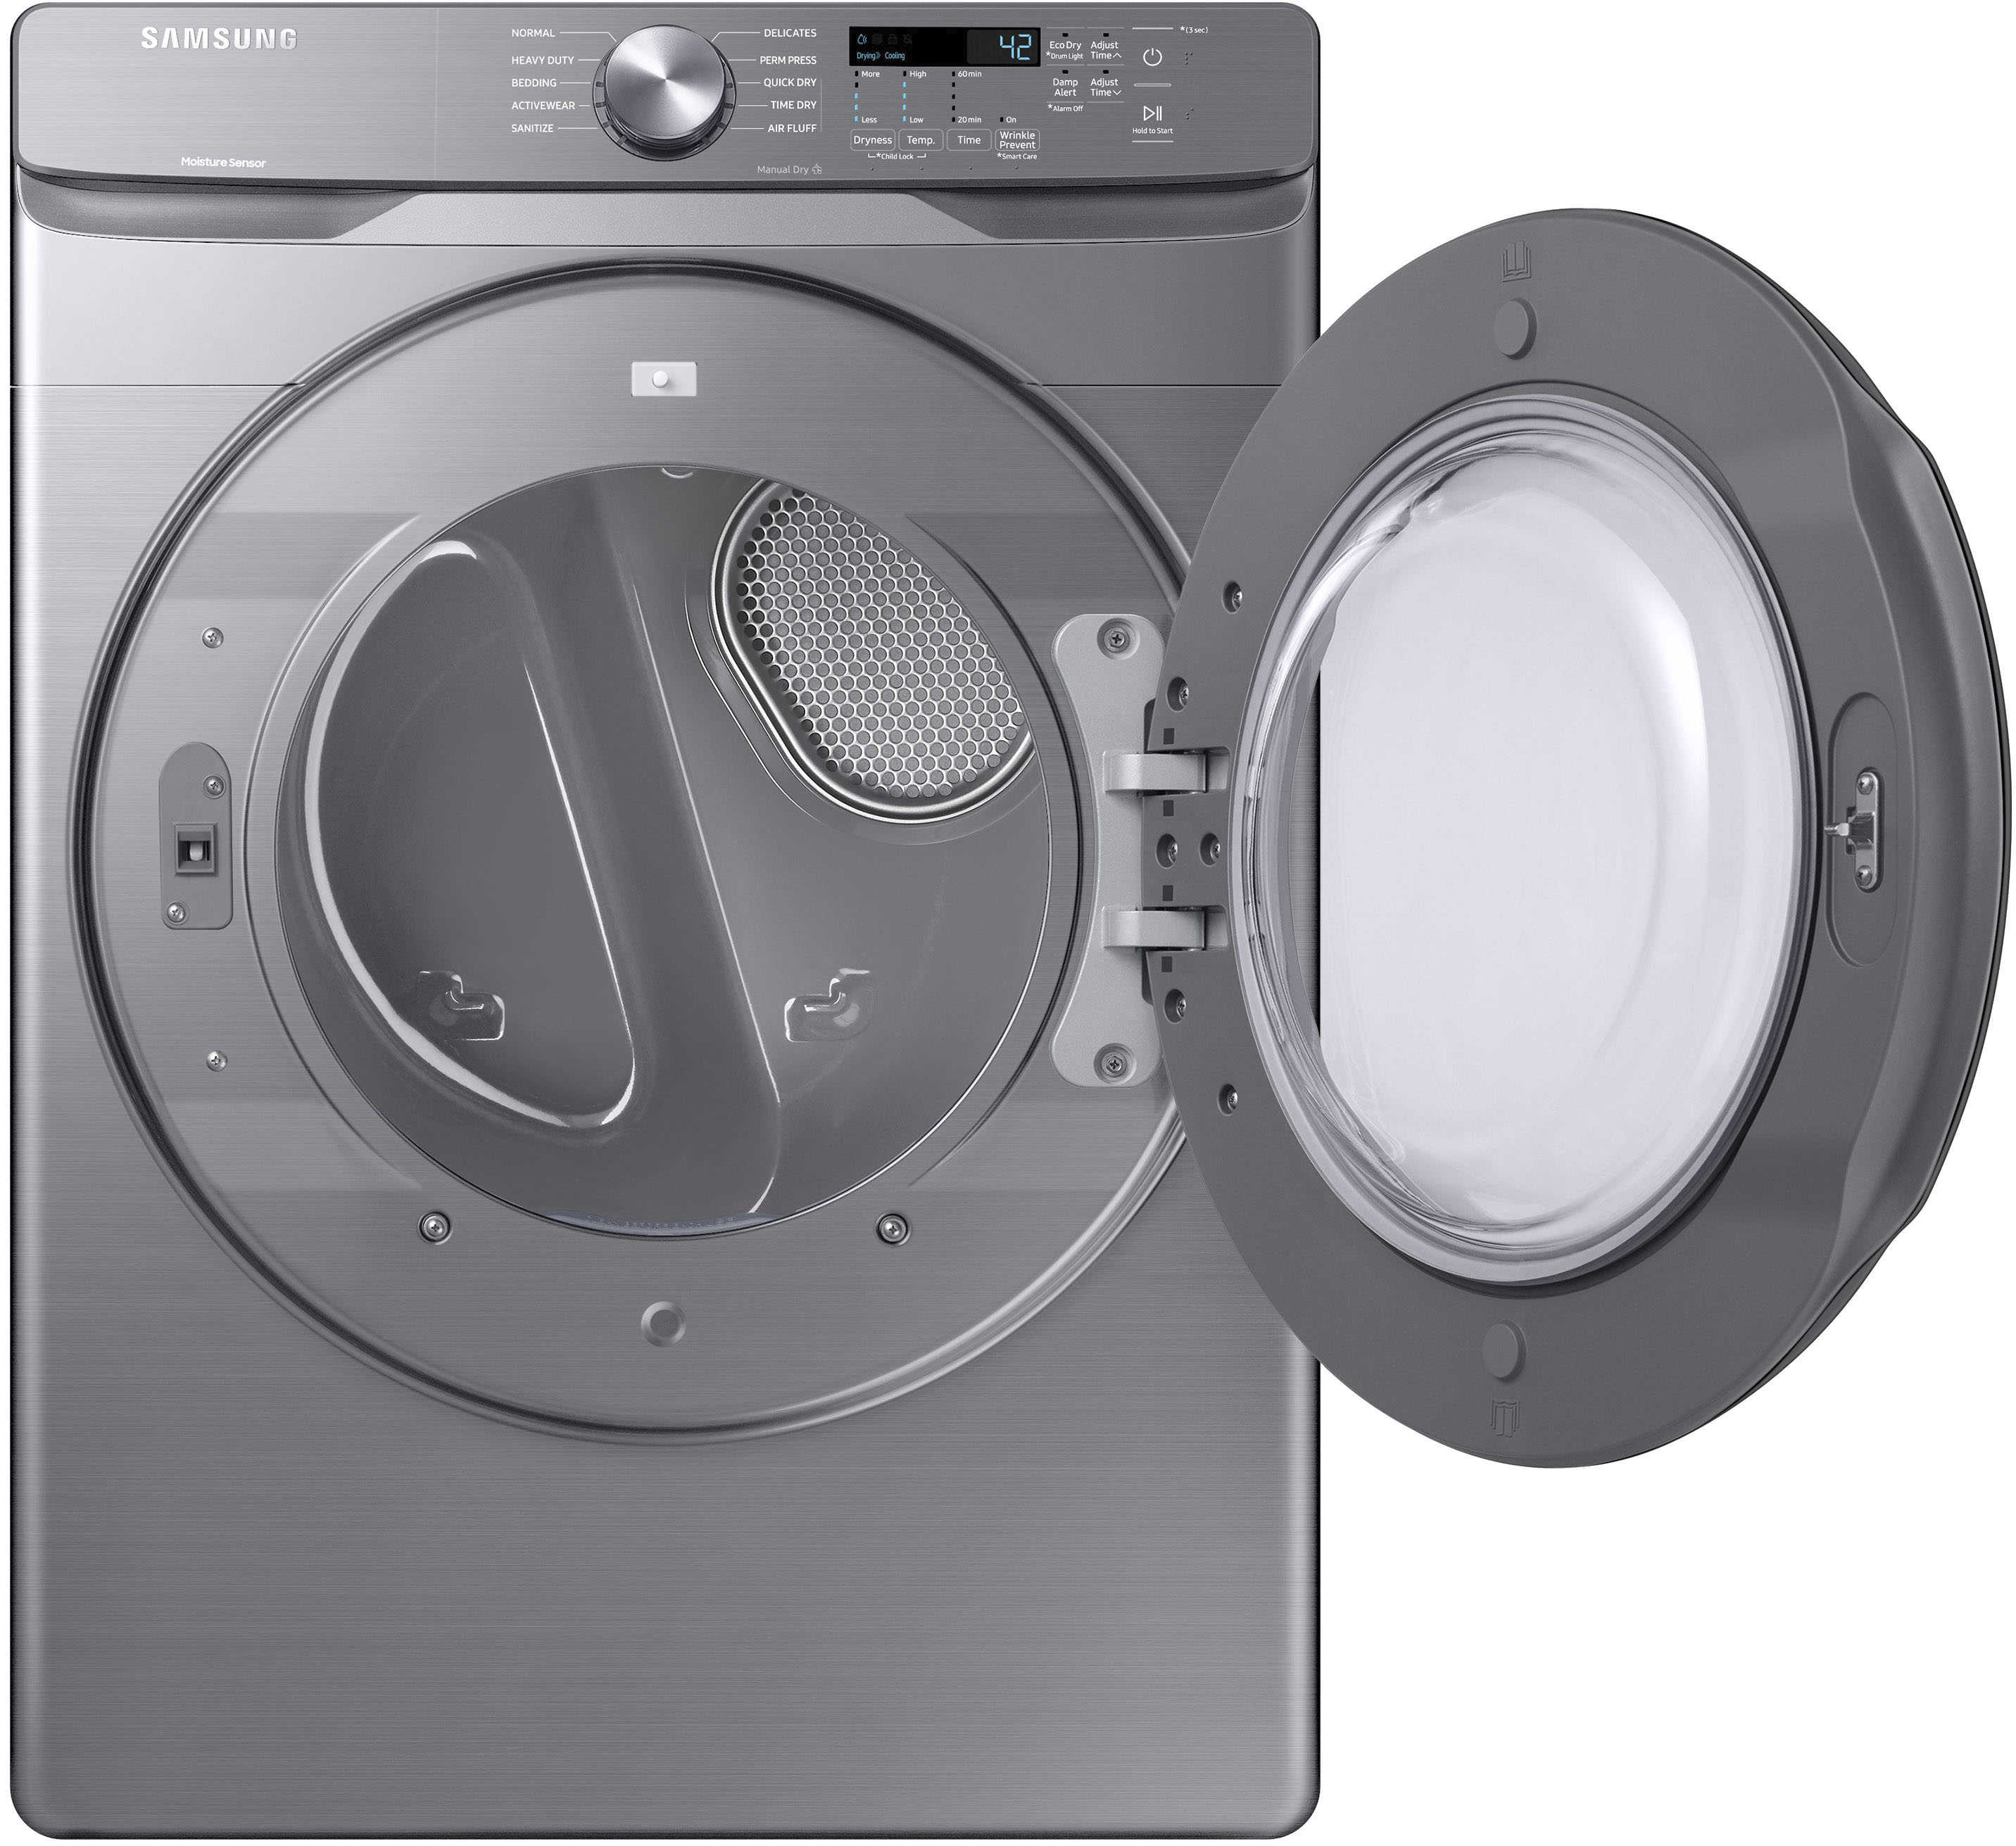
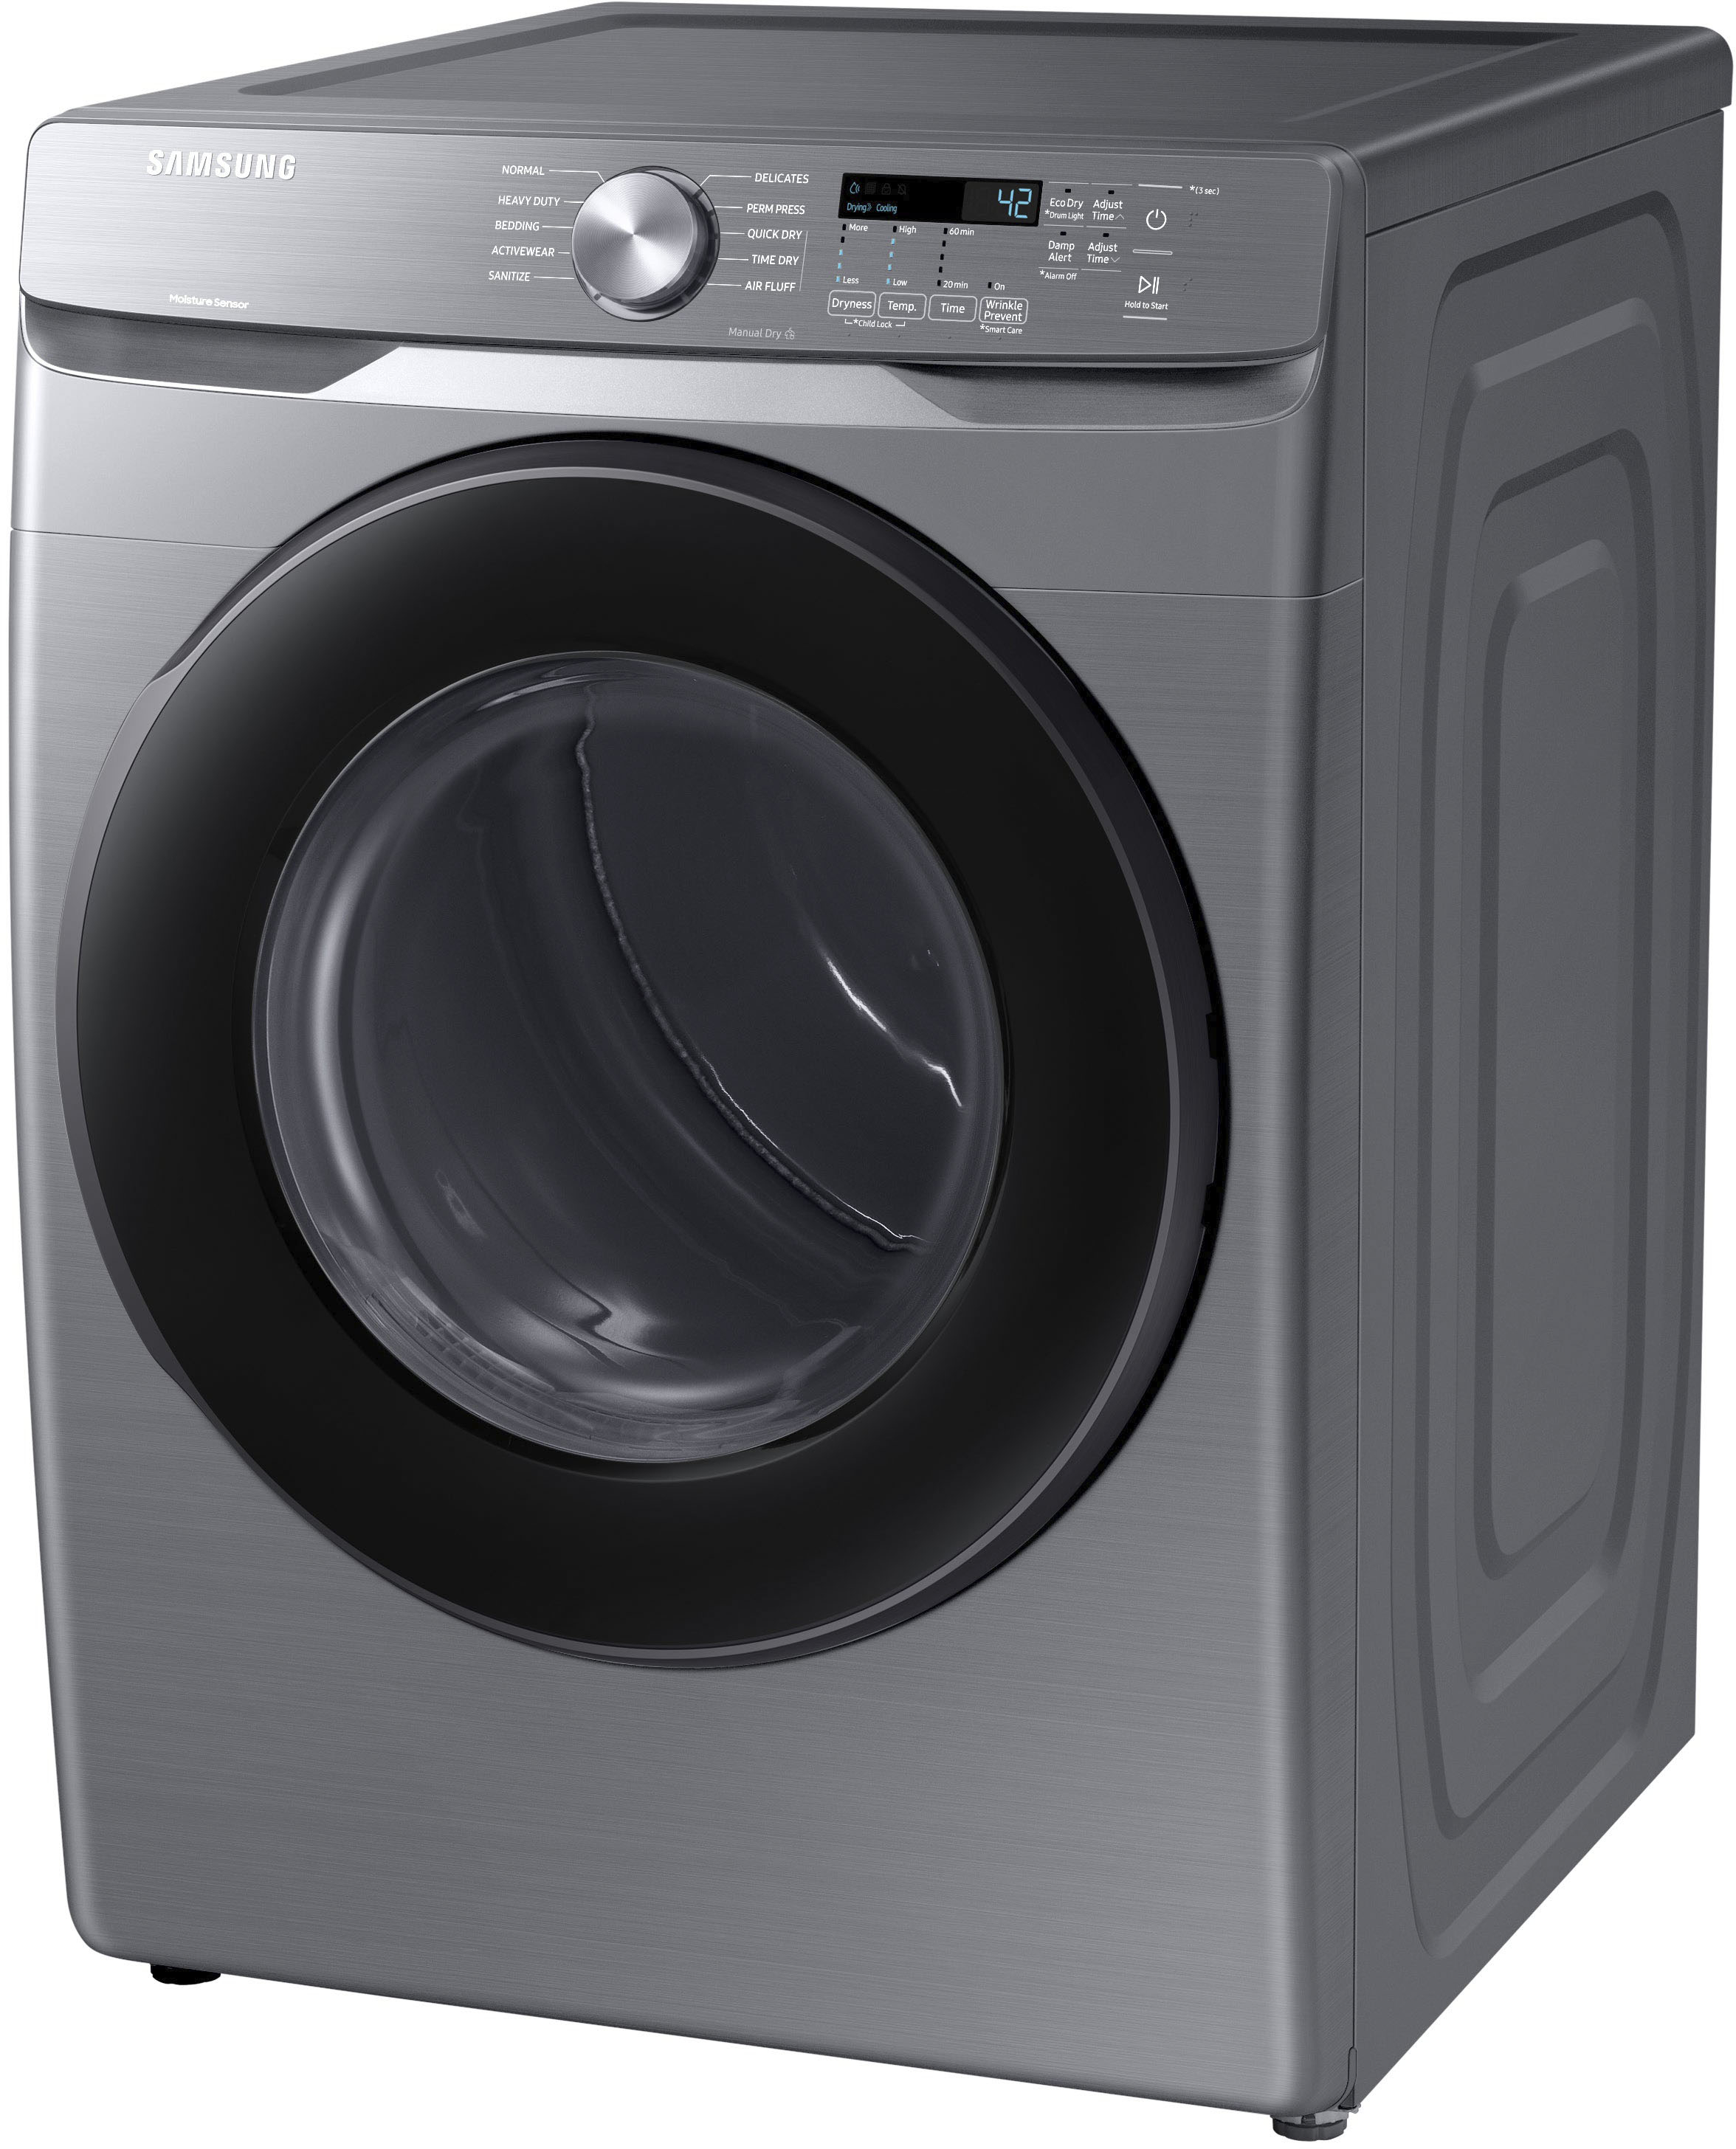
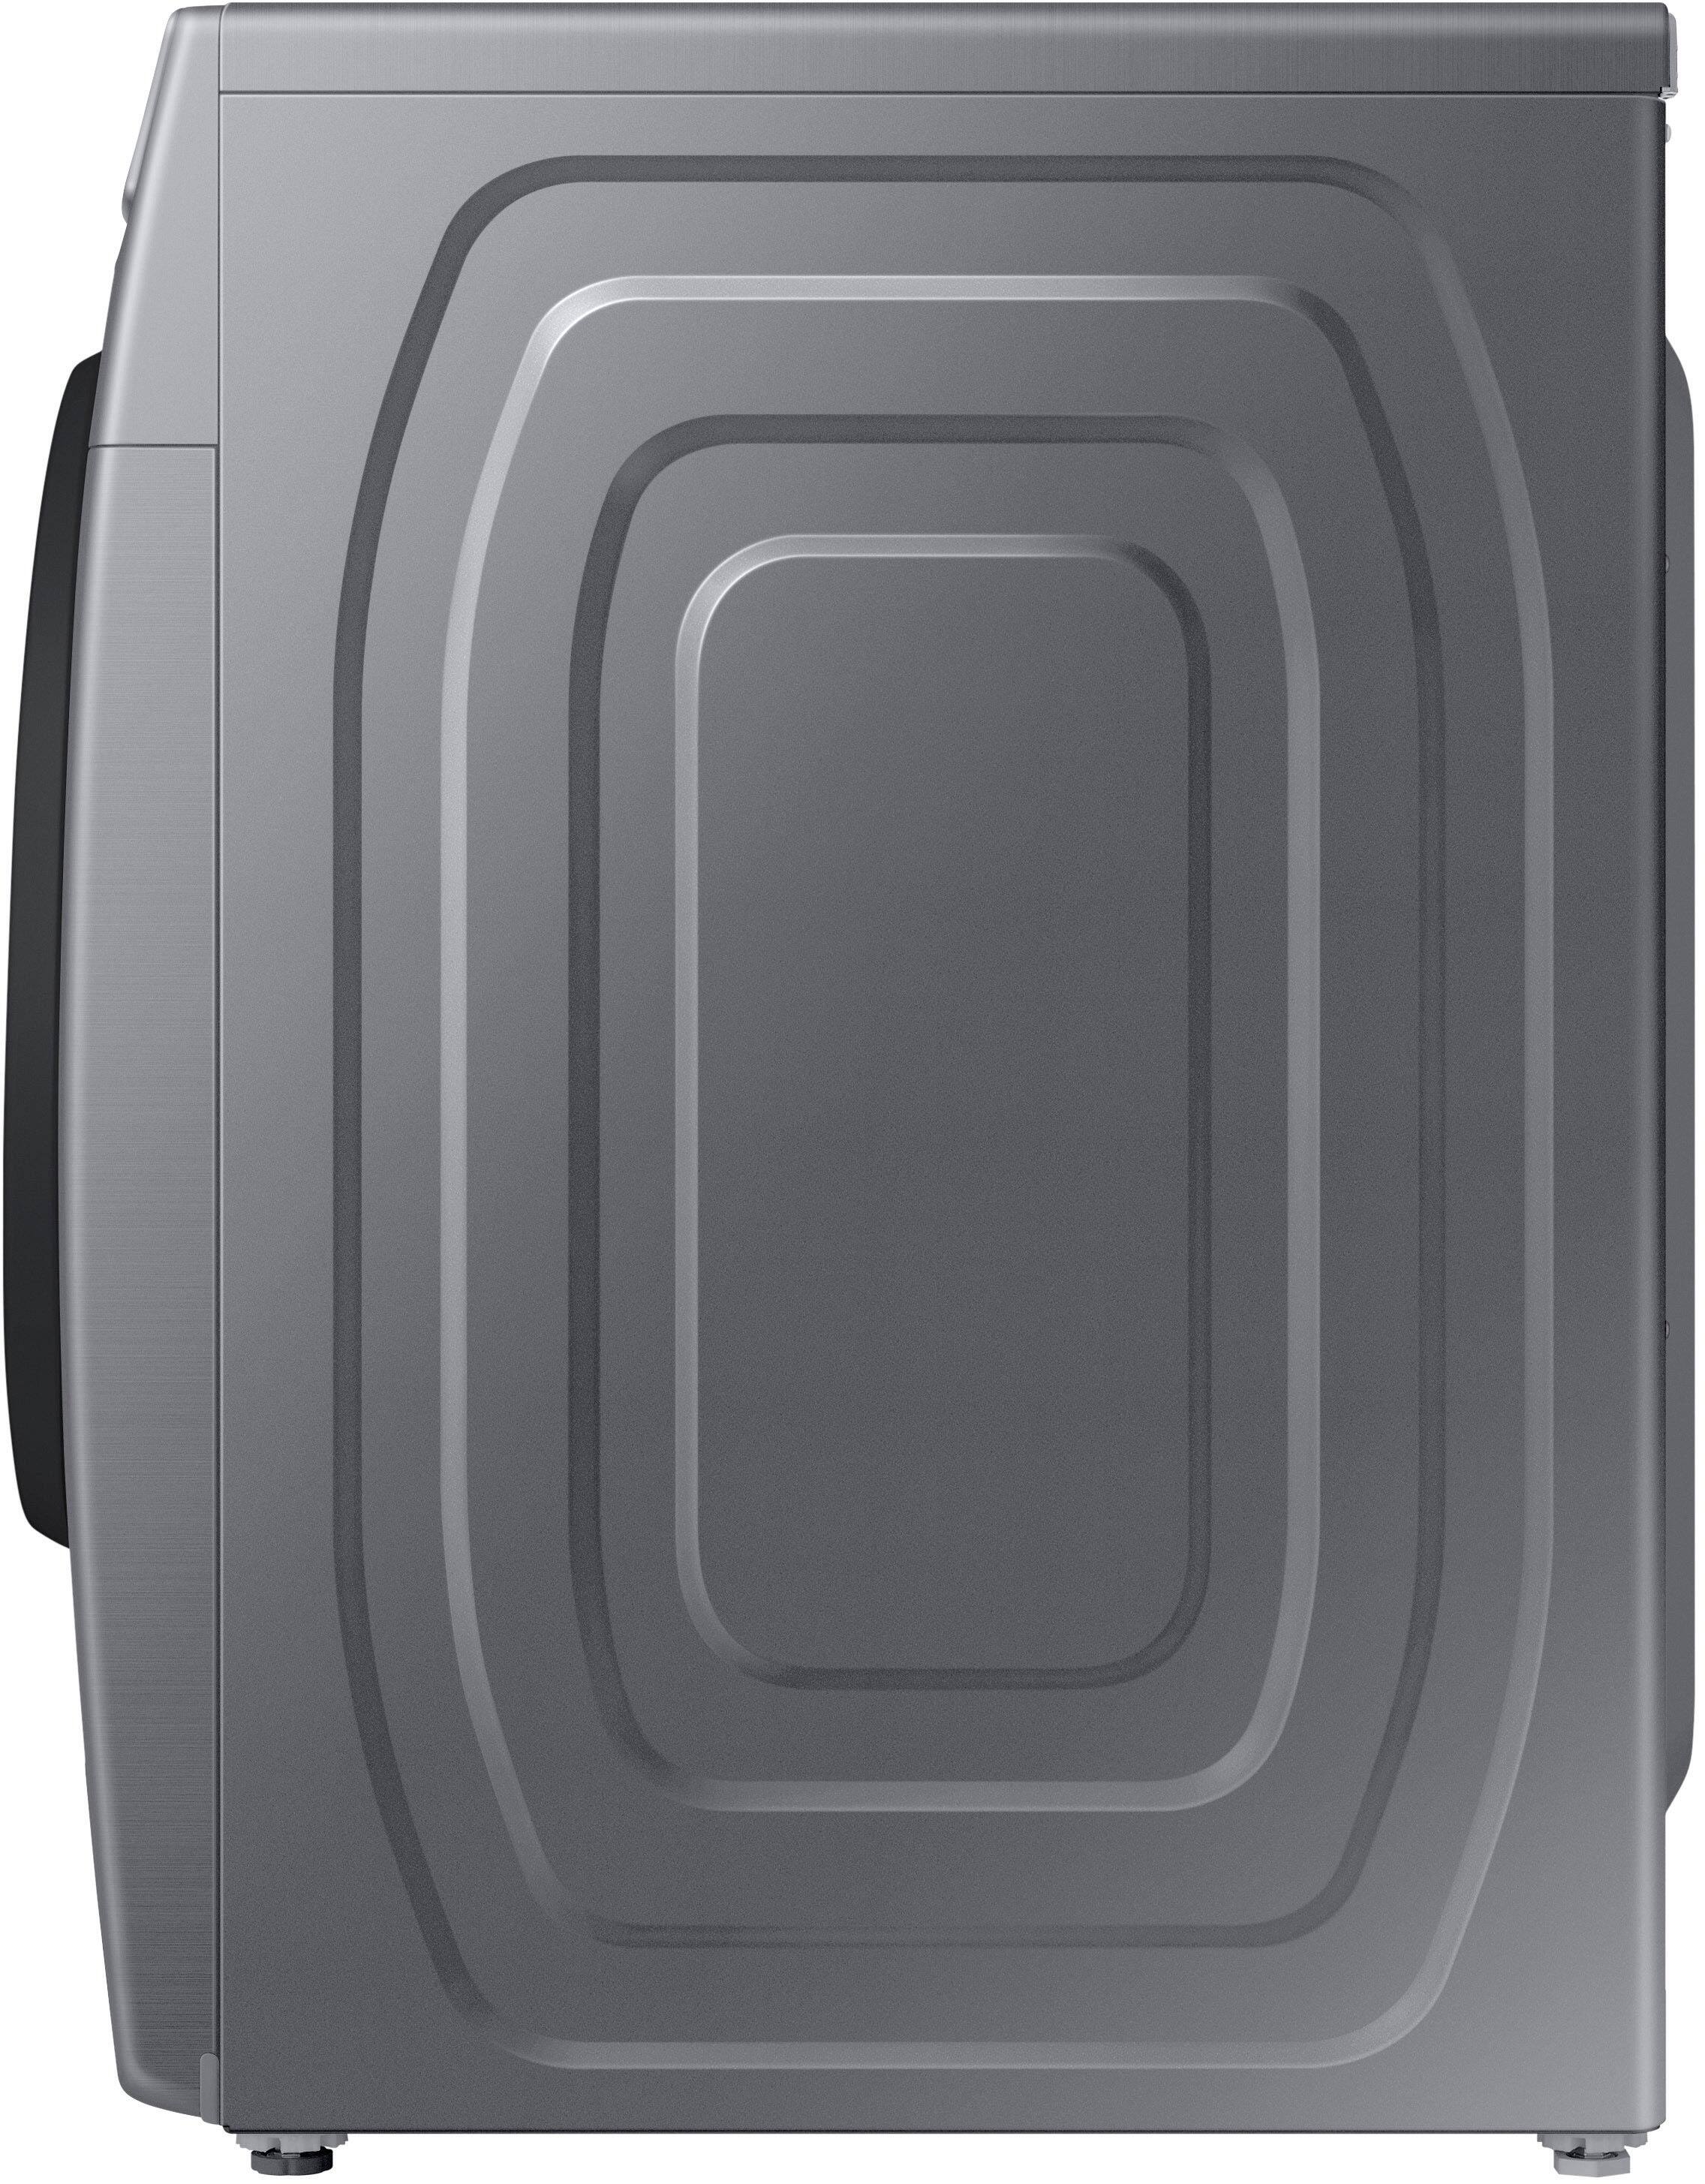
A:AnswerThanks for asking, Leo! The power cord for the dryer is actually sold separately to allow users to purchase one that is compatible with the outlet available in their home. ^Jecca
A:AnswerThere are instructions in the manual. There's a plate on the back above that hole. You remove that to get access to several screws. The non-plug end of the cable has little rings or maybe u-shaped connectors that go under the screws. Mine was a 3 wire install. In that case, you just hook the left and right connectors to the left and right screws, and the middle one goes in the middle. Left and right are interchangeable, so you don't have to worry about whether the cable is flipped around.
In my case, the cable had rings for connectors, so that meant removing each of the connector screws. Easiest to take all three out, then screw them back in one at a time.
NOTE: the cable should have a clamp with it. You want to put that in the hole--on the outside--and push the cable end through it and up toward the connector screws.
For me, the sequence that worked nicely was:
After removing the access plate...
1. Remove the connector screws
2. Put the cable clamp in place in the hole, but loose
3. Push the cable end through it and upward
4. Screw the connectors down
5. Tighten the clamp down
Screw the plate back on. It has to lie flat before you screw it down, so you have to fiddle with it a little. It goes in a little high then slides down in a small slot. If you have it right, it sits there nice and flat without holding it, and driving the screw back in is easy.
Plug the plug into the outlet etc.
The manual is very important for this part of the install. Wish I'd thought to take photos. Too late now.
A:AnswerIt sure does, trailblazer15! At the beginning of each cycle, Samsung washers go through a weight sensing cycle to determine how much water and time is needed for the current load. ^Jecca
A:AnswerThanks for asking, frank! I can provide this link (https://bit.ly/371Us1f) to the user manual for this model. Page 40 has information on how and when to use the sanitize feature. ^Jecca
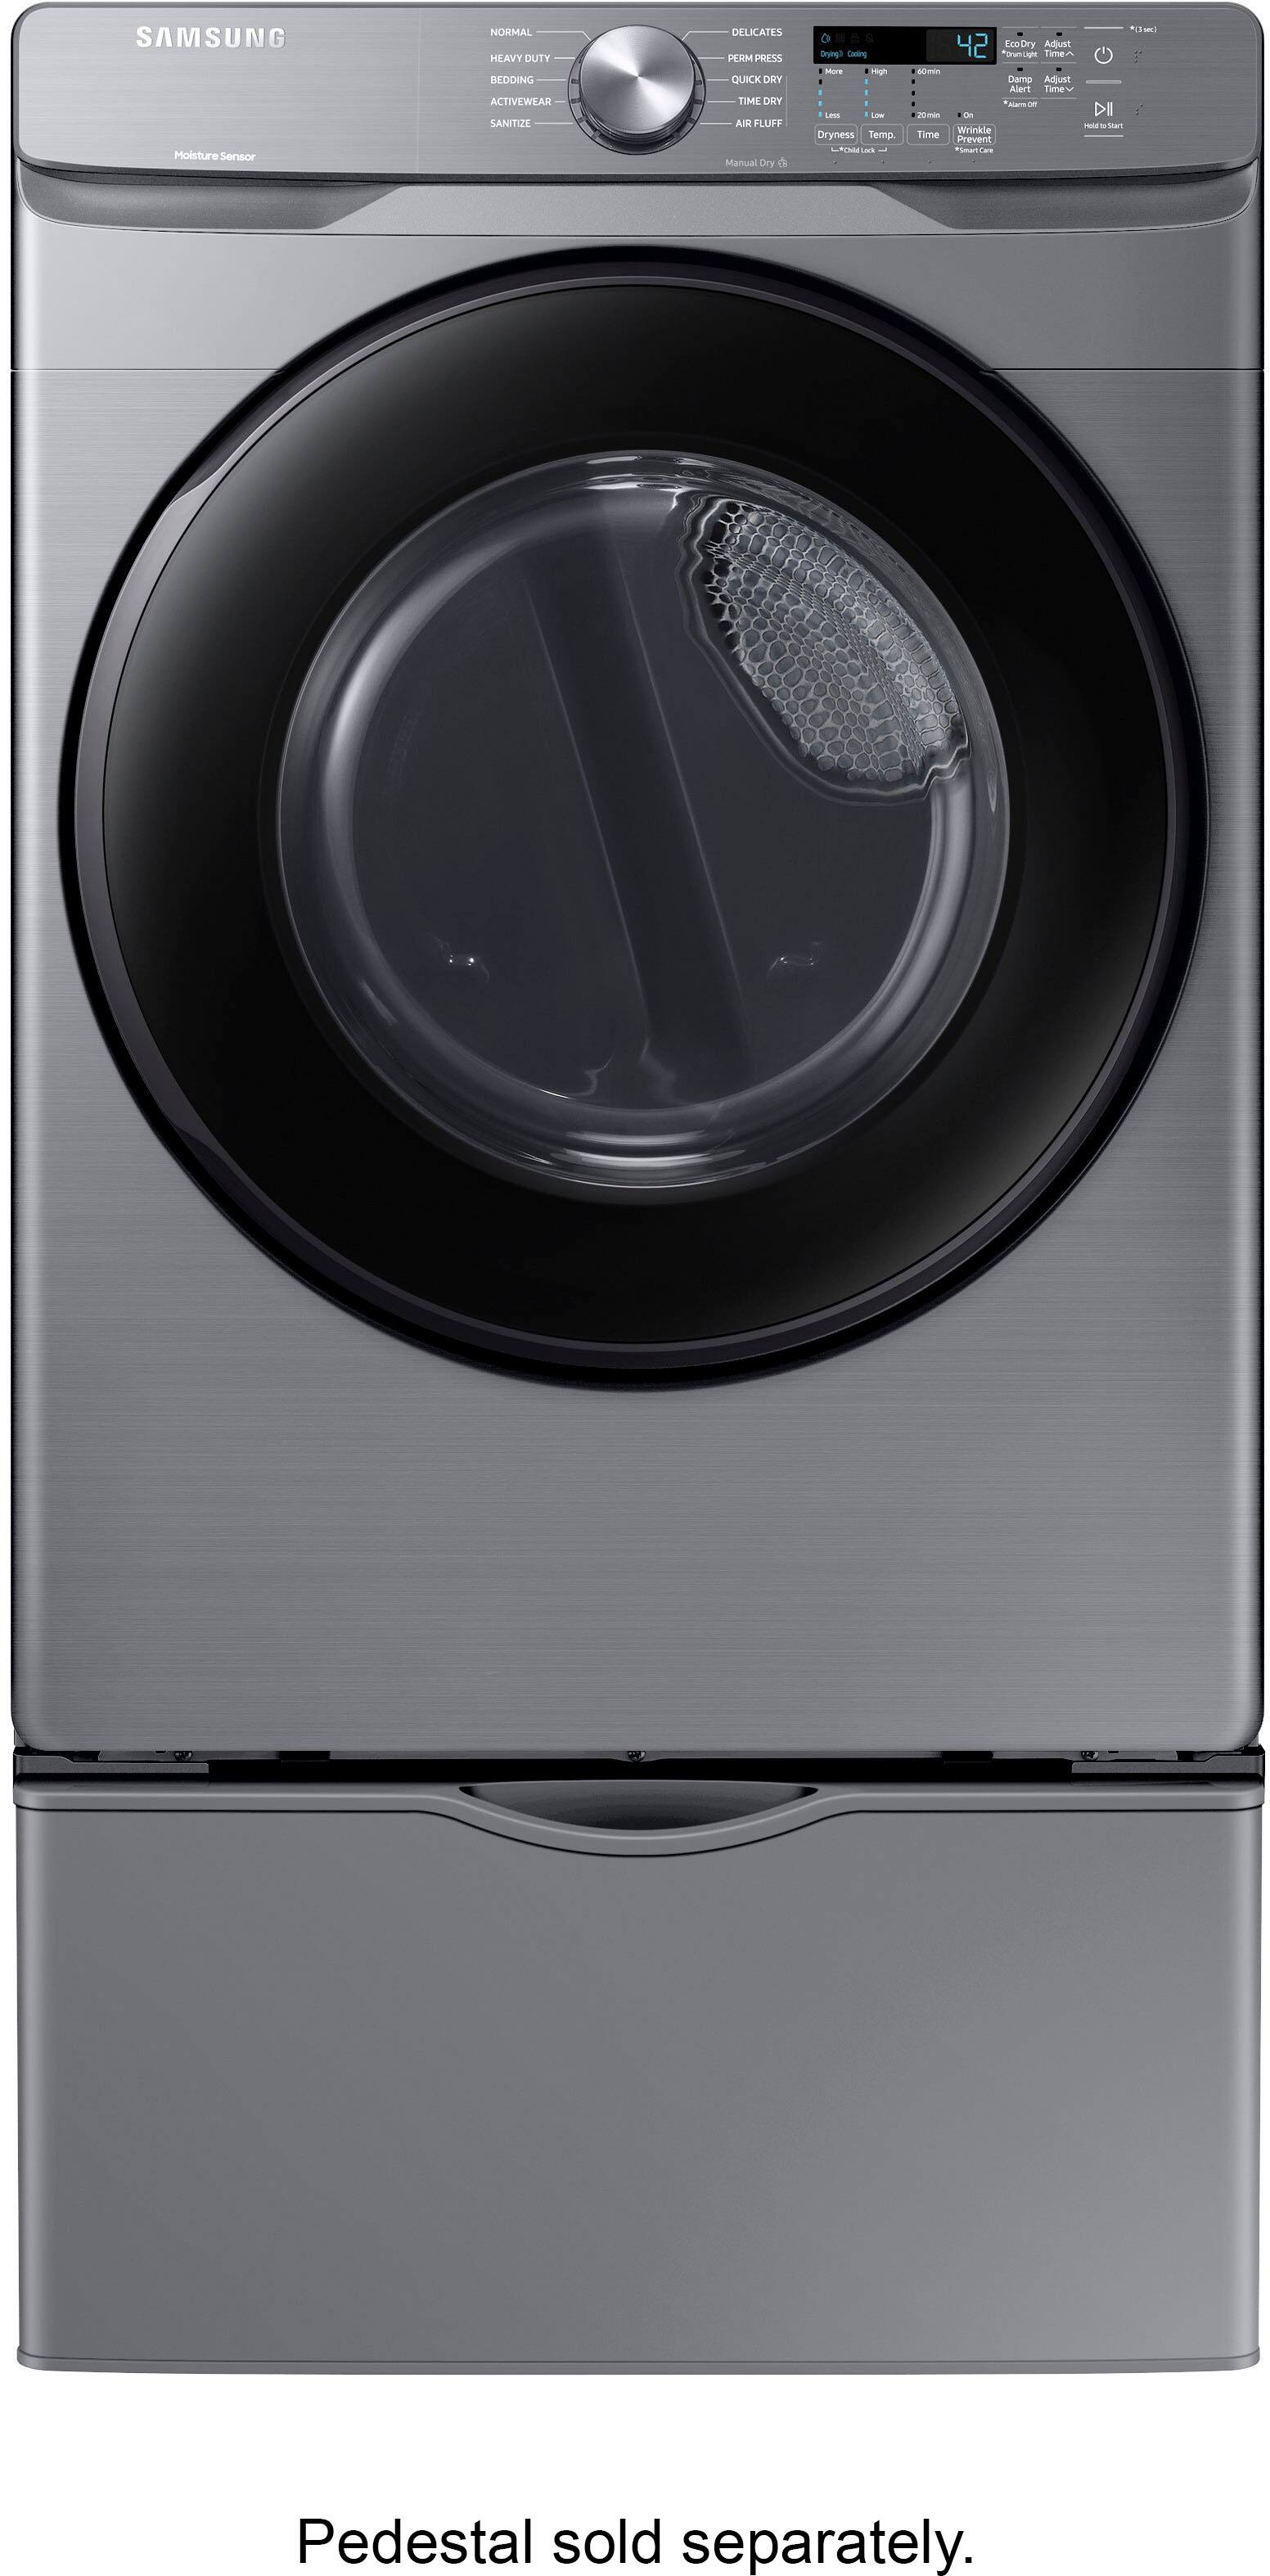
A:AnswerWe replaced a 11 yr old Samsung set that we had on the drawer pedestal. Our hopes were to instal the new set on the older pedestals. They were not compatible. So we stacked the washer and dryer and nest to them stacked the pedestals and found a card table the approx size needed. Placed it on top with legs folded for a top to fold clothes on. Works fine for us.
A:AnswerHi there! I can provide this link (https://bit.ly/2LaIavL) which has the washer dimensions listed in the product info section. If you would like to leave another question and provide the model number for the dryer, I would be happy to look up that information as well. ^Jecca
A:Answermany dryers have a knock-out just for the use of a side vent. I installed my dryer with a side vent and it works quite well. the installation instructions that I have don't mention the fact about no side vents.
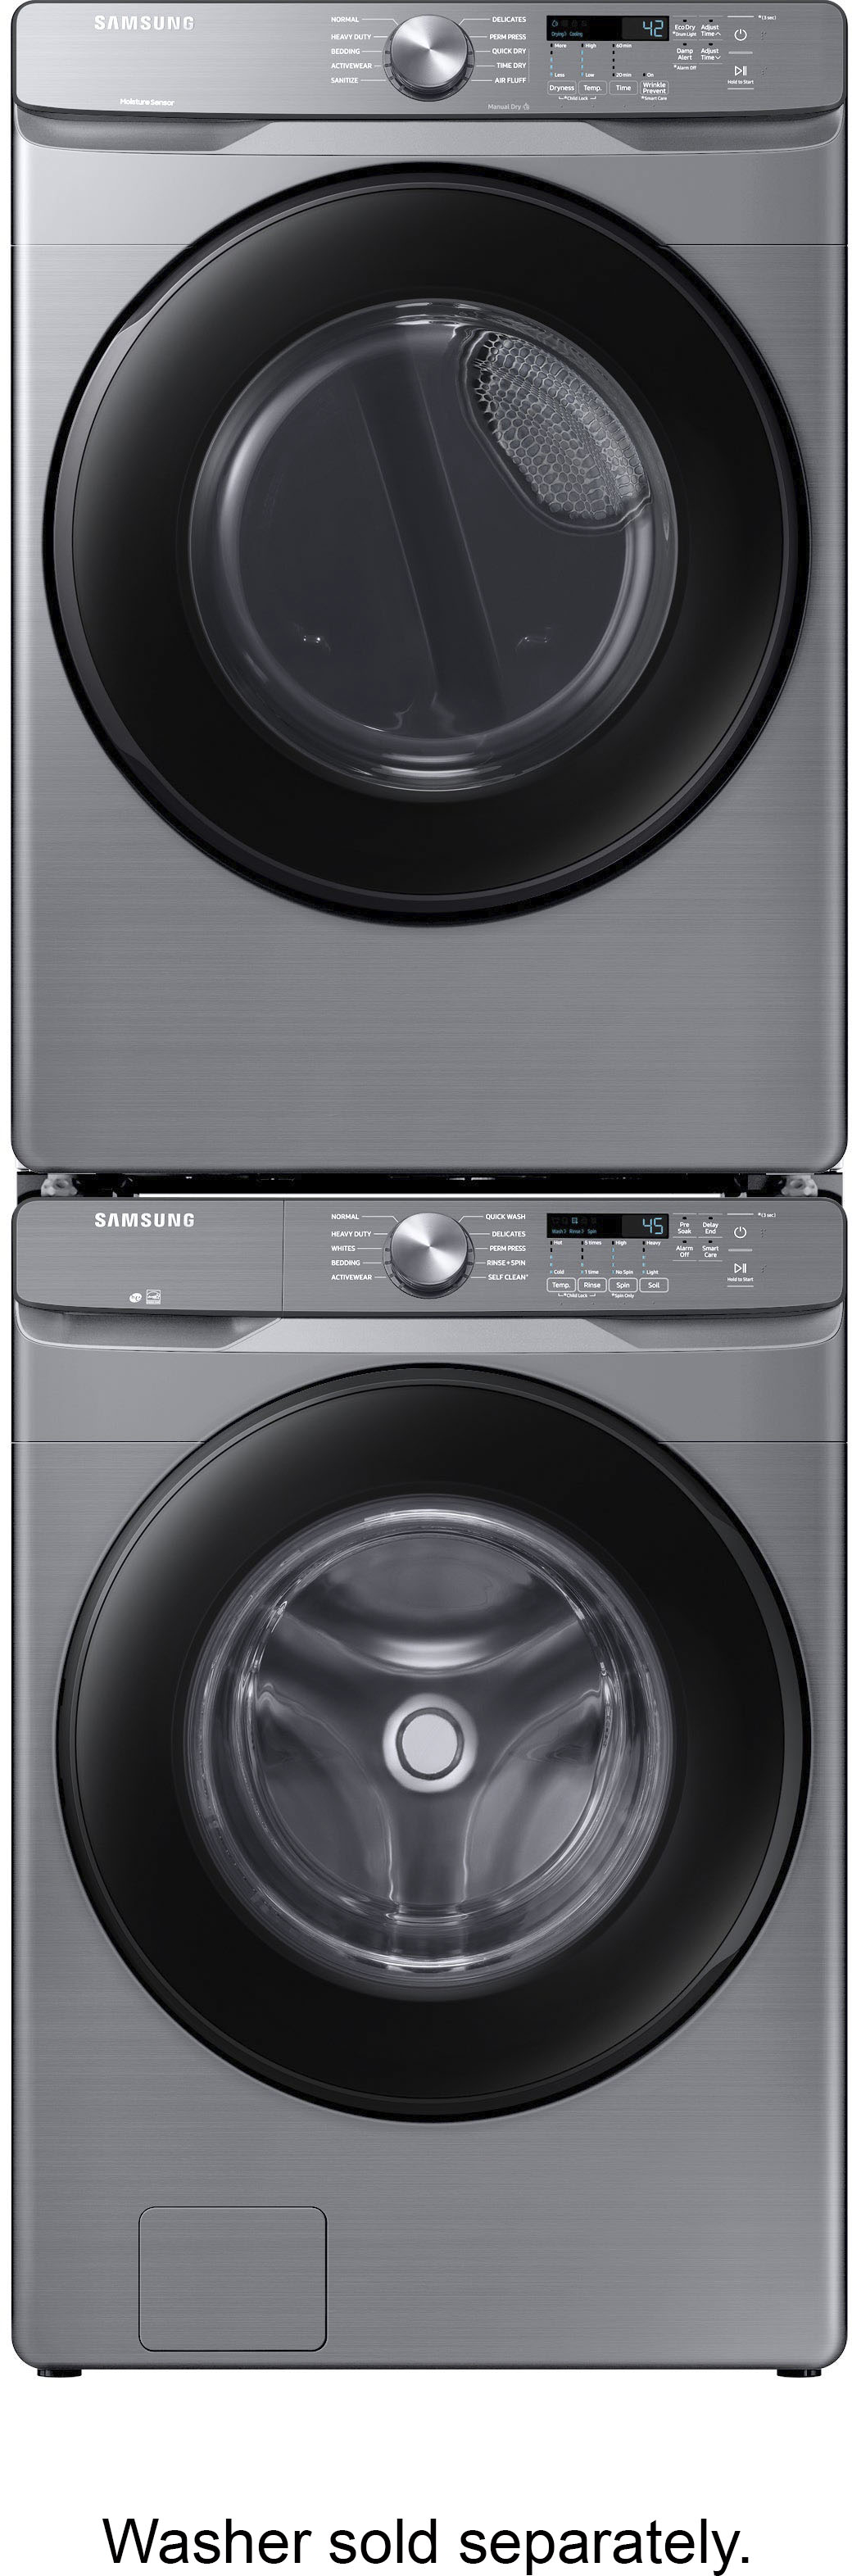
A:AnswerThanks for asking, Davis! The stacking kits for Samsung models are designed to hold one dryer on top of one washer. For safety reasons, the washer must always be on the bottom. ^Jecca
A:AnswerGreat question, CLady! This link (https://bit.ly/3pJWN8f) is to the user manual for this model. Page 20 has some useful diagrams with the dimensions of the washer and matching dryer stacked. ^Jecca
A:AnswerI'd love to help with this, Papa! You can check SamsungParts.com or call 1-800-627-4368 for compatibility. Or, if you would prefer, you can leave another question with the model number for the stacking kit you currently have, and I would be happy to look it up for you. ^Jecca
A:AnswerThanks so much for asking! As long as the stacking kit you are using is compatible with both the washer and the dryer, you can absolutely stack the old dryer on the new washer. I would be happy to check for compatibility if you would like to leave another question with the model numbers. ^Jecca