A:AnswerThis turntable does not feature Bluetooth, but it can be wired to the Polk DSB 1 Sound Bar using the 6 ft 3.5mm male to 3.5mm male analog cable that was provided with the sound bar.
There is a Bluetooth version of this turntable, the AT-LP60XBT-USB, but we cannot guarantee the compatibility of it with the sound bar.
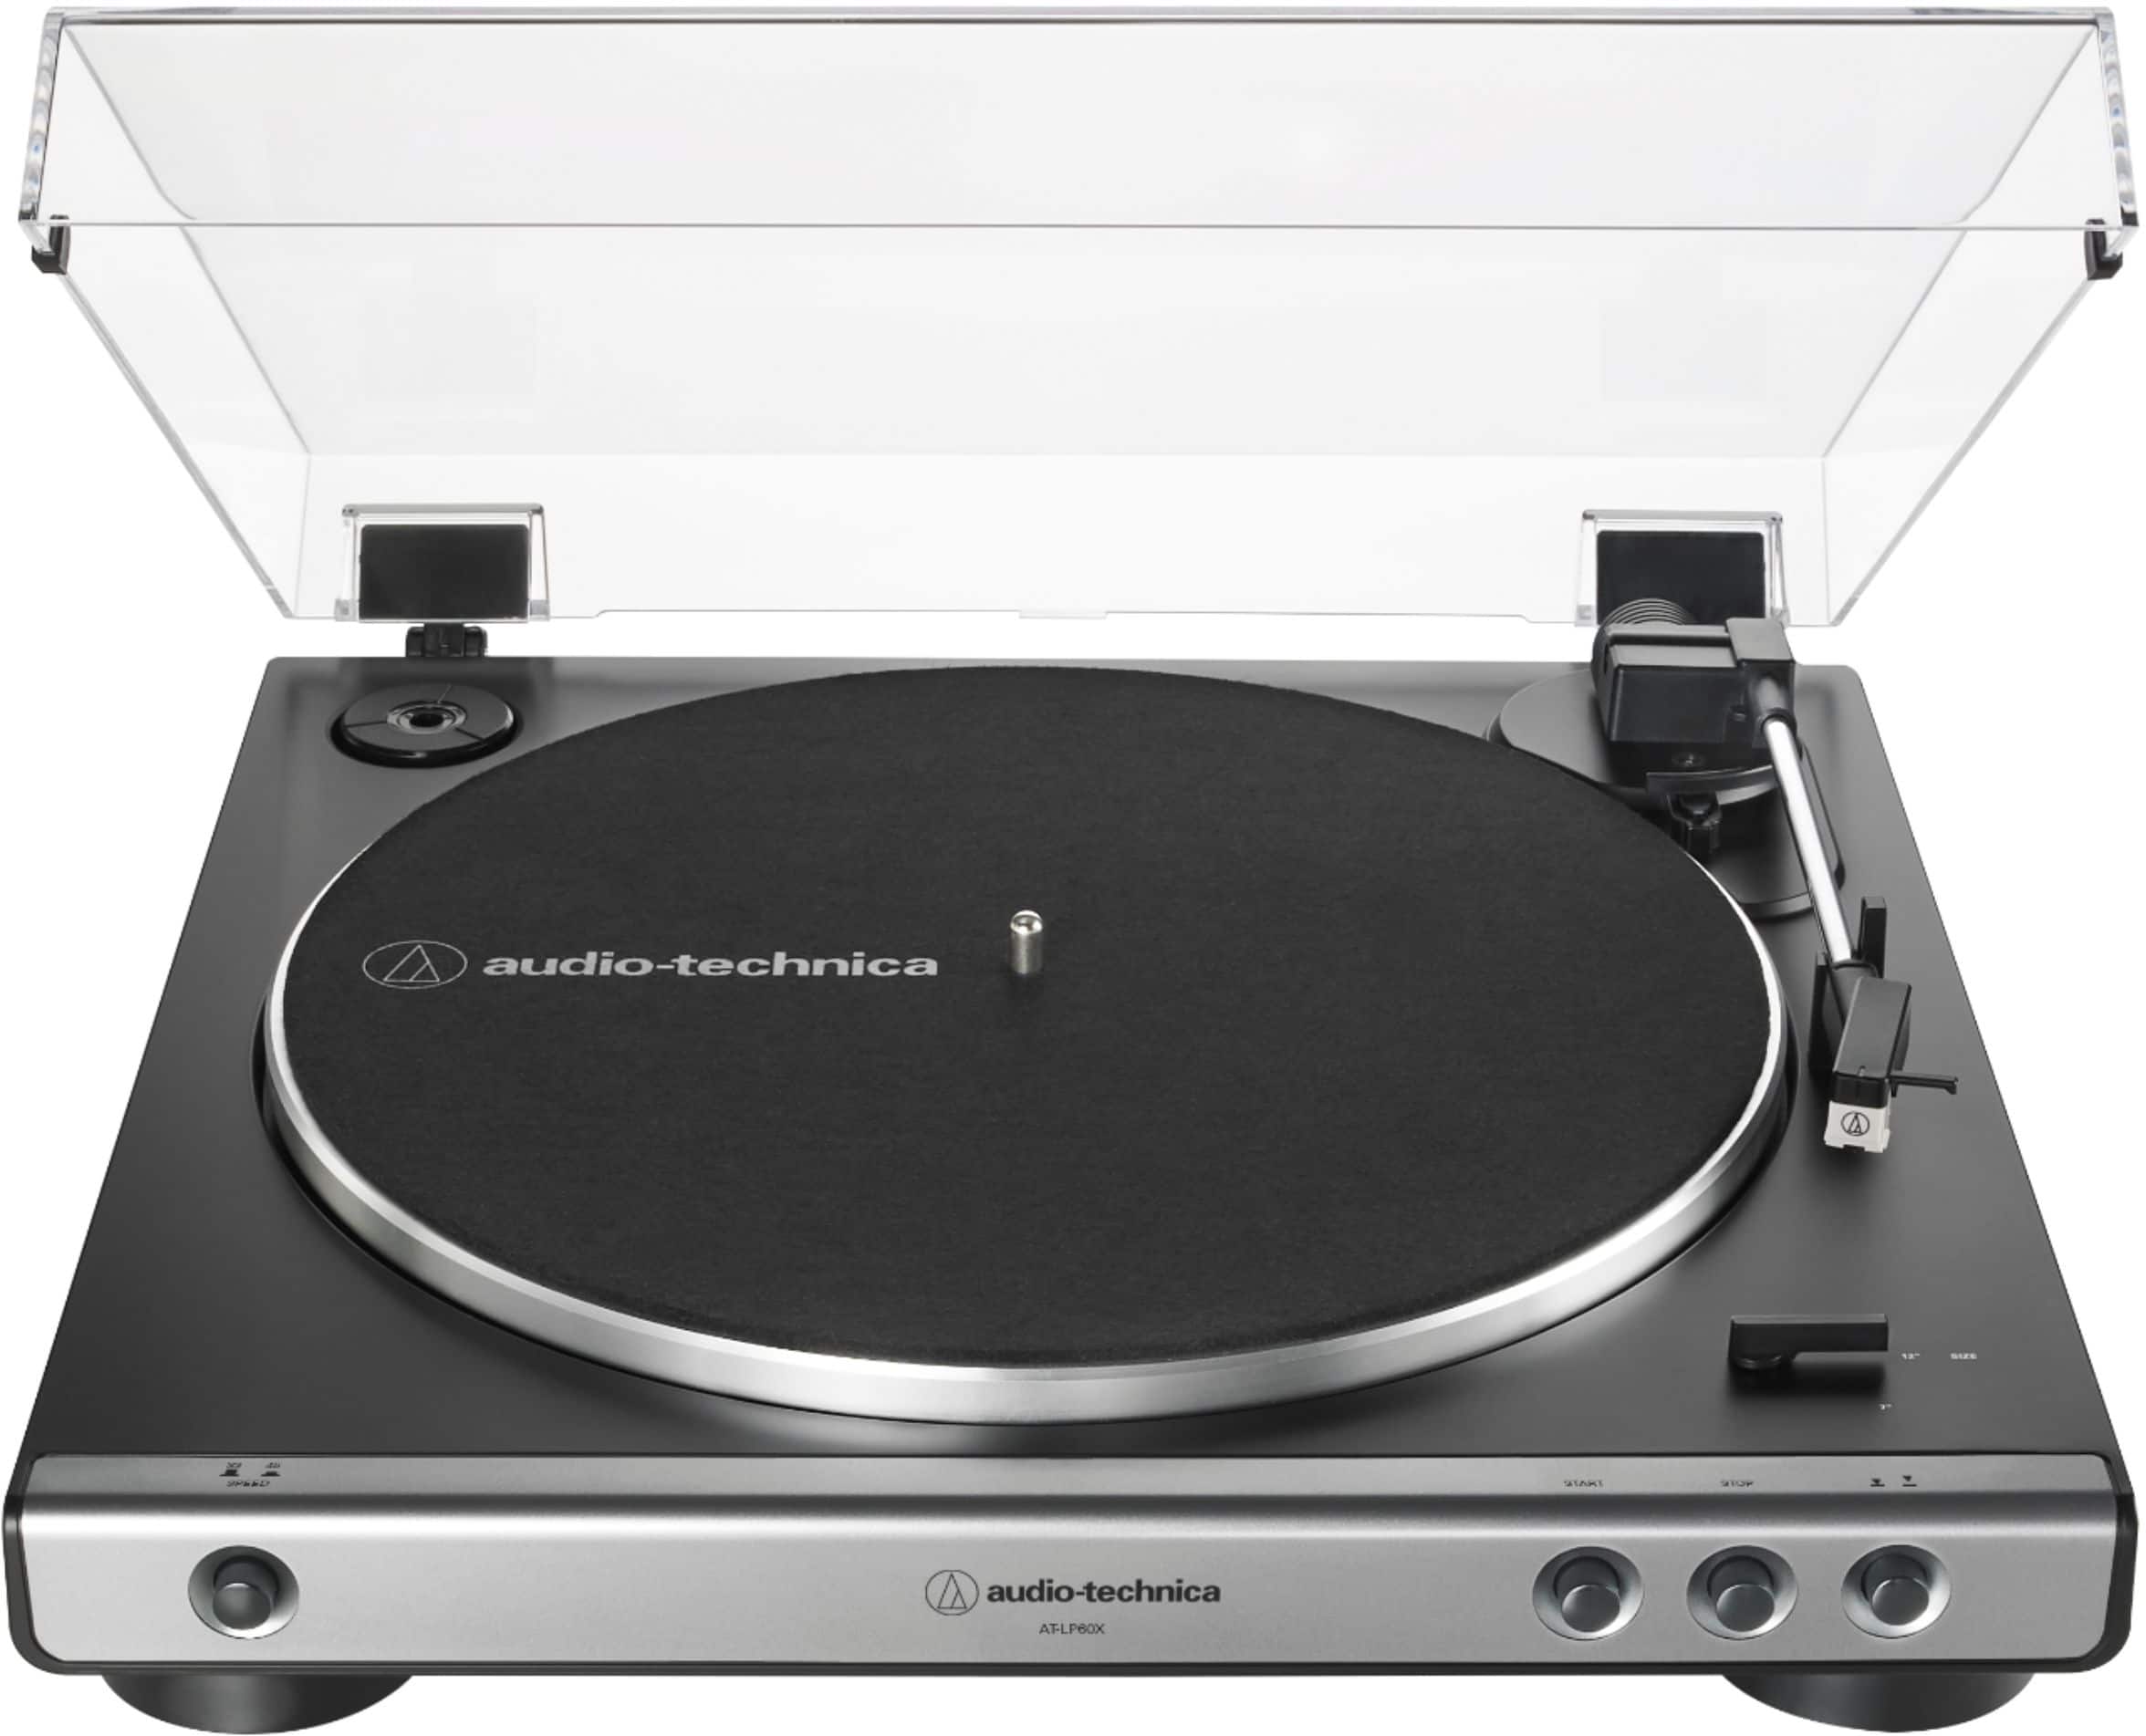
A:AnswerThe AT-LP60X comes fitted with the AT3600L Cartridge. The cartridge itself is an integral part of the tonearm and cannot be changed, only the stylus can. Use the ATN3600L Replacement Stylus when the stylus needs changing.
A:AnswerThis turntable uses a universal power supply (AC Adapter) and works with voltages ranging from 100 to 240V, 50/60 Hz. The provided power supply will work for you in terms of voltage, but you will need a plug adapter in order to accommodate the outlet configuration.
A:AnswerNot directly, no. These Klipsch Heresy (H= Heresy, B=Birch, R=Raw) speakers are passive type speakers. They are intended to be connected to a stereo amplifier or receiver as they have no power on their own. The turntable would connect to a set of inputs on the amplifier or receiver, and the speakers would connect to the speaker outputs on the receiver.
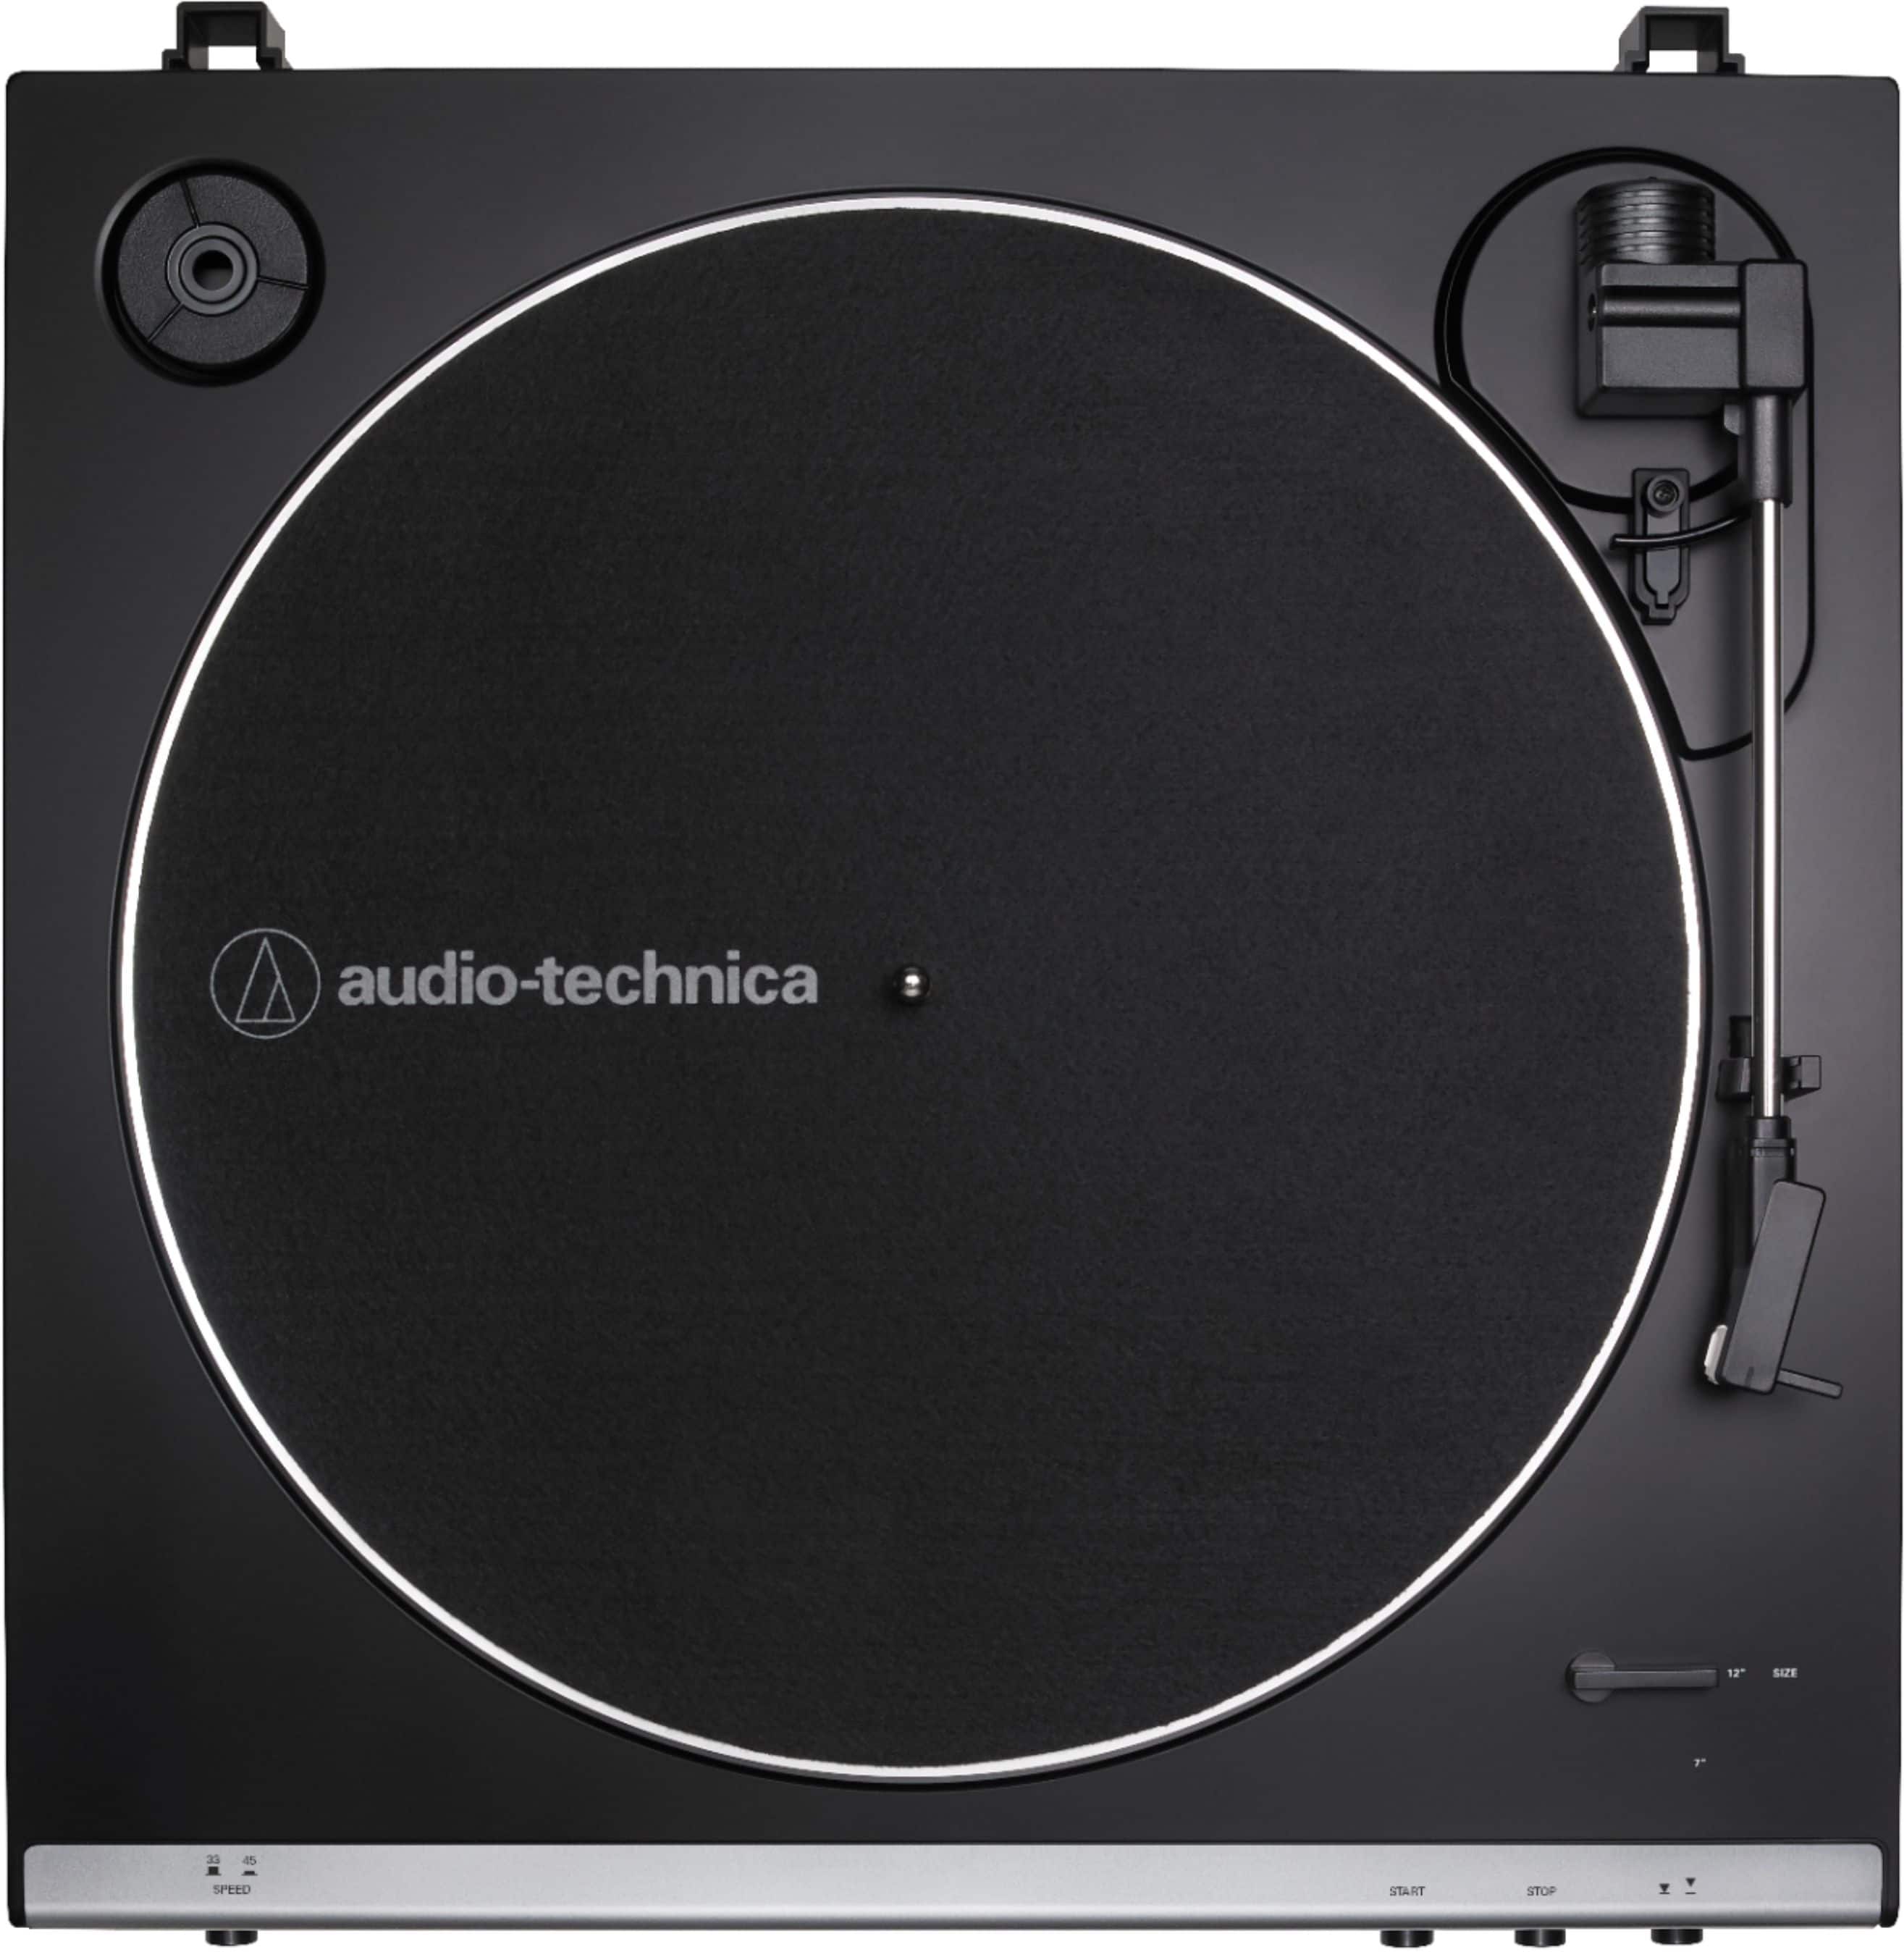
A:AnswerDid you install the drive belt? The belt comes pre-installed around the drive rim on the flipside of the aluminum record platter, but you have to finish installing it by placing it around the brass-colored motor pulley located in the upper left corner of the turntable. Place the belt around the motor pulley after setting the platter on the center spindle. To check this, simply remove the black felt record mat from the turntable and rotate the aluminum record platter by hand until one of the large rectangular shaped openings in the platter is located in the upper left corner of the turntable (at about the 10 o’clock position). Look into the opening and locate the brass-colored motor pulley. Is the belt around this pulley and is the belt taught? The belt does NOT go around the white post located on the right side of the turntable (at about the 2 o’clock position).
A:AnswerExchange this unit for another one through the reseller from whom it was purchased, pending their exchange policy, or ship it to our Service Center for repair/replacement. The factory warranty period for the turntable is 1 year from the date of purchase. Following is a link to our Repair Return Instructions should you need to ship the turntable to our Service Center. Along with the completed ATUS Service Form, also enclose a copy of your dated sales receipt so we can honor any warranted repair/replacement that may apply. The ship to address is the Stow, OH address shown at the bottom of the form. Please note the special instructions for shipping turntables in for service, we do not require all of the components.
Do NOT ship the platter or dust cover and secure the tonearm to the tonearm rest using a wire tie to avoid damage to the stylus or tonearm assemblies during transit.
Service – USA - Repair Return Instructions
https://www.audio-technica.com/en-us/support/repair-service/
A:AnswerBeing a fully automatic type turntable, the tonearm will automatically lift off the record at the end of play, return to the tonearm rest, and the motor will shut off. You may stop the turntable at anytime by pressing the stop button on the front panel.
A:AnswerPerfect length, only tw0 things I I don't like .
1. the power cord , a square plug that converts AC power to DC power. I never leave those plugs plugged into an outlet they get hot ..
2 . No ground wire to hook up to the receiver..other then those two no other problems
A:AnswerCorrect. In addition to having Bluetooth, a single 3.5mm stereo Analog Out jack is provided on the back of the turntable for making a wired connection. A 3.5mm stereo to dual (left and right) RCA male plugs audio cable is provided.
A:AnswerAn alternative to the receiver with passive type speakers connected method, is to connect the turntable directly to a set of powered (aka active) type speakers. This method eliminates the need for a separate receiver or amplifier between the turntable and speakers. Powered type speakers will have the amplifier built into them. At least one of the speakers will need to plug into an AC power outlet and we recommend models that have a volume control on them as there is no volume control on the turntable. Make certain that you place the preamp selector switch in the correct position based on the type of input (phono or line) that is on the speaker.
A:AnswerRemove the record mat from the turntable. Remove the platter from the center spindle as shown in Figure 11c. Once removed, flip the platter over and note the raised rim located about an inch and a half in from the outer edge of the platter. The belt goes around this rim. See Figure 11d. Make certain that the belt lies flat (no twists) all the way around the rim. Once the belt is installed around the rim, flip the right side side up and place it back on the center spindle. Rotate the platter by hand until one of the large rectangular shaped openings is located at the upper left corner of the turntable (at about the 10 o’clock position). Look into the opening and locate the brass colored motor pulley. Grab the belt with your fingers and stretch it over the pulley. The belt will be located at the inside edge of the rectangular shaped opening. Place the record mat back on the turntable, place a record on the mat and test for normal operation.
A:AnswerIt can be connected to an AUX input. The turntable is fitted with a 3.5mm female stereo (TRS) Analog Out jack on its rear panel, and a 3.5mm stereo (TRS) male to dual RCA male audio cable is provided.
A:AnswerNo app. The turntable contains a Bluetooth transmitter, your device must contain a Bluetooth receiver. The Bluetooth profile is A2DP and the support codecs are SBC and aptX