How to Choose Between Lithium, Alkaline and Rechargeable Batteries
Best Selling Products carousel(6 Items)
 Energizer - Ultimate… Lithium AA Batteries (8 Pack), Double A Batteries$16.99$16.99The price was $19.99
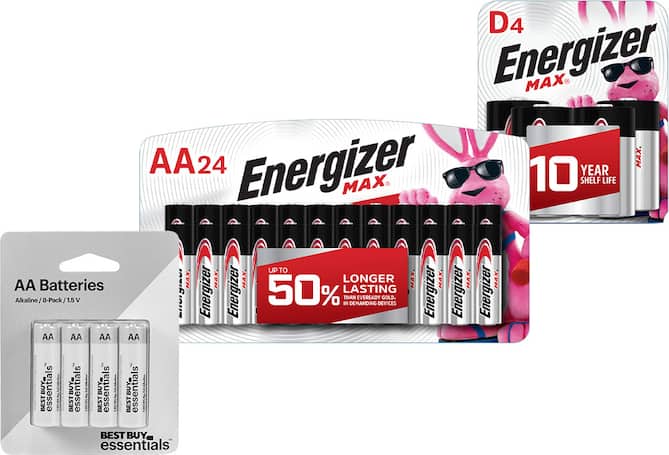
 Energizer - MAX D… Batteries (4 Pack), D Cell Alkaline Batteries$8.49$8.49The price was $14.49
 Duracell -… DL2032B4PK 2032 Lithium Coin Batteries with Bitterant (4/Pack)$11.19$11.19The price was $46.34
 Energizer - Ultimate… Lithium 9V Batteries (1 Pack), Lithium 9 Volt Batteries$15.49$15.49The price was $18.99

Exploring the different battery types
Although they are often out of sight and out of mind, batteries are the unsung heroes that keep our devices powered and running. Among the many options available, lithium, alkaline and rechargeable batteries stand out as the most commonly used types.
Whether you're powering up your TV remote or a high-performance camera, understanding the differences between these batteries is crucial. Keep reading as we break down the differences between lithium, alkaline and rechargeable batteries, helping you pick the best power source for your devices and lifestyle.
What is a lithium battery?
Lithium batteries are known for their long-lasting performance and high energy density, making them a popular choice for power-hungry devices. Unlike traditional alkaline batteries, a lithium battery can deliver consistent power output over time, ensuring reliable performance in everything from digital cameras to medical devices.
Additionally, lithium batteries perform well in extreme temperatures, maintaining efficiency in both hot and cold environments. This durability and reliability make them a preferred choice for critical applications, including emergency backup power and high-performance gadgets.
What is an alkaline battery?
Alkaline batteries are one of the most common and widely used battery types, found in everything from remote controls to flashlights. They are known for their affordability and availability, making them a go-to option for everyday household batteries.
Even though they provide steady power for low- to moderate-drain electronics, alkaline batteries tend to lose efficiency over time, especially in high-drain applications, like gaming controllers or motorized toys. While they don’t last as long as lithium batteries, they are a cost-effective choice for devices that don’t require constant power.
How do rechargeable batteries work?
Unlike disposable batteries, rechargeable batteries can be used repeatedly by restoring their charge through an external power source. They work by undergoing a reversible chemical reaction that allows energy to be stored and released as needed. When plugged into a battery charger, the flow of electricity reverses the discharge process, replenishing the battery's energy.
This cycle can be repeated many times, making rechargeable batteries more cost-effective and environmentally friendly compared to disposable options. However, over time, the battery's capacity may gradually decrease, requiring more frequent charging.
AA batteries vs. AAA batteries
AA and AAA batteries are the most common sizes used in household devices. AA batteries, being larger, provide more power and are typically used in electronics like TV remotes, toys and clocks. AAA batteries, smaller and with less capacity, are often used in gadgets like wireless mice, smaller remotes and portable devices. Both rechargeable AA batteries and rechargeable AAA batteries are available. AA lithium batteries and AA alkaline batteries are also commonly used, as well as AAA lithium batteries and AAA alkaline batteries.
D batteries and C batteries are used in high-drain devices such as large flashlights and portable radios, while 9V batteries provide higher voltage and are commonly used in smoke detectors and alarm clocks. 9V batteries have a unique rectangular shape to accommodate multiple smaller cells inside, which are stacked to provide the nine volts of power needed for certain devices.
How to dispose of batteries?
Proper battery disposal helps protect the environment and keeps toxic chemicals out of landfills. Many stores and community centers offer electronics and appliances recycling points where you can drop off and recycle batteries. Rechargeable and lithium batteries, in particular, should be disposed of in dedicated recycling bins to reduce their environmental impact.
For those who don’t have easy access to local drop-off points, many online retailers and manufacturers now offer mail-back programs for used batteries. Some battery recycling centers even accept large batteries, like those found in power tools or electric vehicles. Knowing where to recycle batteries not only helps reduce your carbon footprint, but it also ensures that valuable materials, such as lithium, cobalt and nickel, are recovered and reused in the production of new batteries.
Lithium batteries vs. alkaline batteries vs. rechargeable batteries
Understanding the differences in household batteries allows you to optimize battery life and efficiency for your gadgets. When it comes to lithium vs. alkaline vs. rechargeable batteries, lithium batteries offer superior performance for high-drain electronics and have a longer shelf life. Alkaline batteries, on the other hand, provide affordable, readily available power ideal for everyday devices, though they may lose efficiency over time, especially in high-drain scenarios.
Rechargeable batteries offer a sustainable solution, allowing repeated use with the ability to recharge, making them cost-effective and environmentally friendly despite potential capacity decline with extended use. While rechargeable batteries require an initial investment in a charger, their long-term savings and reduced environmental impact make them a popular choice for many electronics.
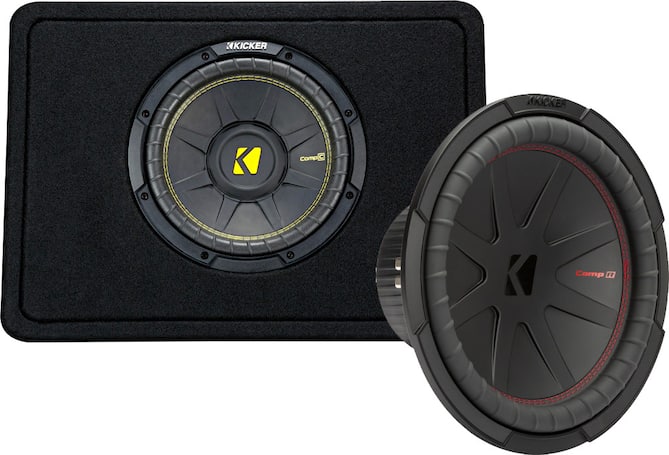
Installing a subwoofer
If you’ve found the best car subwoofer for you and are looking to upgrade your vehicle’s audio system, you’ve come to the right place. Installing a subwoofer in your car adds rich, deep bass to your music while transforming the overall sound quality, giving you a more immersive and powerful listening experience.
Whether you’re an audio expert or a beginner looking to enhance your sound system with a top-rated car subwoofer, we will walk you through the installation process and provide helpful tips to ensure optimal performance. Keep reading to boost your car’s sound today and enjoy the powerful bass from your car subwoofer with every drive.
Pre-installation prep
Before diving into installing your new car subwoofer, it’s important to do a little preparation first. This not only helps the installation process go smoothly as possible, but also helps promote safety.
- Measure the available space. Measure the area where you plan to install the unit, such as the trunk or under the seat. Mini subwoofers and shallow subwoofers typically require less space than massive subwoofers.
- Check the power requirements. Subwoofers use up a lot of energy, so you might need to upgrade your battery or alternator if your car’s electrical system can’t handle the extra power.
- Choose the right enclosure. Sealed enclosures offer tight bass, while ported enclosures provide more booming bass, so make sure the enclosure that encases your subwoofer will fit in your car.
- Gather the necessary tools. Ensure that you have a wiring kit that includes power, ground and RCA cables, as well as a remote turn-on wire.
Once you’ve covered these initial steps, you should be ready to begin installing your car subwoofer.
How to install a subwoofer
1. Disconnect the battery
2. Run the power wire
3. Mount the subwoofer and amplifier
To properly mount your subwoofer and amplifier (or your subwoofer with built-in amp), start by selecting a suitable location in your vehicle where the subwoofer can fit without obstructing other components. Your trunk or underneath a seat are typically the best spots. Then, use brackets or a custom enclosure to firmly anchor the subwoofer.
For a separate amplifier, pick a well-ventilated area to help prevent overheating and secure it with screws or mounting kits. Doublecheck that all connections are tight and cables are neatly organized.