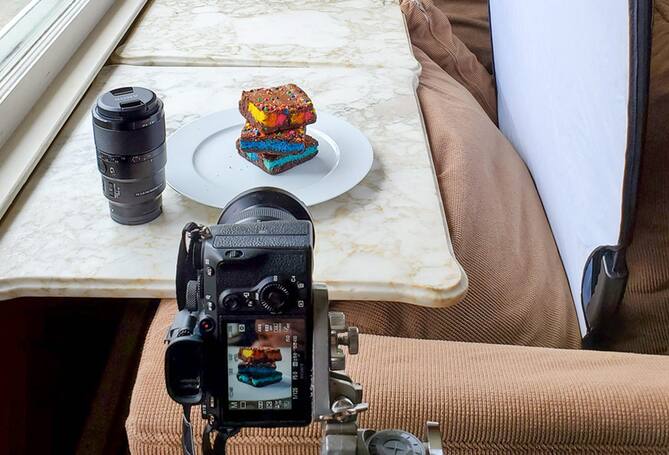
Photography 101: Basic Camera Settings
Best Selling Products carousel(6 Items)
Shutter speed
Shutter speed is the length of time a camera’s shutter opens to expose the sensor (or the film) to light. Some cameras, like mirrorless cameras, have electronic shutters, but many digital cameras still have mechanical ones.
In your settings, shutter speed will appear in whole numbers that indicate fractional speeds. For instance, 1/250 becomes just 250, and 1/30 becomes 30. This means that the lower the number, the longer the shutter will be open because 1/30 of a second is more time than 1/250 of a second. For speeds of a second or more, you will see the inclusion of a double quotation mark. For instance, 30” indicates 30 seconds.
Shutter speed affects exposure and the way that motion is captured by the sensor. For crisp pictures of moving subjects, you’ll want very short shutter speeds. But if you want a flowing stream to look blurred by motion, choose a slower speed. In low lighting, you might also need to lengthen your shutter speed to increase exposure. And for slow shutter speeds, you might want to use a tripod because any camera movement will affect the quality of the image.
Aperture
A camera’s aperture settings control the size of the opening by which light passes through a camera lens and onto the sensor. Like the pupil of the human eye, it can expand or shrink, letting in a certain amount of light which affects the exposure and depth of field. The lens you’re using dictates the range of apertures available because different lenses have different aperture capabilities.
Camera aperture is measured in f-stops, with a lower number indicating a larger opening (like shutter speeds, f-stops are based on fractions). For example, f/2.8 is a large aperture, while f/16 is a small aperture. It is easy to see how this change in size will affect an image’s exposure — more space means more light gets in. Likewise, less space means less light. But depth of field can be a more confusing concept to grasp.
Depth of field refers to how much of your subject will be in focus in terms of distance from the camera. With a large depth of field, you can keep a whole mountainside in focus. And with a shallow depth of field, you can get a subject’s face perfectly in focus, while making their hair less defined and blurring the background completely.
Because you may want to control your depth of field without fiddling with all the settings, some cameras offer aperture-priority mode. This is often indicated on the top dial with an A or Av. This way, you can set the aperture manually and still use auto for everything else.
ISO
For film, ISO refers to the speed rating of different film types. But with digital photography, it refers to the sensitivity of your camera's sensor. The lower the ISO number, the less sensitive it is to light. Additionally, each doubling of an ISO number represents one f-stop’s worth of light. Therefore, if you set up a shot at 100 ISO but then change to 800, you will be underexposing your photo by three f-stops (100 to 200, 200 to 400, 400 to 800).
Raising the ISO can help you achieve a faster shutter speed and/or larger depth of field in low light settings without using a camera flash. But high ISO settings (especially above 800) will also increase noise and reduce the quality of the image because they work by allowing you to capture more light while technically underexposing your image.