A:AnswerHi there,
Thank you so much for reaching out. We'll be happy to answer your question. This microwave does not have the ability to toast bread. Have a great one! Mike@GEA
A:AnswerHi,
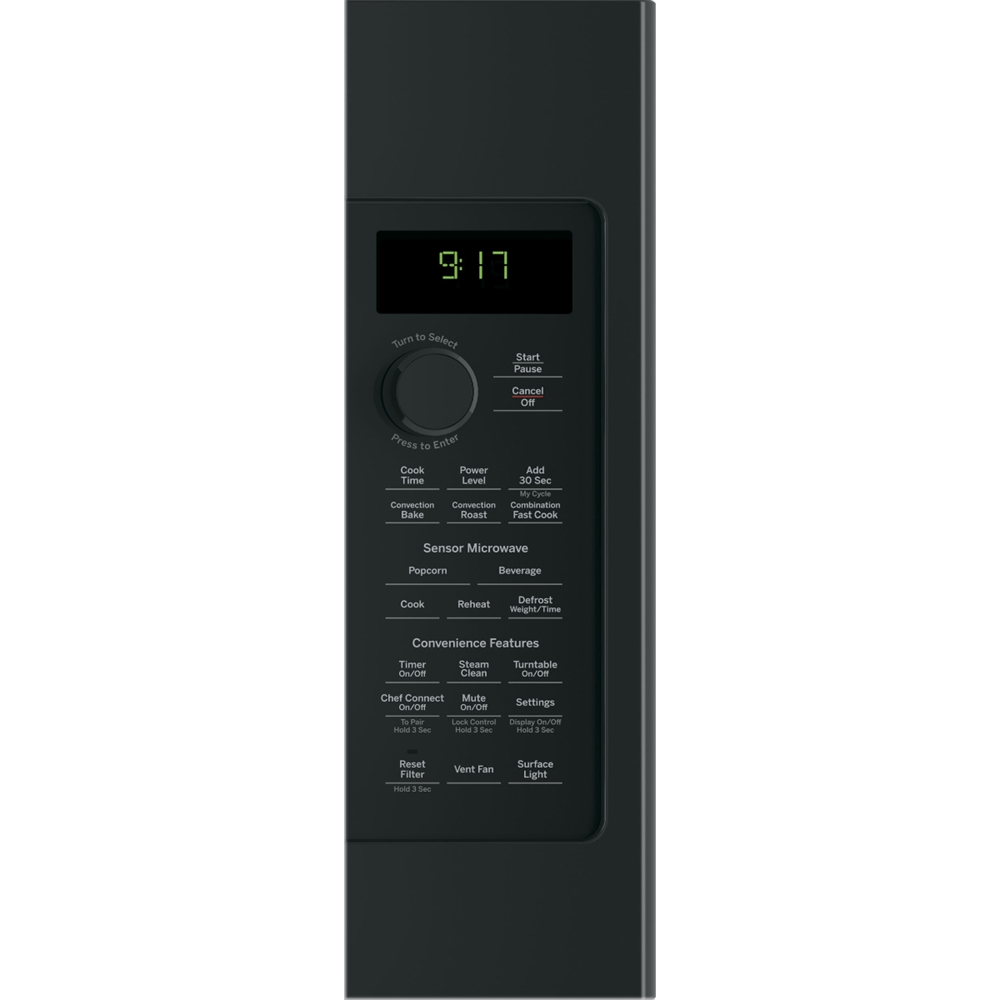
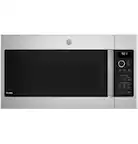
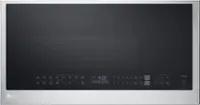
Great question! We appreciate you choosing GE Appliances and we'd be happy to help you with the filter. We found that this light does indicate the charcoal/grease filter should be replaced/cleaned. The charcoal filter cannot be cleaned, it must be replaced. The correct replacement is WB02X35607. To remove the charcoal filter unplug the microwave oven and remove the vent grille mounting screws. Next, tip the grille forward and lift out to remove. Now, you can remove the charcoal filter and slide another in it's place. Slide the bottom of the vent grille back into place and push the top until is snaps into place. Finally, replace the mounting screws and plug the microwave back in.
To remove the vent filters, slide them to the rear using the tabs. Pull down and out. To clean the vent filters, soak them and then swish around in hot water and detergent. Don’t use ammonia or ammonia products because they will darken the metal. Light brushing can be used to remove embedded dirt. Rinse, shake and let dry before replacing. To replace, slide the filters into the frame slots on the back of each opening. Press up and to the front to lock into place. We hope this information helps. If you have any further questions let us know. Have a great day!
-Sylvia@GEA
A:AnswerHi there! We appreciate your question. We found that model number PVM9179SKSS cannot be used as a countertop model. We're sorry for any inconvenience that this may cause. Stay safe! Emily@GEA
A:AnswerHello there! Thanks for your question. We found that this unit cannot be used as a countertop microwave. We're sorry for any inconvenience that this may cause. Stay safe. Emily@GEA
A:AnswerHi there! Thanks for your question. We found that this unit can either vented externally or recirculating. You can find more information on page 11 of the Installation Instructions. If you have any further questions, feel free to reach out to us at our social pages. Stay safe! Emily@GEA
A:AnswerHi there! Thanks for your question and interest in our microwaves. We found that the minimum clearance of 30" is to the bottom of the cutout section. You can find this on page 6 of the Installation Instructions. If you have any further questions, please reach out to us at our social pages. Stay safe! Emily@GEA
A:AnswerHi Frank, thanks for your question! Yes, this model has a vent system that can be used to draw smoke or steam from the cooktop while you're cooking. If you'd like to read more about the venting options for this unit, you can start on page 11 of this unit's installation instructions. Hope this helps and that you're staying safe. -Michael@GEA
A:AnswerHello Dave,
Thank you for reaching out. We'll be happy to provide these dimensions to you. The dimensions of the cavity are 21-5/8" W x 9-3/4" H x 14-1/4" D. We hope this helps. Best wishes! Mike@GEA
A:AnswerHi!
We hope all is well with you, and we thank you for contacting us. We'd be more than happy to help with this microwave. In order to set the clock, we first suggest pressing the settings button and turning the dial to select "Clock Set". Press the dial to enter. Next, turn the dial again to set hours. Once you have the correct hour, press the dial to enter. You will repeat this same action for the next steps, except you will be selecting minutes and AM or PM. After choosing AM and PM, your clock will be set. If there are any more questions, we suggest reaching out to us through the "Contact Us" link on our website, or on social media.
We hope this helps!
-SylviaGEA
A:AnswerHi, thank you for reaching out and for your patience. We truly appreciate you choosing this fantastic over-the-range sensor microwave for your home and are happy to answer this for you! To set the clock, press the Settings button and turn the dial to select Clock Set, and press the dial to enter. You can then turn the dial to enter hours, minutes, and AM/PM. You can find step-by-step instructions on setting the clock and controlling the other features on page 23 of your Use and Care Manual. If you do not have access to the manual, please reach out to us via email at our Contact Us page online and we will be happy to provide you with it. We hope that this helps! -Eliza@GEA
A:AnswerOurs doesn’t make that noise. I would suggest you call for service while it’s under warranty. Ours has a error message whenever we use the beverage button. A tech is coming next Friday.
A:AnswerHi there Stacy,
Thanks so much for reaching out. We're happy to answer your question. This microwave requires 120 volts. You can read more about the electrical requirements on page 3 of the installation guide. https://files.bbystatic.com/TmvxDiCRSaDkhMx2OUmgBQ%3D%3D/55928548-9691-4933-88db-d51e02d1d647.pdf. If you have any other questions, please feel free to reach out to us via social media or through our Contact Us page. We hope this helps. Best wishes. Mike@GEA
A:AnswerHello Myra,
Thank you so much for reaching out. We're sorry to hear that you are having trouble with locating a particular model. We can understand how this would be frustrating. This model is still being manufactured. We'd recommend continuing to check with different retailers regarding availability. Any over-the-range microwave will fit into the same cutout as this model, so if you choose to replace, then any model will be fine. If you have any other questions, please feel free to reach out to us via social media or through our Contact Us page. We hope this helps. Best wishes. Mike@GEA
A:AnswerHi MRS, thank you for your question! Yes, when the unit is not in use, the current time of day will be displayed. You can view information about adjusting the clock on page 23 of your Use and Care Manual. We hope that this helps! All the best. -Michael
A:AnswerI have used the convection bake option to roast meat in this oven with no problem. The meat comes out tender and juicy with less chance of burning than in a regular oven. The maximum temperature is 425, so technically I don't believe it broils. Not sure what you mean by "brown" but I have baked rolls and pizza that turn brown.
A:AnswerHello Don - Thank you for the excellent question on this amazing microwave. To replace a 36" microwave with a 30" model such as this one, we have a filler kit. You can find the filler kit here: https://www.bestbuy.com/site/ge-30-8-trim-kit-for-microwaves-stainless-steel/5707589.p?skuId=5707589
Installation instructions will be included with the kit. Please let us know if you have any more questions. - JB