Questions & Answers
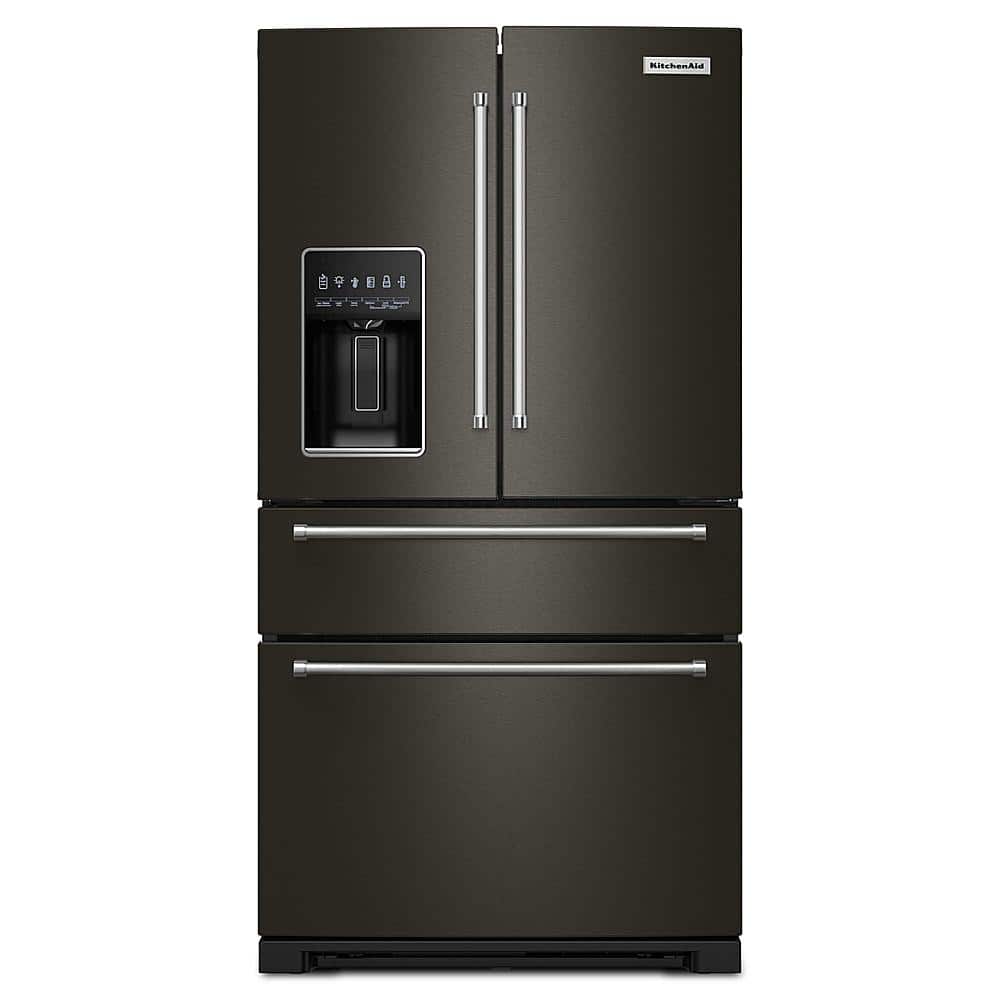


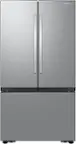
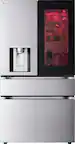
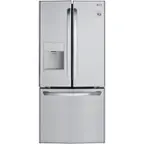
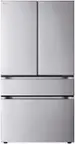
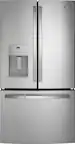
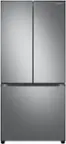
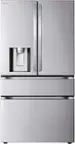
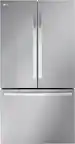
- Model:
- KRMF536RBS
- SKU:
- 6575129
$3,689.99
Page
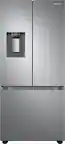
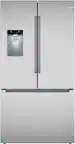
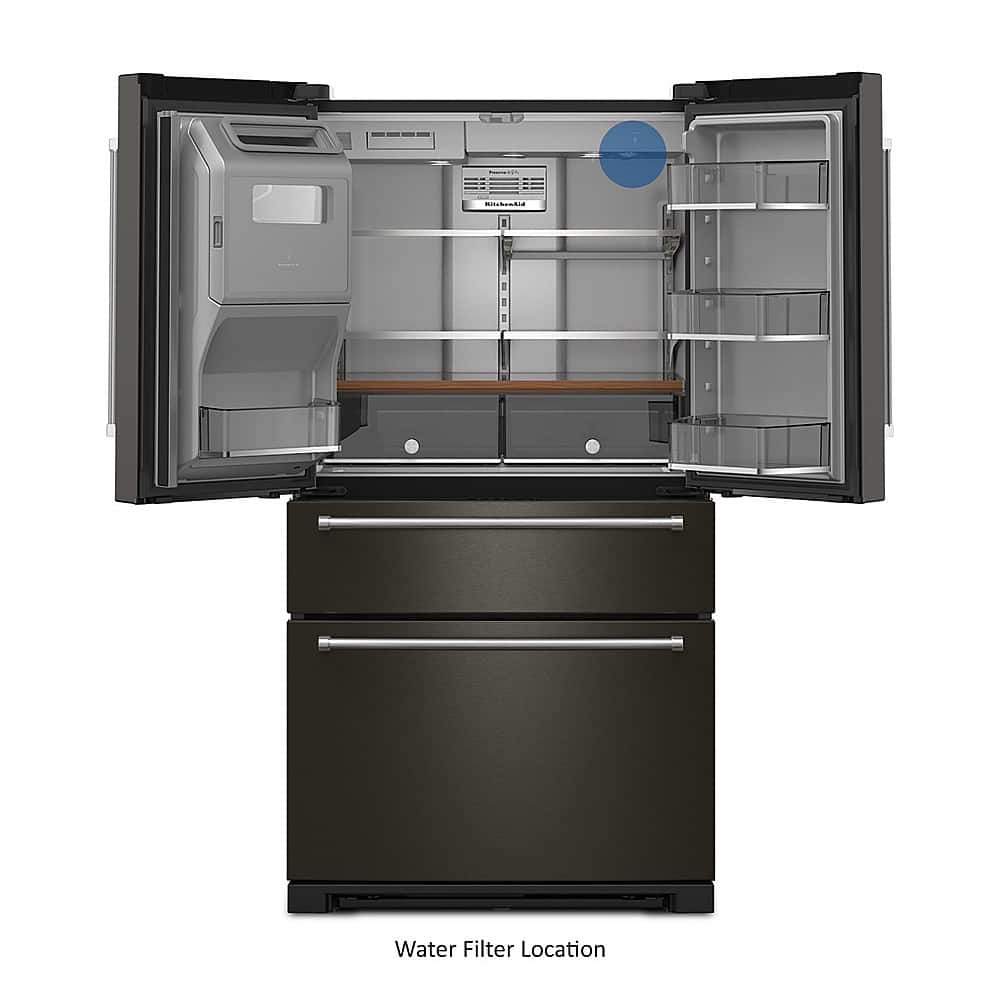
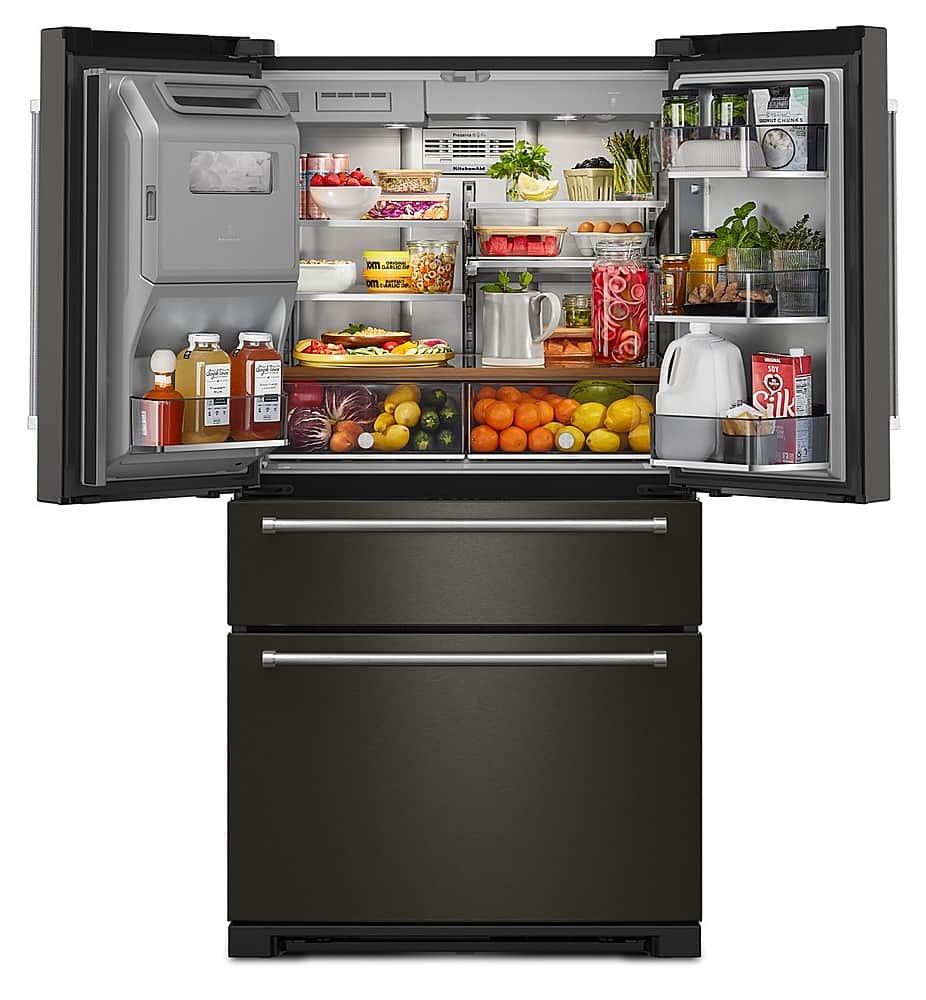
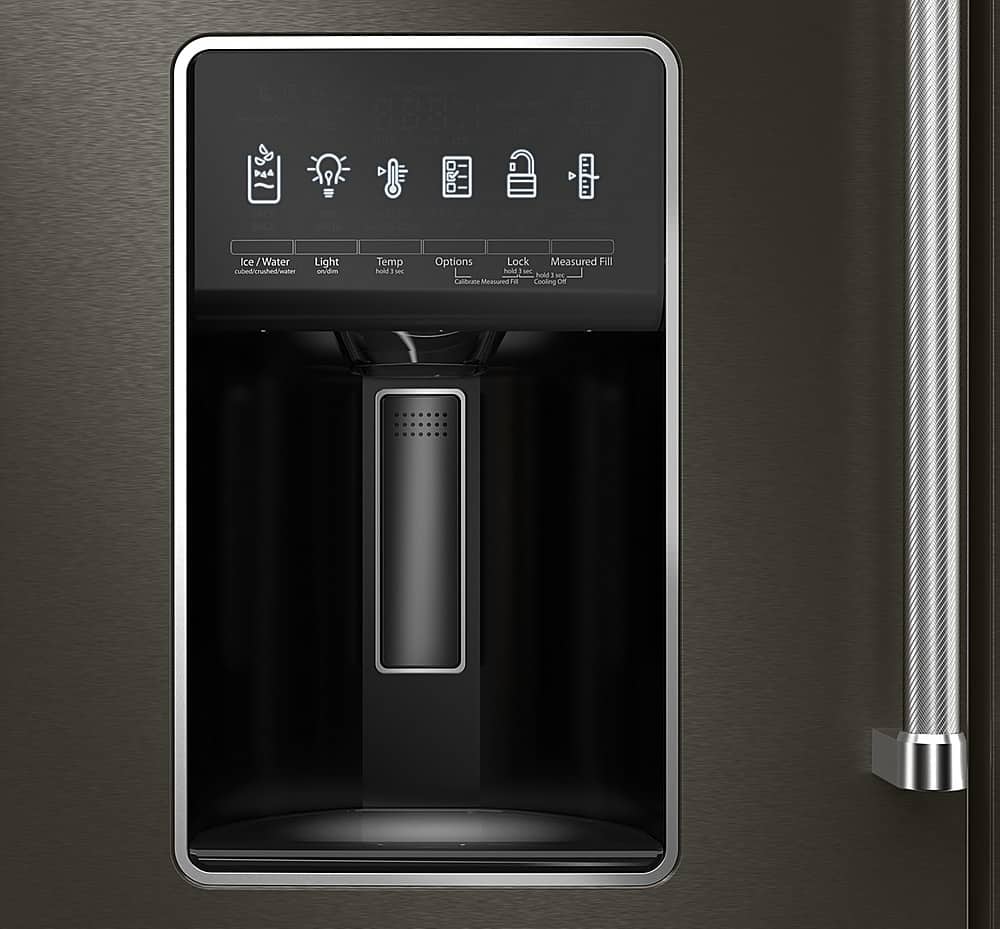
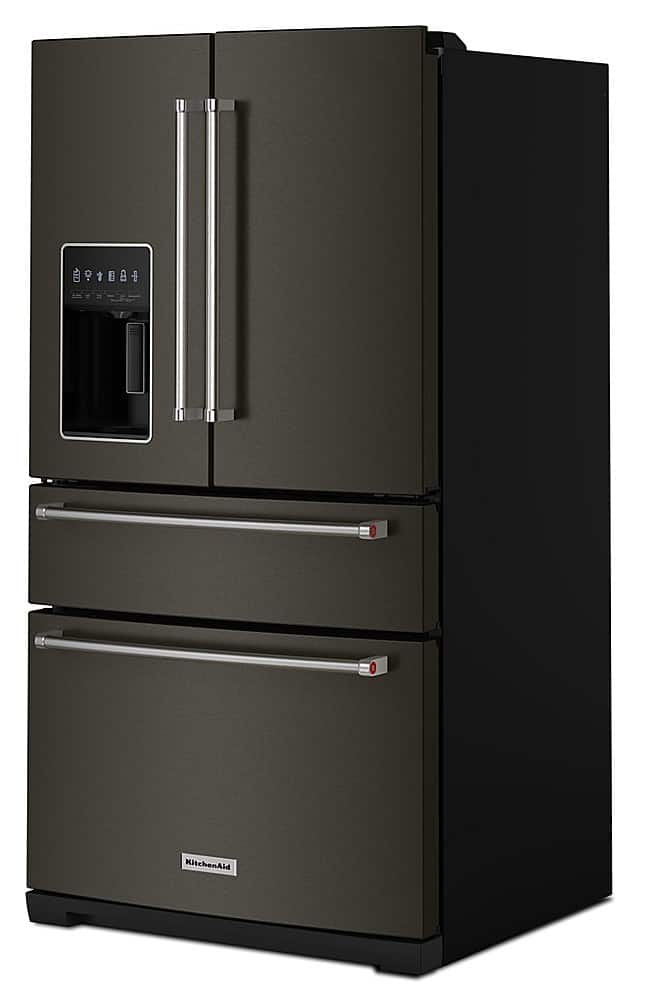
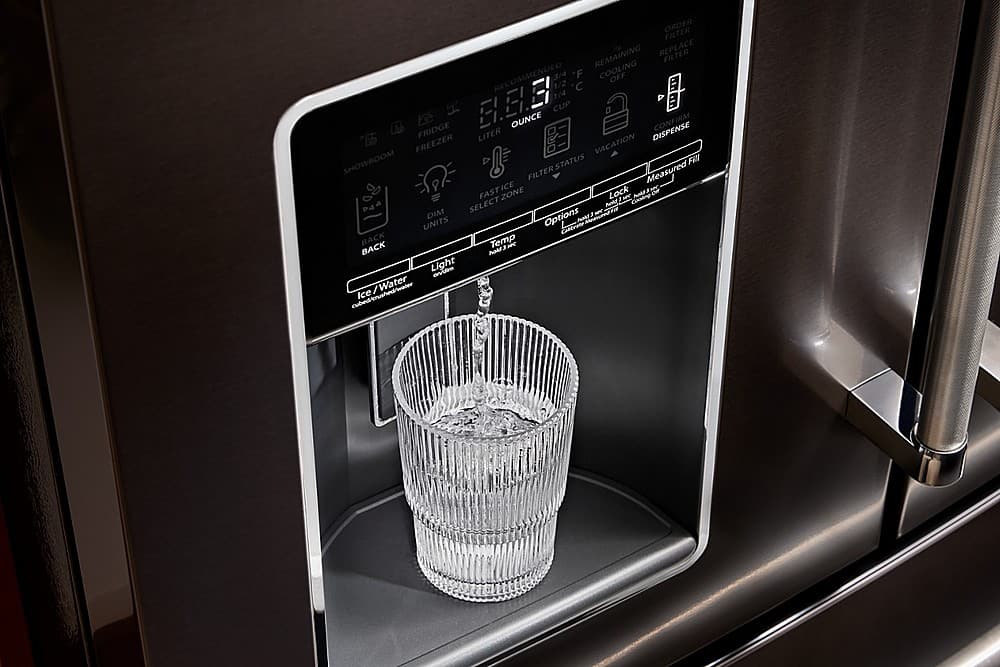
QuestionDoes this refrigerator have a water dispenser?
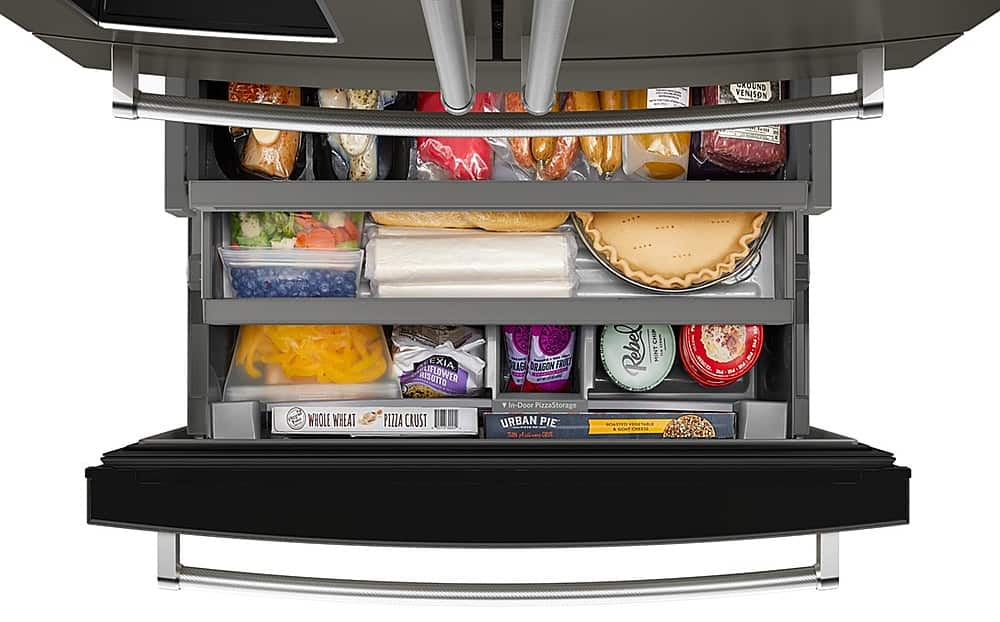
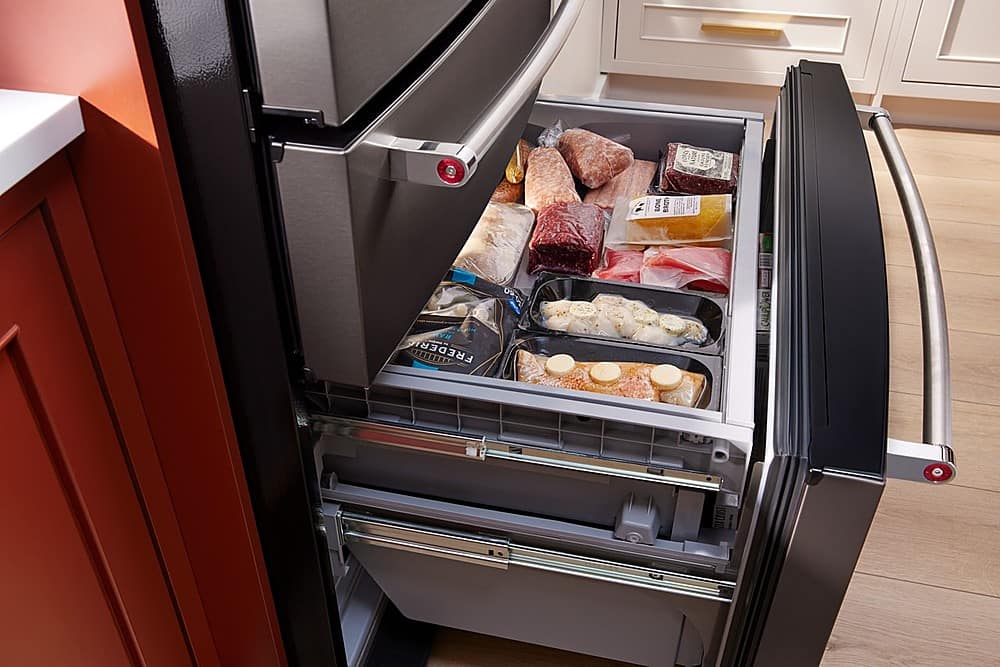
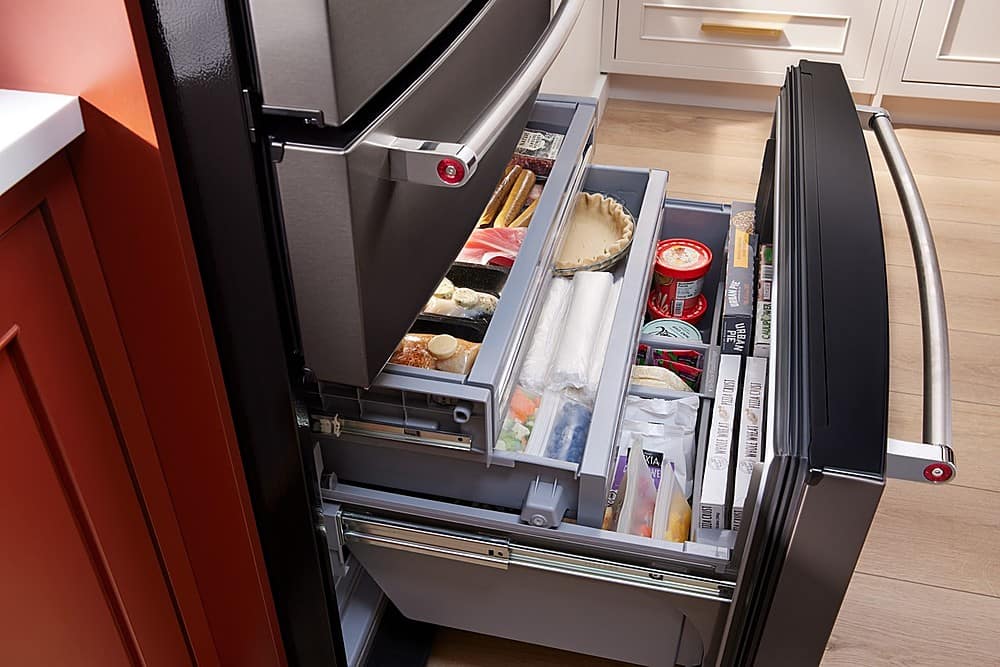
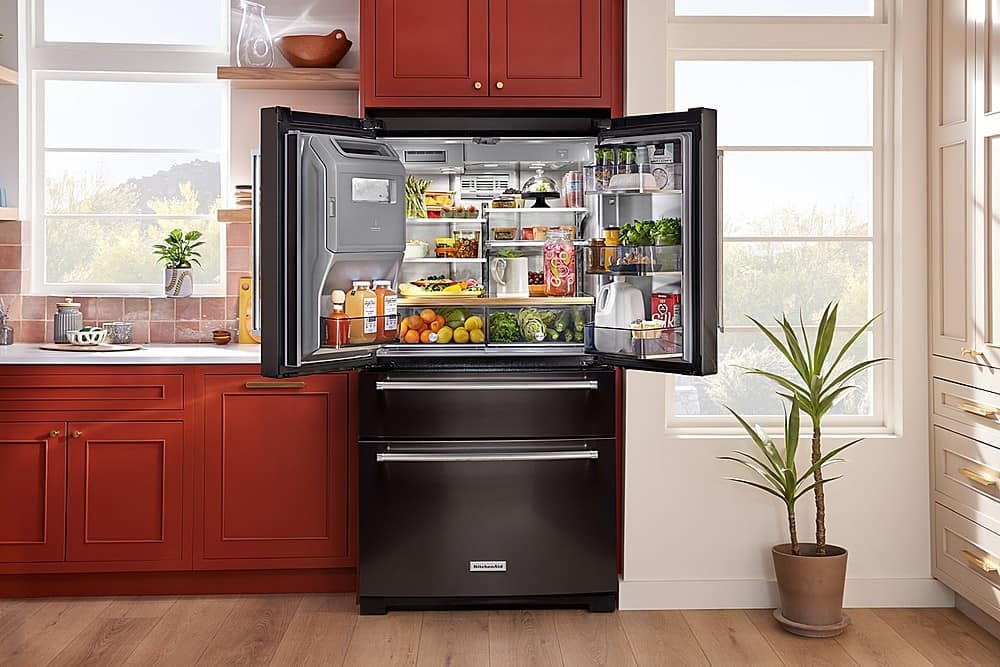
This question and answer was generated by AI based on customer and product data.QuestionDoes this refrigerator have a freezer compartment?
This question and answer was generated by AI based on customer and product data.QuestionDoes this refrigerator have LED lighting?
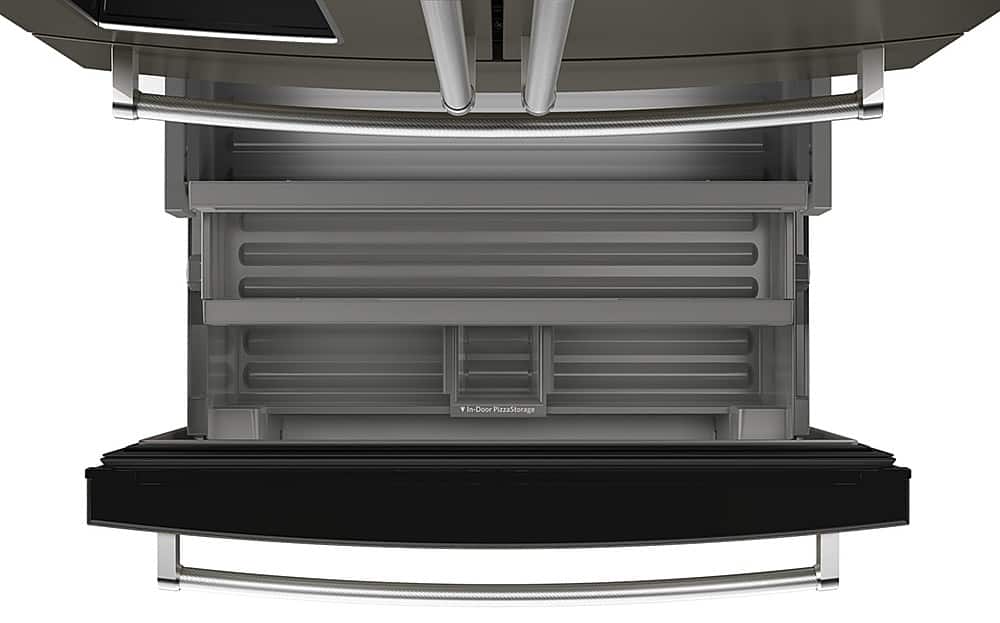
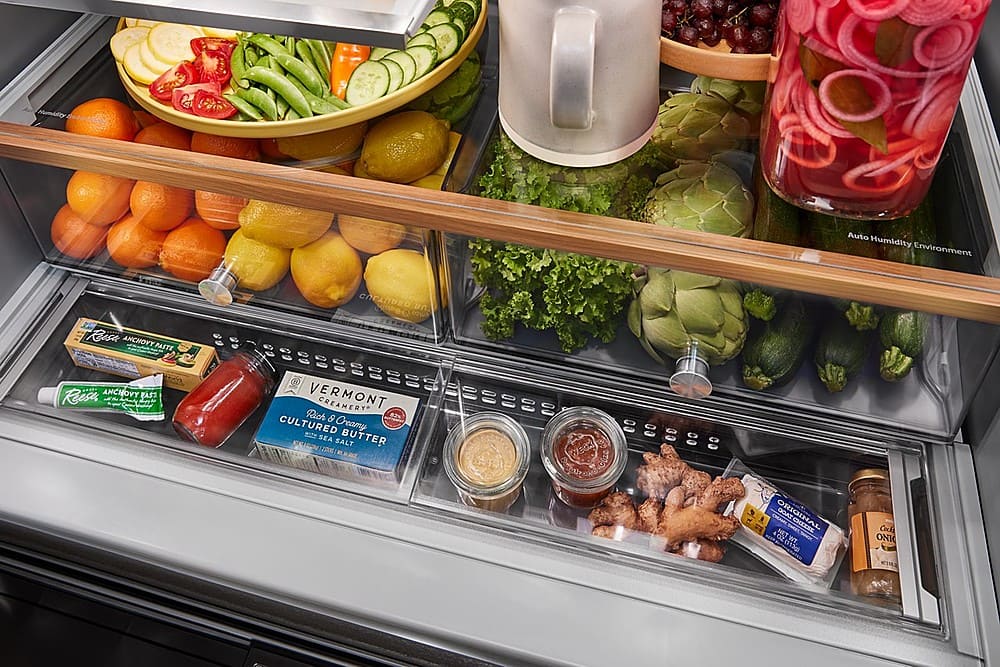
This question and answer was generated by AI based on customer and product data.QuestionAre the refrigerator shelves adjustable?
This question and answer was generated by AI based on customer and product data.QuestionDoes this refrigerator have a fingerprint-resistant finish?
This question and answer was generated by AI based on customer and product data.QuestionIs there an air filter in this refrigerator?
This question and answer was generated by AI based on customer and product data.QuestionCan this refrigerator produce crushed ice?
This question and answer was generated by AI based on customer and product data.