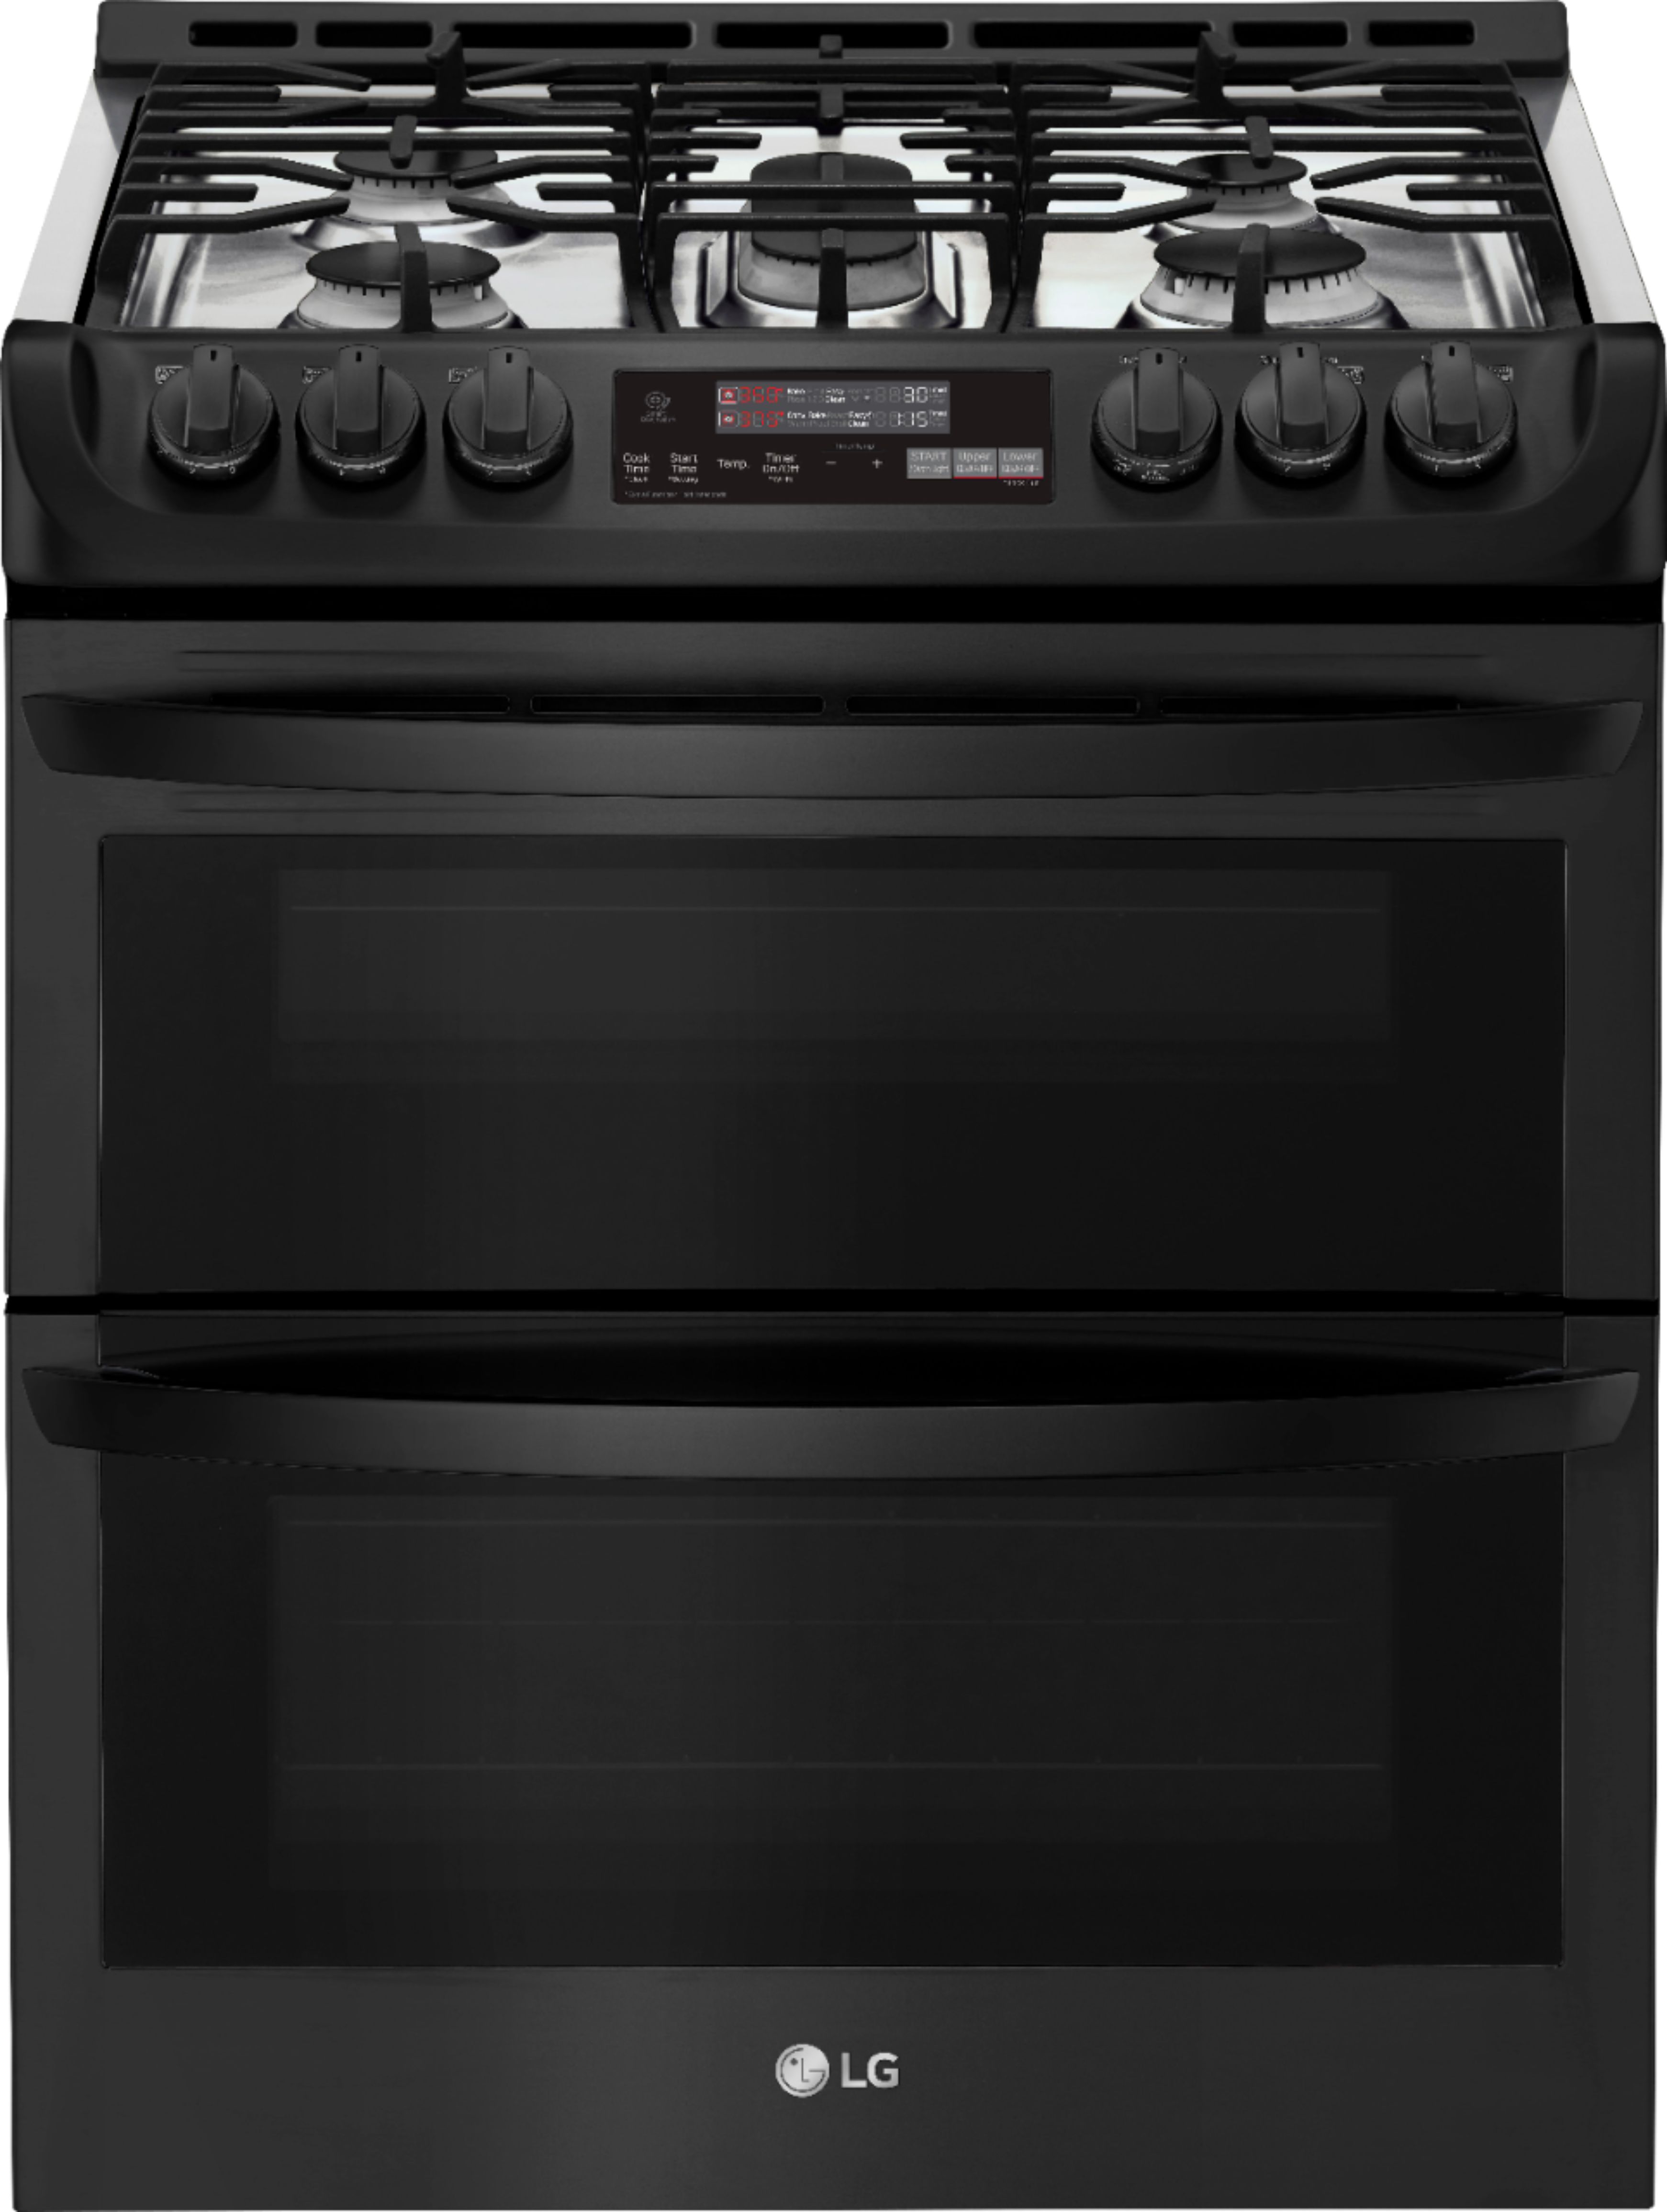
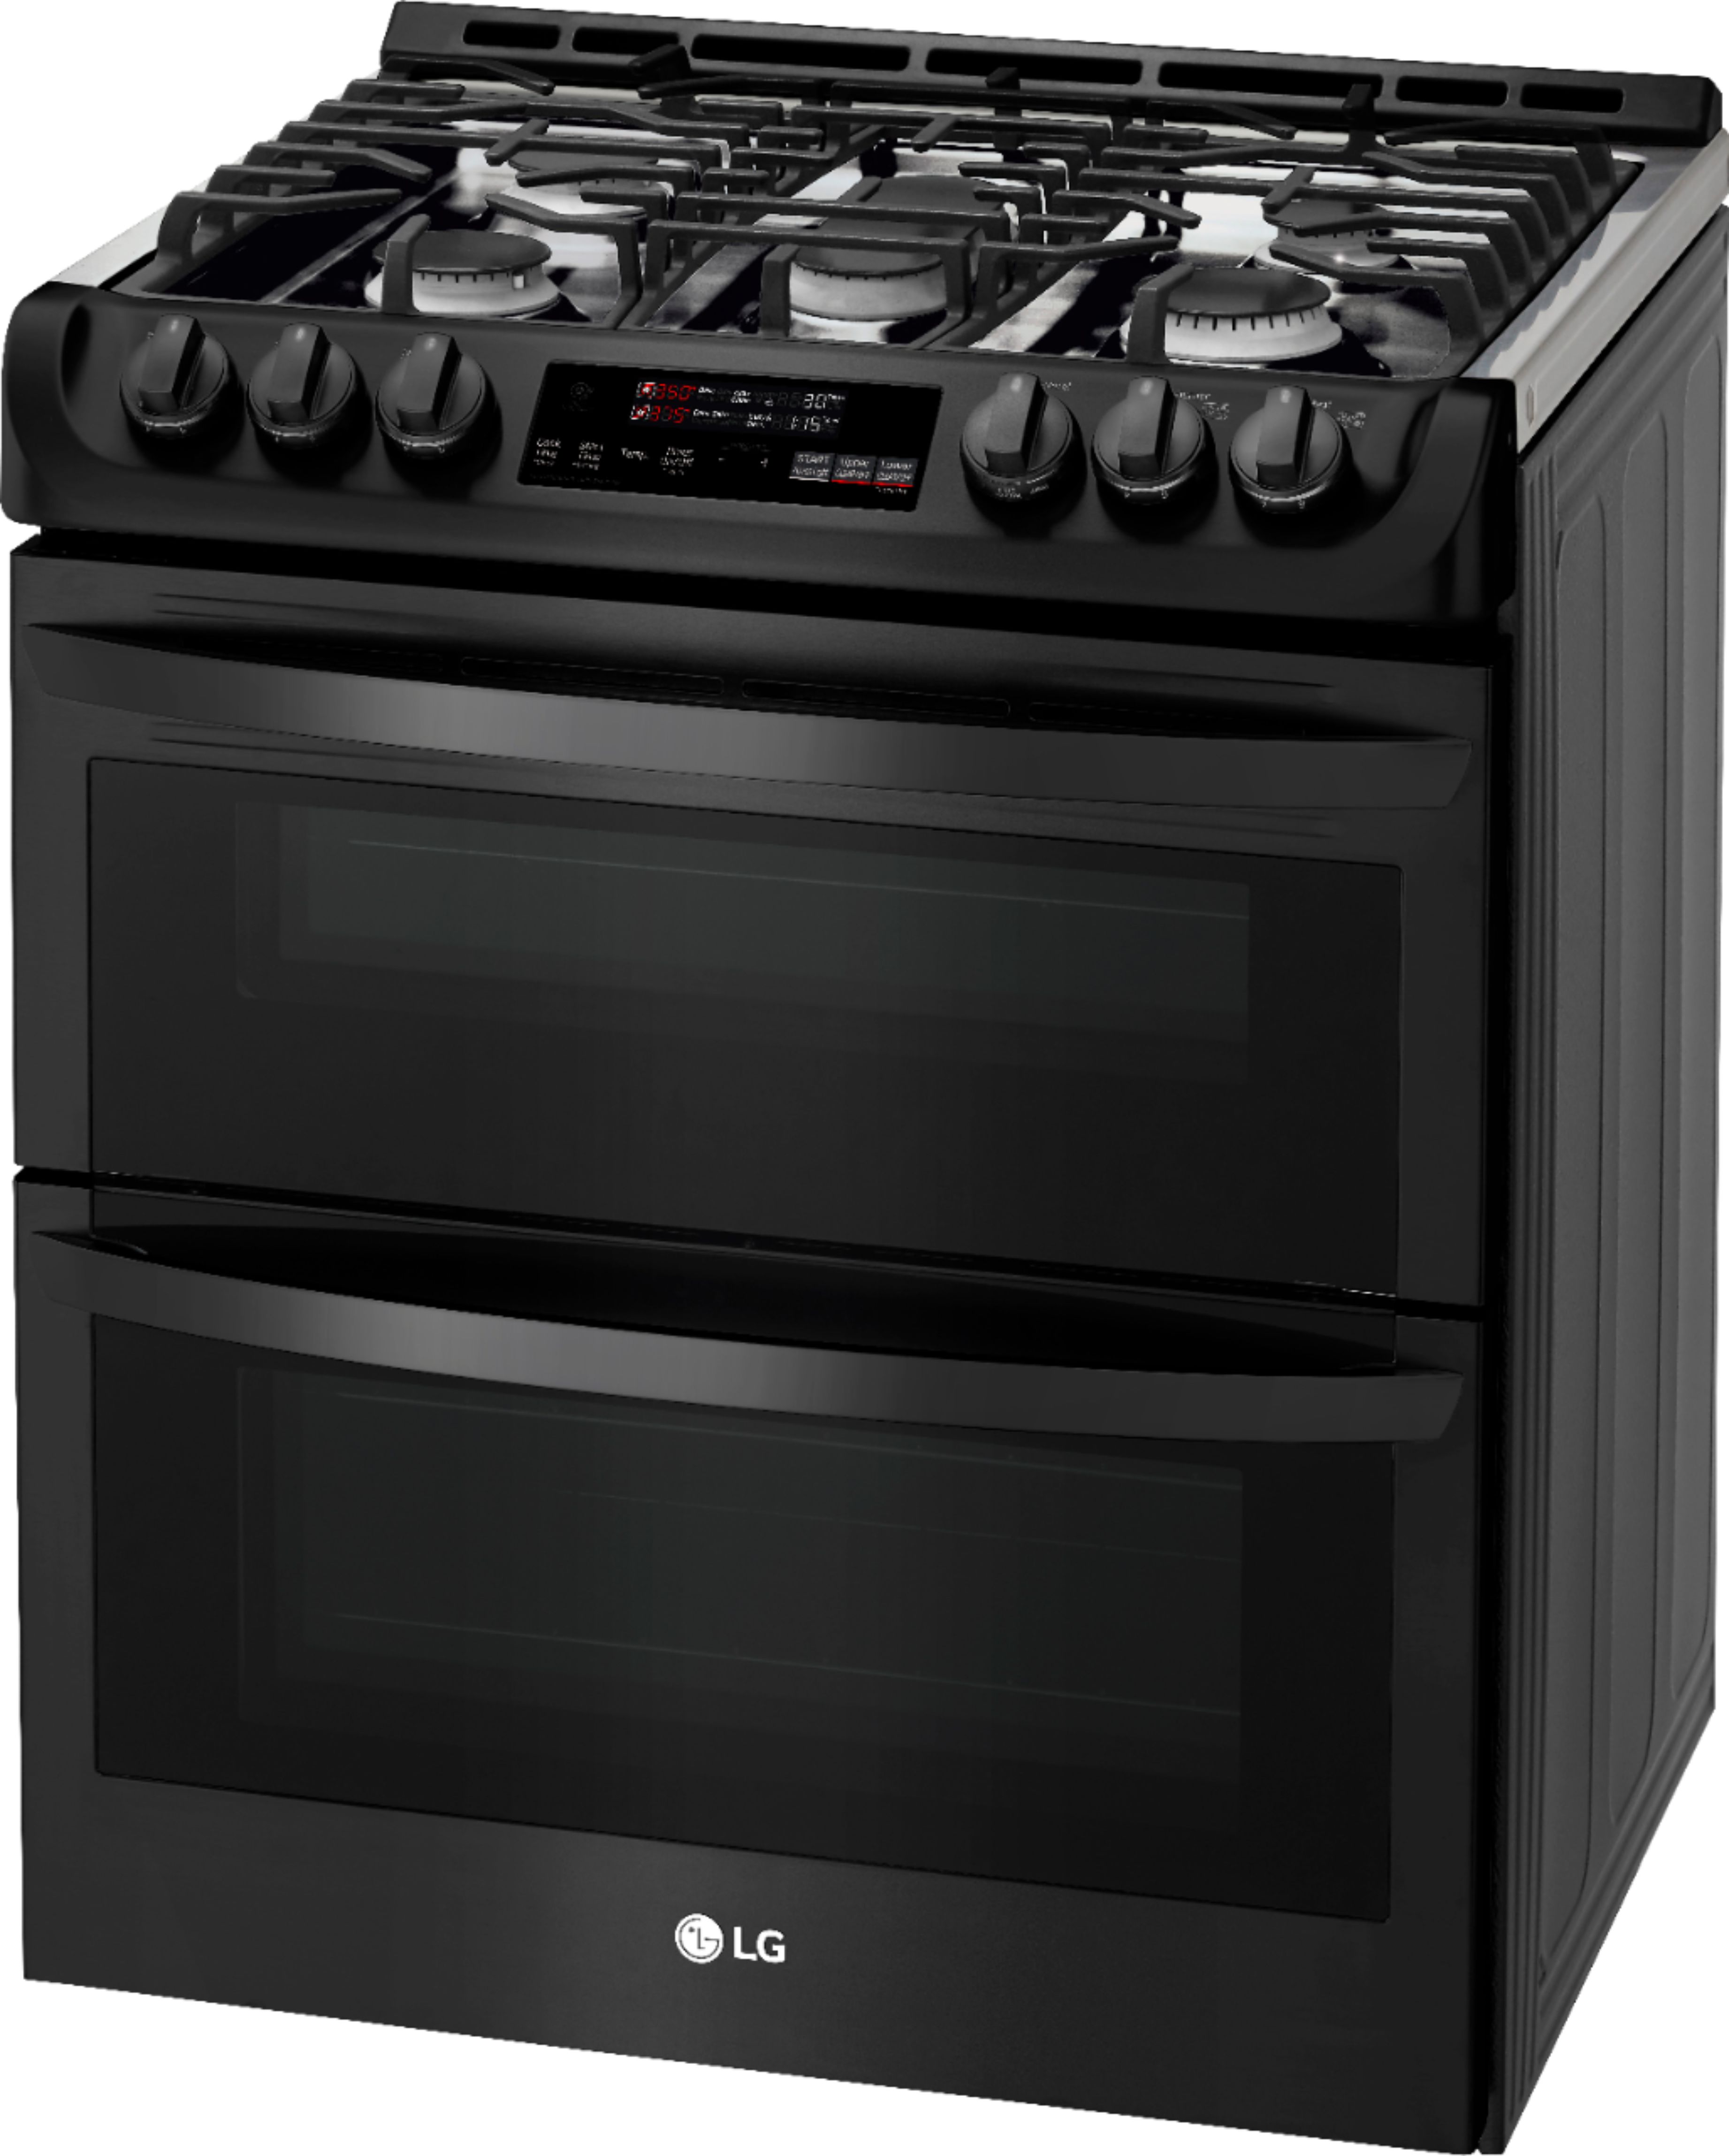
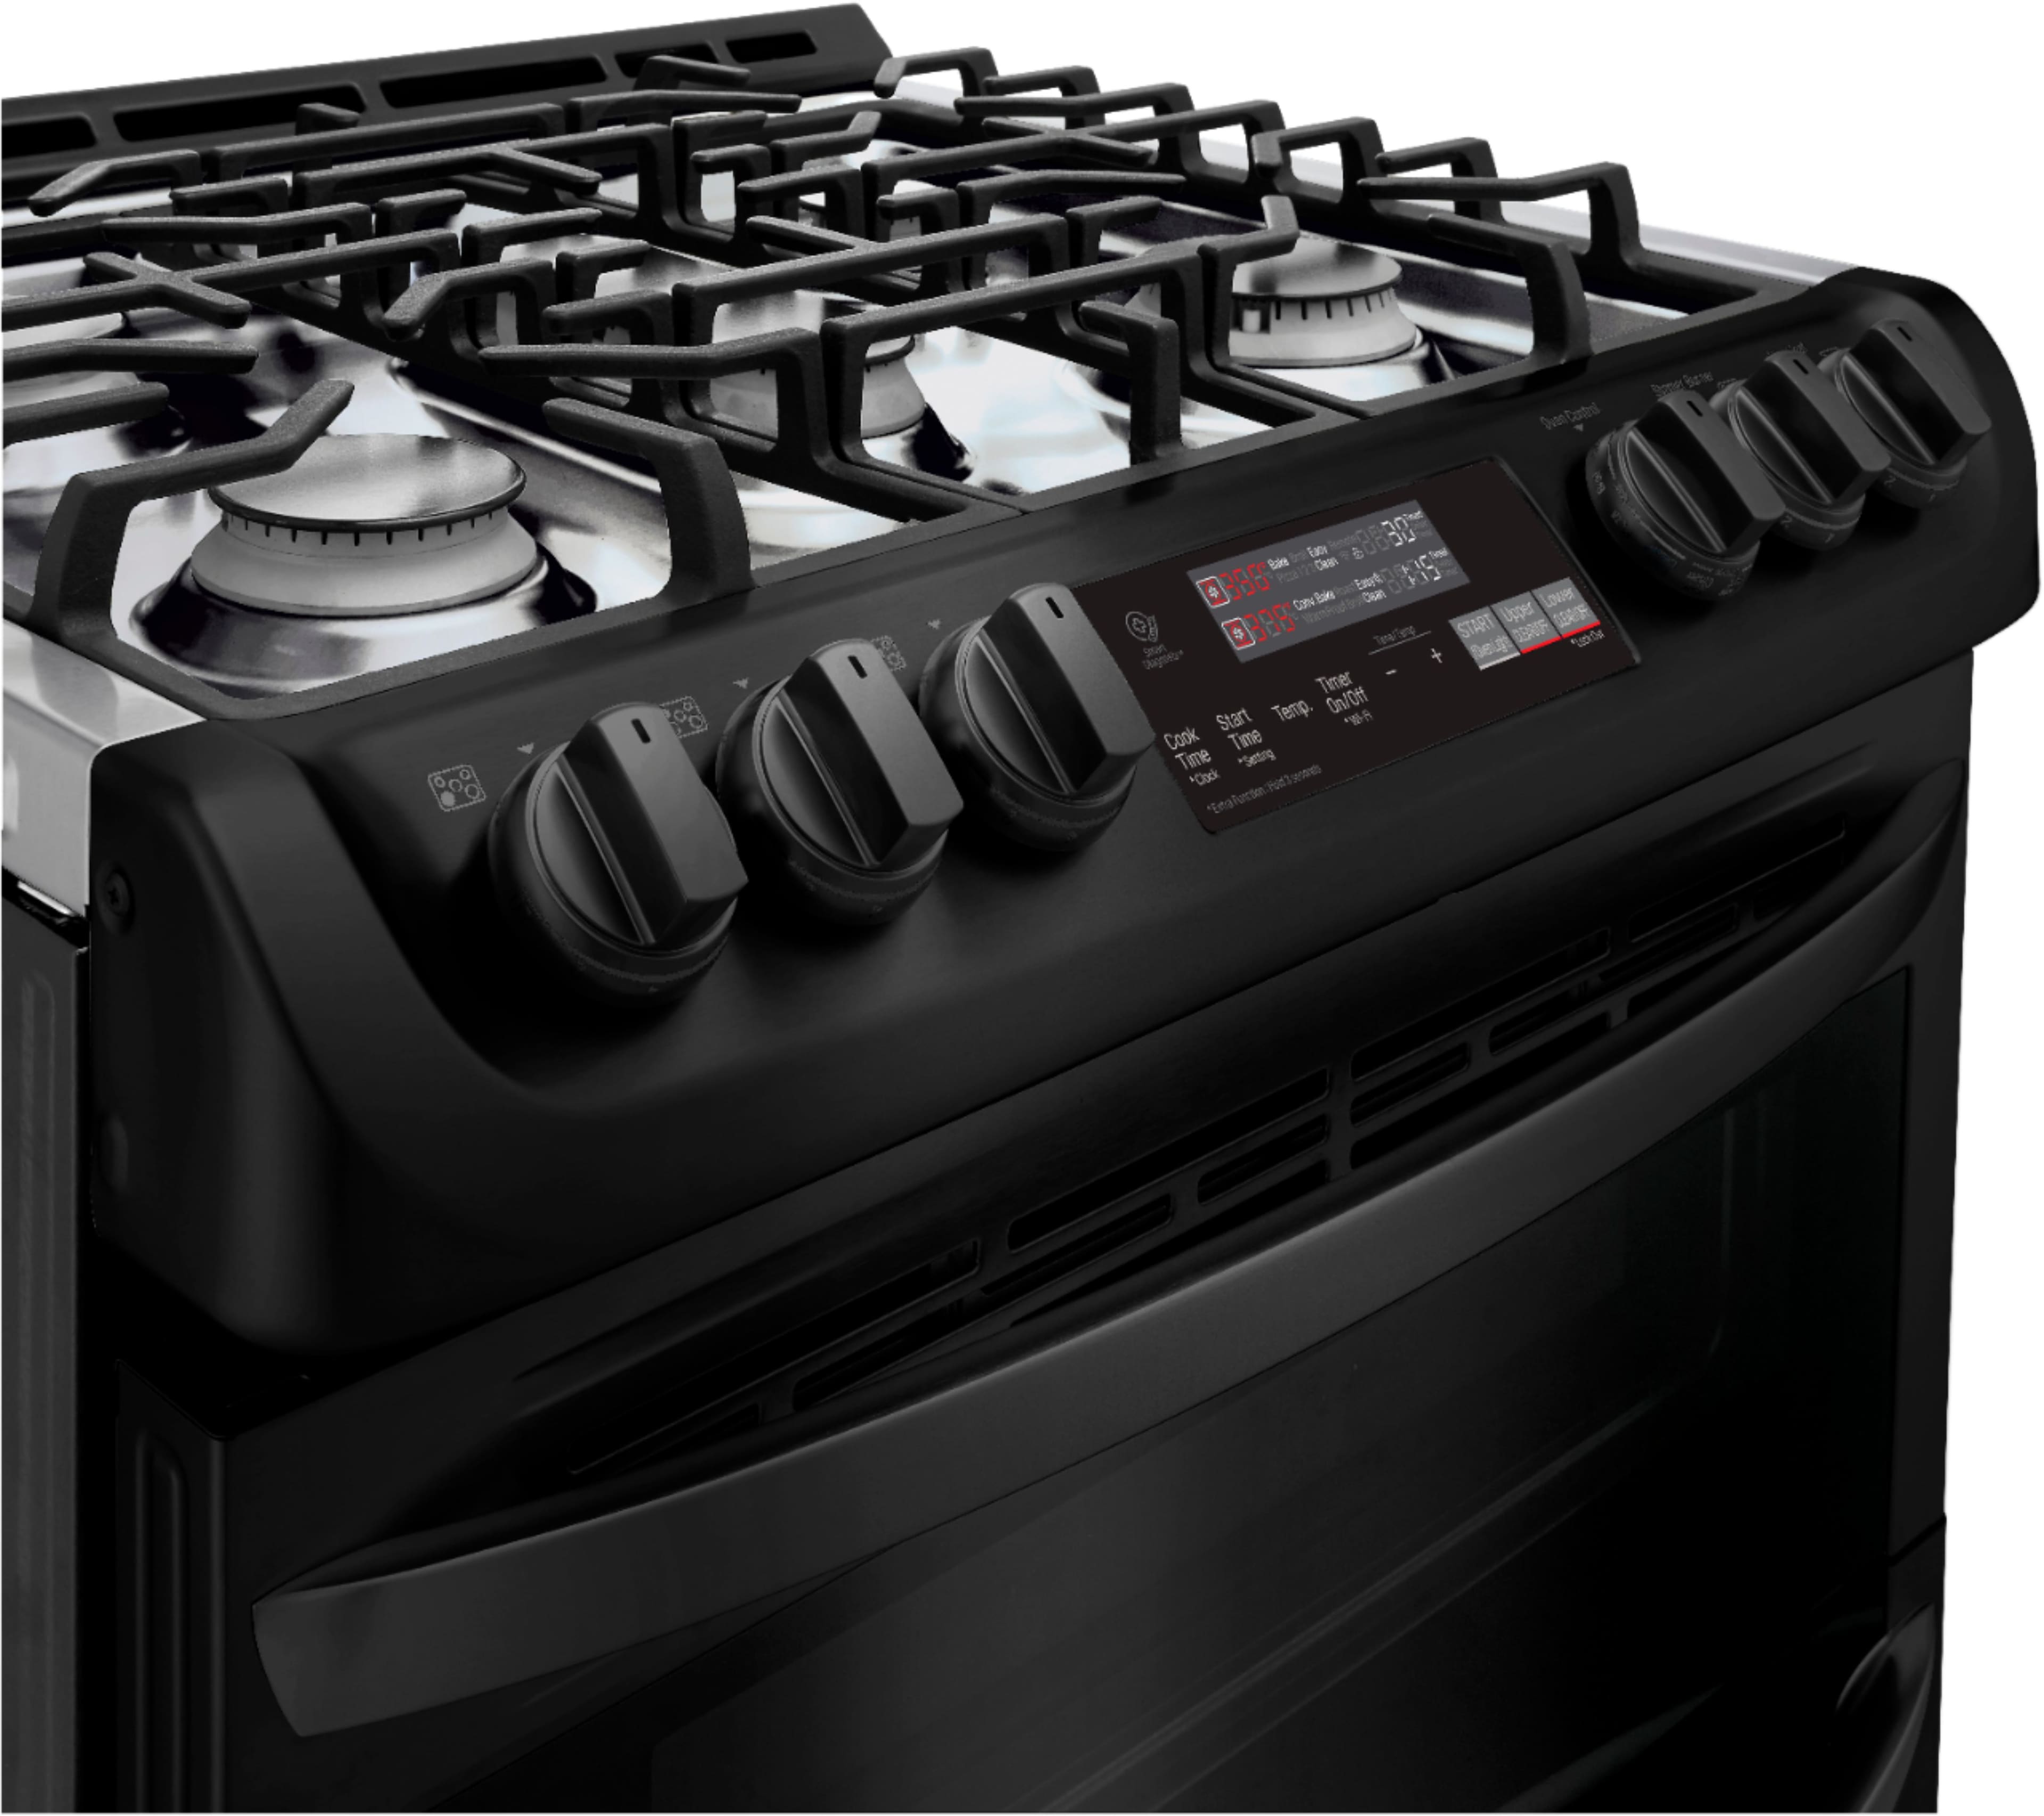
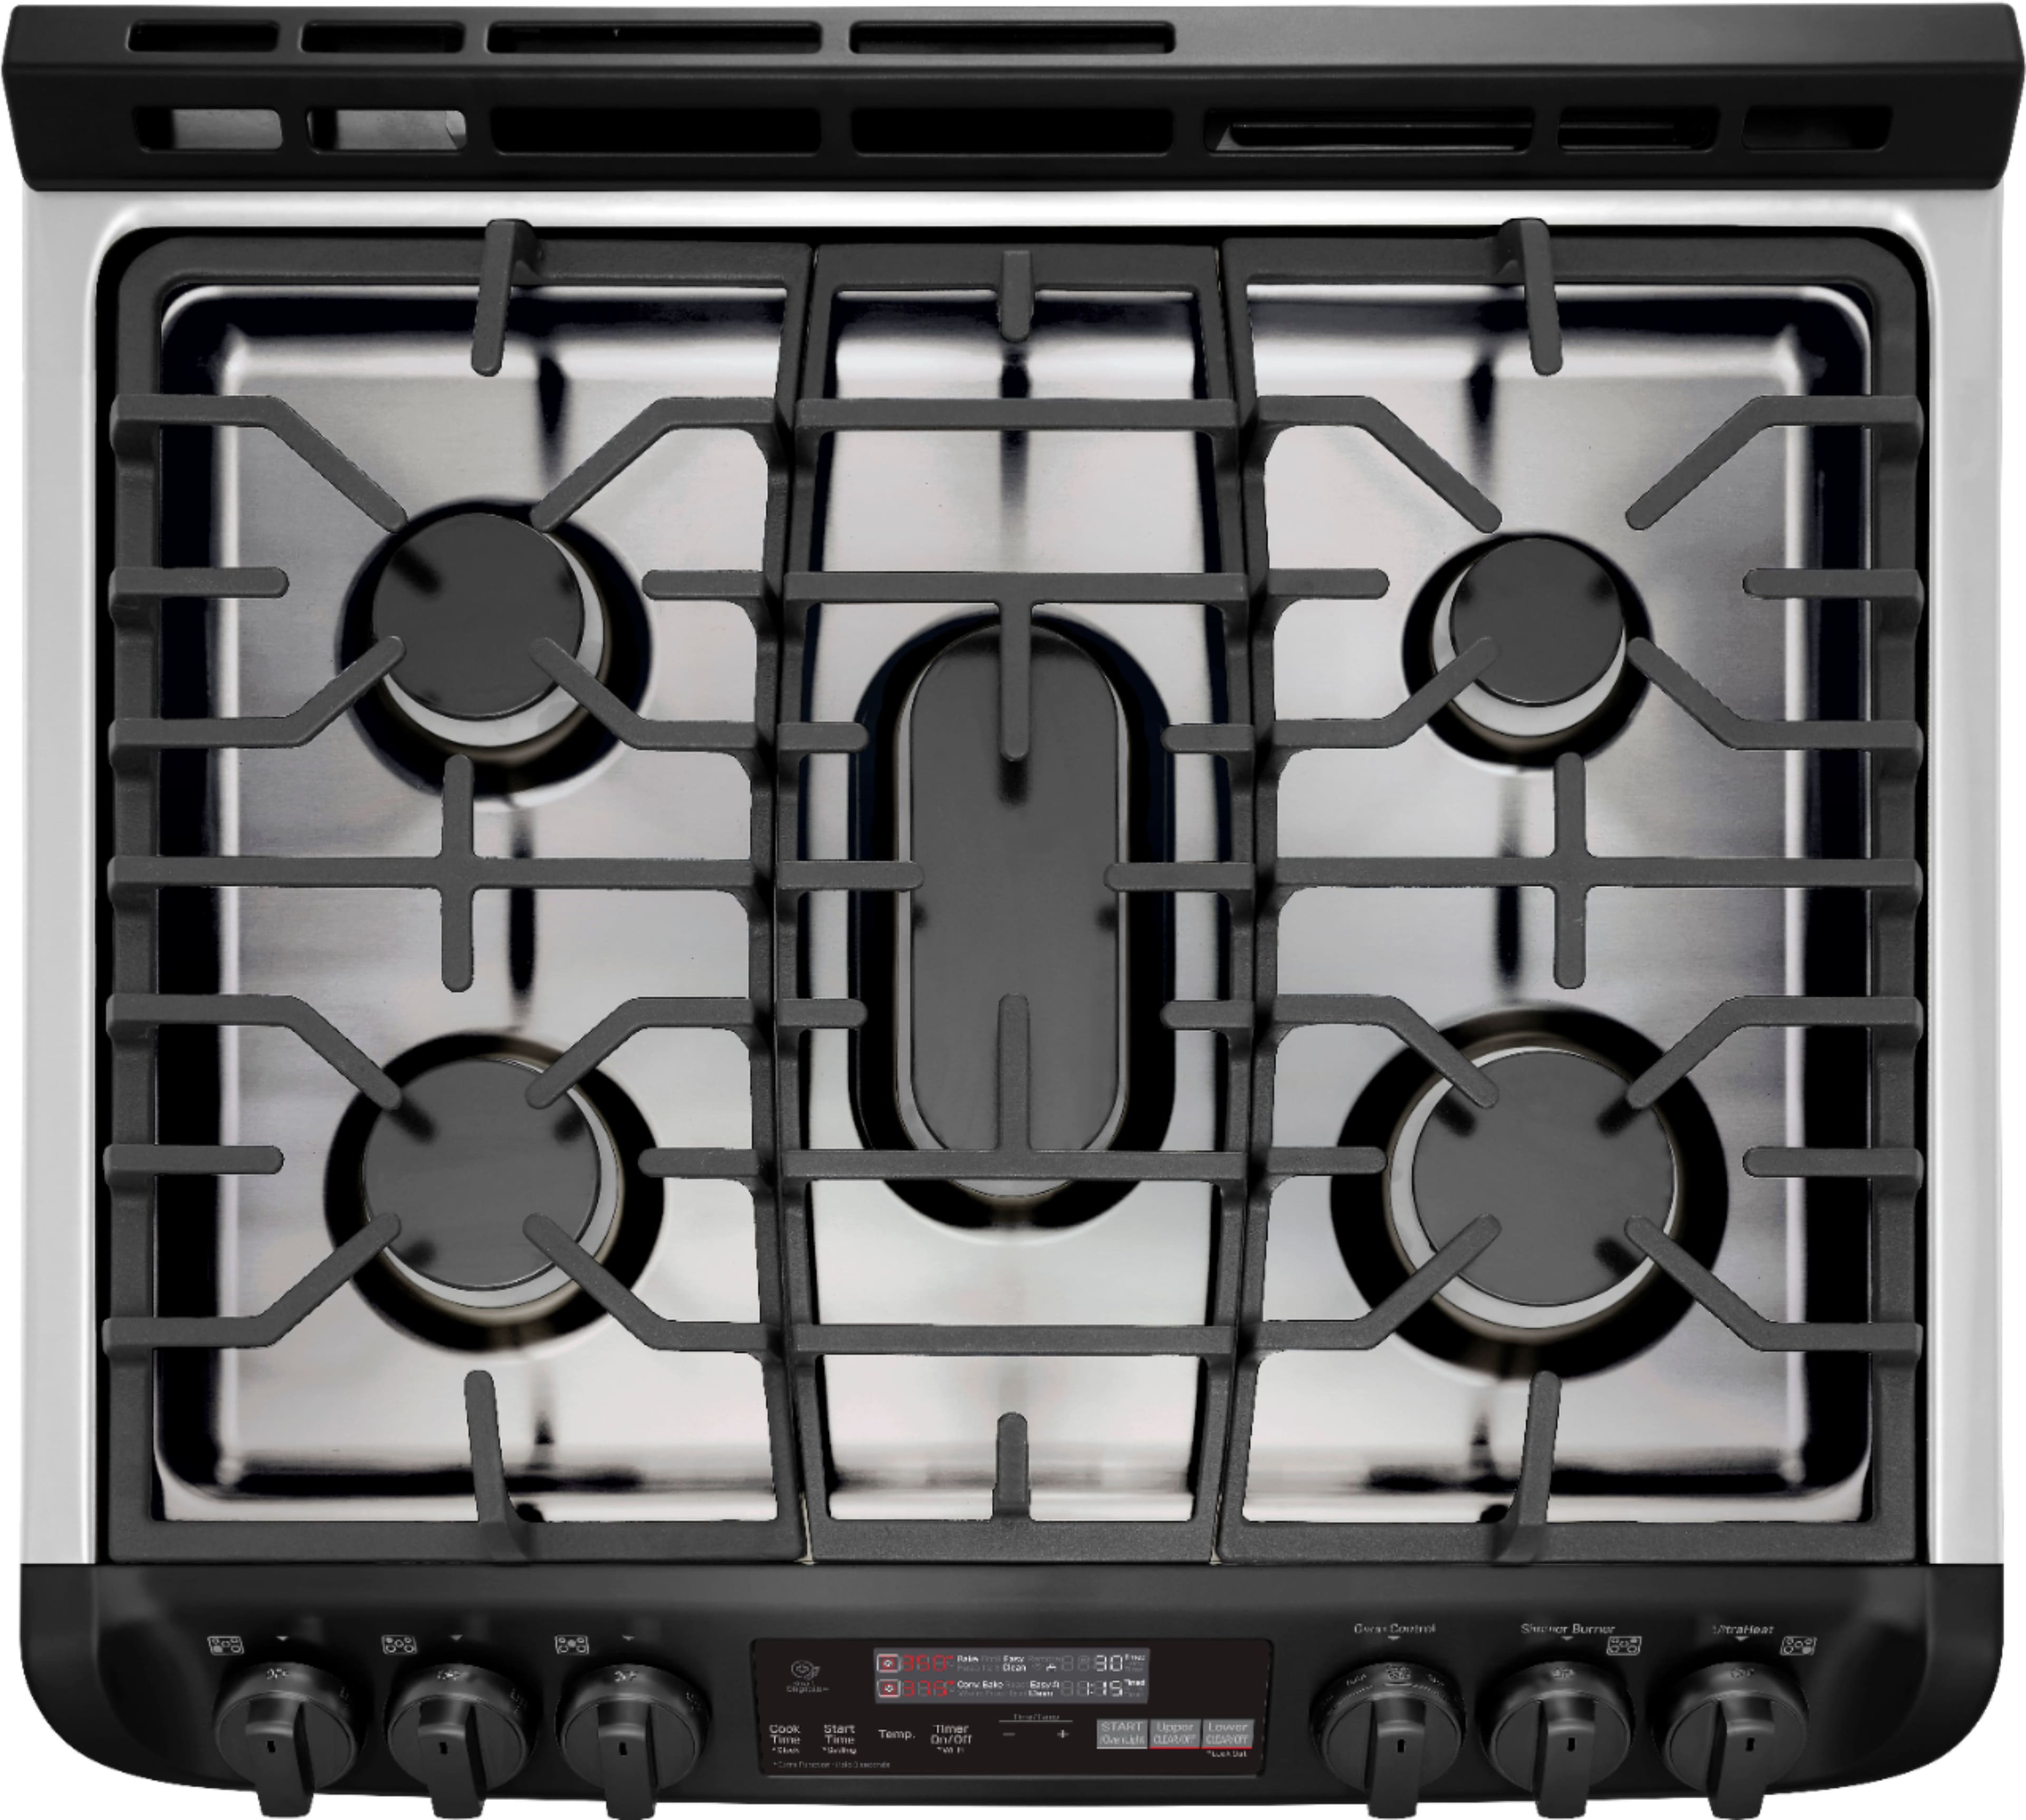
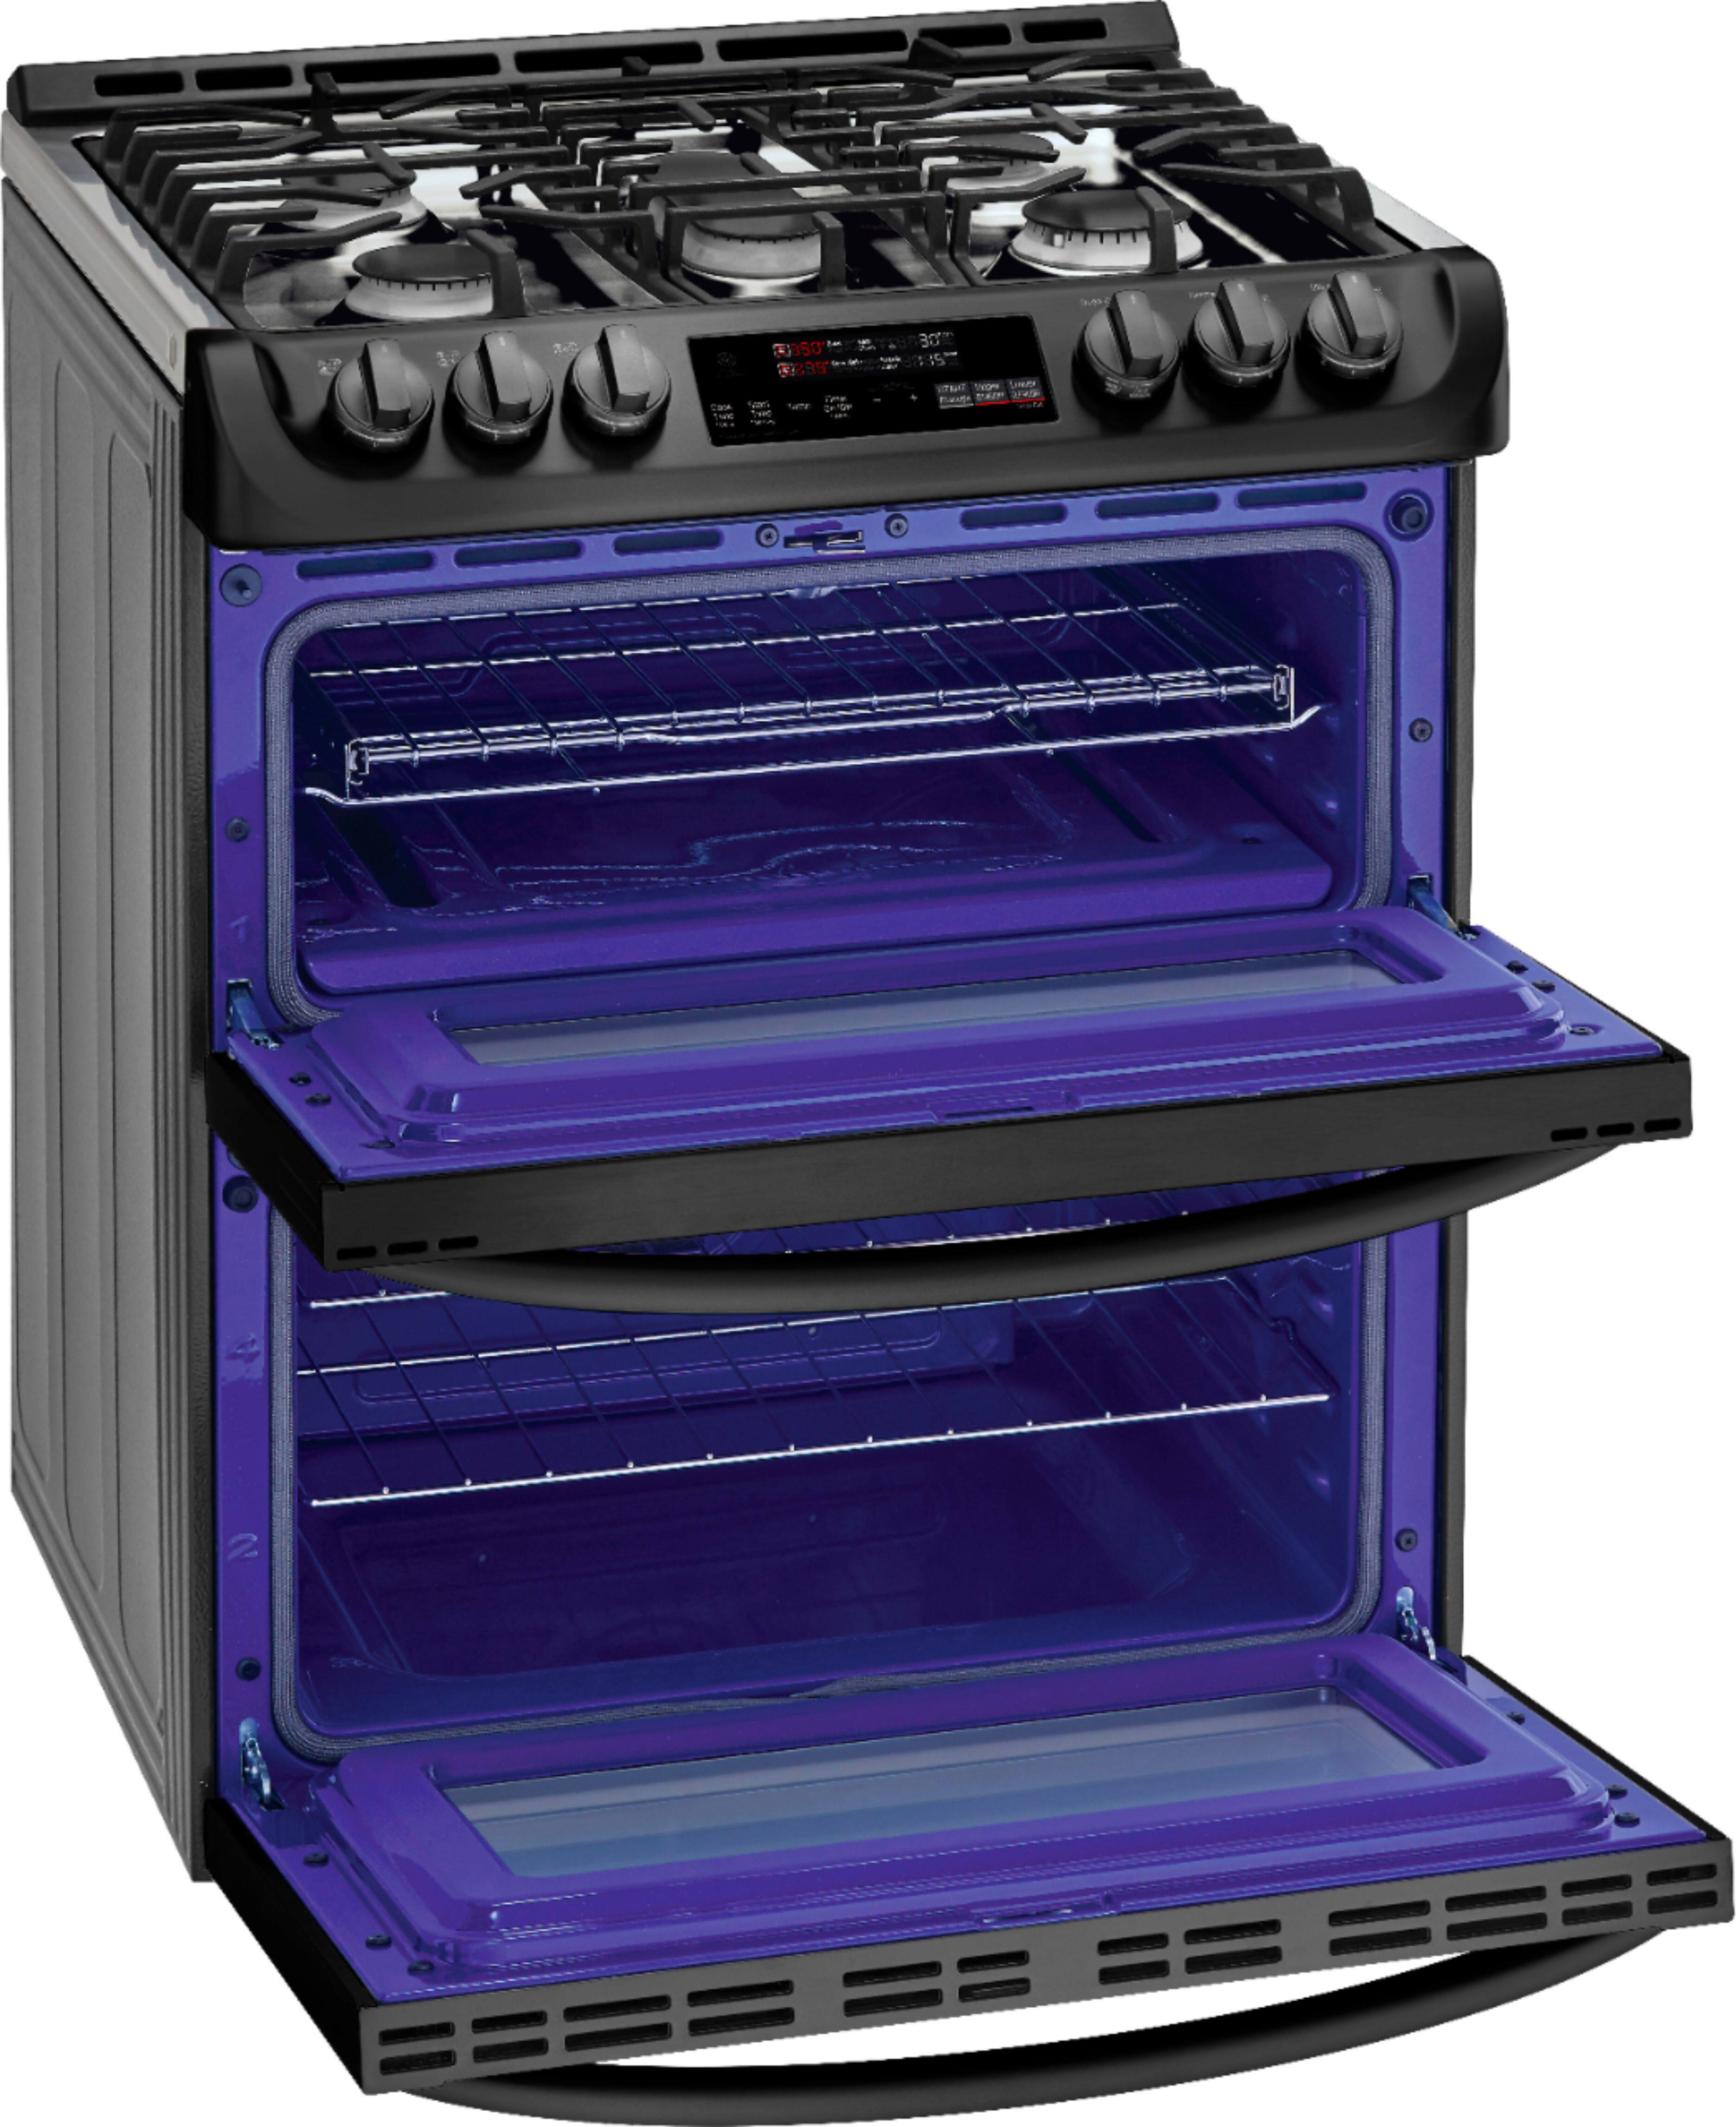
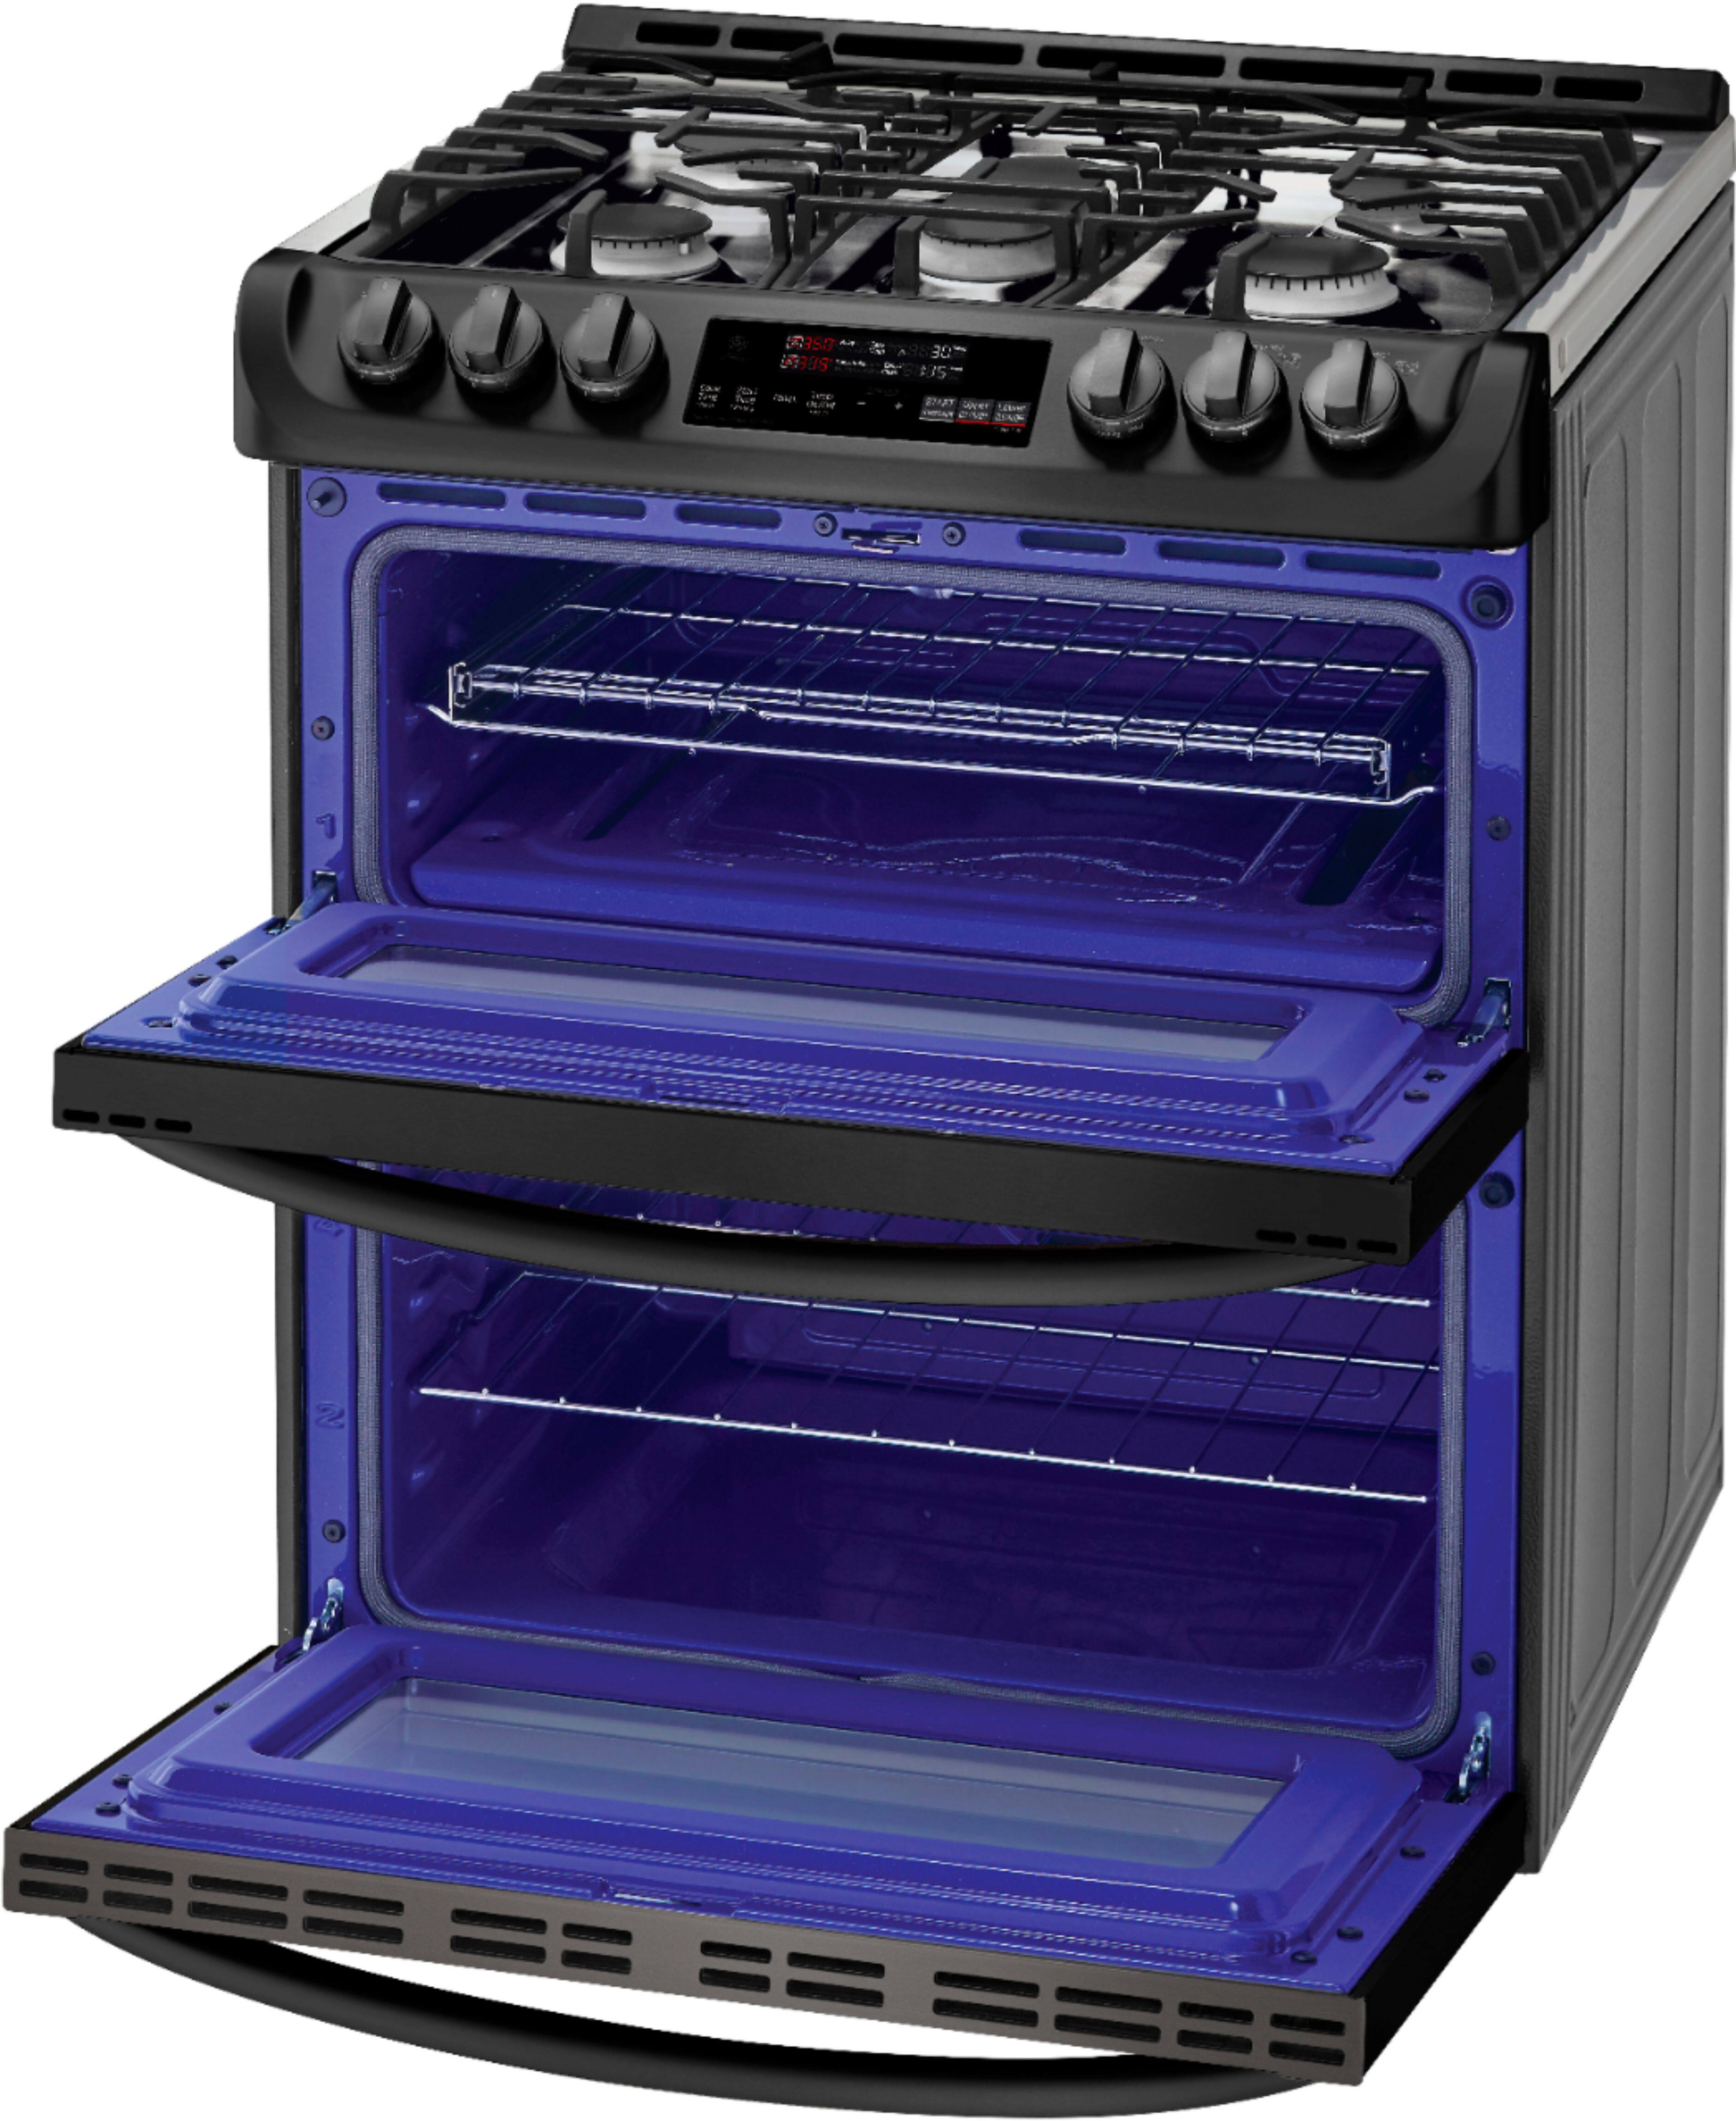
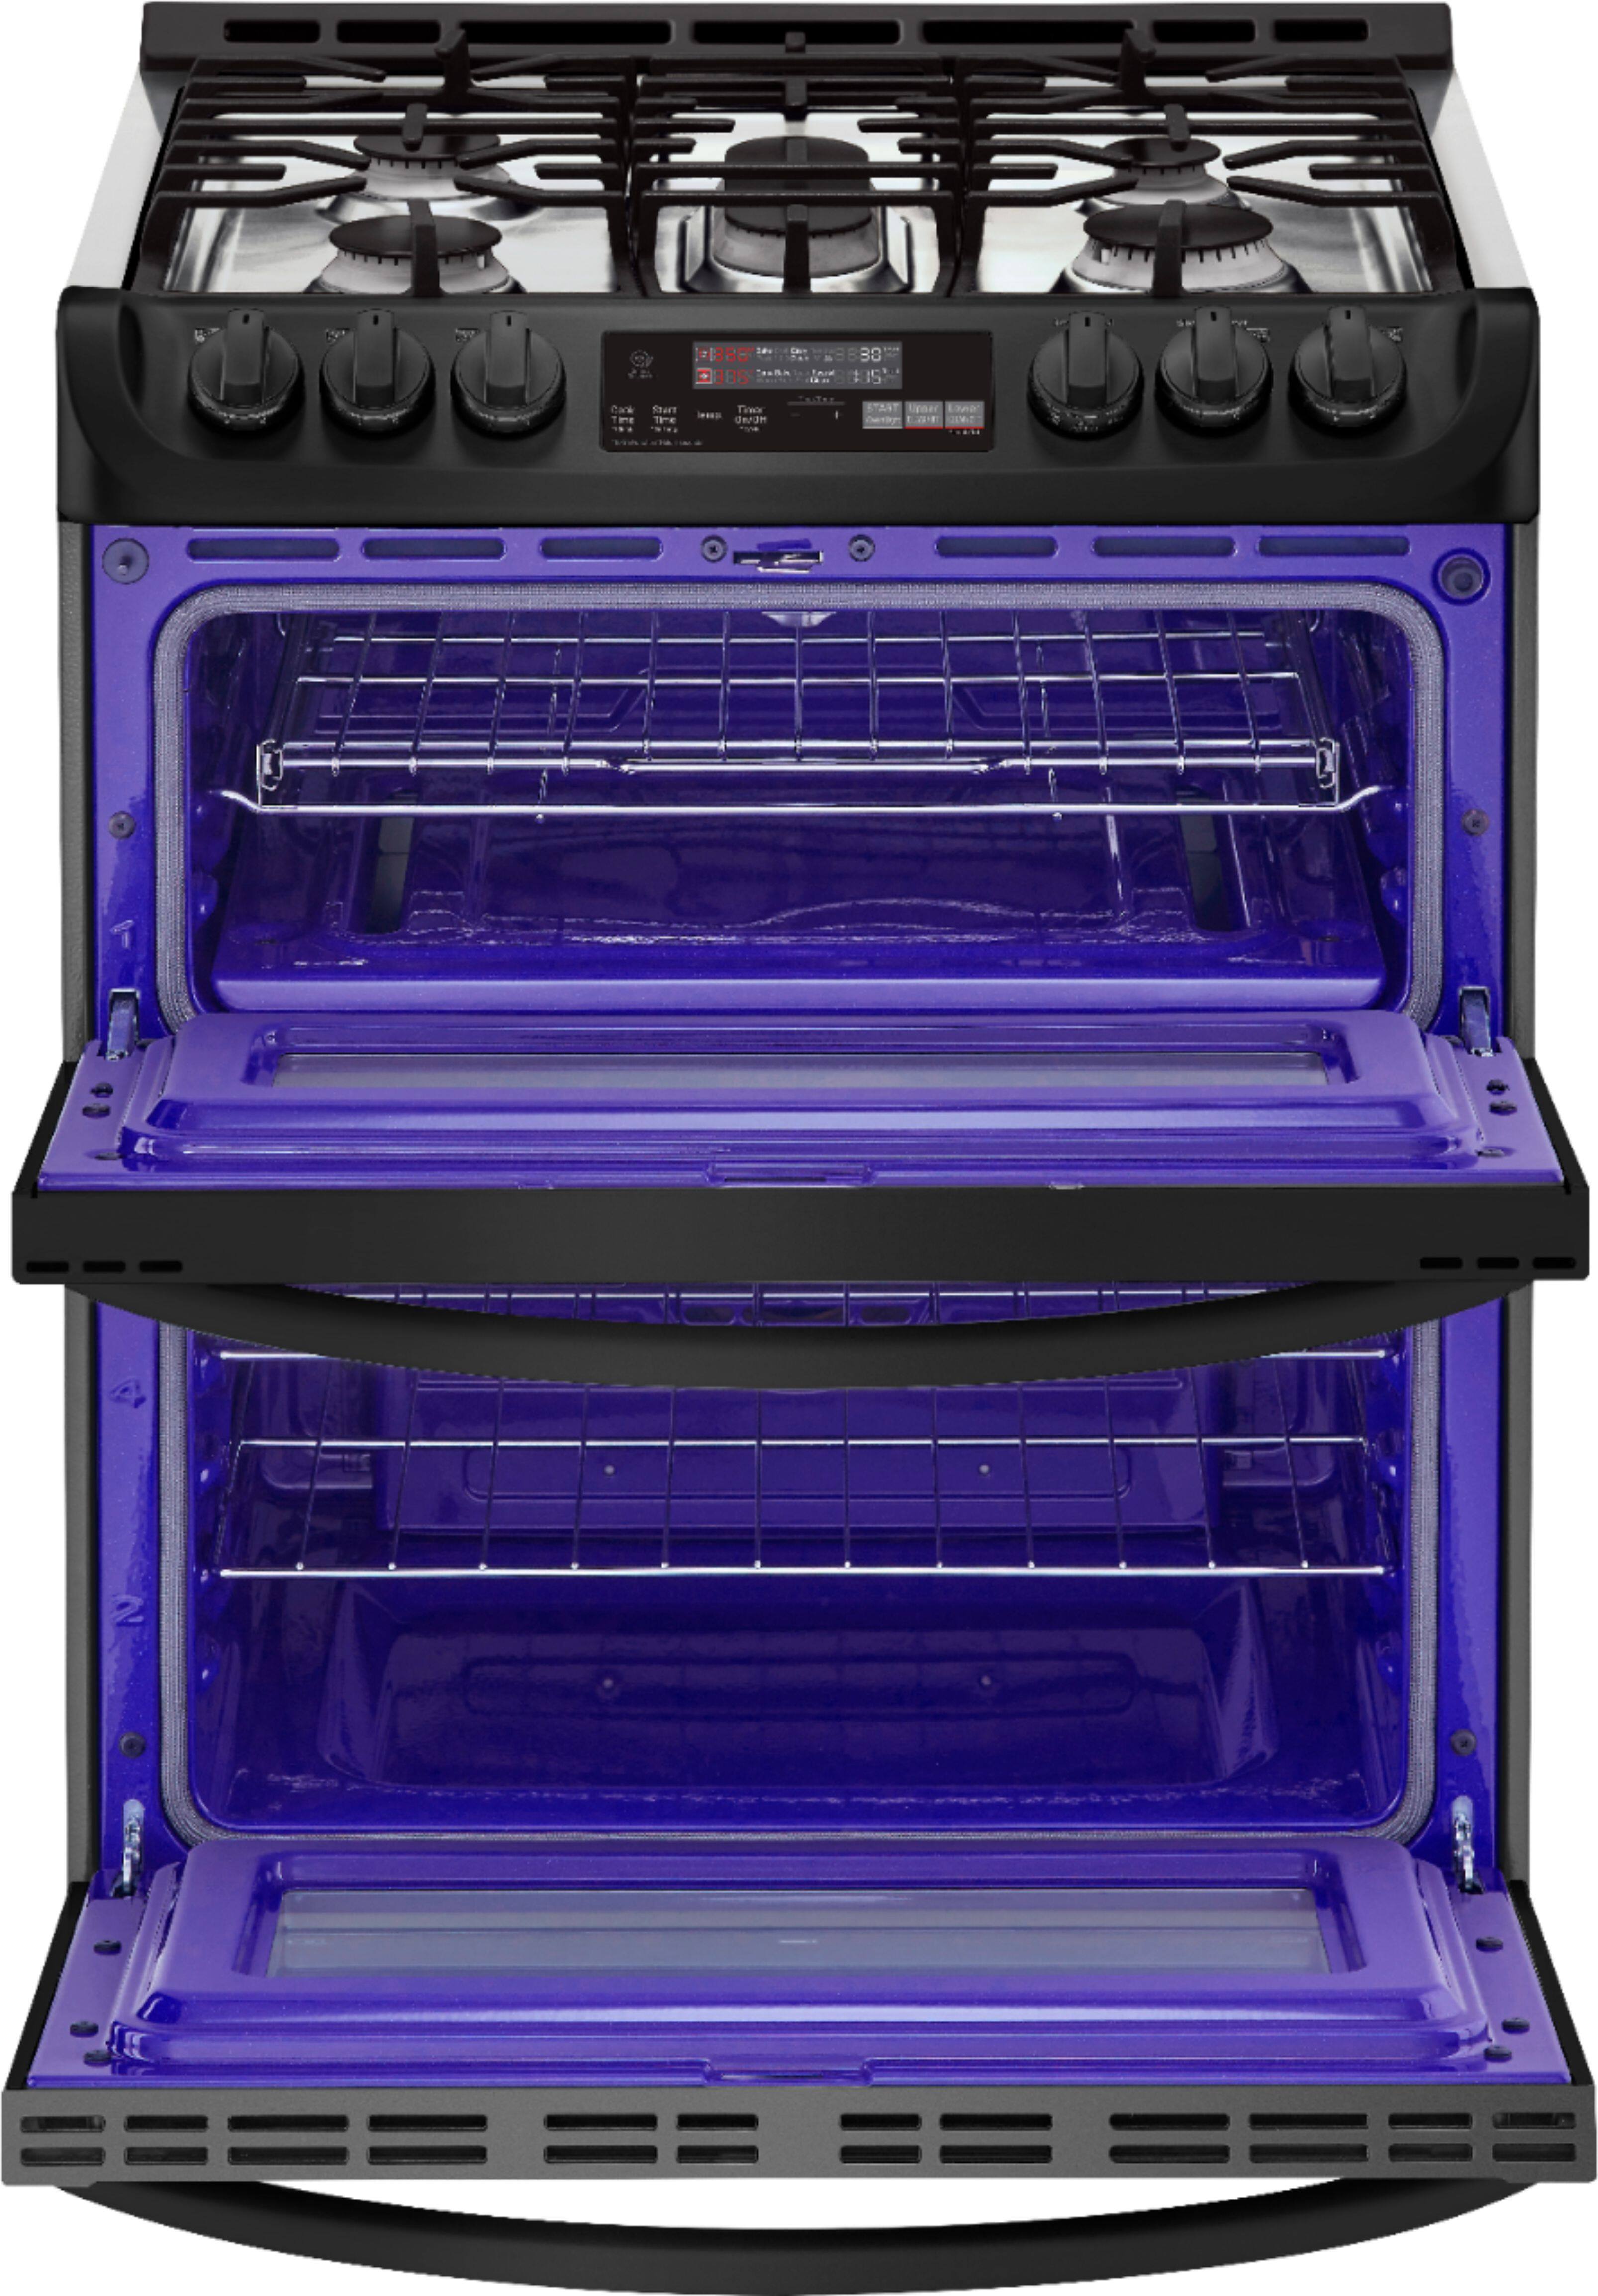
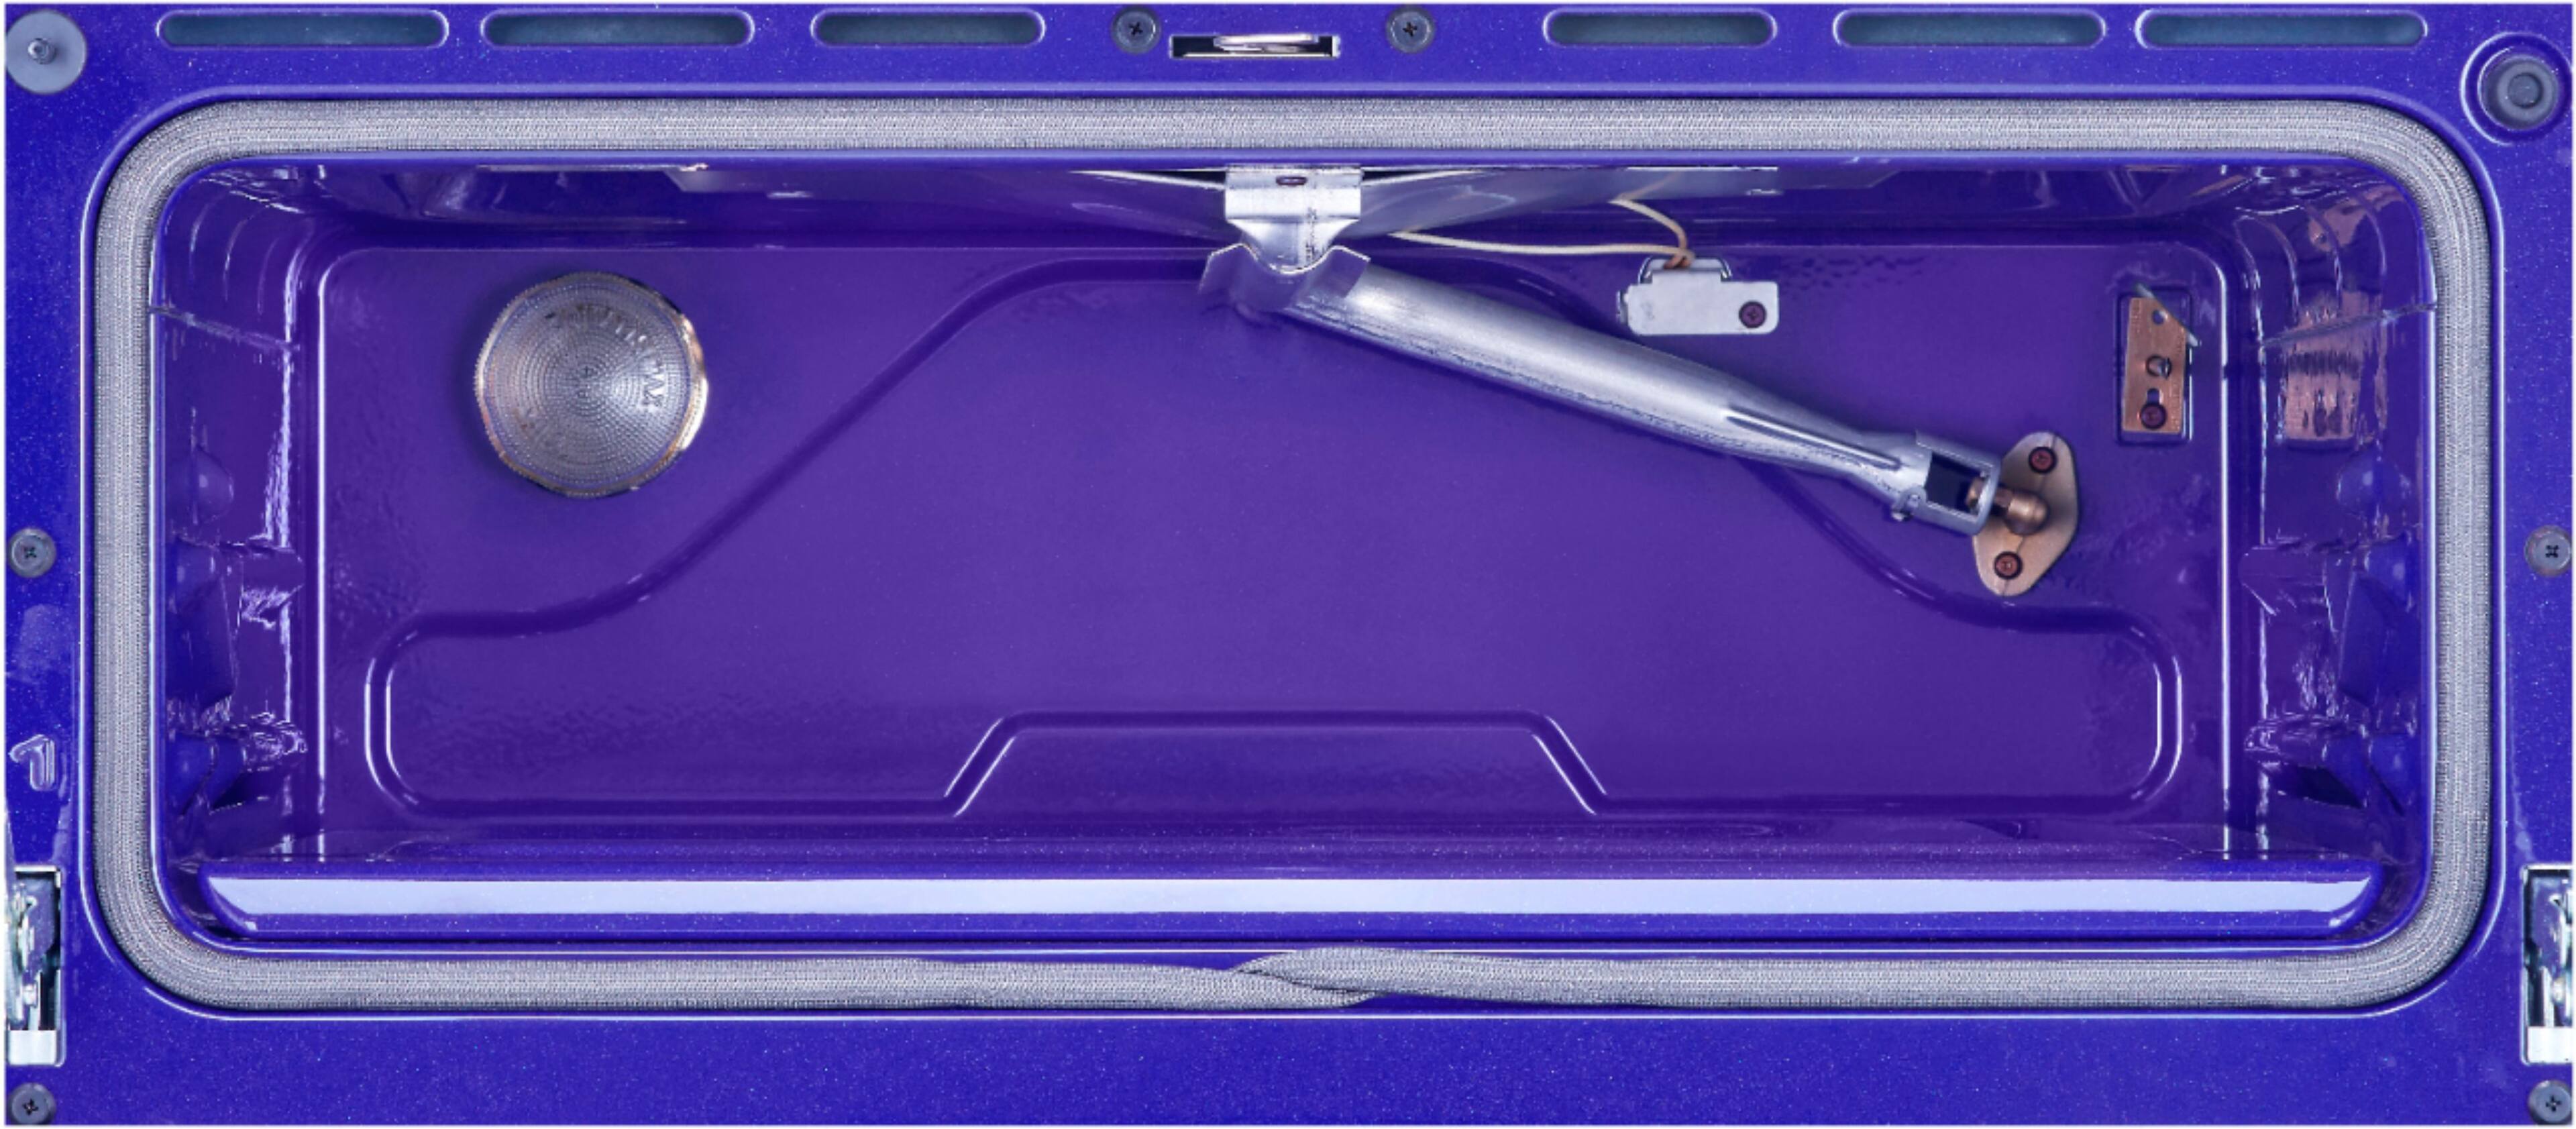
A:AnswerThe LG 6.9 Cu. Ft. Self-Cleaning Slide-In Double Oven Gas Smart Wi-Fi Range with ProBake Convection, Model # LTG471%ST has three separate professional-style grates that are removable. The two side grates can be interchanged from left to right and front to back. The center grate can be interchanged from front to back. The grates are dishwasher safe...^IFV
A:AnswerI am sorry, the factory did not provide that specification. Please seek help in the LG Community Forum, https://lgcommunity.us.com. The LG Community Forum is a great resource for getting help from other LG customers. ^Daphane
A:AnswerYour range is designed to operate at a pressure of 5" of water column on natural gas or 10" of water column on LP. Make sure you are supplying your range with the type of gas for which it is configured. This range is convertible for use on natural or LP gas. When using this range on LP gas, conversion must be made by a qualified LP installer before attempting to operate the range. For proper operation, the pressure of natural gas supplied to the regulator must be between 5" and 13" of water column. For LP gas, the pressure supplied to the regulator must be between 10" and 13" of water column. When checking for correct operation of the regulator, the inlet pressure must be at least 1" more than the operating (manifold) pressure as given above. The pressure regulator located at the inlet of the range must remain in the supply line regardless of which type of gas is being used. A flexible metal appliance connector used to connect the range to the gas supply line should have an I.D. of 5/8" and a maximum length of 5 feet. In Canada, flexible connectors must be single wall metal connectors less than 6 feet in length. ^CP
A:AnswerThe oven knob on the LG 6.9 cu. ft. Smart wi-fi Enabled Gas Double Oven Slide-In Range with ProBake Convection® and EasyClean®, Model # LTG4715BM has separate settings for the Upper Oven and Lower Oven that can only be turned to either setting to select its operating mode so you cannot use both ovens simultaneously...^IFV
A:AnswerThe clock must be set to the correct time of day in order for the automatic oven timing functions to work properly.
1 Press and hold Cook Time for three seconds. CLO shows in the display.
2 Press plus(+) or minus(-) to select the desired time. Plus(+) to increase the time and minus(-) to decrease the time.
3 Press Start to enter the time and start the clock. ^CP