A:AnswerThis will cover taking the case apart, and putting it back together with your phone.
To take it apart:
1) Remove the rubber shell from the plastic case.
2) Turn the case face down, and you will see several points marked with arrows were the front and back of the case snap together. Choose a couple of points to start, and with your fingernails (don't use tools as you may damage or break the case), pull outward, until you feel the front and back of the case begin to separate. To do this, I recommend using two points that are side-by-side, such as a point on the top or bottom, and then the next point over on the side.
3) Once you have a couple of points released, continue working your way around the case until you have all of them released.
Putting it all back together:
1) Make sure your phone screen is free of any dirt, dust, or lint, (failure to do so will trap any debris on your screen under the screen protector once the case is reassembled)
2) Start with the front of the case face down. Take your phone and lay it facedown into the plastic shell.
3) Take the back of the case and lay it on the back of your phone.
4) Pick up the entire unit as a whole and begin the work your way around the edges squeezing gently until you hear the clips snap into place.
5) Once all the clips are we secured, reapply the rubber shell, and you are ready to go using your new case.
A:AnswerYou would have to take the phone out of the case. The jack on the square reader isnt long enough to reach into the case to plug into the device.
A:AnswerI have an iPhone instead of an android, but the concept will be practically the same for both. First, you need to remove the rubber shell from the case. Make sure you open any flaps covering ports, such as the charging port or headphone jack. After that begin to work the shell off of the plastic case, working your way around the entire phone. The shell fits snugly around the plastic case, but it will come off. Do not be afraid to bend and stretch the rubber shell a little, just use caution with any of the port covers, to not use too much force and risk ripping them off.
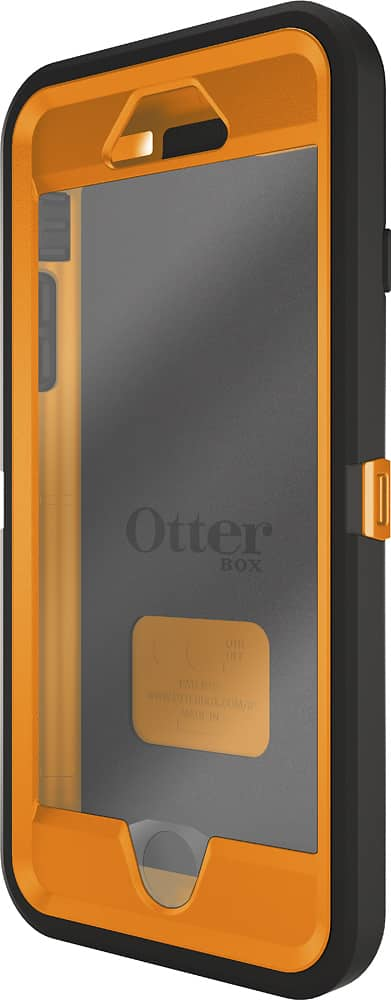
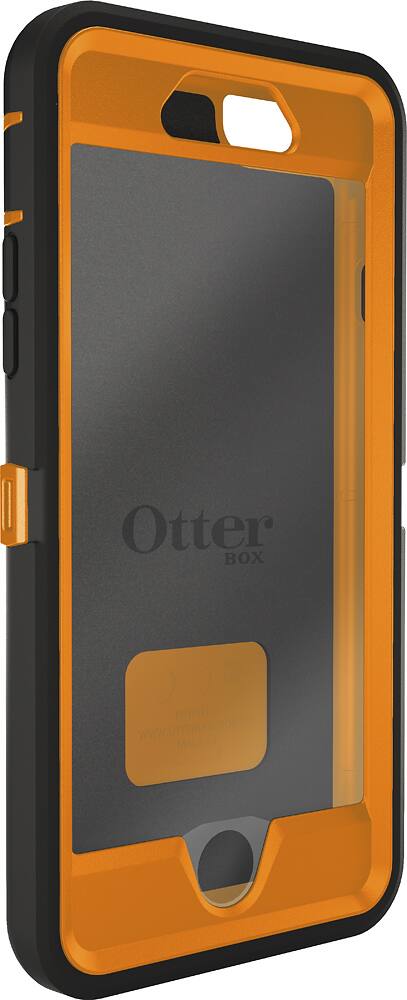
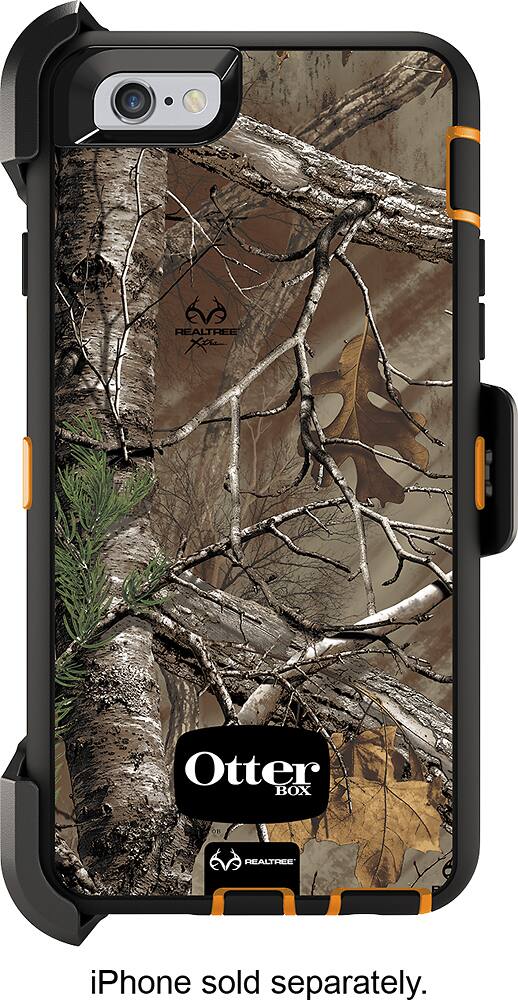
Once you have gotten the rubber shell off of the plastic case, turn the phone over, and look at the back of the case. You will notice several points where the front and back of the case snap together. Pick one, and using your fingers, slightly pull outward on it to release it. I recommend choosing two clips that are side-by-side to start, such as one on the top or bottom, and the next one over on the side. Once you have a couple of them released the rest should be easy.
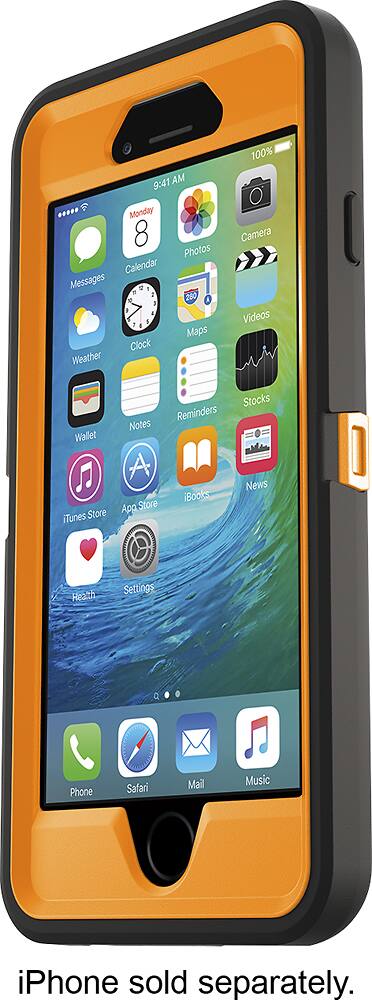
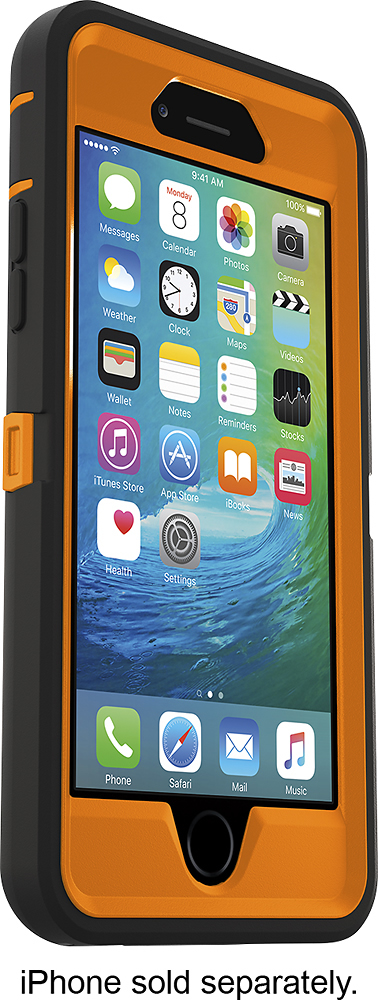
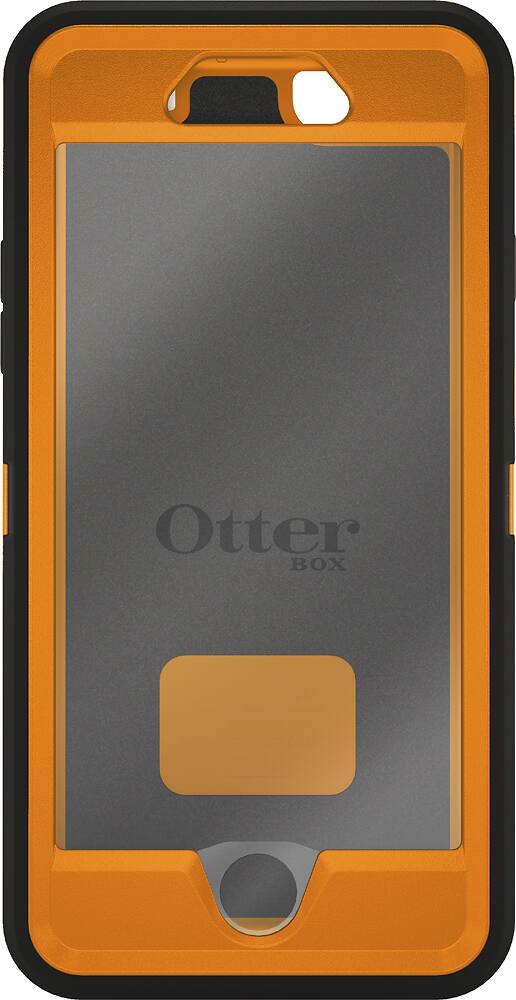
Make sure your phone screen is free of any dirt, dust, or lint, and place your phone facedown into the portion of the case with the screen protector. Leaving your phone facedown, take the back of the case and put it on the back of your phone. Now pick up the entire unit as a whole, and begin squeezing around the edges of the case until you begin to hear the clips lock into place. Once you have all of the clips locked down, replace the rubber shell onto the plastic case. Congratulations! Your new OtterBox is ready to protect your phone.
A:AnswerApparently they are the same, one being the latest model of the same molded pieces... Possibly packaged a little differently. And Possibly just the difference between the Mfg Model number, and Best buy's stock number... They appear and function exactly the same with no discernible difference.