RLN36 36-Channel NVR Up to 48TB Local Storage(No HDD) 36 Reolink Cameras 16MP Continuous 24/7 Video Surveillance - Black
Reviews coming soon
About this product
【Manage Up to 36 Cameras with One Reolink NVR】Eliminate the need to split your security system across multiple recorders. The Reolink RLN36 NVR brings up to 36 PoE, Wi-Fi, or battery-powered camera feeds together into a single, intuitive dashboard on the Reolink App or Client. Manage, monitor, and configure all your indoor and outdoor cameras from one unified hub and mobile interface.【Always Recording, Always Ready】The Reolink RLN36 NVR delivers continuous 24/7 video recording and up to 48TB of subscription-free local storage across three internal SATA hard drive bays.【Continuous 24/7 Video Surveillance】Never miss a critical moment. By recording continuously 24 hours a day, the RLN36 captures everything that happens on your property—allowing you to go back and examine unflagged activity, background movements, or context before and after an incident.【Up to 48TB Local HDD Capacity】Equipped with 3 internal SATA hard drive slots supporting up to 16TB each, the RLN36 scales up to a 48TB total capacity. This local-first setup gives high-channel installations the storage headroom needed for weeks or months of continuous video history without monthly service fees.【Connect External Sensors with 8 Alarm Inputs and 4 Alarm Outputs】【Quick Plug & Play Setup and Installation】Get your Reolink RLN36 36-channel NVR operational in three simple steps: powered local setup, camera network connection, and instant mobile pairing. For detailed installation instructions, refer to the Reolink RLN36 manual.【Step 1 Set Up and Power the NVR】Connect the RLN36 to your local router using an Ethernet cable, and attach a monitor or TV via HDMI/VGA. Plug the power cable into an electrical outlet and flip the rear power switch on.【Step 2 Connect Security Cameras to the System】Connect an external PoE switch to any standard network port on the RLN36 harness, then plug your PoE cameras into the switch. For wireless setups, connect Reolink Wi-Fi cameras to the same local network or sync them directly to the NVR interface.【Step 3 Initialize and View Feeds on the Reolink App】Open the Reolink App on your mobile device, tap the + icon, and scan the QR code located on the RLN36 housing. Follow the on-screen prompts to set a master password and access live video feeds.
Features
Real-Time Two-Way Communication
The Reolink RLN36 provides 8 alarm input channels and 4 alarm output channels for compatible wired security devices. Speak directly to on-site visitors or warn off intruders using a microphone and speaker connected to the recorder.
Centralized Audio Monitoring & Alarm Output
Connect compatible external alarm equipment or controllers for devices such as sirens and warning lights. For example, a wired door sensor at a warehouse entrance can provide an alarm input when the door opens. The system can then perform supported alarm actions based on its configuration.
Record Video from Cameras Up to 16MP Resolution
The Reolink RLN36 NVR decodes and records video from connected Reolink cameras up to 16MP Ultra HD day and night. High-resolution recording ensures that broad-coverage setups (like 180° panoramic dual-lens cameras) retain crisp detail from corner to corner. Whether monitoring driveways, loading docks, or expansive yards, the RLN36 records full-fidelity footage across all active channels.
Compatible with Reolink PoE, Wi-Fi,Selected Battery Cameras
The Reolink RLN36 NVR supports multi-camera ecosystems by connecting up to 36 Reolink PoE, plug-in Wi-Fi, and battery-powered Wi-Fi cameras onto a single centralized recorder.
View Live Anytime, Locally or Remotely
The Reolink RLN36 NVR offers dual-access flexibility—providing zero-latency local monitoring on connected screens without internet access, alongside secure remote viewing worldwide. Connect a monitor or TV directly to the NVR for real-time, offline multi-camera monitoring on-site. Or stream live feeds, receive real-time push alerts, and manage camera settings remotely through the Reolink App or Client.
Specifications
- BrandReolinkModel NumberRLN36Product NameReolink RLN36 36-Channel NVR Up to 48TB Local Storage(No HDD) 36 Reolink Cameras 16MP Continuous 24/7 Video SurveillanceColorBlackCamera ConnectivityWiredOutput(s)Ethernet
Reviews
This product doesn't have any reviews yet.
Compare similar products
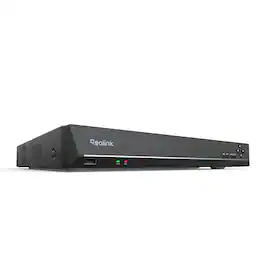
【Manage Up to 36 Cameras with One Reolink NVR】Eliminate the need to split your security system across multiple recorders. The Reolink RLN36 NVR brings up to 36 PoE, Wi-Fi, or battery-powered camera feeds together into a single, intuitive dashboard on the Reolink App or Client. Manage, monitor, and configure all your indoor and outdoor cameras from one unified hub and mobile interface.【Always Recording, Always Ready】The Reolink RLN36 NVR delivers continuous 24/7 video recording and up to 48TB of subscription-free local storage across three internal SATA hard drive bays.【Continuous 24/7 Video Surveillance】Never miss a critical moment. By recording continuously 24 hours a day, the RLN36 captures everything that happens on your property—allowing you to go back and examine unflagged activity, background movements, or context before and after an incident.【Up to 48TB Local HDD Capacity】Equipped with 3 internal SATA hard drive slots supporting up to 16TB each, the RLN36 scales up to a 48TB total capacity. This local-first setup gives high-channel installations the storage headroom needed for weeks or months of continuous video history without monthly service fees.【Connect External Sensors with 8 Alarm Inputs and 4 Alarm Outputs】【Quick Plug & Play Setup and Installation】Get your Reolink RLN36 36-channel NVR operational in three simple steps: powered local setup, camera network connection, and instant mobile pairing. For detailed installation instructions, refer to the Reolink RLN36 manual.【Step 1 Set Up and Power the NVR】Connect the RLN36 to your local router using an Ethernet cable, and attach a monitor or TV via HDMI/VGA. Plug the power cable into an electrical outlet and flip the rear power switch on.【Step 2 Connect Security Cameras to the System】Connect an external PoE switch to any standard network port on the RLN36 harness, then plug your PoE cameras into the switch. For wireless setups, connect Reolink Wi-Fi cameras to the same local network or sync them directly to the NVR interface.【Step 3 Initialize and View Feeds on the Reolink App】Open the Reolink App on your mobile device, tap the + icon, and scan the QR code located on the RLN36 housing. Follow the on-screen prompts to set a master password and access live video feeds.
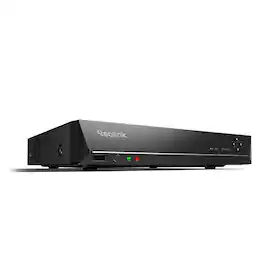
【Your Security Center】Seamlessly integrating and managing all connected cameras, the RLN16-410 NVR provides unified surveillance that adapts to various environments, whether at the office, or at home. You can easily oversee your entire property from a single interface and enjoy continuous, all-around protection hassle-free. *The RLN16-410 (hardware version N6MB01) supports up to 24 cameras: 16 PoE or plug-in Wi-Fi cameras plus 8 battery-powered Wi-Fi cameras, or 24 battery-powered Wi-Fi cameras.【Expandable Local Storage】With an expandable storage up to 16TB (2×8TB SATA), the NVR eliminates storage worries, making it ideal uninterrupted continuous monitoring from multiple cameras.【Seamless Integration with the Reolink Ecosystem】The RLN16-410 offers outstanding expandability and is compatible with various Reolink cameras — be it PoE, plug-in Wi-Fi or battery-powered Wi-Fi models. Customize your surveillance system according to your needs by connecting up to 24 devices to the NVR. Your system, your choice. * To connect with battery Wi-Fi cameras, make sure the NVR hardware version is N6MB01, the cameras are current models on sale, and your Reolink app is updated to the latest version.【Quick Setup, Plug & Play】Equipped with Power over Ethernet technology, this NVR can connect to Reolink cameras in minutes, providing plug & play convenience.【Step 1 Set up the NVR】Connect the NVR to your router and a monitor/TV, then to a power outlet and turn it on.【Step 2 Set up the Camera】Connect your camera to any PoE port on the NVR with an Ethernet cable.【Step 3 Follow the Initiation Instructions】When you power on the NVR for the first time, follow the instructions to complete the basic configuration.
【Centralized Security Camera Management】The PoE NVR Reolink RLN8-410 brings all your security cameras together in one system. Easily monitor live feeds, manage recordings, and play back footage from a single interface. Whether for home or business security, it simplifies multi-camera management and helps you keep an eye on your entire property. *The RLN8-410 (hardware version N7MB01) supports up to 12 cameras: 8 PoE or plug-in Wi-Fi cameras plus 4 battery-powered Wi-Fi cameras, or 12 battery-powered Wi-Fi cameras.【Wide Compatibility with Reolink Security Cameras】The RLN8-410 supports a wide range of Reolink security cameras, including PoE, plug-in Wi-Fi, and battery-powered Wi-Fi models. With support for up to 12 cameras, you can combine different camera types in one system to suit different installation needs, without being limited to a single connection type. *To connect with battery Wi-Fi cameras, make sure the NVR hardware version is N7MB01, the cameras are current models on sale, and your Reolink app is updated to the latest version.【Quick Setup, Plug & Play】Equipped with Power over Ethernet technology, this Reolink NVR can connect to Reolink cameras in minutes, providing plug & play convenience.【Step 1 Set up the NVR】Connect the NVR to your router and a monitor/TV, then to a power outlet and turn it on.【Step 2 Set up the Camera】Connect your camera to any PoE port on the NVR with an Ethernet cable.【Step 3 Follow the Initiation Instructions】When you power on the NVR for the first time, follow the instructions to complete the basic configuration.【View Live Anytime, Locally or Remotely】The RLN8-410 NVR supports both local and remote live viewing. For local monitoring, connect the NVR to a monitor or TV to view multiple camera feeds without an internet connection. For remote access, use the Reolink App or Client to check live footage from your phone or computer, even when you're away from the property.
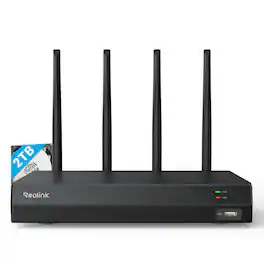
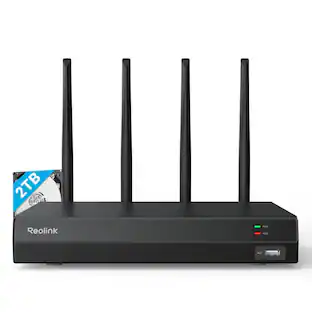
【Centralize Your Security】Connect your Reolink cameras to the all-powerful Wi-Fi 6 NVR with built-in 2TB HDD for centralized management, all-round surveillance, 24/7 recording and more. With a wireless connection, everything is under your full control!【Incredible Wireless Coverage, High-Level Security】【Personalize Your Security Solution】This NVR is compatible with various Reolink IP cameras including plug-in Wi-Fi, battery-powered Wi-Fi, or PoE, and allows the connection of up to 16 cameras. With numerous options, you now have the freedom and fun to build your own surveillance system.【Easy & Convenient Setup】【Step 1 Start the NVR】First connect the NVR to the power supply, then to the monitor via an HDMI/VGA cable and to the router via a network cable.【Step 2 Start Camera】Power on the camera and connect it to the NVR via a network cable, then initialize it on the monitor and synchronize the Wi-Fi.【Step 3 Live View】Disconnect the network cable from the camera and mount it in the desired location, then view the live view on your monitor/Reolink App/Reolink Client.【Stay Connected, Remotely & Locally】With the free Reolink app or client, you can conveniently view the live-stream of the cameras connected to the NVR, play back the recorded videos and adjust the settings or connect the NVR to a monitor for local management and monitoring.
Specs
Be the first to ask a question.
We’ll try to get your question answered within 24 hours by a Best Buy customer or brand representative.
More to consider
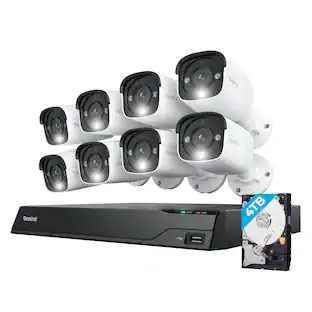
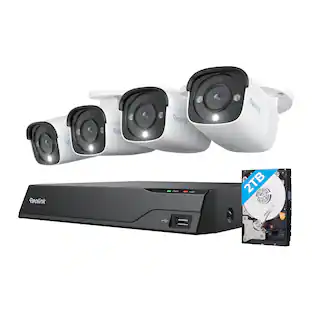
Reolink 16-Channel, 8 - Bullet Camera Indoor/Outdoor 4K 8MP PoE 4TB Smart NVR Security Surveillance System
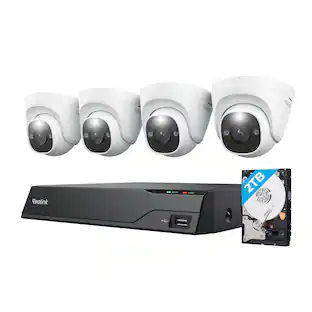
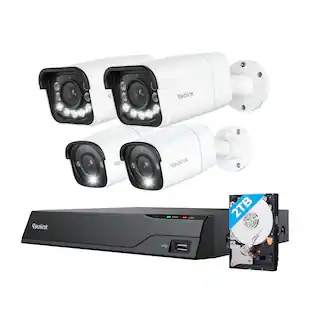
$999.99The price was $1,199.99Reolink 8-Channel, 4 - Dome Camera Indoor/Outdoor 4K 8MP PoE 2TB Smart NVR Security Surveillance System
$549.99The price was $699.99Reolink 8-Channel, 4 - Bullet Camera Indoor/Outdoor 4K 8MP PoE 2TB Smart NVR Security Surveillance System
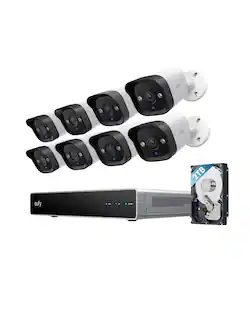
$549.99The price was $699.99eufy 4K NVR S4 Max, PoE Wired, 24/7 Recording, Triple‑Lens Bullet‑PTZ, 360° PTZ, 16CH, Cross‑Cam, 8× Zoom, Smart Search, 2TB
Black Friday Deal$999.99The price was $1,499.99eufy 4K NVR S4 Max & 2 PoE Cam S4, PoE Wired, 24/7 Recording, Triple‑Lens Bullet‑PTZ, 360° PTZ, 16CH, Cross‑Cam, 8× Zoom, 2TB
$1,399.99The price was $1,849.99eufy 4K NVR S4 Max & 4 PoE Cam S4, PoE Wired, 24/7 Recording, Triple‑Lens Bullet‑PTZ, 360° PTZ, 16CH, Cross‑Cam, 8× Zoom, 2TB
$1,799.99The price was $2,049.99




Control, Comfort, Convenience Sponsored
Night Owl 8 Channel 2K (4MP) DVR with 8 (4MP) Cameras and 2TB Storage, Expandable up to 4 Additional Wi-Fi Cameras
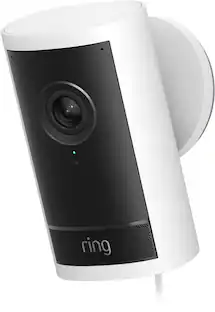
Black Friday Deal$349.99The price was $529.99Ring Indoor Cam 2K - Plug-in, Retinal 2K, 6x Enhanced Zoom, Night Vision for true-color in the near dark
$24.99The price was $59.99Ring Outdoor Cam Pro (2025) - Retinal 4K for the Ultimate Wide-Angle video, 10x Zoom, Low-Light Sight Full-Color in near dark
Black Friday Deal$129.99The price was $199.99Night Owl 8-Channel, 4-Camera Indoor/Outdoor Plug-In Wi-Fi IP 4K 64GB Security System
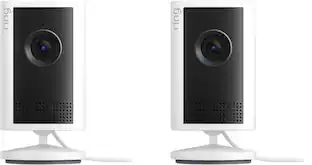
$299.99The price was $359.99Ring Indoor Cam 2K, Plug-in (2026 release) - Retinal 2K, 6x Enhanced Zoom, Night Vision for True-Color in the near dark (2pk)
Black Friday Deal$49.98The price was $99.99




Keep exploring
eufy 4K NVR S4 Max & 4 PoE Cam S4, PoE Wired, 24/7 Recording, Triple‑Lens Bullet‑PTZ, 360° PTZ, 16CH, Cross‑Cam, 8× Zoom, 2TB
$1,799.99The price was $2,049.99eufy (Add-On) PoE Turret Cam E41, 4K UHD, 122° FOV,Pure Color Night, 24/7 Recording, AI Human/Vehicle/Pet, Strobe,Plug & Play
Black Friday Deal$99.99The price was $129.99eufy 4K NVR S4 Max & 2 PoE Cam S4, PoE Wired, 24/7 Recording, Triple‑Lens Bullet‑PTZ, 360° PTZ, 16CH, Cross‑Cam, 8× Zoom, 2TB
$1,399.99The price was $1,849.99eufy 4K NVR S4 Max, PoE Wired, 24/7 Recording, Triple‑Lens Bullet‑PTZ, 360° PTZ, 16CH, Cross‑Cam, 8× Zoom, Smart Search, 2TB
Black Friday Deal$999.99The price was $1,499.99eufy Security NVR System E50,4-Cam Kit,4K Dual-Lens Bullet-PTZ (2TB HDD)
$759.99The price was $1,199.99eufy (Add-On) PoE Bullet‑PTZ Cam S4, 4K Triple Lens, 122° FOV, 360° Pan/Tilt, 8× Zoom, AI Tracking, Strobe, Color Night, 24/7
Black Friday Deal$229.99The price was $329.99eufy (Add-On)PoE Bullet Cam E40, 4K UHD, 122° FOV,Pure Color Night, 24/7 Recording, AI Human/Vehicle/Pet,Strobe, Plug & Play
Black Friday Deal$99.99The price was $129.99eufy Security NVR System E50, 8-Cam Kit, 4K Dual-Lens Bullet-PTZ, 4TB HDD
$1,199.99The price was $1,899.99