A:AnswerI don't believe the XP-830 has bluetooth. I thought it did when I got it but can't find anything in the specs that says it has bluetooth. You have to get the Epson print app which works for both apple and android and prints through your wifi. Works well.
A:AnswerXP needs a printer driver which is a software program that interfaces between the printer and the computer's operating system (Windows XP). XP support was dropped by Microsoft many years ago and hardware manufacturers no longer write drivers for XP. XP was severely vulnerable to hackers and viruses.
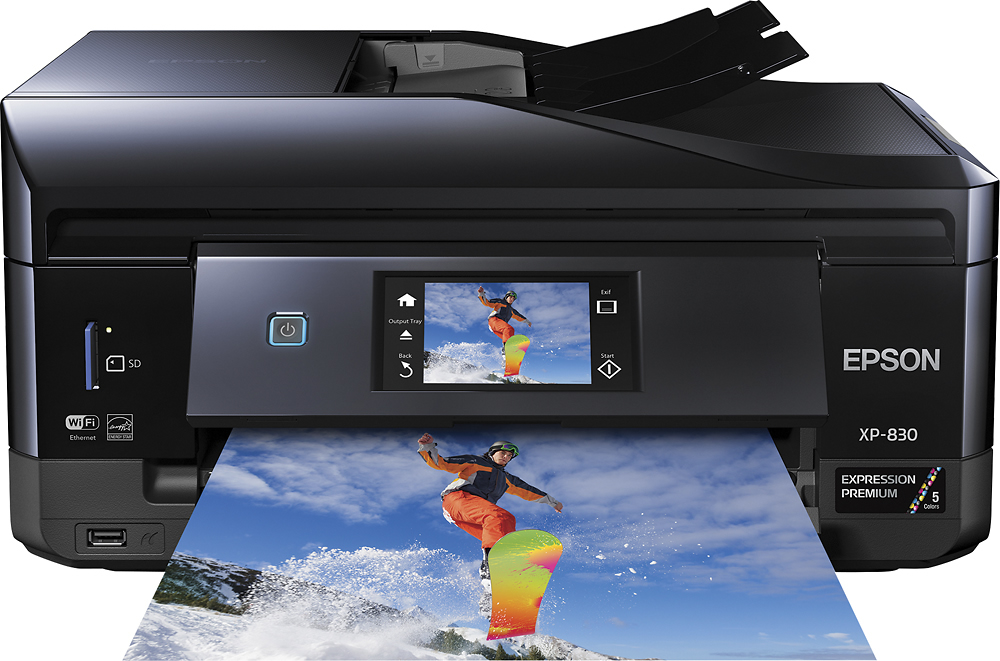
A:AnswerNo that doesn't sound right. It does produce photos just as good or better than Walgreens, CVS, etc. It prints documents great too, clear and crisp, pick the right settings. I would say it's good also for a small office and photos. That's why I bought the Epson Premium XP 830.
A:AnswerLoading Paper in Cassette 1 (Upper Cassette)
You can load photo paper and other media in these sizes in the upper paper cassette:
• 4 × 6 inches (102 × 152 mm)
• 5 × 7 inches (127 × 178 mm)
Note: Do not remove or insert the paper cassette during printing.
1. Raise the control panel, if necessary.
53
2. Close the output tray by pressing the Output Tray button or by hand, if necessary.
3. Open the front cover and pull out the upper cassette.
Note: If the upper cassette is too far inside to reach, turn the product off and on again.
4. Slide the edge guides outward.
54
5. Set the front edge guide to the position for the paper size you are using.
6. Insert paper with the glossy or printable side facedown.
Note: Make sure the paper is loaded against the front edge guide and not overlapping the rear of the
cassette.
7. Slide the side edge guides against the paper, but not too tightly.
Note: Make sure the paper is under the tabs on the edge guides.
55
8. Keep the cassette flat as you insert it until the arrow marks on the tray and product line up.
9. If prompted by the product's LCD screen, select the size and type of the paper you loaded, and
select Done.
Note: The output tray opens automatically when you print.
Always follow these paper loading guidelines:
• Load only the recommended number of sheets.
• Load paper short edge first and printable side down.
• Make sure the paper is under the tabs on the edge guides and not sticking out from the end of the
cassette.
• Check the paper package for any additional loading instructions.
Parent topic: Loading Paper
Related references
Paper Loading Capacity
Related tasks
Loading Paper in Cassette 2 (Lower Cassette)
Loading Paper in the Rear Paper Feed Slot
Loading Envelopes
56
Loading Paper in Cassette 2 (Lower Cassette)
You can load paper up to this size in the lower paper cassette: Legal (8.5 × 14 inches [216 × 356 mm]).
Note: Do not remove or insert the paper cassette during printing.
1. Raise the control panel, if necessary.
2. Close the output tray by selecting Output Tray or by hand, if necessary.
57
3. Open the front cover and pull on it to remove the lower cassette.
4. Slide the edge guides outward.
Note: If you are using legal-size paper, remove the CD/DVD tray from the bottom of the lower
cassette. Press the button on the lower cassette and then extend it as shown.
58
5. Set the front edge guide to the paper size you are using.
6. Insert paper with the glossy or printable side facedown.
Note: Make sure the paper is loaded against the edge guide and not sticking out from the end of the
cassette.
59
7. Slide the side edge guides against the paper, but not too tightly.
Note: Make sure the paper is under the tabs on the edge guides.
8. Keep the cassette flat as you insert it.
9. If prompted by the product's LCD screen, select the size and type of the paper you loaded, and
select Done.
Note: The output tray opens automatically when you print. Leave enough space in front of the
product for the paper to be fully ejected.