A:AnswerSee the website. Can order in SS it appears.
This oven can be vented out the back and through the wall, out the top and through the roof or recirculated back into the room.
A:AnswerNo. The bottom of the unit rests on a bracket that is attached to the wall. The unit then is attached to the upper cabinet by 2 bolts, roughly ten inches from the wall.
A:AnswerUsually the charcoal filter is located behind that flat plate above the door, which is the front of the vent port, but a few may have them behind the silver grates on the bottom. Check this first before proceeding to the upper area of micro. You'll need a step stool and a phillips screw driver or cordless drill. I find the cordless is better because it does the work for you and has a magnetic tip. Be careful not to drop screws into vent or it may be hard to get them out. Don't go crazy with the drill, just ease them out. First, open the micro door wide. Just behind the vent port there should be 2-4 screws on top of unit (almost up against the cabinet frame) that look like they hold the unit casing on. Removing them should allow you to remove the vent cover and the filter will be behind it. Some filters clip in and some just slide in. Be very careful removing the vent cover as well, because sometimes they only have plastic tabs or clips to realign upon reinstallation, and they could break off. Some vent covers pull out, some slide sideways before removal, and sometimes the door itself will make it seem tough to remove the cover. Just take your time and all should be good. I would recommend pulling a PDF file on this model if you can't find your install manual. It should show you step by step how to do this. If you're uncomfortable doing this, please call a technician the first time and watch them do it first. Hope this helps.
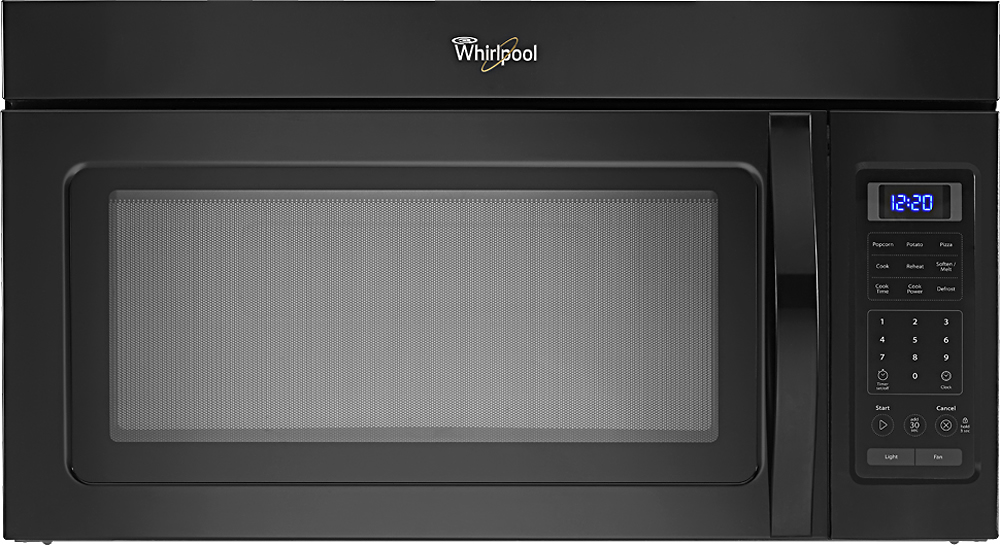
A:Answerthe label on the inside of the micro shows which numbers to press for different types of food such as for beverages press #1 then press the number corresponding to how many cups you are reheating
A:AnswerFirst , UN-plug the microwave from the wall socket. Ensure there's no power.
Get a fresh carrot out the fridge, not canned. Use the smaller side of the carrot to insert into the metal shell of the lamp that separated from the glass bulb.
pushing and turning with the carrot will grip the metal, and save your fingers, make sure there is no carrot peelings in the socket when done.
A:AnswerDear Customer:
I'm sorry to hear about the issue you are experiencing with your microwave! For your convenience we have product troubleshooting available at Whirlpool.com/Owner_Center under Product Help. For further assistance please call our Customer Support line 800-253-1301.
Thank you for your inquiry regarding our Whirlpool appliances!
A:AnswerThis is a pretty standard size microwave, so it should fit in the space your original microwave occupied. That said, probably better to measure the space you are installing this into to know for sure.
A:AnswerHi, the control panels will match the color of the unit, but plastic materials will look slightly different from the metal components. If it is truly that different, then the display could be affected by lighting, or it has been sitting in an environment that has affected it. The color of the display should not affect the performance of the washer, however. Hope this helps, Melanie
A:AnswerIt comes with it. Be sure to save the top of the box that it comes in! That is the "pattern" for where to put the wall mounting holes, etc. A little confusing at first, but it really does work. The paper pattern is for the underside of the cabinet only - be sure to align it properly (front to back) or your holes won't be in the right place. Just take a couple of minutes to really compare the the patterns to the unit and it will make sense. I'm a handy lady and didn't have any trouble at all. It was a whole lot easier than my old unit.