A:AnswerI have had no issues like that but it sounds more like something is discharging the capacitors on the motherboard which would cause a delay because it has to recharge the board before it can power up. That is lime 30-40 seconds usually.
A:AnswerIn the User Manual (found in the Support/Downloads tab), of this page: http://www.dynexproducts.com/products/computer-accessories/DX-520WPS.html, it states that the wire configuration is as follows:
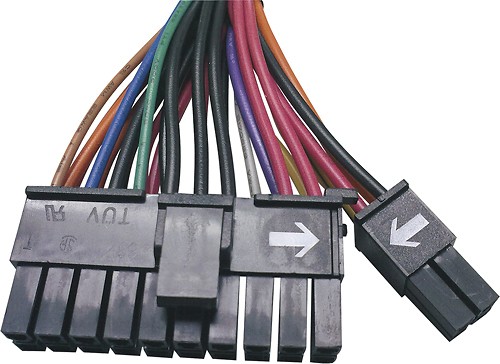
20+4 PIN Main Power Connector (1): Connect to motherboard
8 PIN (4+4)+12V Processor Connector (1): Connect to the motherboard for the CPU.
4 PIN Peripheral Connector (3): Connect to the internal IDE drives
Serial ATA Connector (4): Connect to the internal SATA drives
8 PIN PCI-E Connector (1): Connect to the PCI-E graphic card that requires power.
6 PIN PCI-E Connector (1): Connect to a PCI-E graphic card that requires power
Floppy Drive Connector (1): Connect to the 3.25” floppy drive.
A:AnswerI believe the tower takes a standard power supply so close to anything should work. If anything take the unit to Geek Squad and an Agent can take a look for you. I would like to also mention if you have not changed anything on the unit your watt requirement should still be on the power supply you have in the tower.
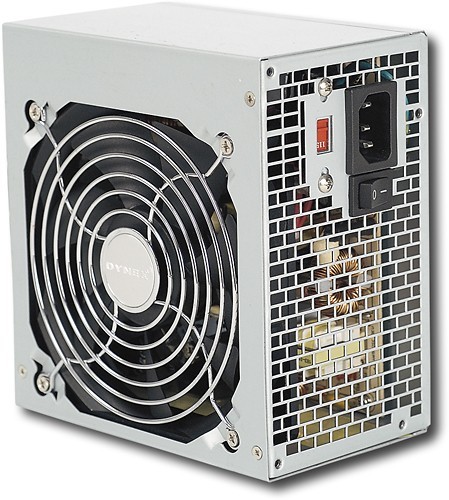
A:AnswerI would go with something with a little higher continuous power rating. The continuous rating on this is around 440 watts. I'm too lazy to take the side cover off my system to check it right now, but in my Gigabyte P43 system I have a 650 watt continuous supply. The quad-core Intel CPU uses 130 watts by itself.
John
A:AnswerYou should not have to purchase any more connectors to use your Dell Dimension E520. In the User Manual (found in the Support/Downloads tab), of this page: http://www.dynexproducts.com/products/computer-accessories/DX-520WPS.html, it states that the wire configuration is as follows: 20+4 PIN Main Power Connector (1): Connect to motherboard 8 PIN (4+4)+12V Processor Connector (1): Connect to the motherboard for the CPU. 4 PIN Peripheral Connector (3): Connect to the internal IDE drives Serial ATA Connector (4): Connect to the internal SATA drives 8 PIN PCI-E Connector (1): Connect to the PCI-E graphic card that requires power. 6 PIN PCI-E Connector (1): Connect to a PCI-E graphic card that requires power Floppy Drive Connector (1): Connect to the 3.25” floppy drive.