A:AnswerI have listed below some steps to make custom bags and vacuum-seal your foods:
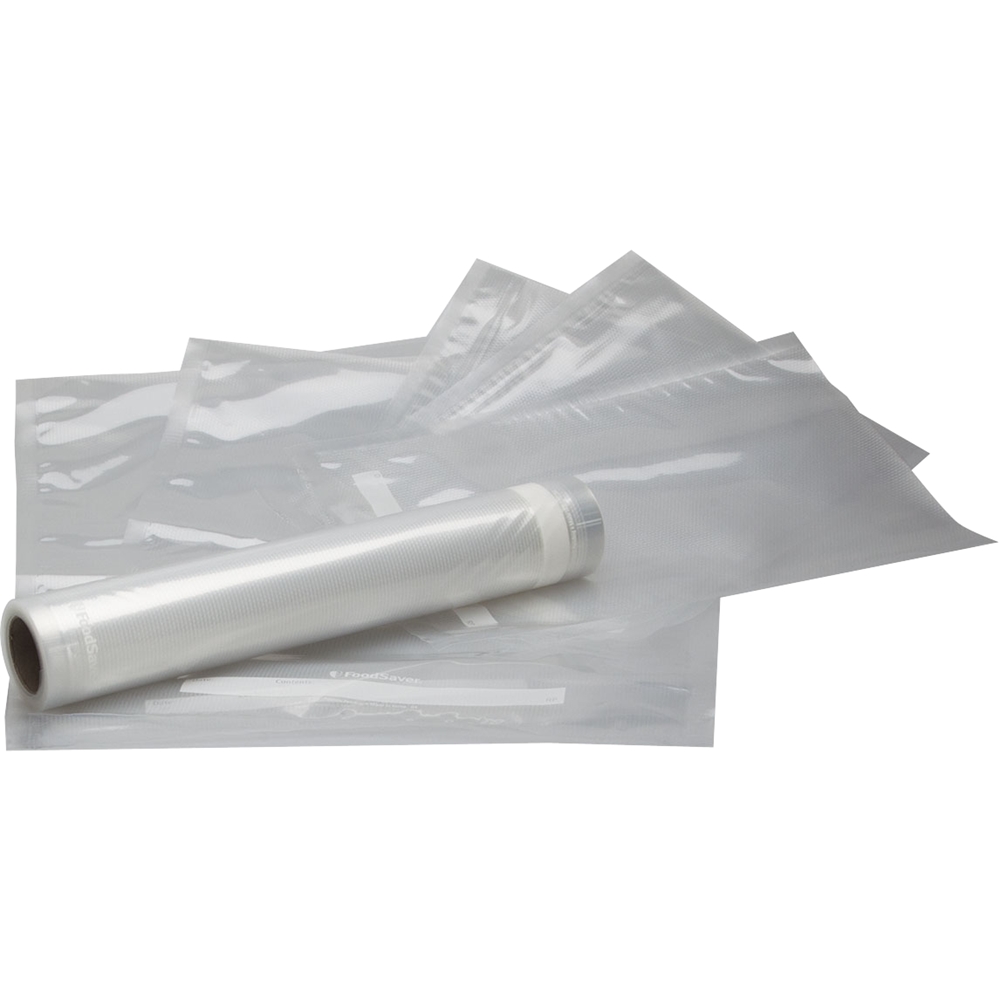
1 - Seal the open side of the roll.
2 - decide the length of the bag and cut with scissors.
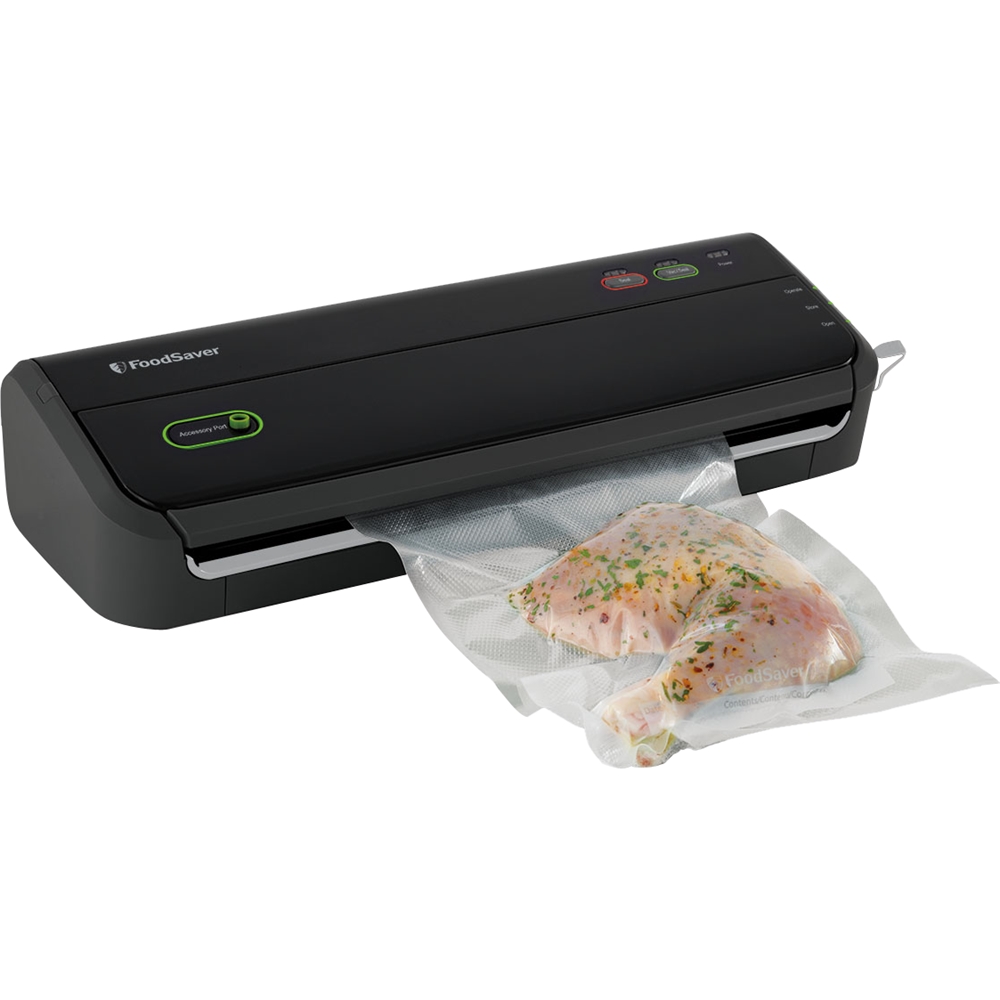
3 - put your items/food inside (leaving at least 3 inches of empty space on the open side of the bag).
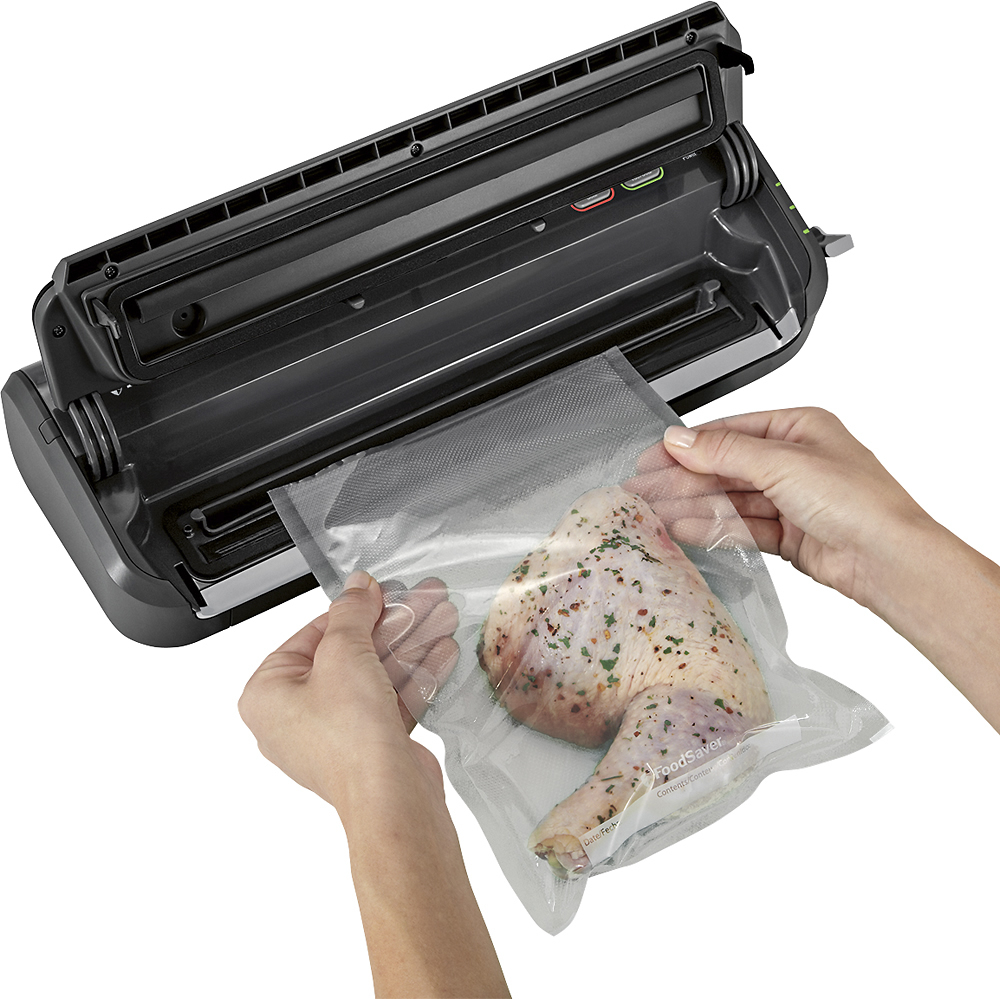
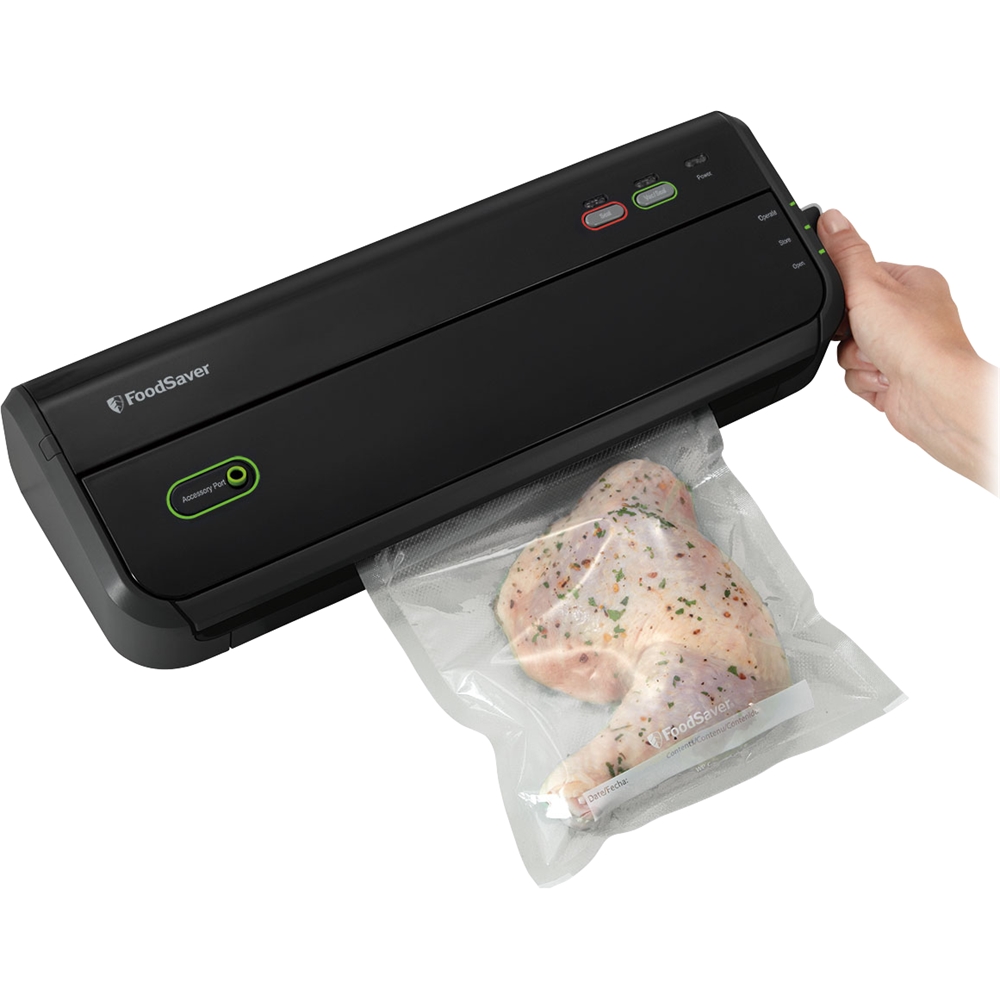
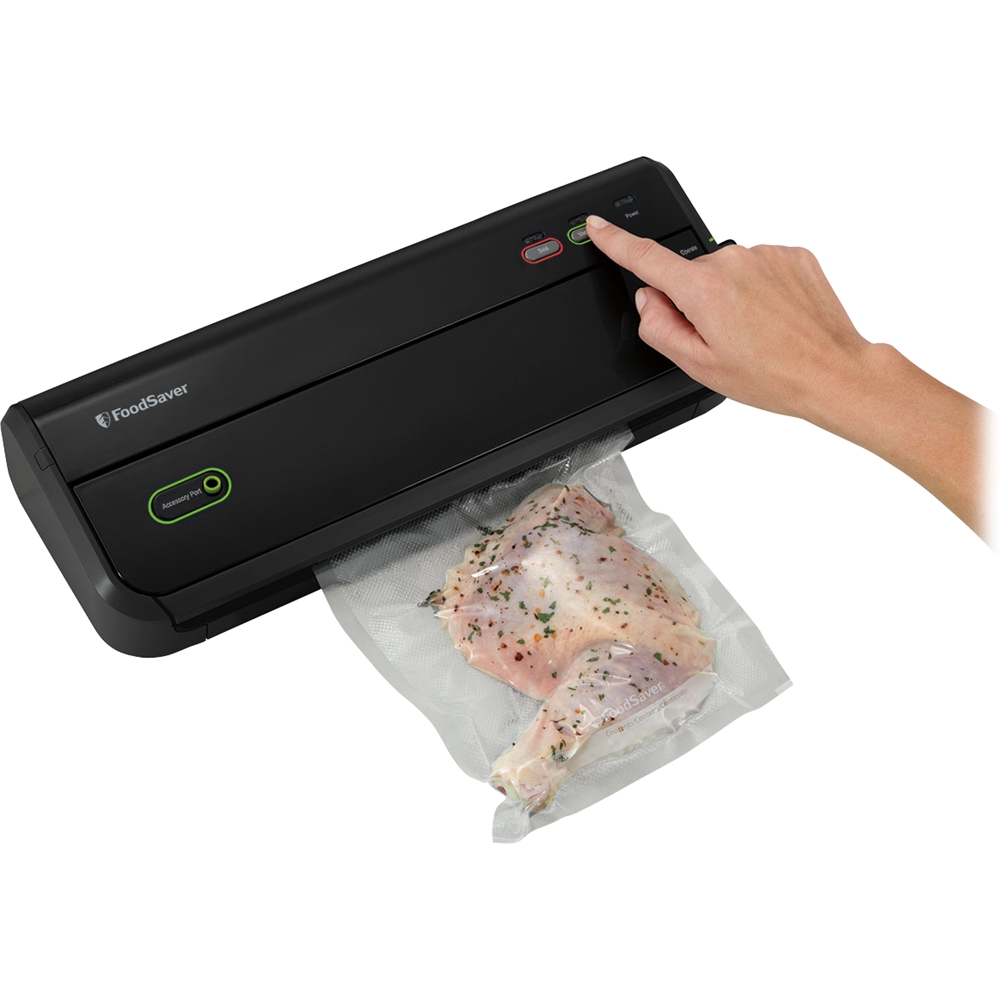
4 - Accommodate your bag into the drip tray, close the lid and press the vac-seal button.
We hope this helps!
A:AnswerMake sure the seal area in the bag does not have food in it and is dry. Also make sure the end of the bag is far enough inside the unit to be in the fluid tray and the lid is fully closed. Those are the only reasons for the unit to time out before auto sealing or failing to seal due to failure to create a vacuum seal.
A:AnswerNo they are not perforated on the rolls, that way you can make them as large or as small as you want. They are not like saran wrap but a thicker plastic that you don't have to peel off the roll. Some of the more expensive models have the built in holder for rolls and a cutter . Would have been nice but more expensive. Just cut them with the scissors or a razor. Would be nice if someone would come up with a holder and cutter as an accessory.