How to Use a Laptop with the Lid Closed
Purpose: This article provides you with the step-by-step process to follow to use an external display with the laptop lid closed
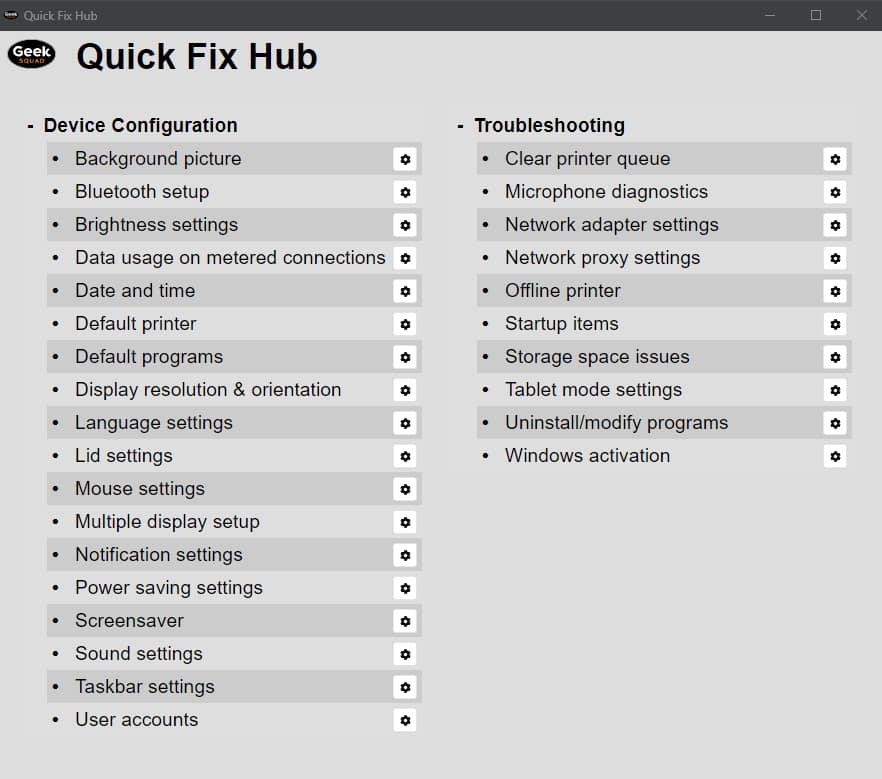
Quick Fix Hub in LMI *Start Here*
This Quick Fix may be supported by the Quick Fix Hub in LMI. You should leverage this tool to quickly navigate to the appropriate location to begin performing the intended Quick Fix.
Note: Quick Fix Hub is compatible with Windows 7 to current version Windows 10.
Windows 8.1 / 10
- Right click the Start menu
 and select Power Options
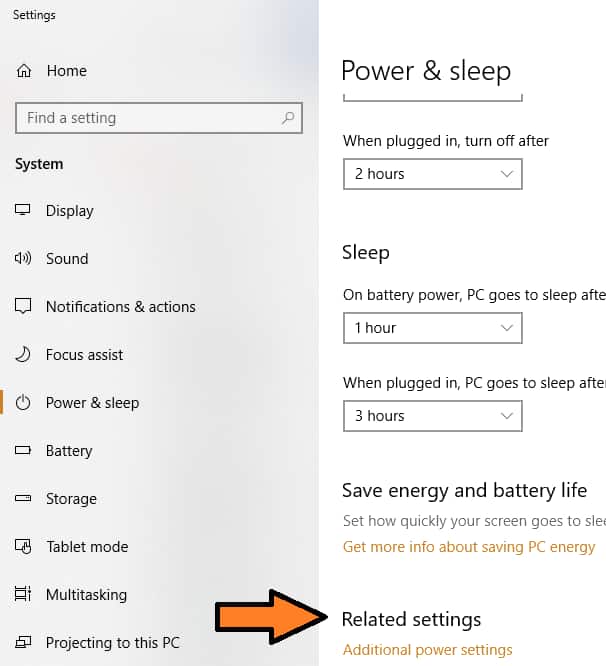
 - Scroll down and select Additional power settings
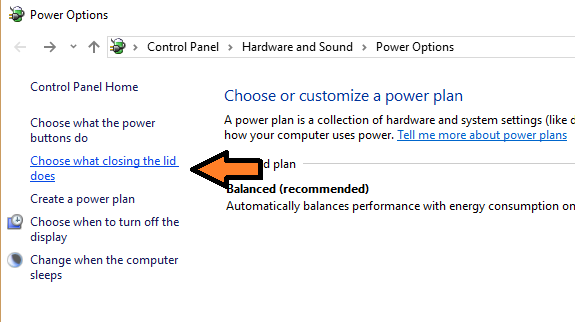
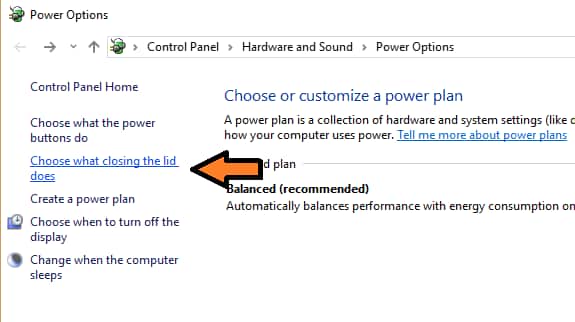
- Select on the left, “choose what closing the lid does”.
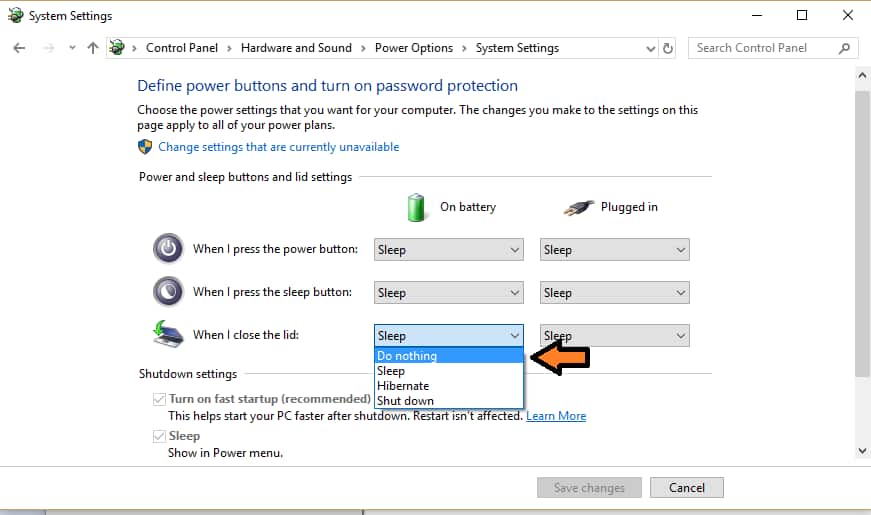
- Using the dropdown under “When I close the lid” choose “Do nothing”. Will likely need to do this under “On battery” and when “Plugged in” depending on how you would prefer to use their laptop. Now you may close your lid and project image to screen.
- (see Multiple Monitor Usage)

Windows Vista / 7
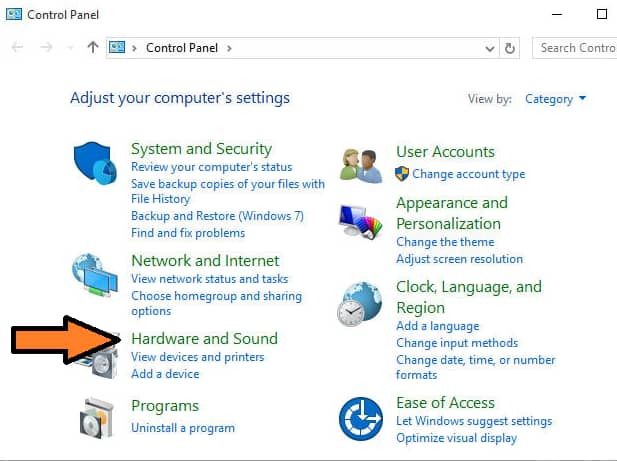
- Open the control panel
- Click on Hardware and Sound
- Select Power Options
- On the left, click on Choose what closing the lid does.
- Using the dropdown under When I close the lid choose Do nothing. Will likely need to do this under On battery and when Plugged in depending on how you would prefer to use your laptop. Now you may close your lid and project image to screen.
- (see Multiple Monitor Usage)
Mac
Keywords: External, monitor, display, lid, windows, mac