A:AnswerOK, there's a lot of misleading answers flying around so let me explain step-by-step starting from the bottom of the cooking chamber up. It does come with a proper drip tray, but the flat sheet that slides out from under 2 lower horizontal heating rods is more of a crumb tray rather than a drip tray, since it doesn't have raised sides that could hold any grease that might drip from a large batch of chicken wings or burgers. I know this from experience because I made the mistake of not using the actual drip tray on the lower of the two rack slots and it took half a roll of paper towels to sop up the puddle of chicken fat that had cooked off of the first batch of wings I ever made. At least it didn't end up clogging my arteries!
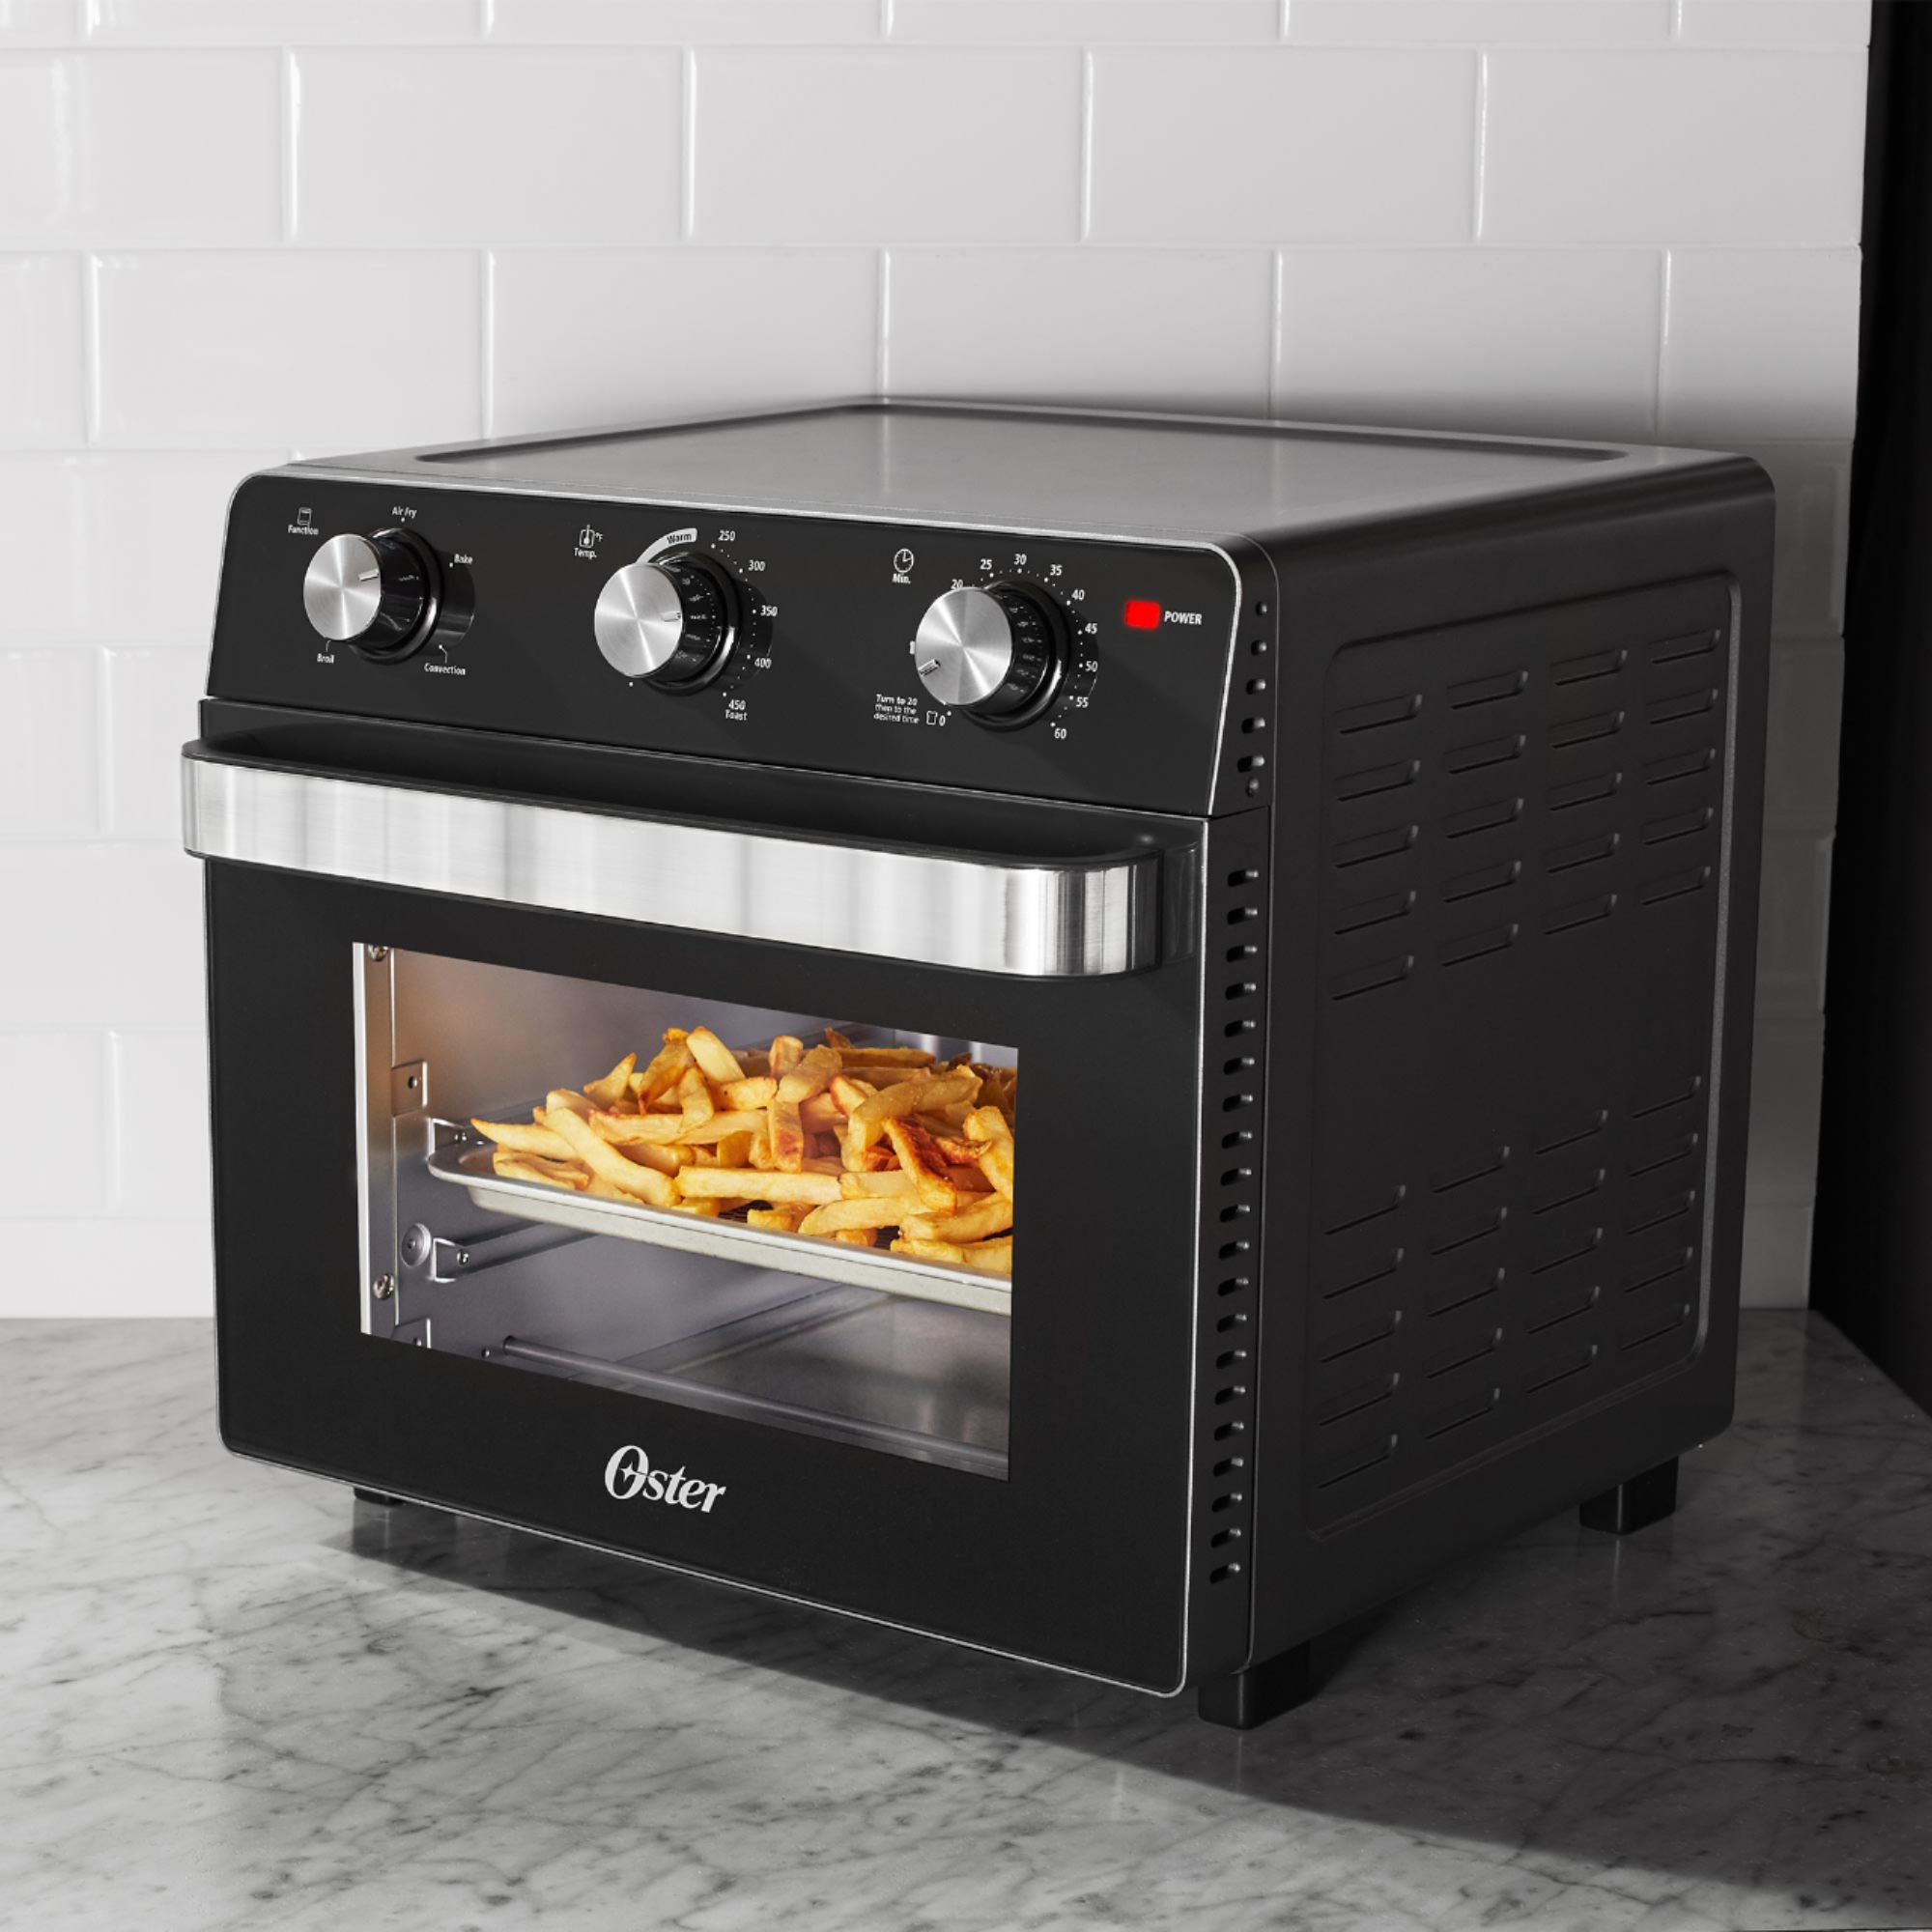
If you are making toast or baking a cake or heating up foods that are not likely to drip any juices, then you are probably OK with not sliding the actual drip tray into the lower rack slots. There is about an inch of separation betwen the lower and upper slots. You should not air-fry foods like chicken wings with anything but empty space in that gap or else the super-heated air won't circulate freely around the bottom of the food resulting in uneven cooking. Think burnt tops and underdone bottoms. So the upper slot is where you first slide in the wire rack, and the basket holding your yummy batch of wings, fries, onion rings, mozzarella sticks, or whatever then rests on top of that.
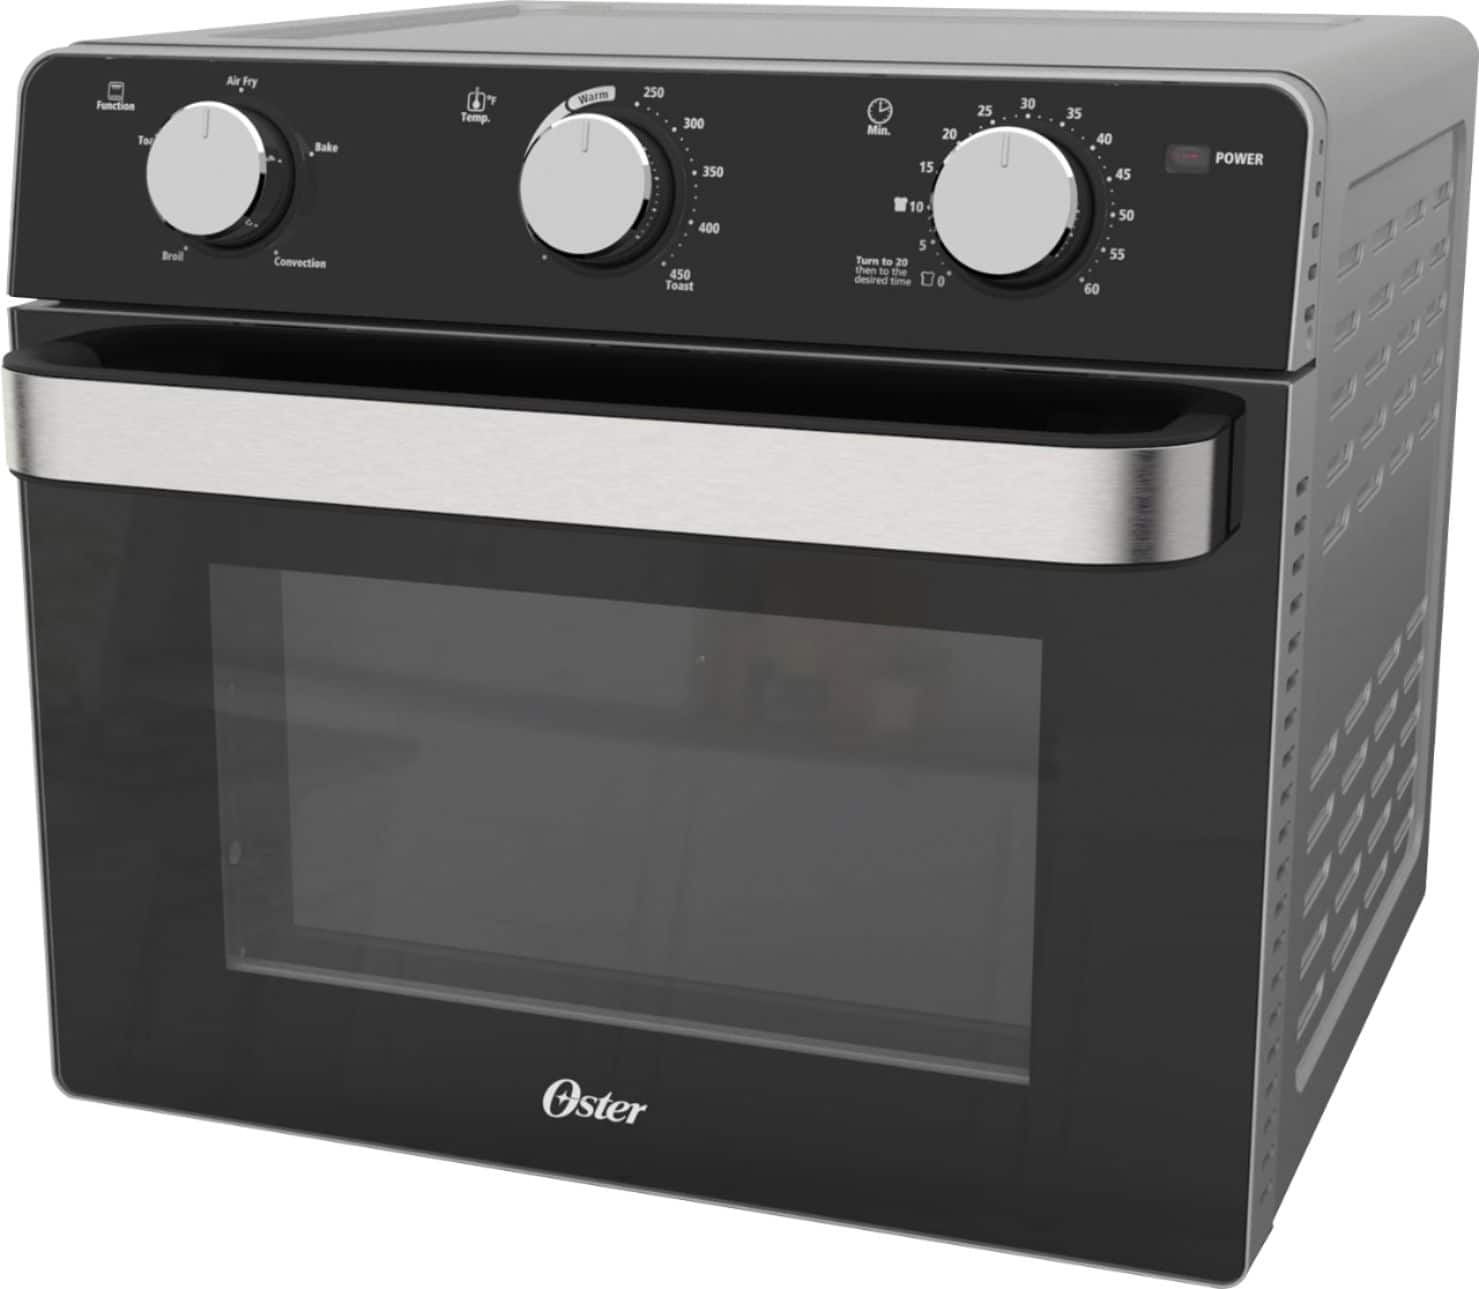
At the top of the chamber there are two horizontal heating rods good for broiling. Between them there is a large coiled heating element that may never visibly glow red despite being the source of all the air-frying magic that the powerful blower fan spreads throughout the entire oven.
Lastly, you will find that it is a good idea to wipe down all interior surfaces after cooking is done and the oven has cooled off. No matter what brand of air fryer you get, the steady blast of hot air inside tends to leave behind on the walls and glass door a trace of the grease that cooked off your food. You probably wouldn't like it if the cheeseburgers you just took out of the oven gave off a whiff of the fried catfish you made last week!
A:AnswerI would say you could fit between 4 to 6 fillets depending on size. They cook fast, like 3 minutes or less, so keep an eye on them the whole time. A homemade batch of 6 thawed uncut wings (flats and drummets attached) takes about 15 minutes to cook through enough to my liking. Ready-made frozen ones take about half as long. Again, keep an eye on them every few minutes so that they won't end up getting overcooked.
A:AnswerOK, there's a lot of misleading answers here so let me explain step-by-step starting from the bottom of the cooking chamber up. There is a flat sheet that slides out from under 2 lower horizontal heating rods that turn bright red while heating. It is actually a crumb tray rather than a drip tray, since it doesn't have sides that come up so as to contain any grease that might drip from a large batch of chicken wings or burgers. I know this from experience because I made the mistake of not having the actual drip tray on the lower of the two rack slots and it took half a roll of paper towels to sop up the puddle of chicken fat that had cooked off of the first batch of wings I ever made. At least it didn't end up clogging my arteries!
If you are making toast or baking a cake or heating up foods that are not likely to drip any juices, then you are probably OK with not sliding the actual drip tray into the lower rack slots. There is about an inch of separation betwen the lower and upper slots. You should not air-fry foods like chicken wings with anything but empty space between them because that would block the super-heated air from circulating around the bottom of the food resulting in uneven cooking. Think burnt tops and undercooked bottoms. So the upper slot is where you slide the wire rack in first, and the basket holding your yummy batch of wings, fries, onion rings, mozzarella sticks, etc. gets placed on top of that.
At the top of the chamber there are two horizontal heating rods that turn bright red while broiling. Between them there is a large coiled heating element that may never turn visibly red despite being the source of all the air-frying magic that the powerful blower fan happily spreads throughout the entire oven.
Lastly, you will find that it is a good idea to wipe down all interior surfaces after cooking is done and the oven has cooled off. No matter what brand of air fryer you get, the steady blast of hot air inside tends to leave behind on the walls and glass door a trace of the grease that cooked off your food. You probably wouldn't like your cheeseburgers to come out having a whiff of the fried catfish you made last week!
A:AnswerDear Jecastr, using my "Kill A Watt" meter, I measure 1670 Watts with the Air Fryer setting on max. temp., which is to say that it draws 13.84 Amps from a 120-Volt outlet. Your mileage may vary :-)
A:AnswerTrial & error my experience with regular toast. I toast 2 to 4 slices bread 5 min. Comes out perfect. As I said in my review, I wish Oster would include more instructions for doing/cooking with this oven.
A:AnswerWorks well with all types of meat, the chicken will cook up fast, but watch out on the air fry setting with it, it has the chance to dry out the skinless chicken breasts. I use a wired electronic meat thermometer to make sure I don't overcook the chicken breasts or any meat I choose to cook in there. It is very fast and quiet, does not put a ton of heat in the air.
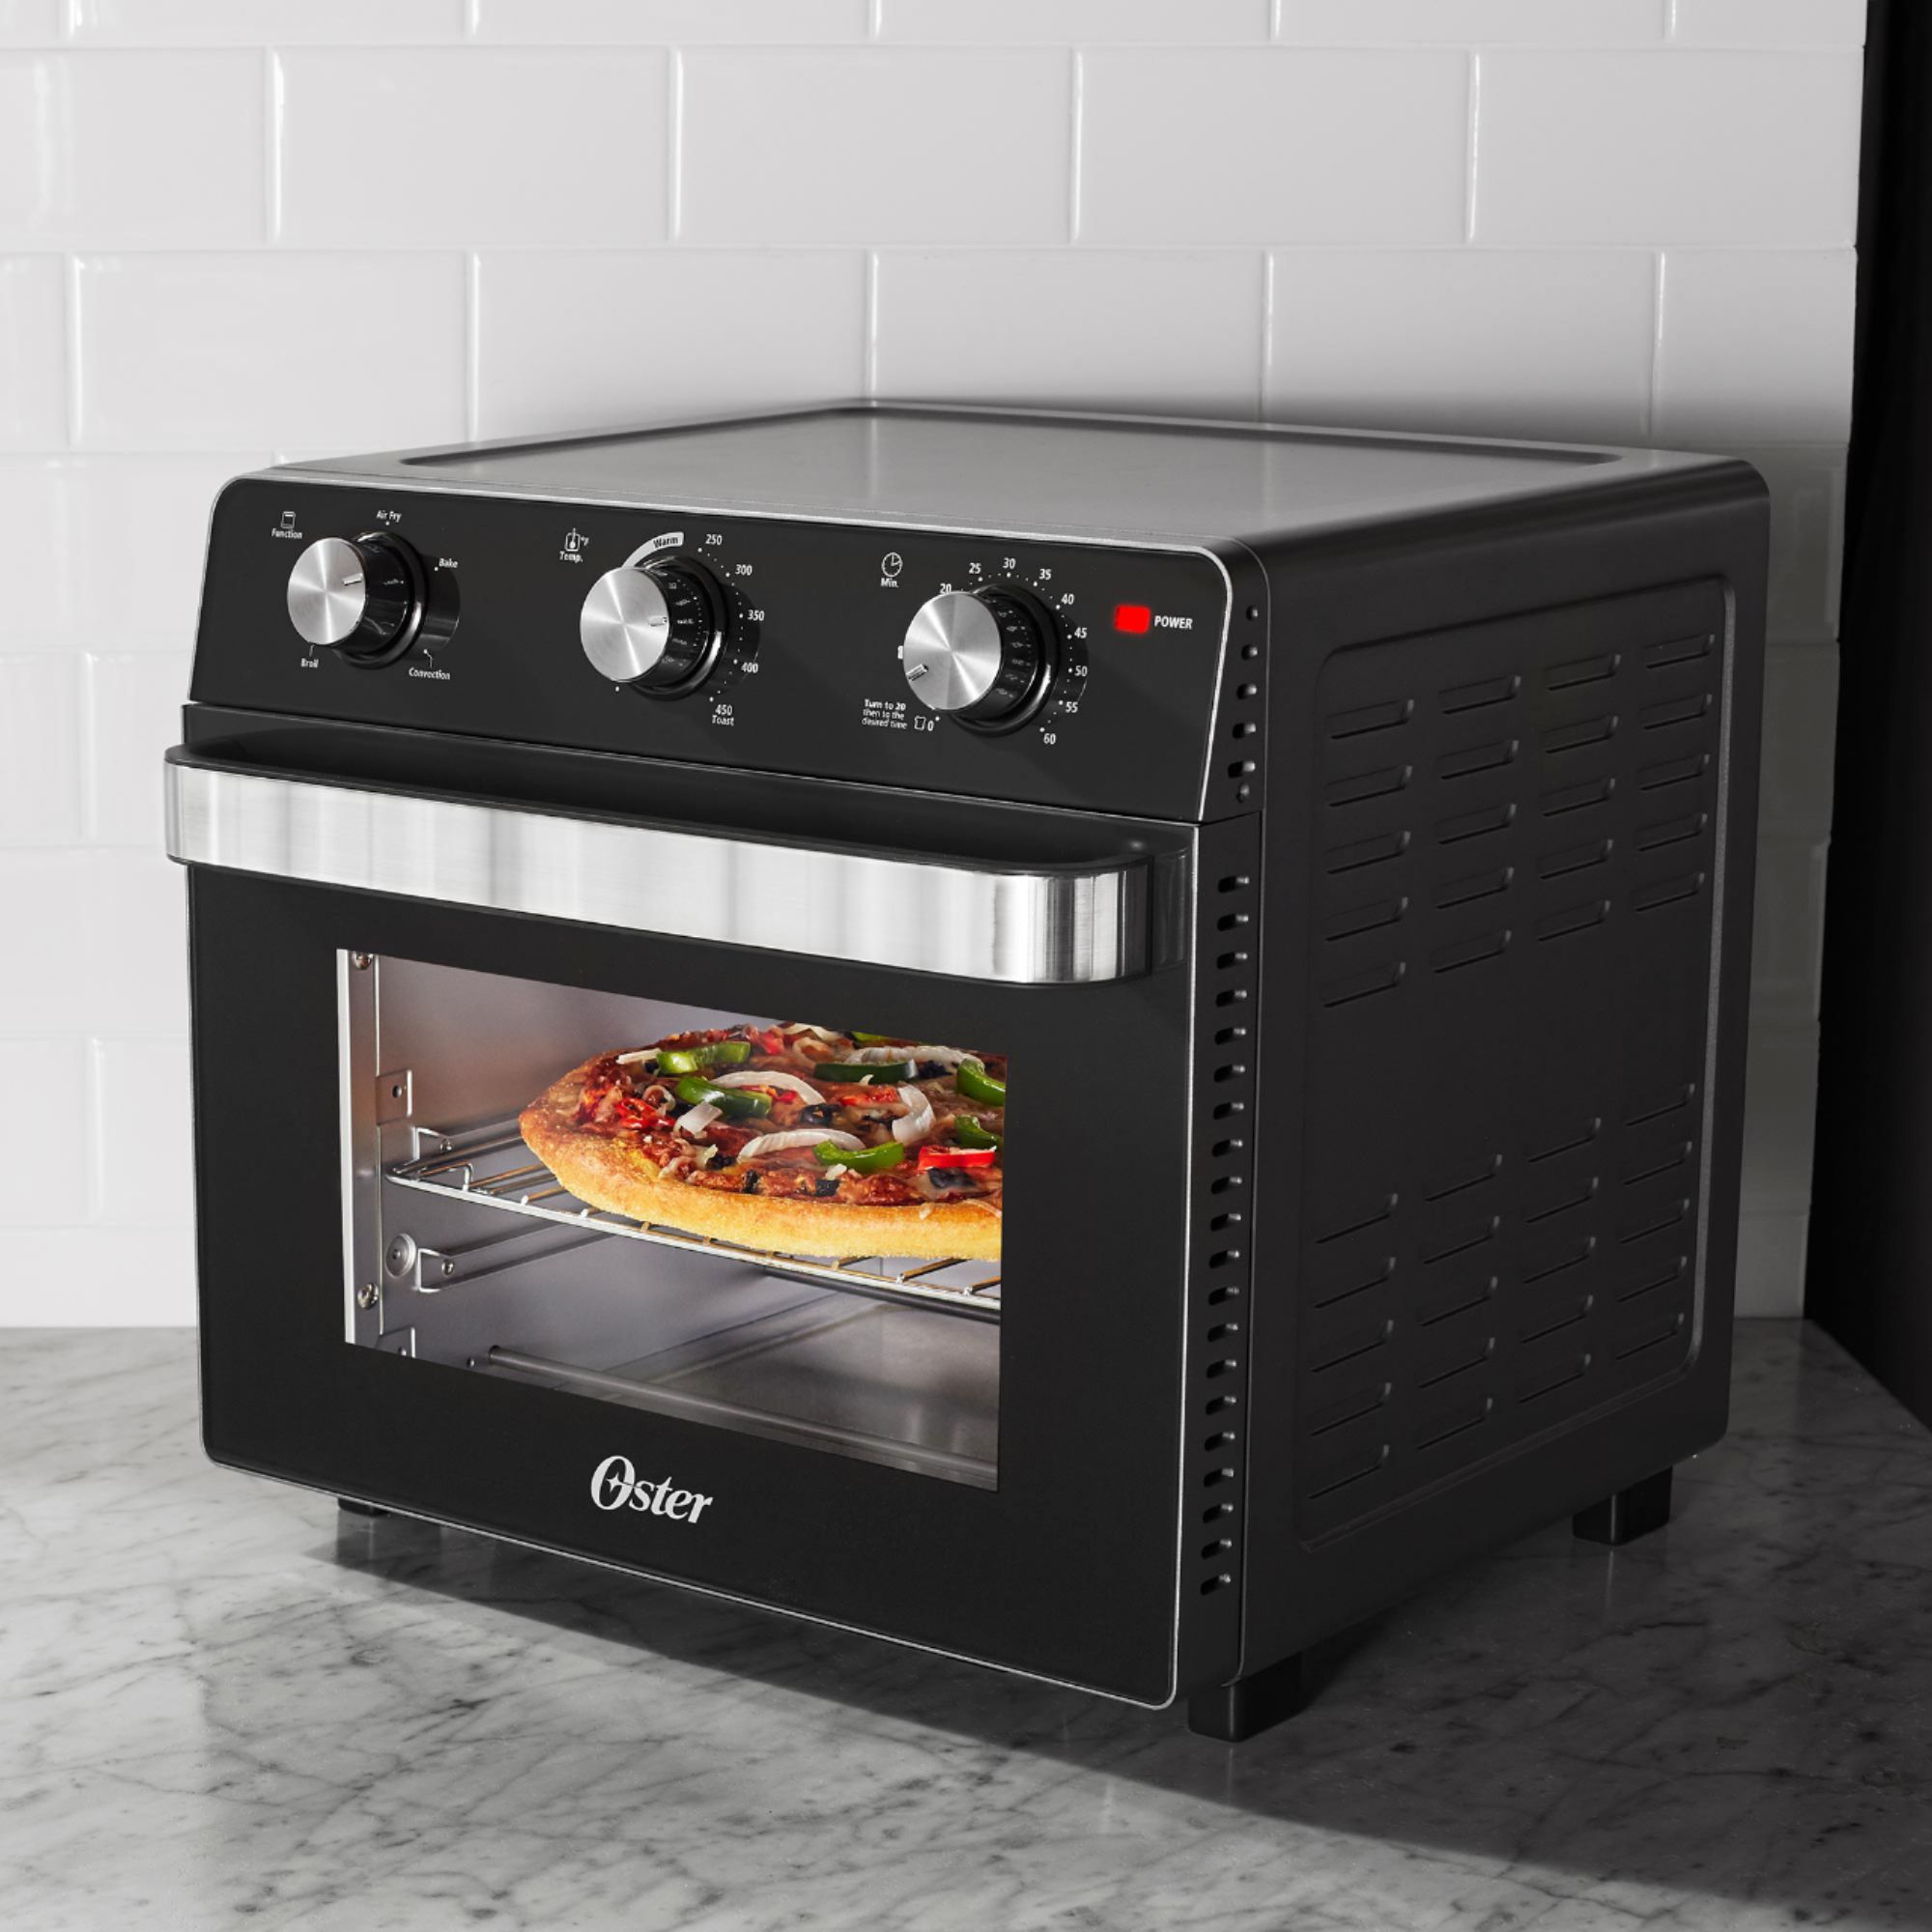
A:AnswerAldi's currently sells a 10" x 12" air fryer basket, with pan in my area for $9.99. It looks to be a little bigger than the one you get with this. Also, Ollie's sells a 10" round one with pan for about $7. the pan is perfect for making a pizza in this oven.
A:AnswerRotisserie Spit, no. You can get baking pans and baskets from various sites and stores, but measure carefully, they won't all fit. Interior dimensions of this are standard for cake pans, muffin & cupcake pans, 12" pizza, etc.
I bought an airfry basket with tray to have as a spare online, found that neither fit. Scoured around a bit and then found both (but not together), to be used as spare. Oster does not have any spare parts or accessories for this on their site (yet?), but you will find plenty generic options.