Purpose: This article provides you with step-by-step instructions to change multiple monitor settings.
NOTE: If unsuccessful, schedule an in-home appointment.
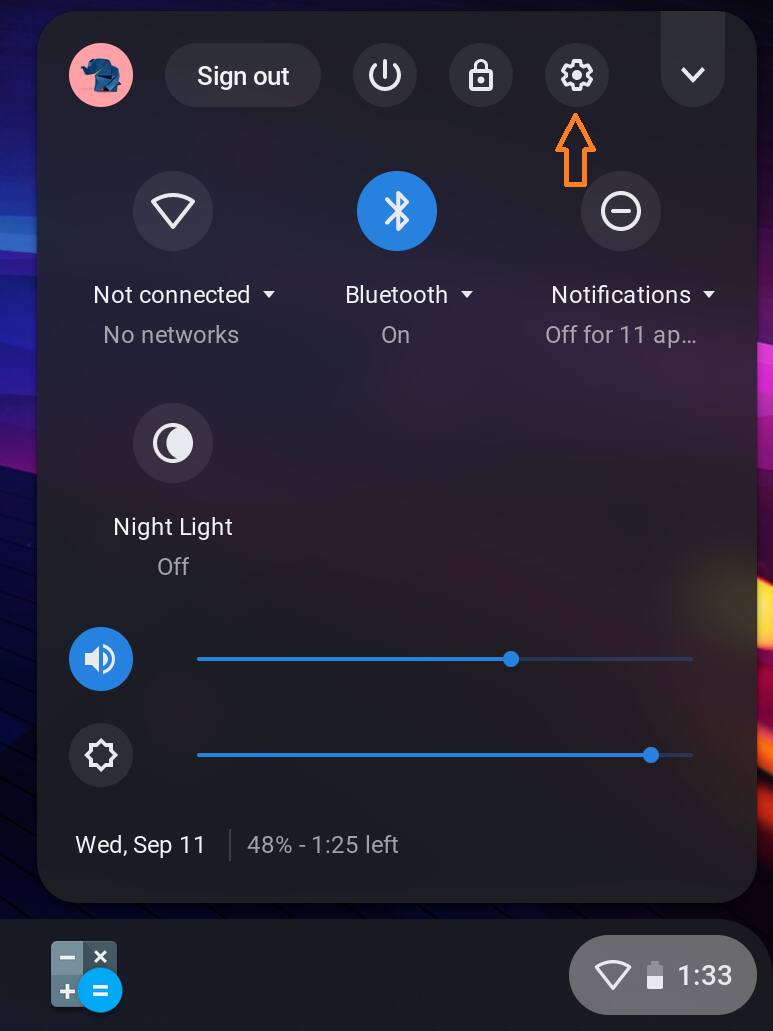
Chrome OS Figure 1
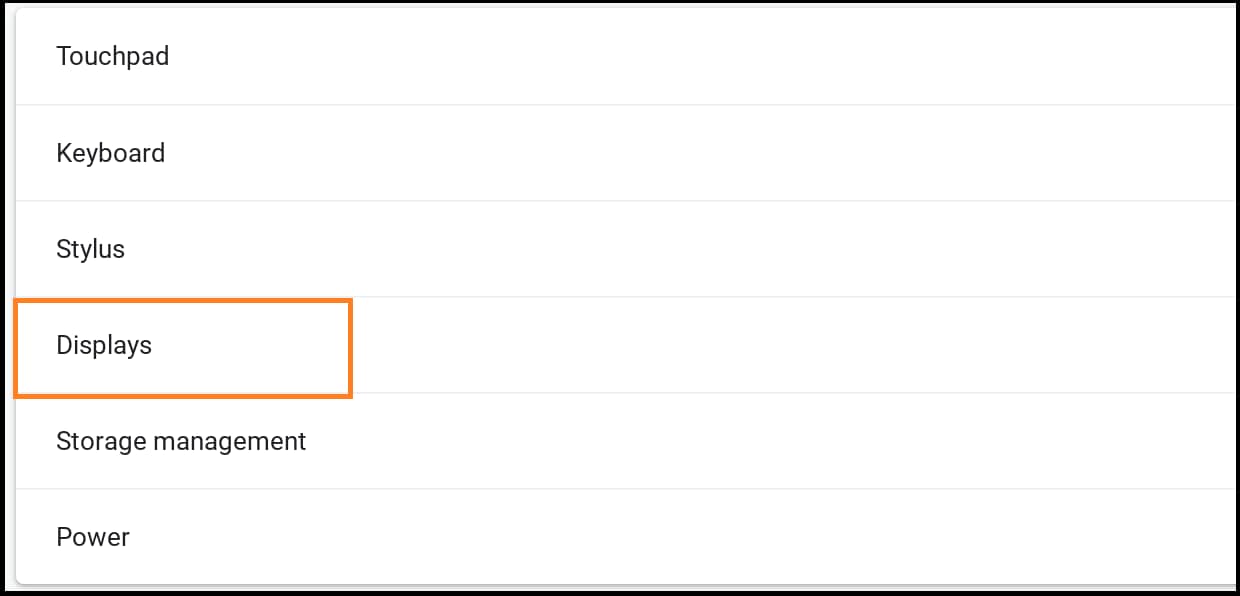
Chrome OS Figure 2

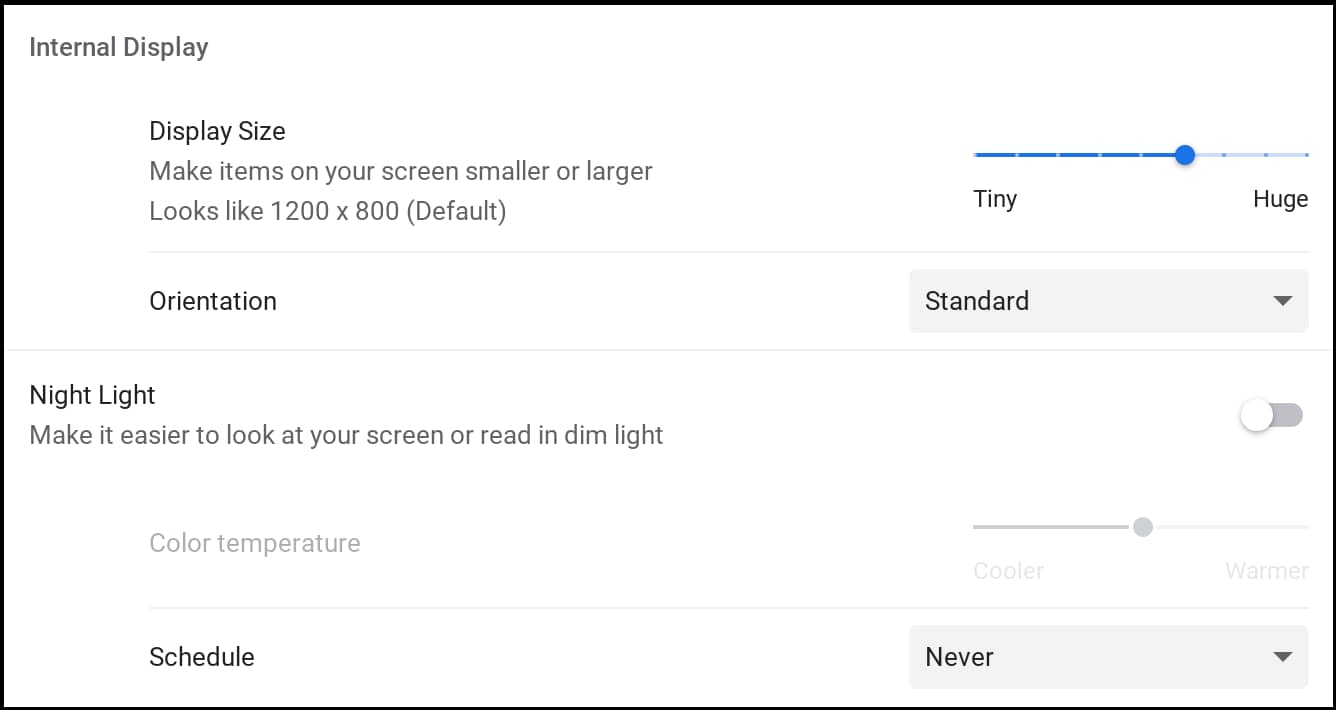
Chrome OS Figure 3

Chrome OS Figure 4

Chrome OS Figure 5

Chrome OS Figure 6
Chrome OS Figure 7
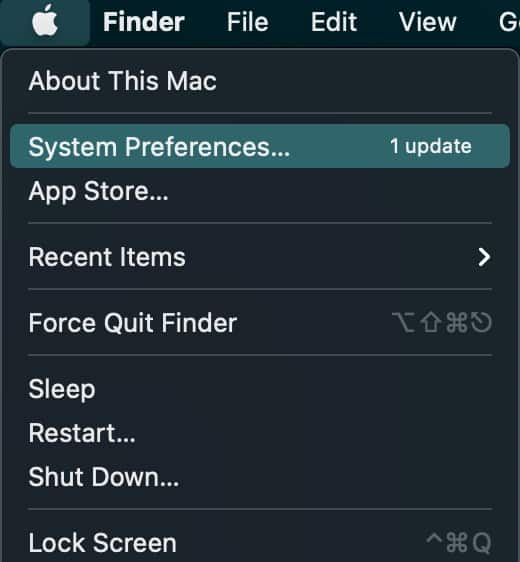
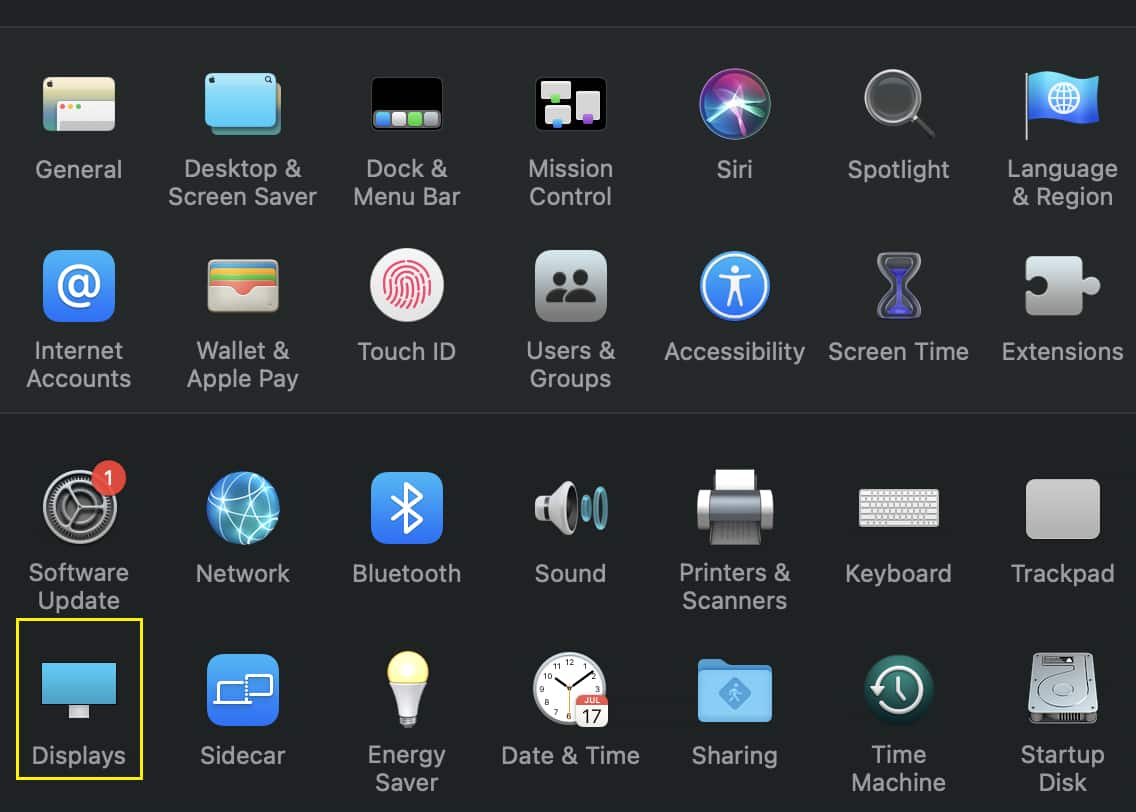
macOS Figure 1
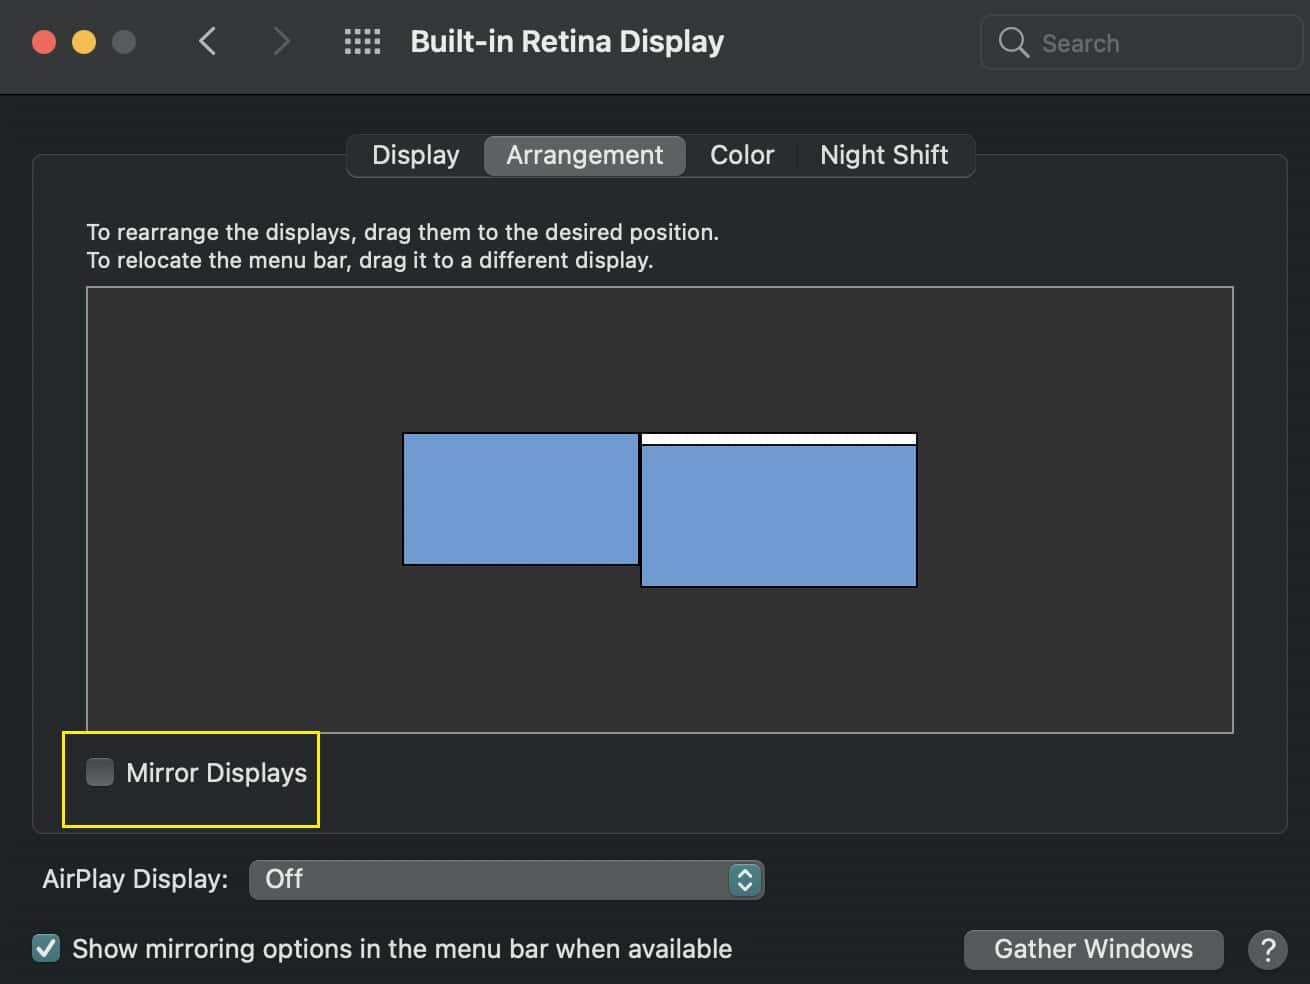
macOS Figure 2
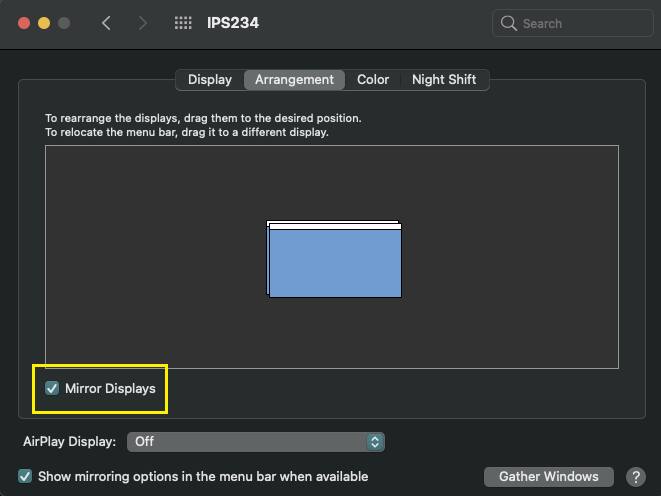
macOS Figure 3
macOS Figure 4
With an Apple TV, the entire display of a Mac can be mirrored to a TV or use the TV as a separate display. AirPlay 2 adds the ability to connect directly to a TV that supports AirPlay 2, without the need for an Apple TV hardware device.

macOS Figure 5
 or like two cascading boxes (See macOS Figure 6).

macOS Figure 6
Refer to How2 Use a Laptop with the Lid Closed to view step-by-step directions to use Closed-Display mode.
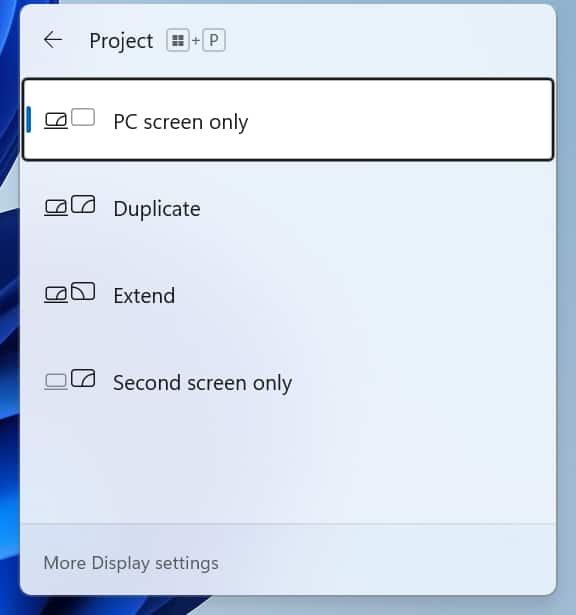
Windows Figure 1
Windows Figure 2

Windows Figure 3
Windows Figure 4

Windows Figure 5
Windows Figure 6
Refer to How2 Use a Laptop with the Lid Closed to view step-by-step directions to use Closed-Display mode.
Keywords: Windows, Mac, 11, 10, 8.1, 8, 7, Vista, OS, project, display, multiple, monitors, Chromebook, macOS, OSX, OS X