A:AnswerFirst, format the drive for a Mac, using Disk Utility, in your Utilities folder, in the Applications folder.
To format the drive as a Mac drive, so you can boot from it, in a pinch, do this:
1. Plug the drive in to your Mac's USB port. It should have come with a single USB 3.0 plug, which provides both power and data to the drive.
2. Click Go:Utilities from the menu bar, at the top of your screen.
3. Double-click Disk Utility
4. Click the name of your Seagate Backup Plus in the left-hand column, to select it.
5. Click the "Partition" tab over in the right part of the window. Choose 1 partition from the drop-down, (under Partition Layout) and then click "Options" at the bottom, and select GUID, at the top. The other two choices are for older macs, or for a Windows format drive.
6. Under Partition Information, call your drive something like Jill's Backup HD or something you can recognize, and for Format, choose "Mac OS Extended (Journaled.) The other formats can be problematic unless you're pretty knowledgeable, and have special requirements.
7. Now, click Apply. Wait a minute, and your newly formatted drive will appear over on the right of your desktop.
Now that you've formatted your drive as a Mac drive, do this:
Google SuperDuper, from Shirt Pocket Software, and buy it. Reason: It's better than Time Machine! Time Machine runs once an hour all day long, and can slow you down when you're trying to do some work. Super Duper makes a bootable backup, and you can easily program it to run once a day.
I use it myself like this--click the Apple, pull down to System Preferences, open the Energy Saver control panel. Click the Schedule button on the bottom right, and set your Mac to wake up or turn on at 2:00AM, or whatever time is convenient for you. Then launch Super Duper, and make a full backup of your drive to the portable. A full backup can take a couple of hours. Next, click the Options button on SuperDuper, and check the box to "Repair Permissions" before you run a backup, and switch "Erase, then Backup" to "Smart Update" which mimics the first choice, but only takes about 20 minutes a day. Check out the options, and you can have your Mac turn off when Super Duper finishes, or just go to sleep, or actually restart from your backup drive.
Sounds über geeky, but it's really not that hard, and Apple and Shirt Pocket software will be happy to help you. Or I will! Takes me about 10 minutes to do this stuff. And you only pay for SuperDuper once, not over and over like other disk utilities. I've had it on my Mac for about 10 years.
A:AnswerUse the Seagate Wireless 1 or 2 TB portable drives for iPhone or iPad. That way, you're not limited to the internal memory of your IOS device. But a USB drive is a no-no. There is no USB plug on an iPad or iPhone. The "Lightning" plug plugs into a USB jack on your computer or charger, but that's not the same as having a USB jack on your iPad or iPhone.
A:AnswerThe Goflex is shipped with Windows formatting. It will support a Mac with installation of the software that comes with the drive. The drive then creates a read-only partitioned part of the drive. Files can be transferred to the drive and openned on the PC. This drive will not work with Apple's Time Machine. When prompted "Do you want to use this for Time Machine?" answer No.
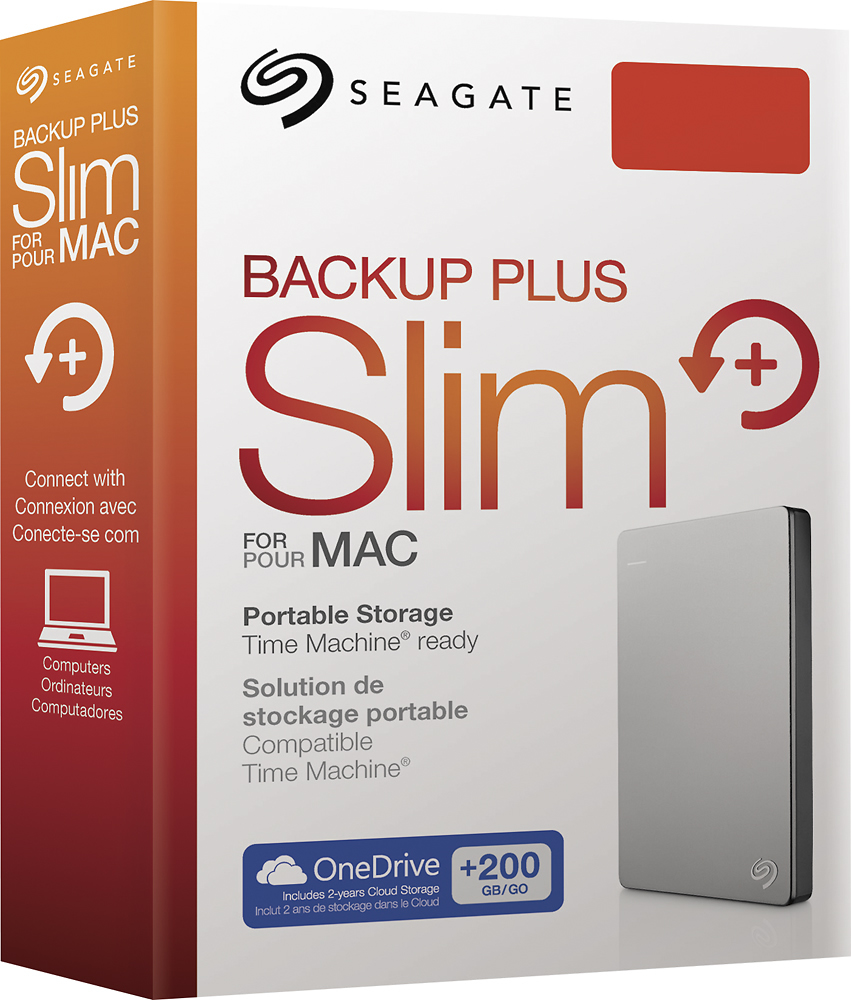
The Slim for Mac will work with Time Machine and will back up devices (iPad, iPhone) through Time Machine. Slim for Mac can be set up to be dual platform with download from Seagate site.
The Slim for Windows will provide auto backup also, but is not dual platform. Seagate has a really good site with lots of information and great support.
A:AnswerIt can, using third party, software, such as HFS+ driver. The native disk environment is different in a MAC than a PC, My buddy gave me a memory stick written on a Mac and my PC wouldn't even recognize it until I downloaded the software. (Seagate says HFS is included with this drive.)
A:AnswerYou should upgrade Mountain Lion to Yosemite to fix some bugs with the OS. That message usually occurs when you unplug the drive without ejecting it first, by a. dragging it to the trash, which changes to an eject symbol, or b. choosing File: Eject after first selecting the drive, or c. selecting the drive and then pressing Command + E on the keyboard.
A:AnswerYes. Just plug in the USB cable, and it should show up on your desktop. I would recommend buying SuperDuper backup software (just Google it, from Shirt Pocket Software), and turn off Time Machine. You'll thank me. Time Machine runs once an hour forever, unless you turn it off, which most people do. It will slow you down.
SuperDuper can repair your disk permissions before you run a backup, and you can make backing up super simple and automatic. If your main drive fails, your Mac will automatically boot from your SuperDuper backup drive. It's about $30.00 and change, and it's good stuff, Maynard! You'll love their slogan--"Heroic System Recovery for Mere Mortals"--and it's won a bunch of awards in the Mac community. No, I don't work for them.