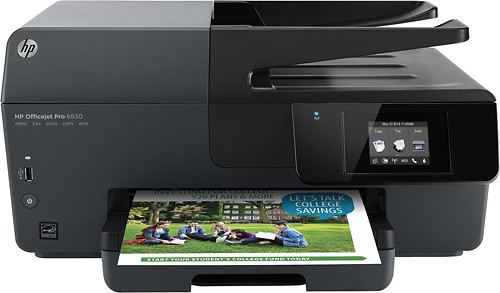
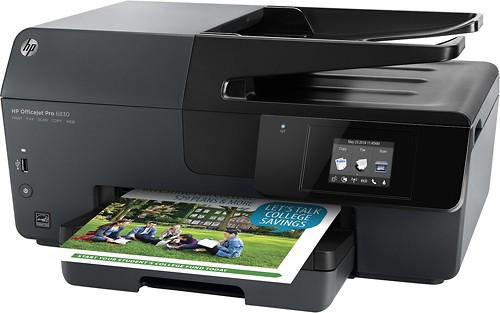
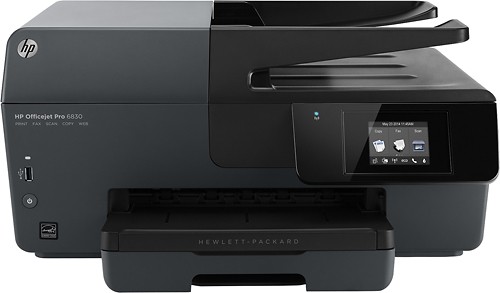
A:Answer 1. Activate the touchpad screen (Copy/Fax/Scan shows)
2. Place item to be resized on the glass bed
3. Touch Copy
4. Touch 2nd icon on the bottom (a square with a magnifier)
5. Printer will read the item on the glass bed and it will show on the touchpad screen for a preview
6. Icons that show on bottom: first is the "daisy" to adjust lightness and darkness // second is the one you want to resize the item showing - it looks like two angles on top of each other.. Just use your fingernail or tip of finger on the touchpad screen to move the cropping tool to enlarge to the size you desire. Best to drag it from the bottom right of the item to enlarge it.
7. To see what is now looks after resizing BEFORE PRINTING, touch the upper left of the touchpad screen's two arrows that form a circle. The printer will now re-read your resized item. Like it? Print it! If not, then to return to the screen to re-size the previous, touch the single circle arrow on the printer NEXT to the touchpad.
8. If you still want a larger sized item from the original, THEN remove the original item from the glass bed and re-place it with the resized item just printed. Repeat the process to resize.
Hope this all makes sense and it helps!