A:AnswerI owned this printer and would not suggest buying it. After having such a bad experience I was also wondering why the reviews were so good. I would reccomend you read them carefully and ask yourself if they seem like they were written by actual consumers versus 'reviewers' .
A:AnswerI purchased in order to do heat transfers on fairly thick heat transfer paper. Should handle card stock with no problem. Mind you, I fed the paper through the normal trays.
A:AnswerI have this error. Epson technical support tells me it is a hardware problem. I can either mail this huge thing at my expense to their service center or buy a new one. I asked about a possible driver error, and she said that is not the problem.
This is the 2nd Epson I have owned to have this problem. It's like you can only print for so many months or pages and it stops.
I will NEVER buy another EPSON!!!!
A:AnswerNo and no.
When you use the wireless setup utility it prompts you to enter your server password. Easy peasy.
Every time you ask it to print, you select either black and white or color.
A:AnswerYes, it can handle multiple pages whether auto feed or manual. In manual, you are promoted after each page whether to add more or not. In auto, you can scan one side or both sides in duplex mode.
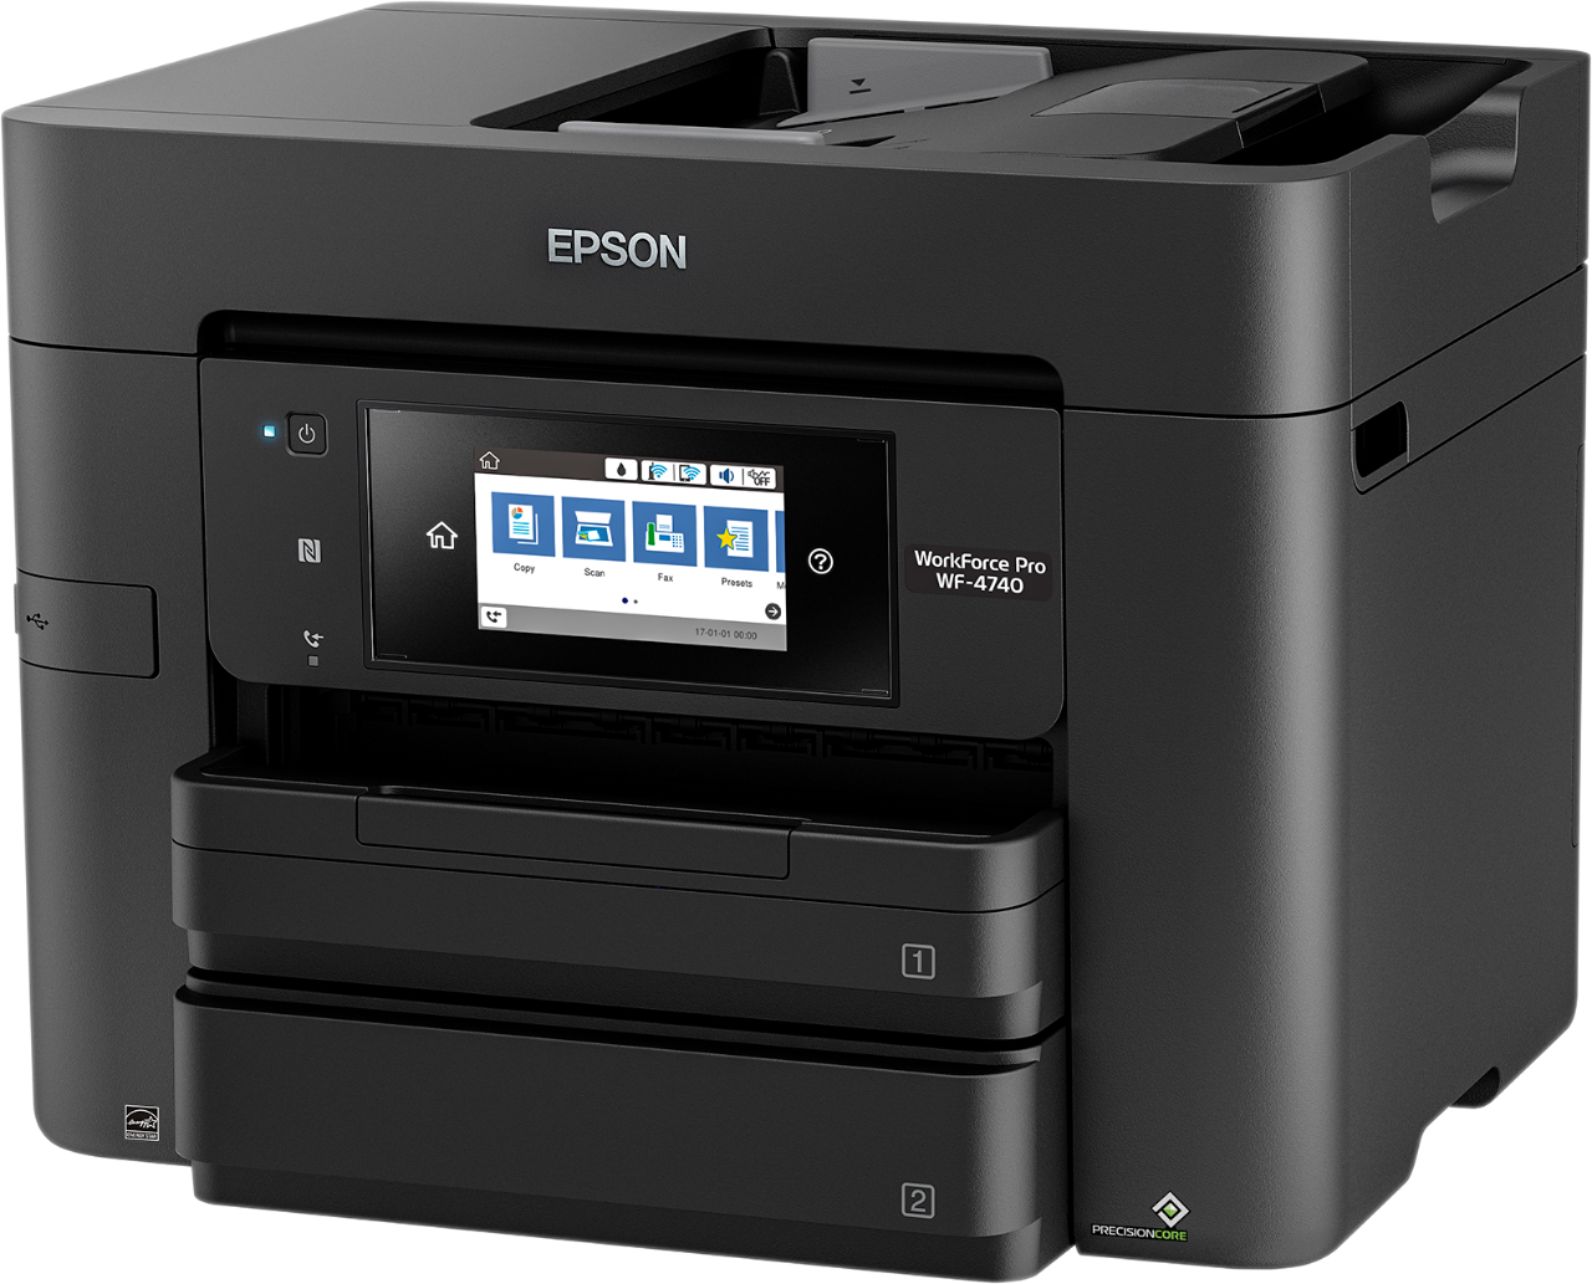
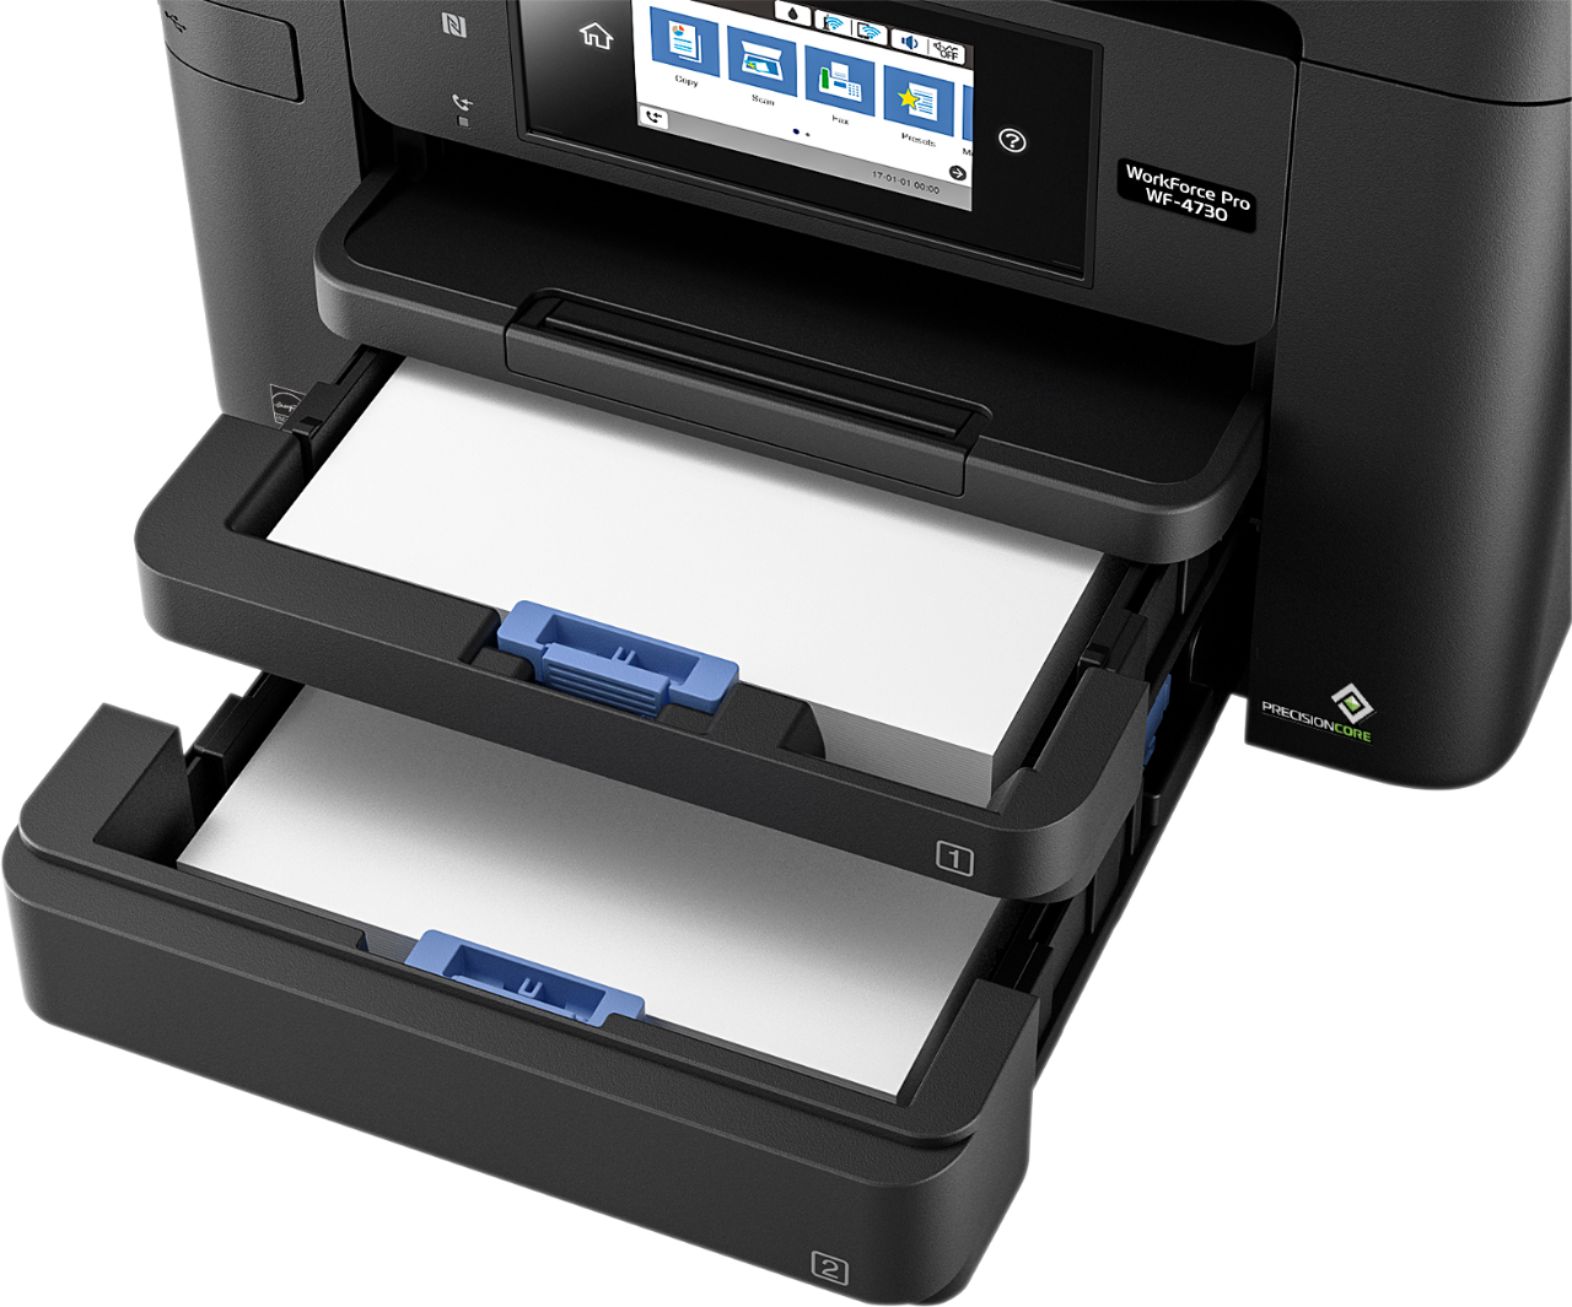
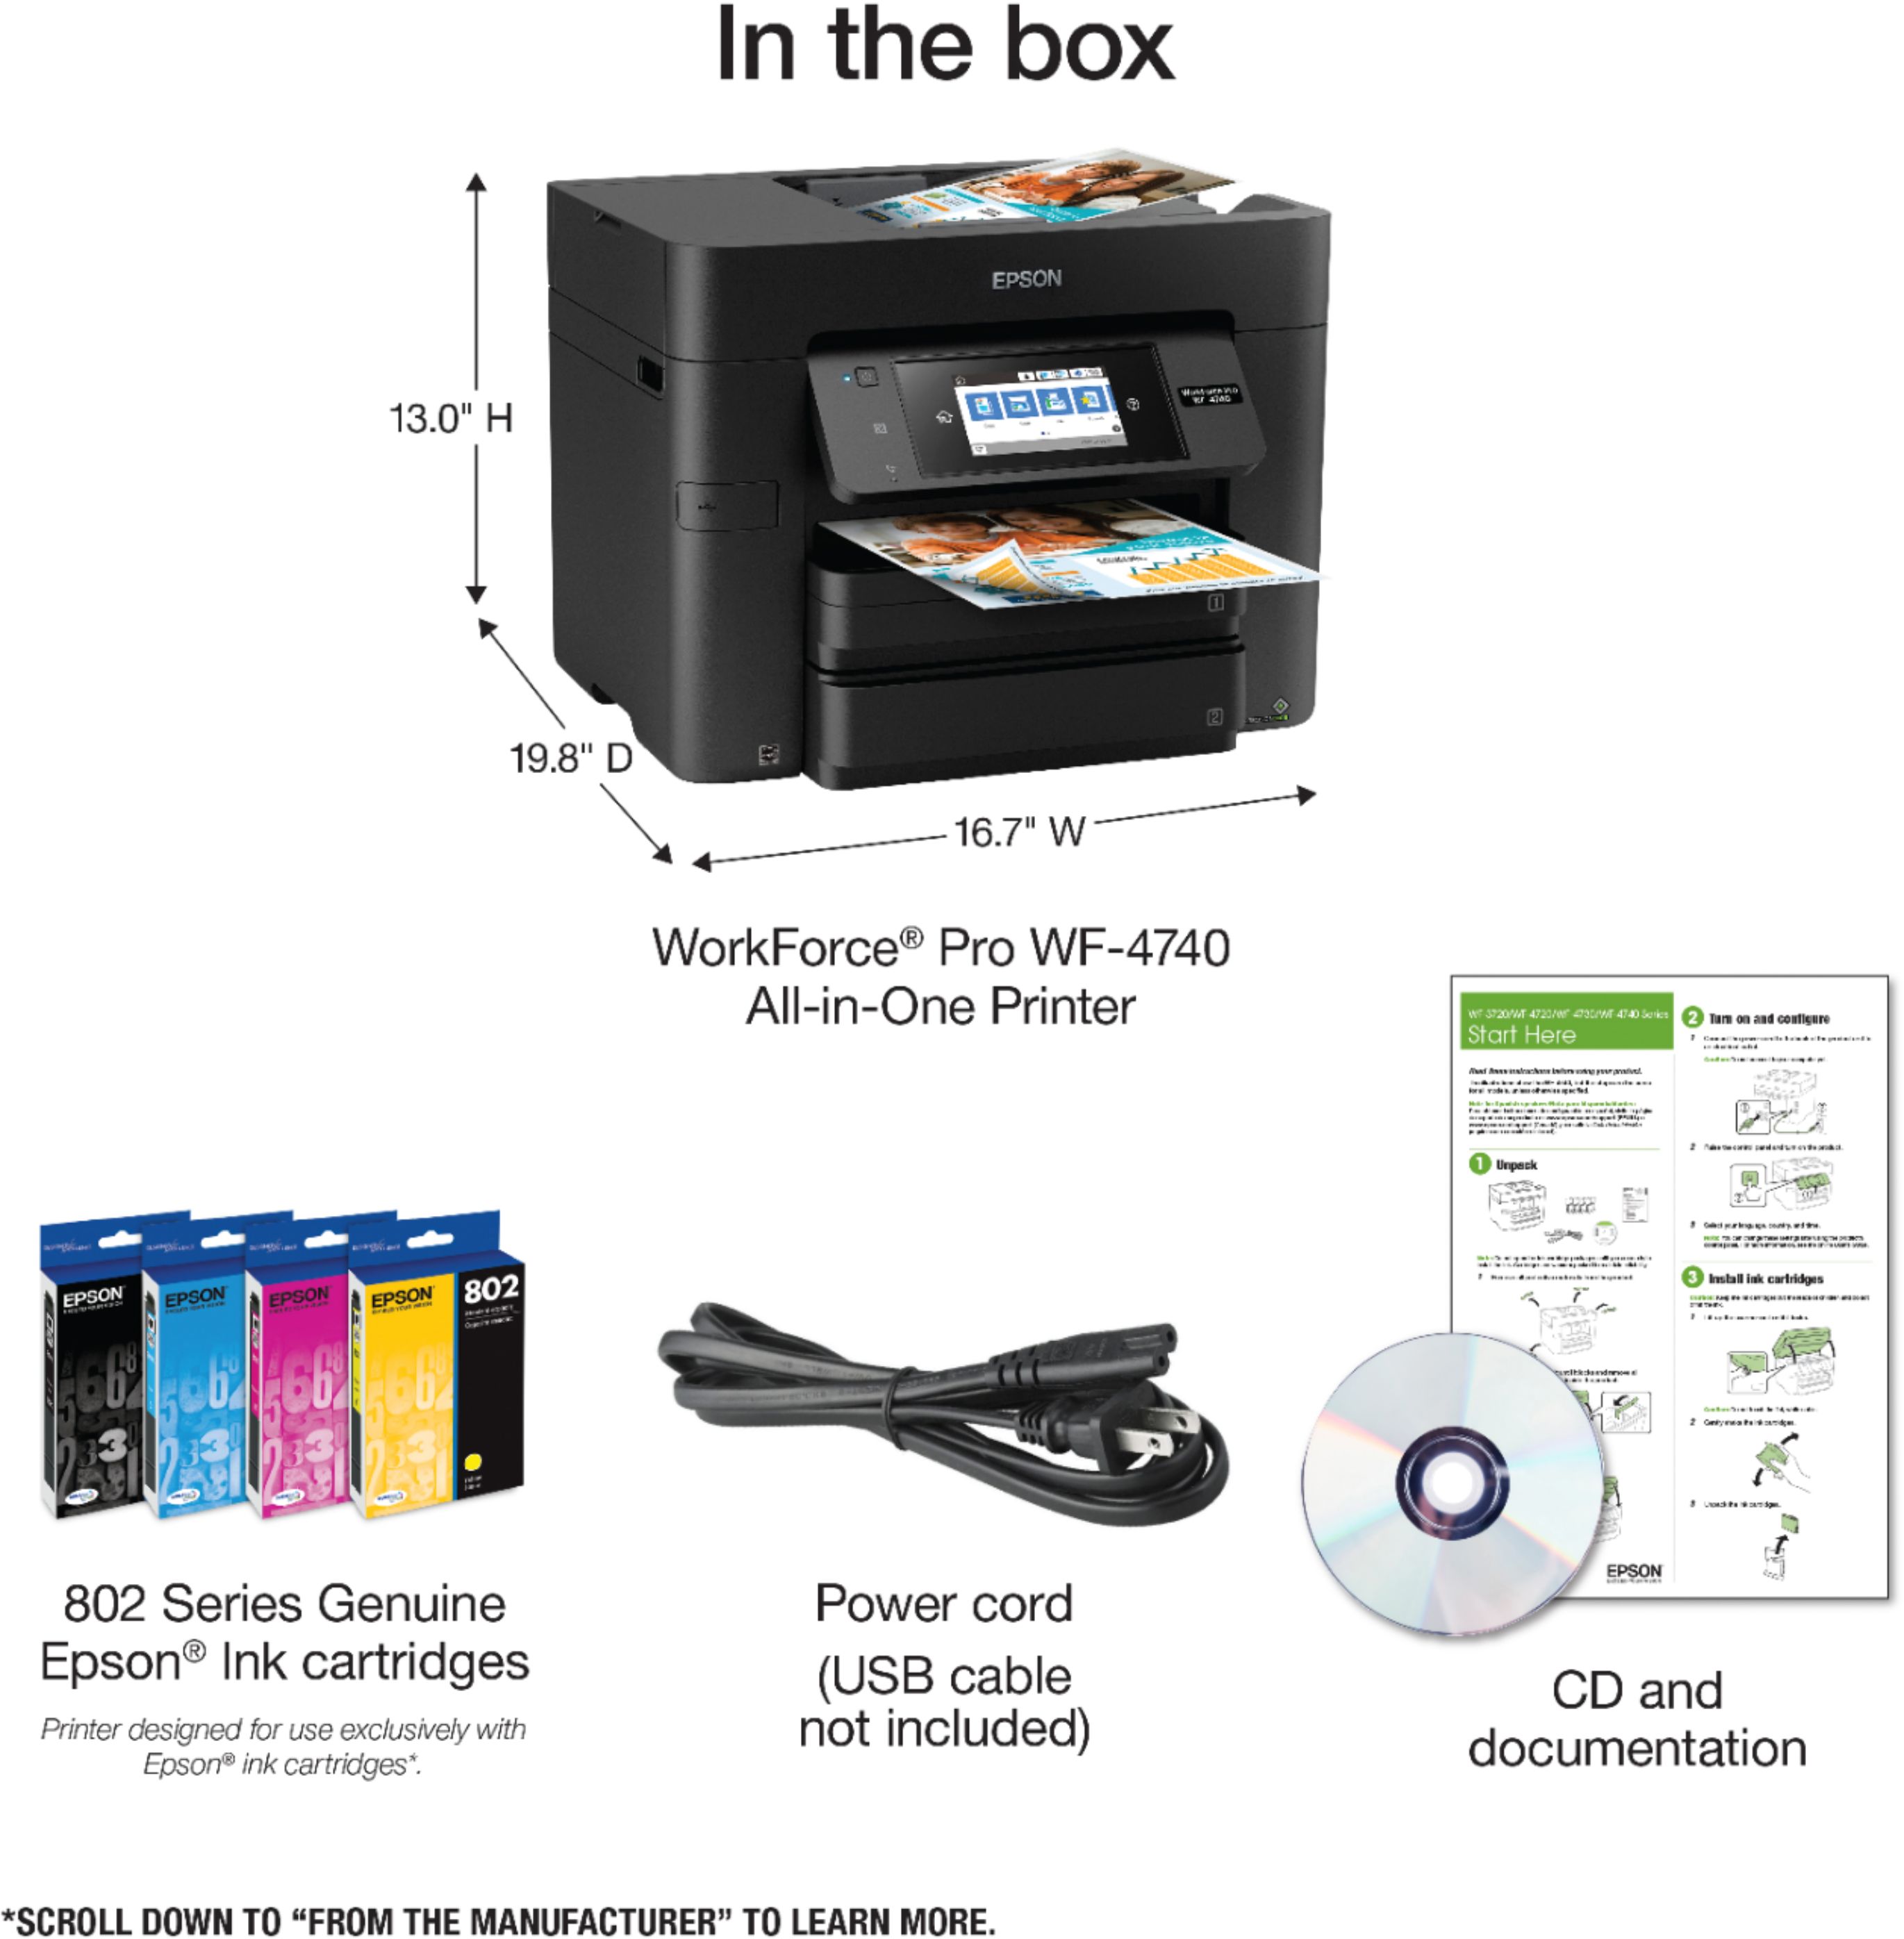
A:AnswerYes. Just replace the regular paper in one of the two trays with card stock and print normally. This printer does not have a rear bypass tray. The two trays will also accommodate smaller sized media... 3x5, 4x6, 5x7, envelopes, etc.
A:AnswerHello tialynn0424. To do a 2-sided print on the WF-4740 select one of the 2-Sided Printing options under the Main tab in your print driver settings. The location of the setting can vary depending on the operating system and software you are using. Please visit our official Epson Support page to contact our Technical Support team if you need additional assistance. Regards, Kevin - The Epson Team.
A:AnswerHello mailer. To print envelopes on the WF-4740, load up to 10 envelopes in the paper cassette of the WF-4740. When you are ready to print, make sure to select "Thick paper or envelopes in extended settings of the printer software. Regards, Kevin - The Epson Team.
A:AnswerYes, but easier to use your computer. Go to the below link for the complete manual:
https://files.support.epson.com/docid/cpd5/cpd53888/index.html
Scanning to Email
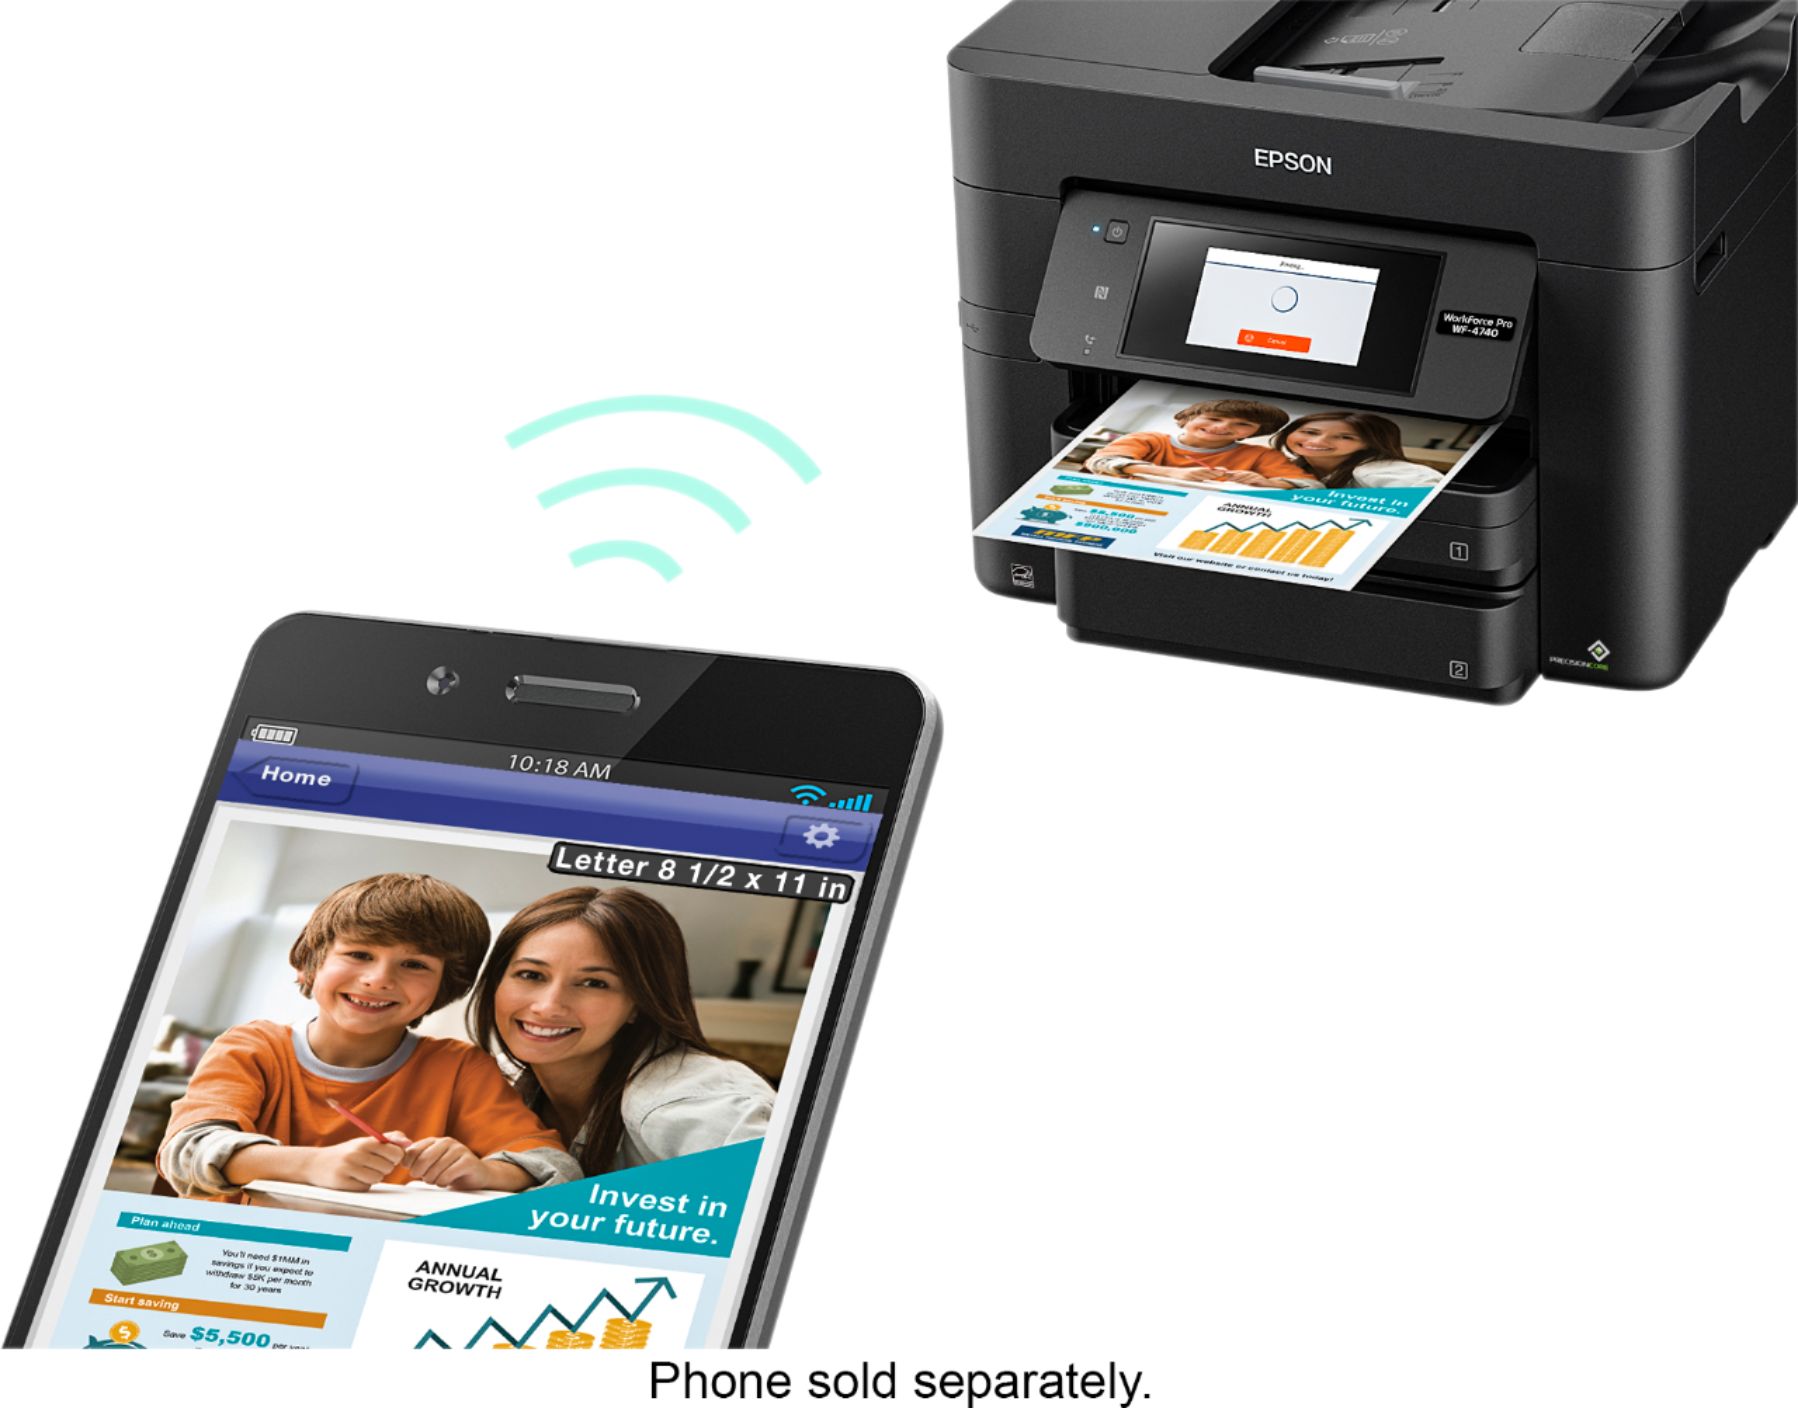
You can scan an original and email the scanned file using your product's control panel. You need to have a preconfigured email server before you can scan to email. You can either enter the email address directly on the product's control panel or select an address from the Contacts list. Make sure the date and time are set correctly so the time stamps on your emails are accurate.
1. Place your original on the product for scanning.
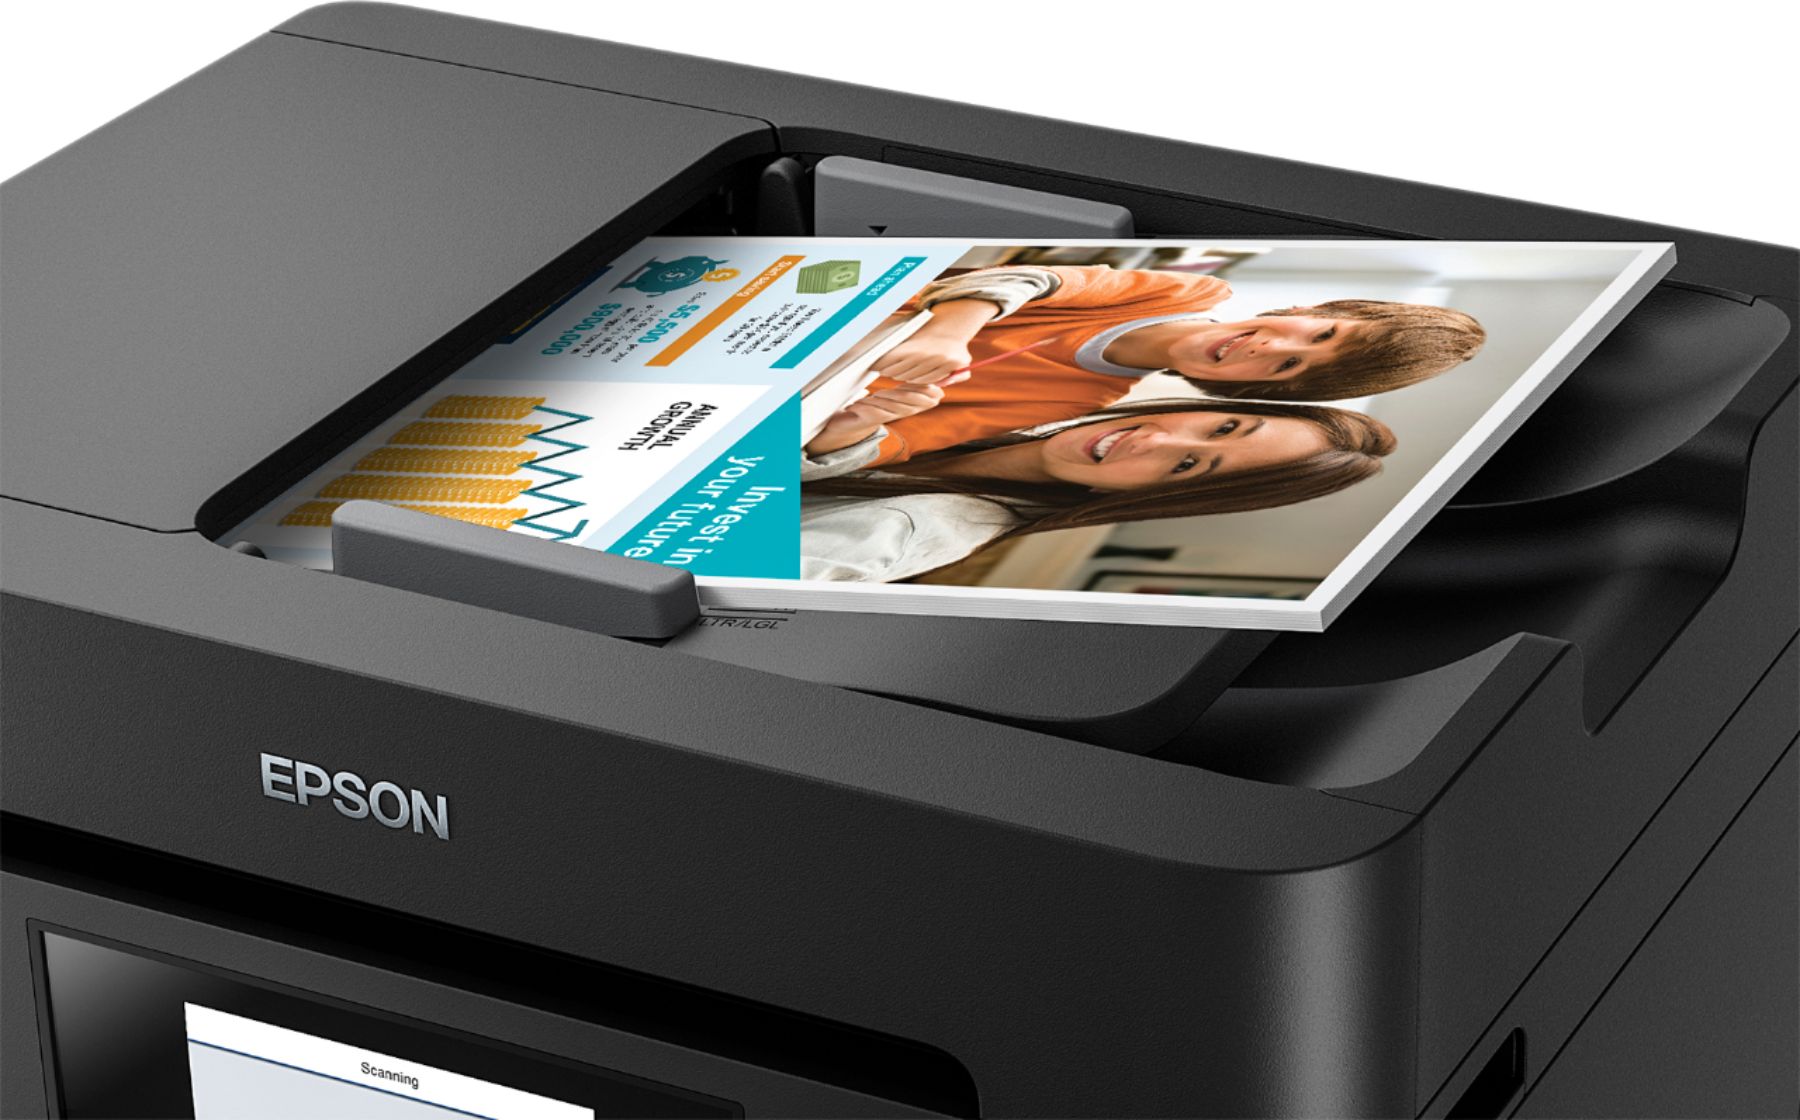
Note: To scan a double-sided or multi-page document, place all of the pages in the ADF.
2. Press the home button, if necessary.
3. Select Scan. You see a screen like this:
4. Select Email. You see a screen like this:
5. Do one of the following: ◦Select Contacts and choose an email address from the Contacts list.
◦ Select Keyboard to use the displayed keyboard to enter the address for the recipient and press OK.
◦Select History to choose an email address from your recent scan history.
◦Select an email address from any displayed frequent contacts.
6.Select Scan Settings.
7. Select File Format to choose the file format for your scan.
8. Scroll down and change the Subject and File Name if necessary.
9.Select any additional scan settings as necessary.
10. Select Presets to save your scan settings.
11. Press the Send icon. Your product scans your original and emails the scanned file.