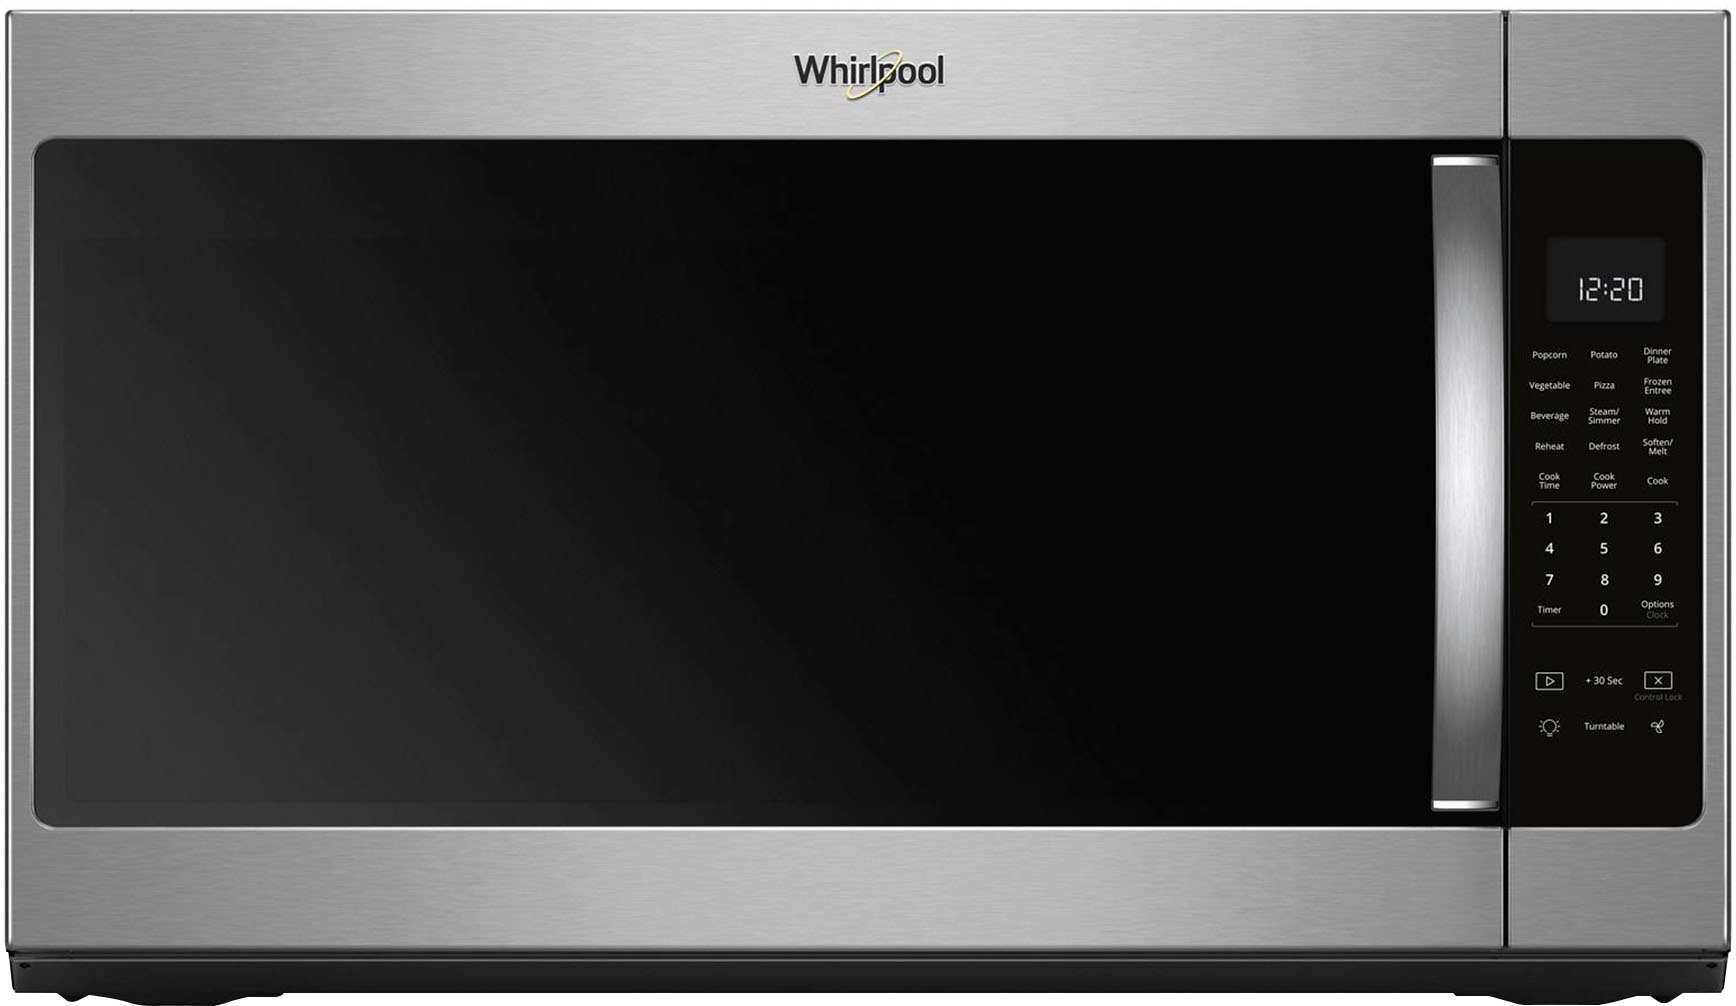
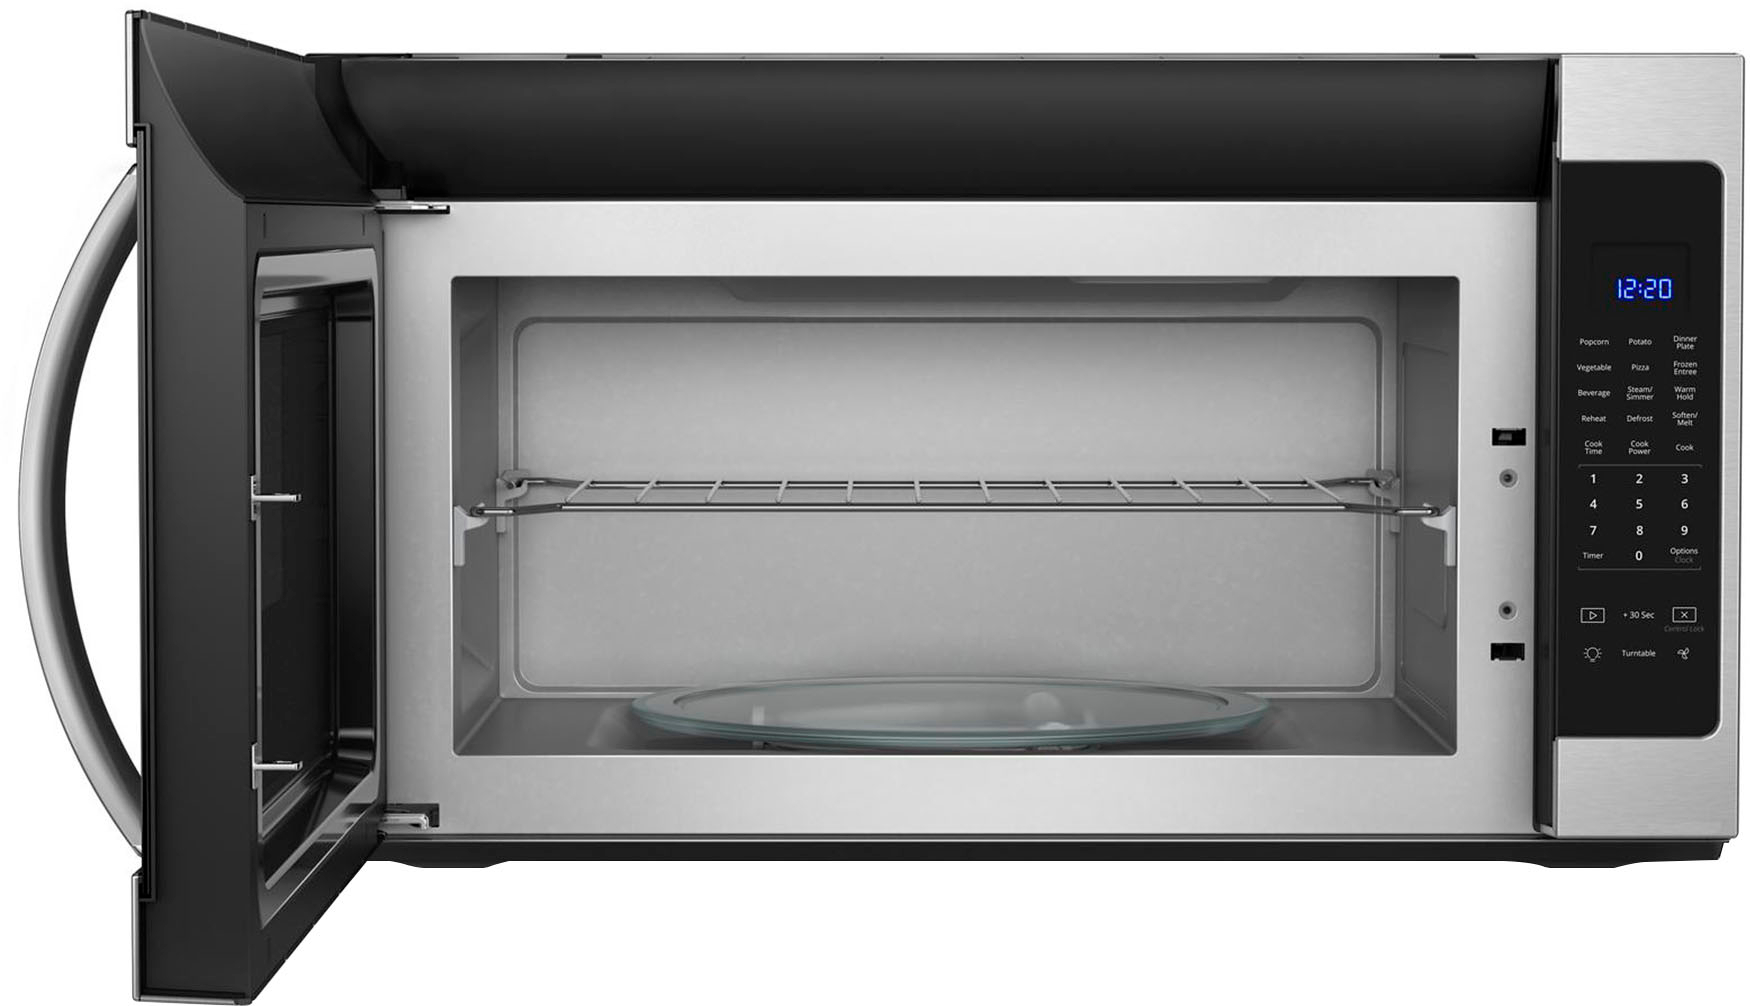
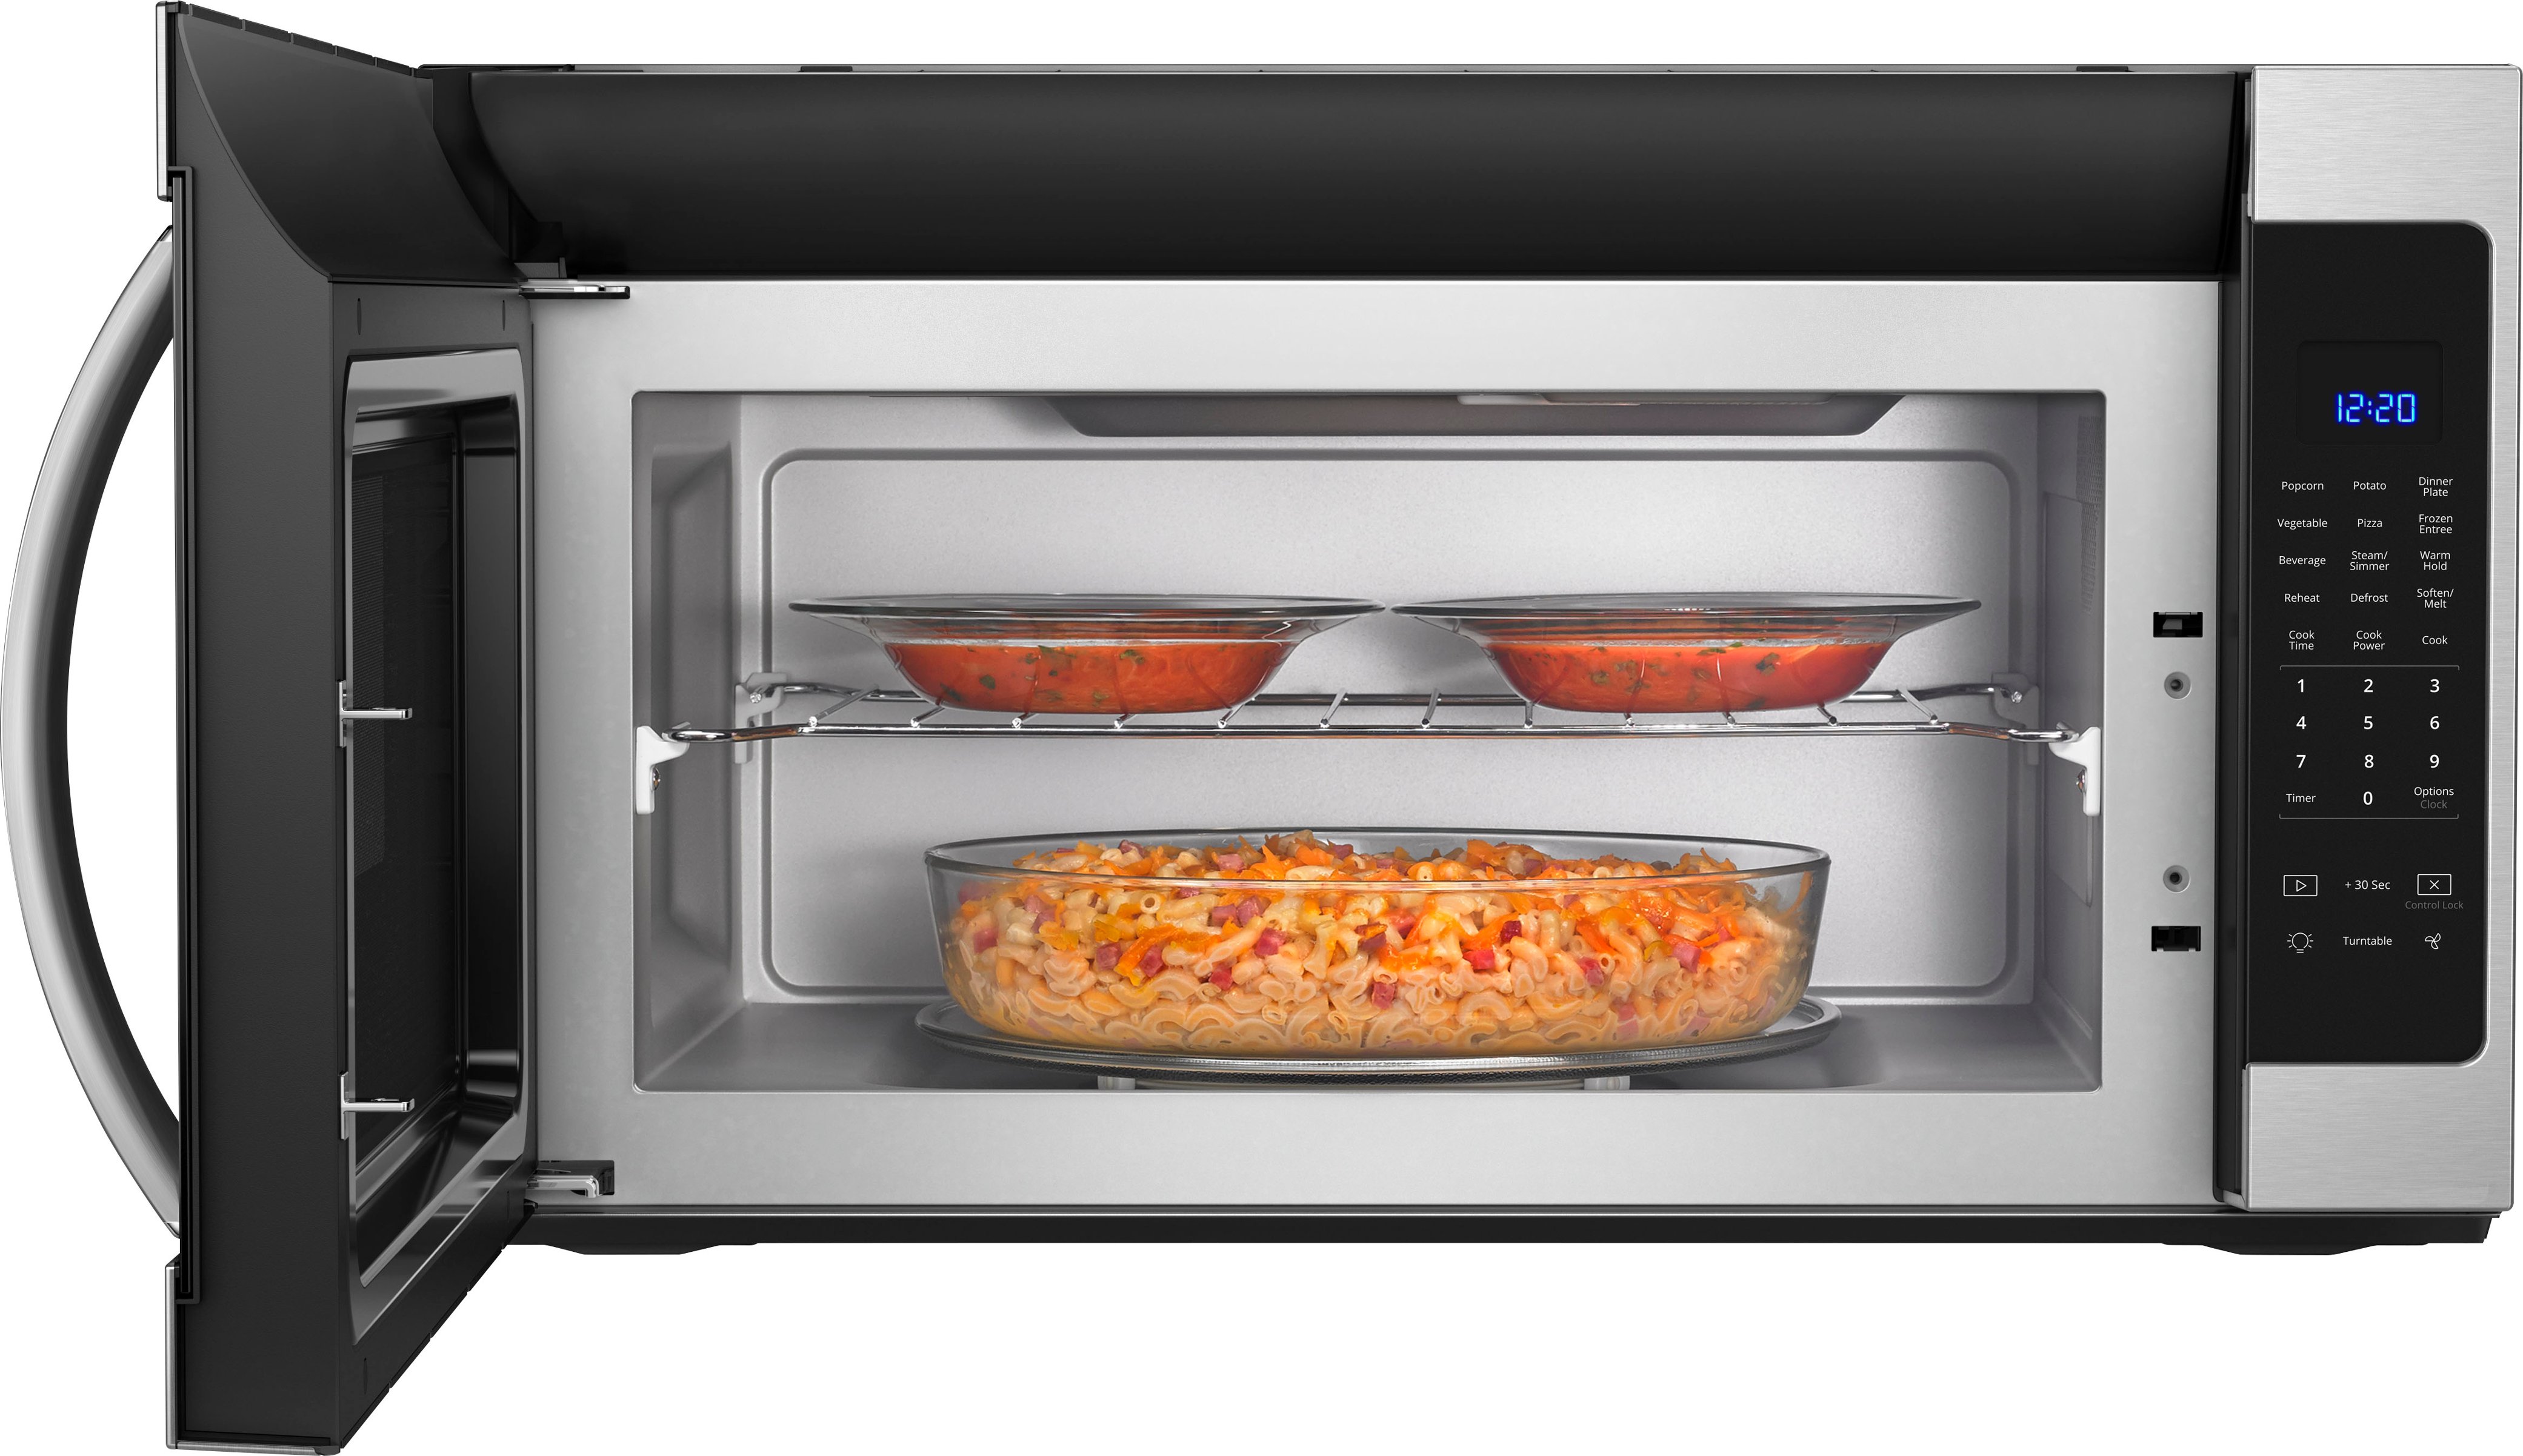
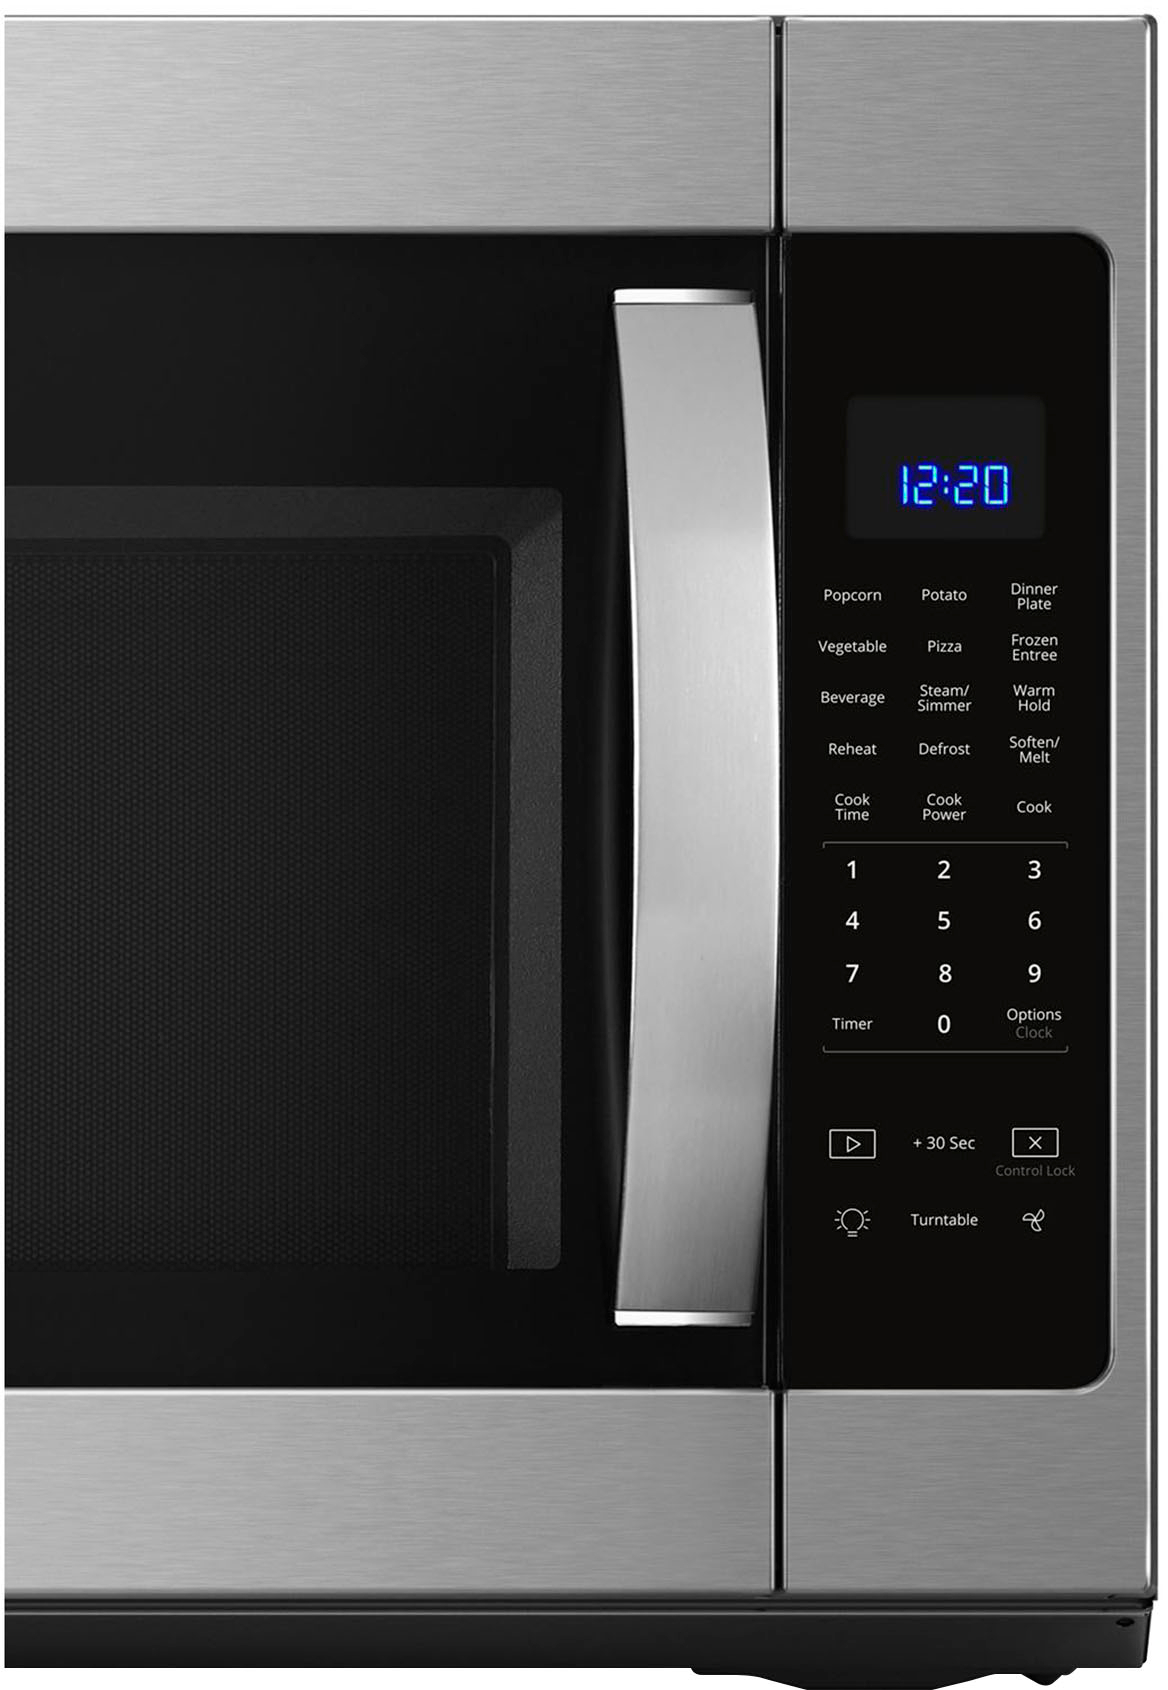
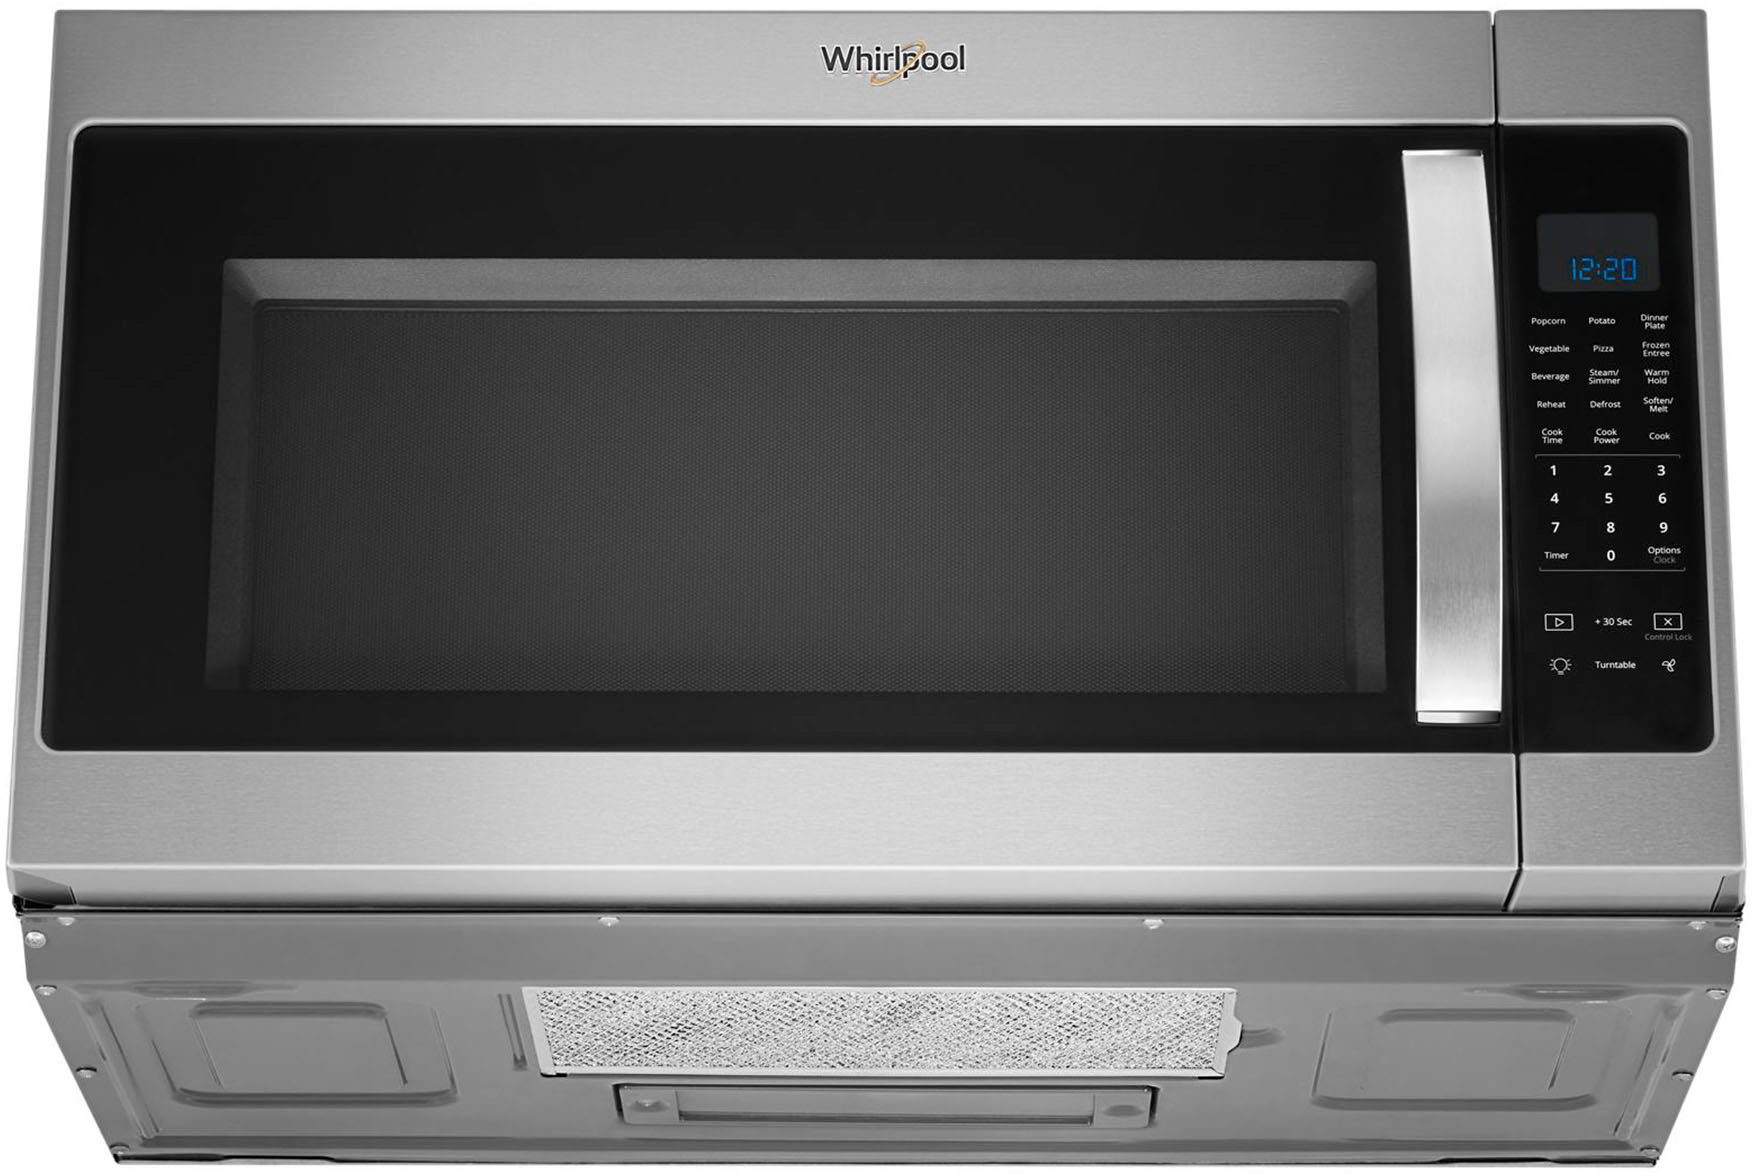
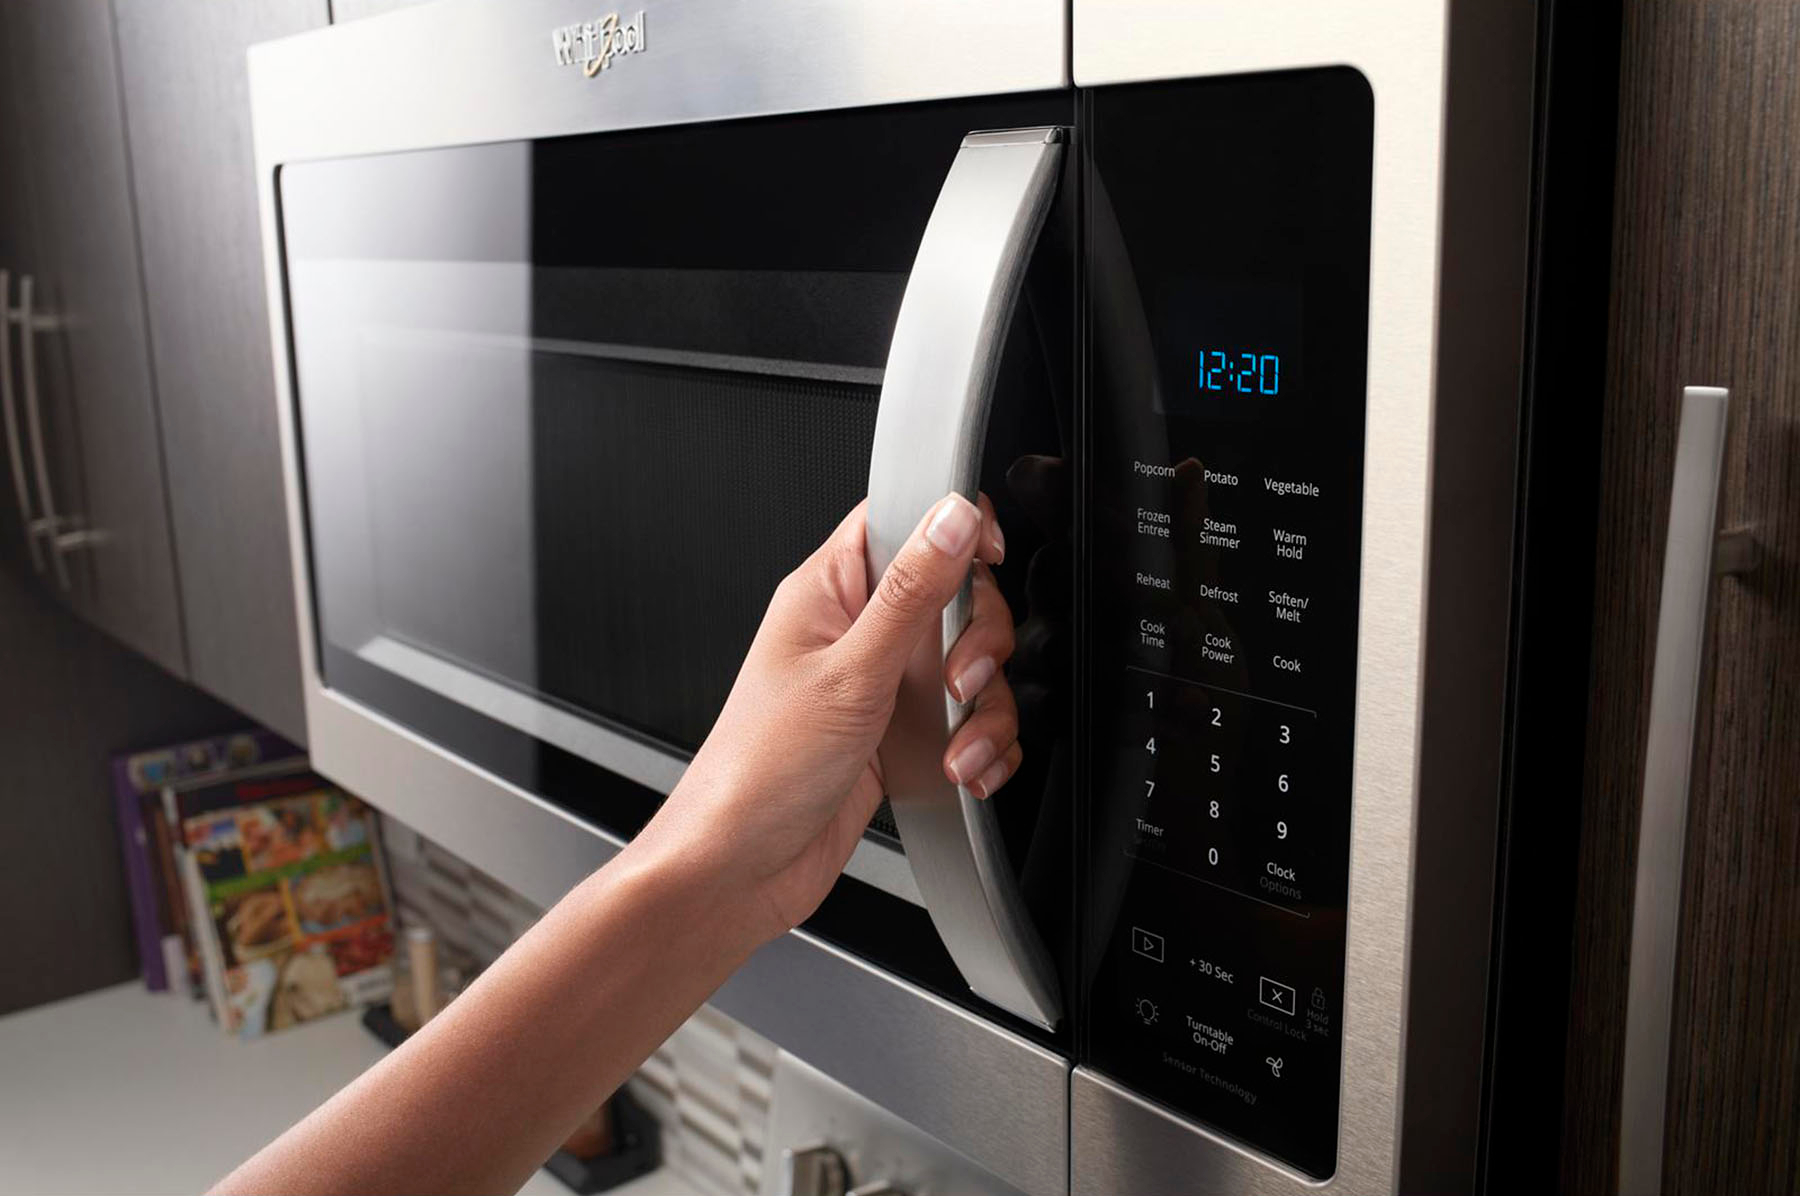
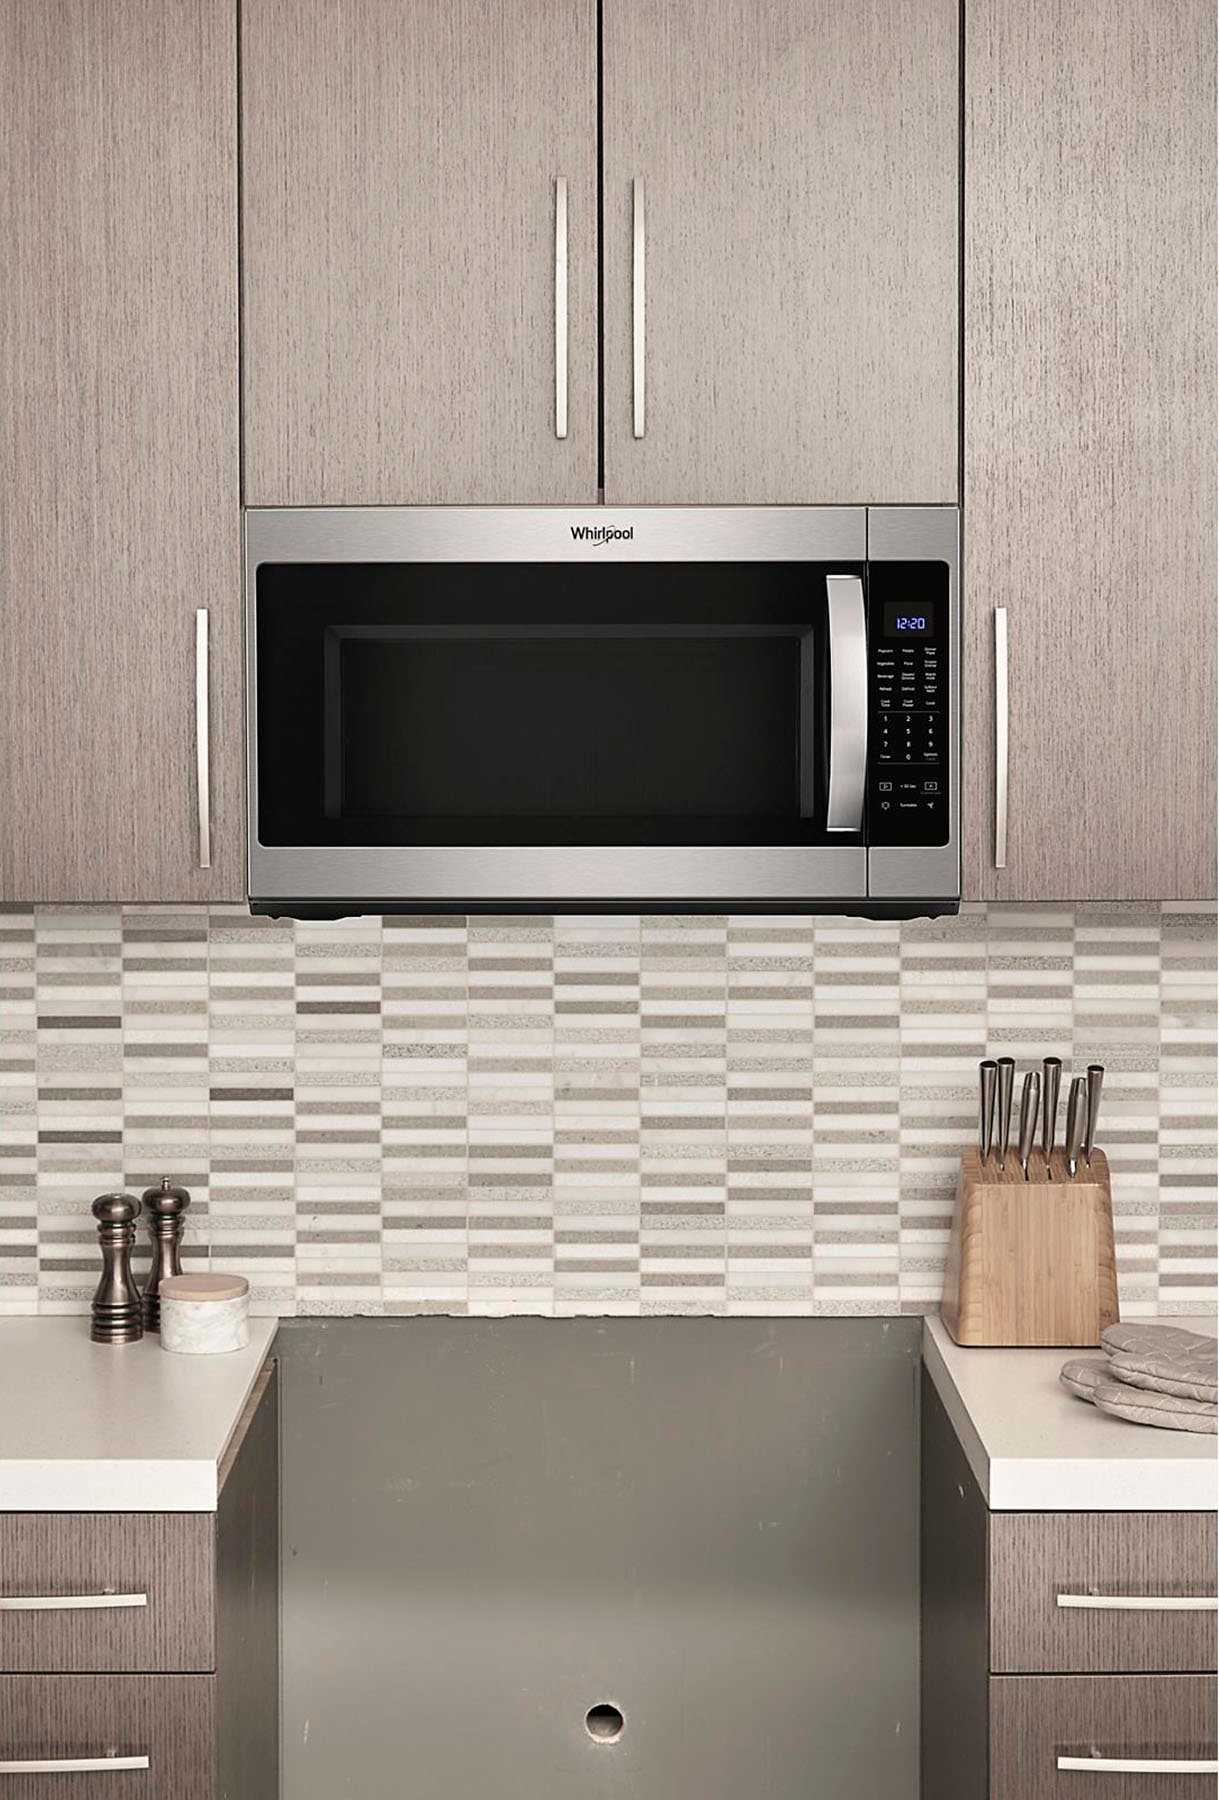
A:AnswerThis unit can EITHER ventilate back into the kitchen OR ventilate out of the kitchen through a duct that you would need to install yourself. Out-of-the-box, the unit is set to ventilate back into the kitchen, but there are clear instructions on how to modify the top of the unit to have the ventilation go through your exhaust vent.
A:AnswerNot a problem. When door is shut, the edge is flush with the cabinet. When door is open, the hinge is on the inside and the edge of the door is approximately 1/2 inch from the left cabinet. The door opens to about 85 degrees, this restricts the handle on microwave from hitting left wall. This unit deeper and taller then my old one. Because the burners are gas, there is less clearance on cooking with tall pots on back burners. I new this when I made the purchase. Note- comes with a turntable and wire rack for two levels of cooking. Instructions say to not cook with wire rack if not using it.
Reference pictures, door closed and door open
A:AnswerYou can use an LED but the bulb can’t be longer than a standard incandescent 40W bulb (about 2.5”). The recess that houses the bulb is a strange design because while it’s about 8” wide, it’s only about 2.5” deep and the bulb fits arcoss the depth axis and not the width axis which prevents a larger bulb from fitting (40W isn’t enough to shed light on the range, expecially considering it’s located toward the back of the even rather than the front where I mainly use the stove burners.
What I ended up going was to wire up a spliiter that screws into the existing E17 socket and splits into 2 E17 sockets that are directed sideways which allows for 2 much larger bulbs. I currently am using two 60W (equivalent) LED bulbs. The 6000 degree light it a bit too white so I’ll likely look for 3000 degree bulbs instead, but the light is amazingly bright (120W vs. 40W) — the low setting might show some 60hz flicker with LED lights (probably should insert an inegrator capacitor to dampen that out), and for some reason the light doesn’t complete turn off when the panel button is set to off. I assume that means there is a small residual current that isn’t enough to light up the incandescent filament (a filament bulb turns completely off) but is enough to render a very slight “night light” illumination of the far more current sensitive LED. And remember, two 60W LED bulbs is still only about 12W so that’s no problem for a 40W fixture, and they don’t warm up or burn out.
A:AnswerThe signal is a four-note ascending tone that plays a total of three times in succession when the cooking cycle is complete. If the door is not opened or stop button pressed, the four-note ascending tone plays once as a reminder at five minutes after and ten minutes after.
A:AnswerWhen you select a button like soup for instance, the microwave starts heating and it shows sensing on screen and will do a final count down near end. We have really enjoyed this part, as it seems to really get it right.
A:AnswerI don't have the exact answer for you but I recently replaced my Whirlpool with another one and was unsure of how to do it. Mine is over the stove/range.
You need to match the exact same outside dimensions as your old one. To accomplish this, you'll need to measure the height, depth and width of your old one to match the new one.
You have options for cubic feet which is the amount of space INSIDE the microwave. I went slightly larger for my new one but maintained the same outside dimensions. The outside dimensions are what are most important with regard to fitting the new microwave into the existing space.
I hope this is helpful because it took me over two years to actually purchase one because I was unsure of how to measure for it.
By the way, I would recommend using their installers. They were fabulous. I asked them if people ever mess up and get the wrong size microwave for the space. They told me: All the time! So just make sure the outside dimensions match your existing microwave, and all will be well. Good luck and enjoy your new microwave!
A:AnswerI had something spill in my oven and start burning. Set off my smoke detector. I turned on this fan, as I was also cooking on the gas range. The alarm stopped. I have not fried bacon yet, but so far this is the best fan I have ever had.
A:AnswerYes, absolutely. That’s exactly how I use mine while cooking in the microwave and on my stove . The regular timer may definitely be used concurrently and independently with the cook timer. In fact while both are active and running, you can simply push either “cook time” or “timer” to display whichever one you need to see since the display doesn’t have enough space to show both. And at the end of each timer, actually a different set of tones is heard so you’ll know which one has finished. I don’t know why Whirlpool, the manufacturer, answered this incorrectly.
A:AnswerYes, it does have an inside light. Works fine. Light underneath is incandescent and has two settings..high and low. High works well for cooking and low works well for a night light.
A:AnswerIt will with some change to the wall support bracket mount point. You will need to make some new holes in the drywall to install the mount bracket. The top screw points will likely be different as well so the cabinet that you connect to will likely need some new holes drilled. There is a template on the box to use for both.
A:AnswerHey Bill 47 - Look at the control panel. Just below the keypad numbers you will see a triangle inside a box. That is the start button. To add 30 seconds to the cook time press the "+30 SEC" symbol.
A:AnswerSounds like your microwave is venting out the back instead of the front. If it vents out the back you need an outside exhaust vent for the air to flow out of. If you don't have an outside vent then the air will just blow against the wall. This is a configuration in the microwave you make before installing - to have it vent forward or backwards.